crochet witch gnome pattern free
2. Introduction
Get ready to embrace the whimsical side of your crochet journey with this delightful crochet witch gnome pattern! Standing at approximately 8 inches tall, this charming plushie is the perfect companion for your Halloween decor or a fun gift for your favorite witchy friend. With its playful proportions and quirky features, you’ll find this project brings a smile to your face as you stitch away.
For this project, I recommend using a soft worsted weight yarn in complementary colors like deep purple, soft green, and a touch of mustard yellow. These rich and earthy tones not only lend a sophisticated air but also capture the magical essence of a witchy gnome. This pattern is beginner-friendly, making it accessible for crafters who are just starting out or those looking for a quick and enjoyable project. Plus, with Halloween just around the corner, it’s a perfect seasonal project that can double as a heartfelt gift!
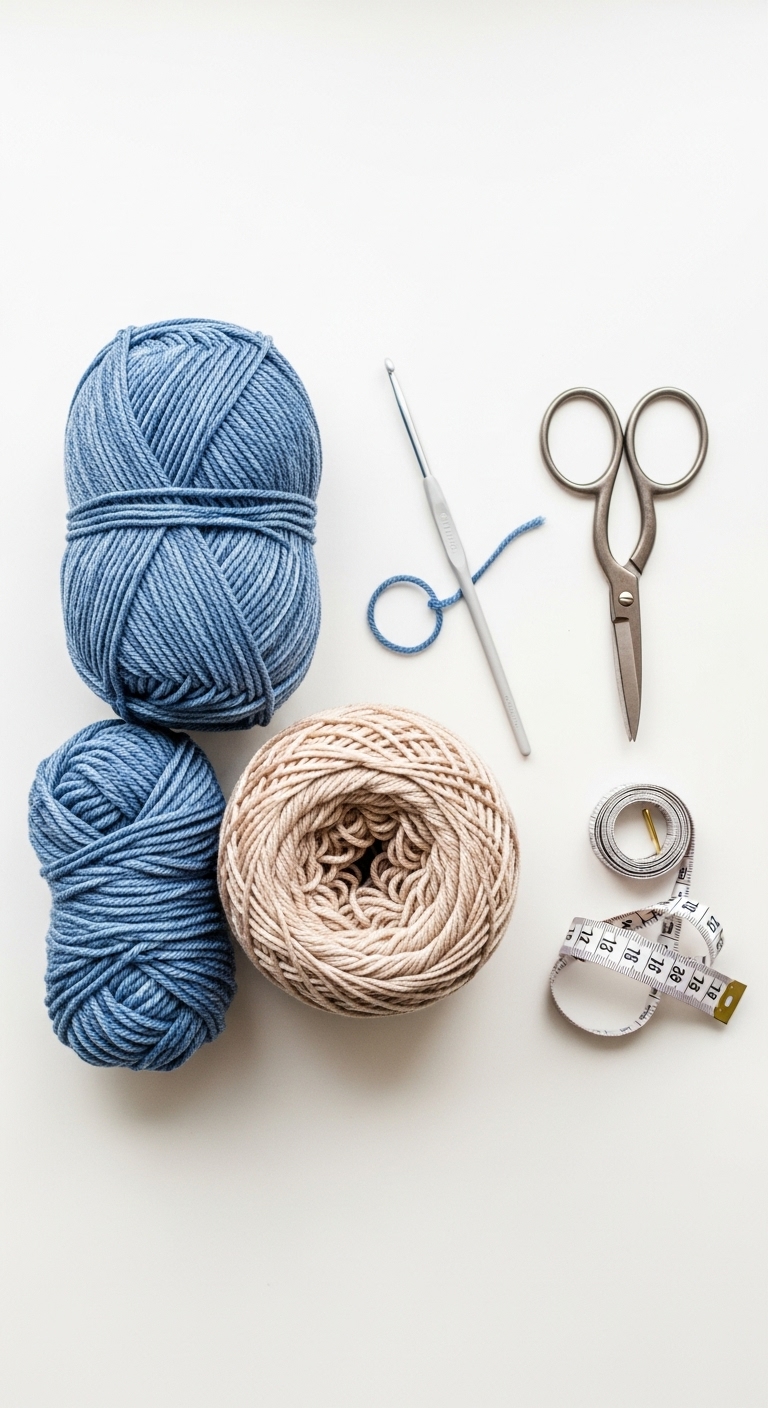
3. Materials Needed
– Yarn: Worsted weight yarn in deep purple (100 yards), soft green (50 yards), and mustard yellow (25 yards)
– Hook: 4.0mm crochet hook
– Eyes: 12mm safety eyes or you can use black embroidery thread for a stitched effect
– Stuffing: Polyester fiberfill stuffing
– Needle: Tapestry needle for sewing
– Marker: Stitch marker
– Optional extras: Pipe cleaners (for the gnome’s hat), a small button (for embellishment)
4. Designer Notes / Tips
When crocheting the gnome, you’ll be working primarily in single crochet stitches, which create a lovely, dense fabric. If you’re feeling adventurous, try adding a few slip stitches to create a textured look on the gnome’s hat. As for stuffing, I recommend using a light density for the body to keep it soft and huggable while ensuring that the hat is more firmly stuffed to hold its shape.
For assembly, be sure to join the pieces securely, using a whip stitch or slip stitch for a clean finish. If you’d like to substitute yarn, any worsted weight yarn will work, but keep in mind that the drape and texture may vary with different fibers. It’s always a good idea to check your gauge if you’re looking to maintain the same dimensions as the pattern. Safety eyes are a fun addition, but if you’re making this for a child, consider using embroidery instead for peace of mind.
5. Pattern Instructions
For Plushies:
Head:
– Stuff the head firmly before closing the round.
Body:
– Leave the bottom open for stuffing. Firmly stuff and then close.
Arms:
– Make two arms and stuff lightly.
Legs:
– Make two legs. Stuff lightly.
Hat:
– Use a pipe cleaner to help shape the hat and stuff it firmly.
Assembly:
1. Attach the head to the body securely with a tapestry needle.
2. Sew the arms to the sides of the body, slightly below the head.
3. Attach the legs to the bottom of the body.
4. Position the hat on the head, securing it in place, and embellish as desired.
6. Closing & Social Engagement
I hope you enjoy crafting this enchanting witch gnome! Don’t worry if it doesn’t turn out perfectly; the beauty of handmade items lies in their uniqueness. I’d love to see your version! Leave a comment below with your thoughts or any questions you have. What color combination will you try? Share your finished gnome on social media – let’s spread the magic of crochet together!