crochet wheat stitch tote bag free pattern

2. Introduction
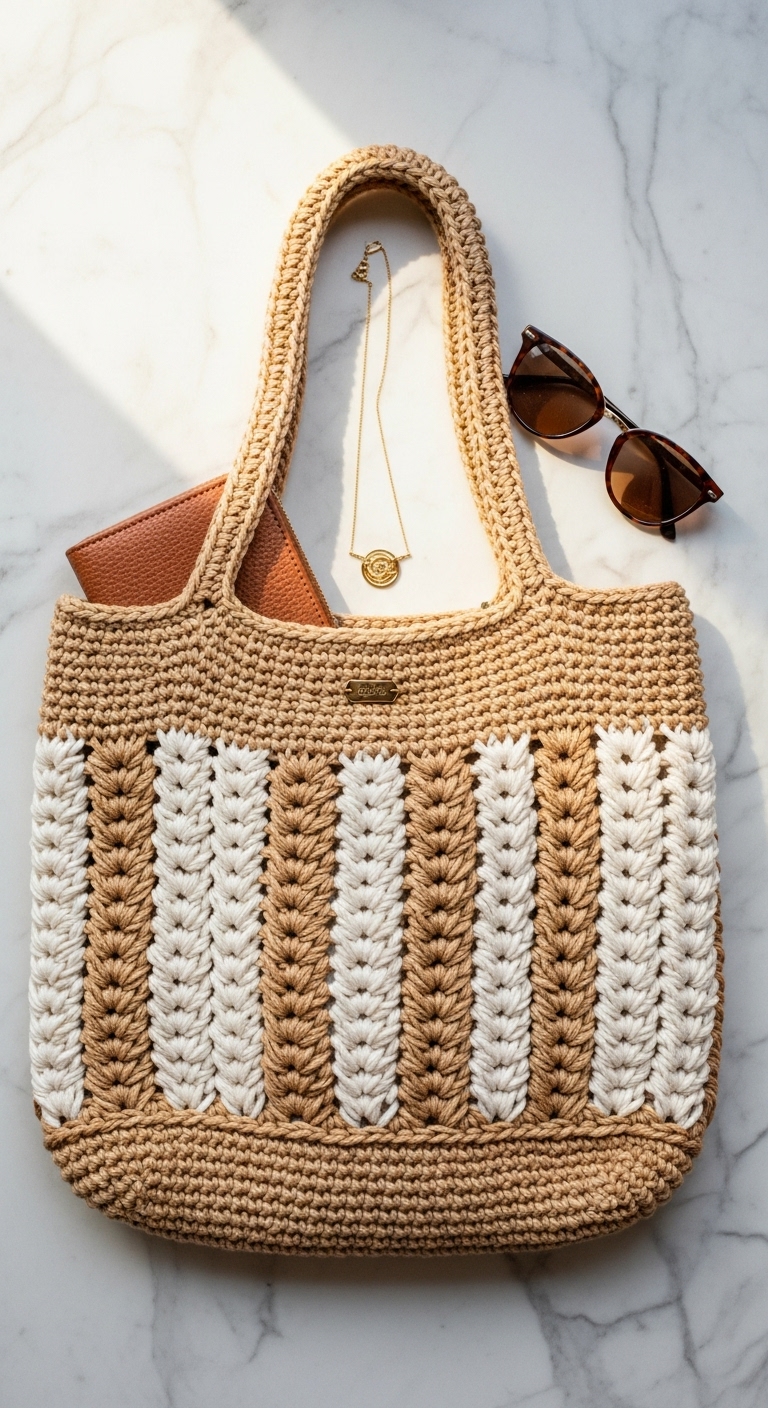
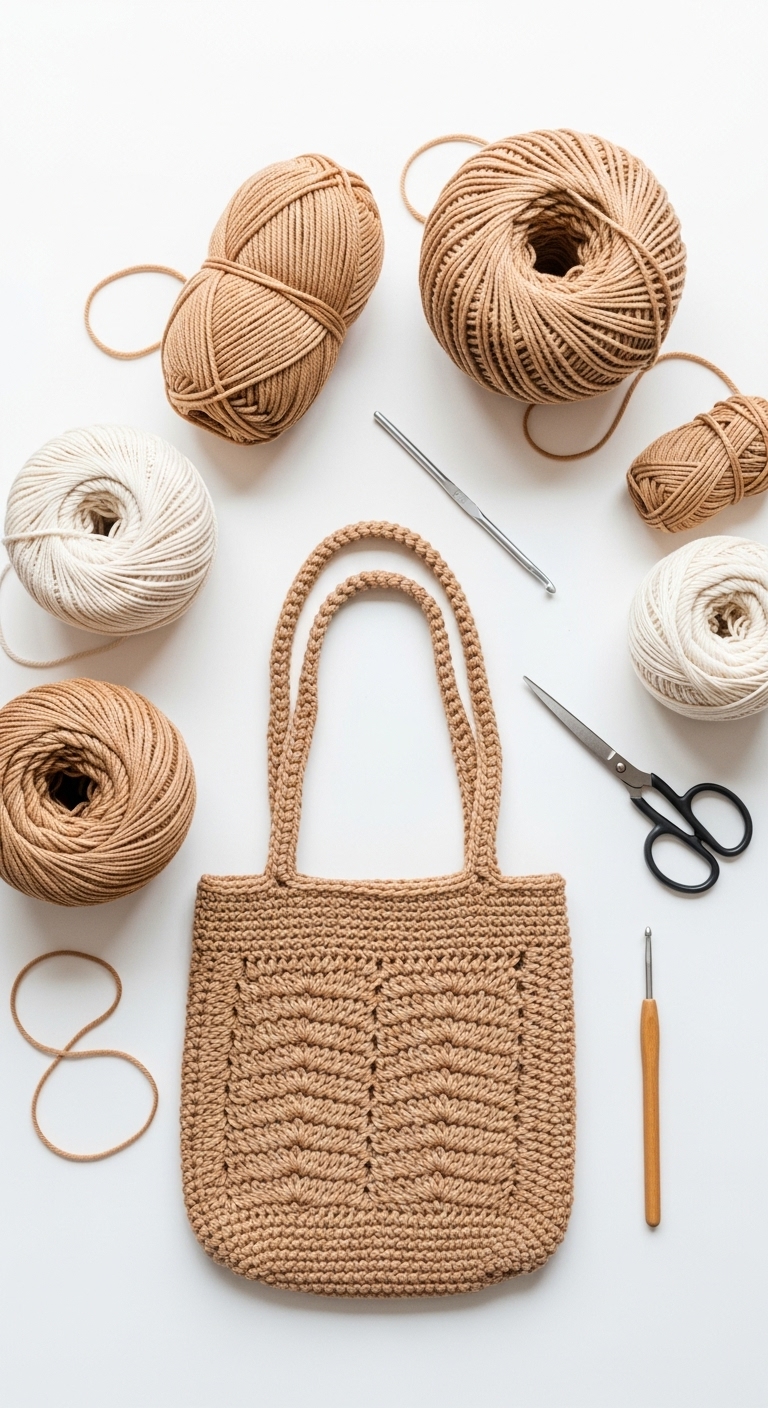
Welcome to this delightful crochet wheat stitch tote bag pattern! This project results in a stylish, practical tote bag that measures approximately 12 inches wide and 14 inches tall, making it perfect for running errands or carrying your favorite books. The wheat stitch texture adds a charming and sophisticated touch that makes this bag stand out in any setting.
For this tote, we’ll be using a medium-weight cotton yarn. A lovely combination of soft teal, creamy beige, and a rich navy blue creates a beautiful palette that is both modern and versatile. This project is not only enjoyable to make but also quick to complete, making it an ideal candidate for gift-giving. Whether it’s for a birthday, a housewarming, or just a special treat for yourself, this tote bag will surely impress!
This pattern is beginner-friendly, with clear instructions and a simple stitch that’s easy to master. If you’re familiar with basic crochet techniques and ready to try out a new stitch, you’ll find this project both approachable and satisfying. So grab your yarn and hook, and let’s create something beautiful!
3. Materials Needed
– Yarn: Medium-weight cotton yarn in soft teal (approximately 200 yards), creamy beige (approximately 100 yards), and rich navy blue (approximately 100 yards)
– Hook: 4.0mm crochet hook
– Needle: Tapestry needle for weaving in ends
– Marker: Stitch marker
– Optional extras: Cotton lining for added durability, or buttons for decoration
4. Designer Notes / Tips
When working the wheat stitch, you’ll create a lovely texture that resembles the grain of wheat, giving your bag a unique look. If you’re new to the wheat stitch, don’t worry if it seems tricky at first; just take your time and practice the stitch a few times before moving on.
For stuffing the bag, keep in mind that a firm but flexible structure is ideal to hold its shape while still allowing for some stretch. Be sure to use a tapestry needle to weave in all ends neatly, ensuring a polished finish.
If you want to substitute yarn, consider a bamboo blend for a silky feel or a heavier cotton for a sturdier finish. When it comes to gauge, it’s essential to check your tension, as a consistent stitch size will affect the overall look and size of your tote. Finally, if you plan to use this bag for carrying items for children, consider adding a lining for extra durability and safety.
5. Pattern Instructions
Main Panel:
– Foundation Chain: Chain 40.
– Row 1: In the 2nd chain from the hook, make 1 sc; sc across (39 sc).
– Row 2: Chain 1, turn. *[1 sc in the next stitch, 1 puff stitch in the next stitch]*; repeat across to the last stitch, then 1 sc in the last stitch (39 stitches).
– Row 3: Chain 1, turn. *[1 puff stitch in the first stitch, 1 sc in the next stitch]*; repeat across (39 stitches).
– Repeat Rows 2 and 3 until the panel measures approximately 14 inches in height.
Straps:
– Foundation Chain: Chain 8.
– Row 1: Make 1 sc in the 2nd chain from the hook; sc across (7 sc).
– Row 2: Chain 1, turn. *1 puff stitch in the next stitch, 1 sc in the next stitch*; repeat across (7 stitches).
– Repeat Row 2 until the strap measures approximately 24 inches long.
Assembly:
1. Fold the main panel in half with the right sides together. Join the sides with a sc seam, leaving the top open.
2. Attach the straps by sewing them evenly spaced on the inside of the bag opening.
3. For added durability, consider lining the inside of the tote with fabric and sewing it in place.
6. Closing & Social Engagement
Thank you for joining me in making this lovely crochet wheat stitch tote bag! I’d love to see your version! Leave a comment below sharing your color combinations or any tips you’ve discovered along the way. What color combination will you try? Don’t forget to share your finished tote on social media—let’s inspire others to join in the fun of crochet crafting!