crochet santa gnome free pattern

2. Introduction
Celebrate the festive season with an adorable Crochet Santa Gnome! This charming plushie stands approximately 10 inches tall, making it the perfect holiday decoration or gift. Crafted with soft yarn, this gnome is not only cute but also provides a cozy, whimsical touch to your home during the winter months. The best part? You can whip one up in just a few evenings!
For this project, I’ve chosen a blend of cozy reds, whites, and earthy browns, which are timeless and sophisticated. The combination of a deep cherry red for the gnome’s hat, a fluffy white for the beard, and a rich, wooden brown for the body creates a classic holiday palette that will fit beautifully into any decor. This pattern is beginner-friendly, making it accessible for crocheters who are just starting out or for seasoned crafters looking for a quick and enjoyable project. Plus, as a holiday gift, this adorable gnome is sure to bring smiles to friends and family!
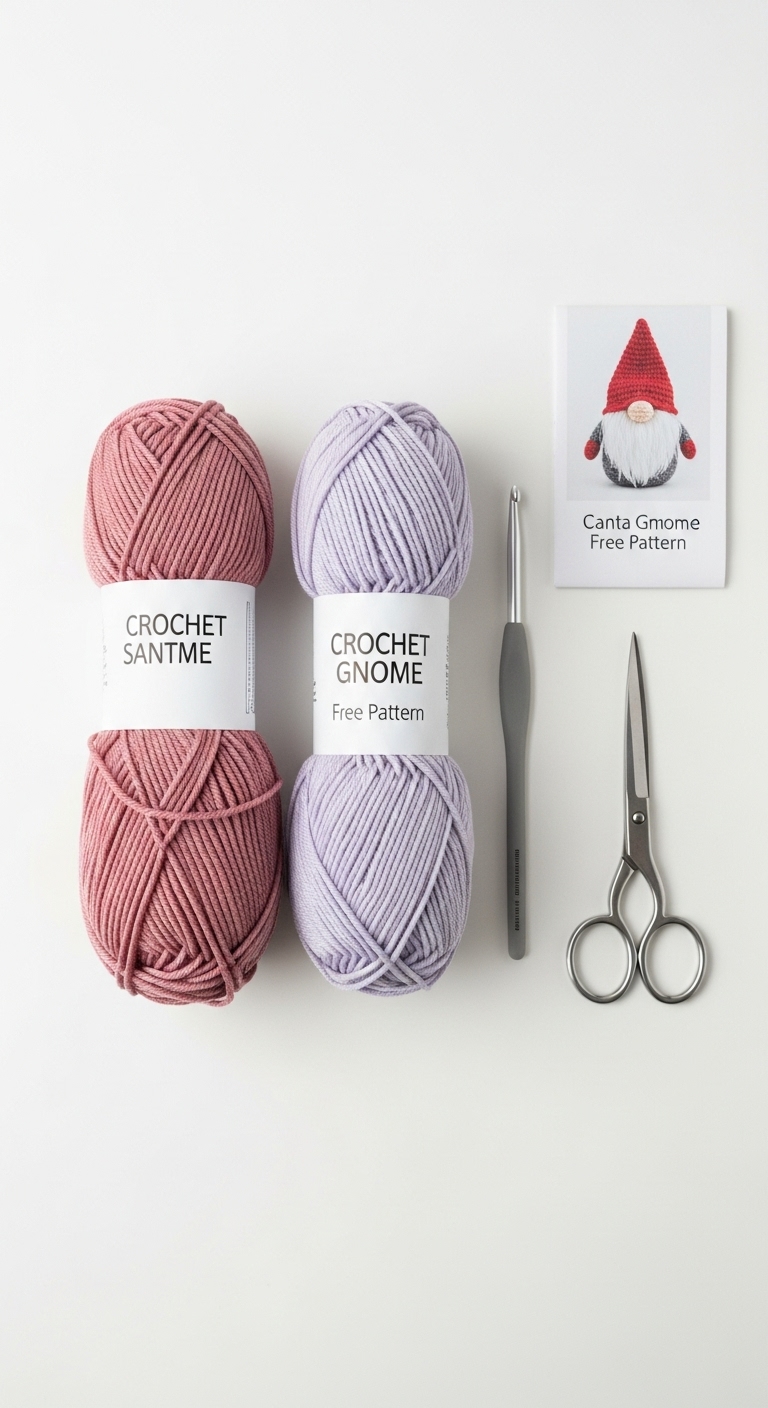
3. Materials Needed
– Yarn: Worsted weight yarn in:
– Cherry Red (approx. 100 yards)
– Fluffy White (approx. 50 yards)
– Wooden Brown (approx. 50 yards)
– Hook: 3.5mm or 4.0mm crochet hook
– Eyes: 12mm safety eyes
– Stuffing: Polyester fiberfill stuffing
– Needle: Tapestry needle for sewing
– Marker: Stitch marker
– Optional extras: Pipe cleaners for shaping the gnome’s hat
4. Designer Notes / Tips
When working on this pattern, you’ll primarily use single crochet stitches, which are straightforward and create a nice dense fabric for your gnome. If desired, consider using a half double crochet for the body to give it a slightly different texture. Don’t worry if your tension varies a bit; just ensure that the stuffing doesn’t poke through.
For stuffing, aim for a light density to give your gnome a lovely squishy feel, but ensure it holds shape well. When assembling, work in a well-lit area to help with positioning all the pieces accurately, and remember to use your stitch marker for keeping track of your rounds, especially if you’re new to crocheting in the round.
If you choose to substitute yarn, look for a soft, worsted-weight yarn that has a similar fiber content for the best results. Lastly, for safety, if you’re gifting this gnome to a young child, consider embroidering eyes instead of using safety eyes to avoid any choking hazards.
5. Pattern Instructions
Head:
Body:
Arms:
Assembly:
1. Attach the head to the body, making sure to position it centrally.
2. Sew the arms onto the sides of the body, placing them about one round down from the head for a natural look.
3. For the beard, crochet a simple rectangle of fluffy white yarn and sew it under the head.
4. Position the safety eyes on the head before securing it to ensure they are placed evenly.
5. For the hat, create a cone shape by crocheting a series of increasing rounds in cherry red yarn, then sewing it to the top of the head.
6. Optional: Stuff the tip of the hat with a bit of fiberfill for added charm.
Finishing Touches:
Weave in all ends and ensure that all parts are securely attached. Optionally, you can add a small pom-pom to the tip of the hat for an extra touch of whimsy.
6. Closing & Social Engagement
I’m excited to see your take on this Crochet Santa Gnome! Whether you choose to stick with classic holiday colors or experiment with something unique, I’d love to hear about it. Leave a comment below sharing your color combinations or any modifications you made. Don’t forget to share your finished gnome on social media using the hashtag #SantaGnomeCrochet. Happy crocheting, and may your holidays be filled with creativity and joy!