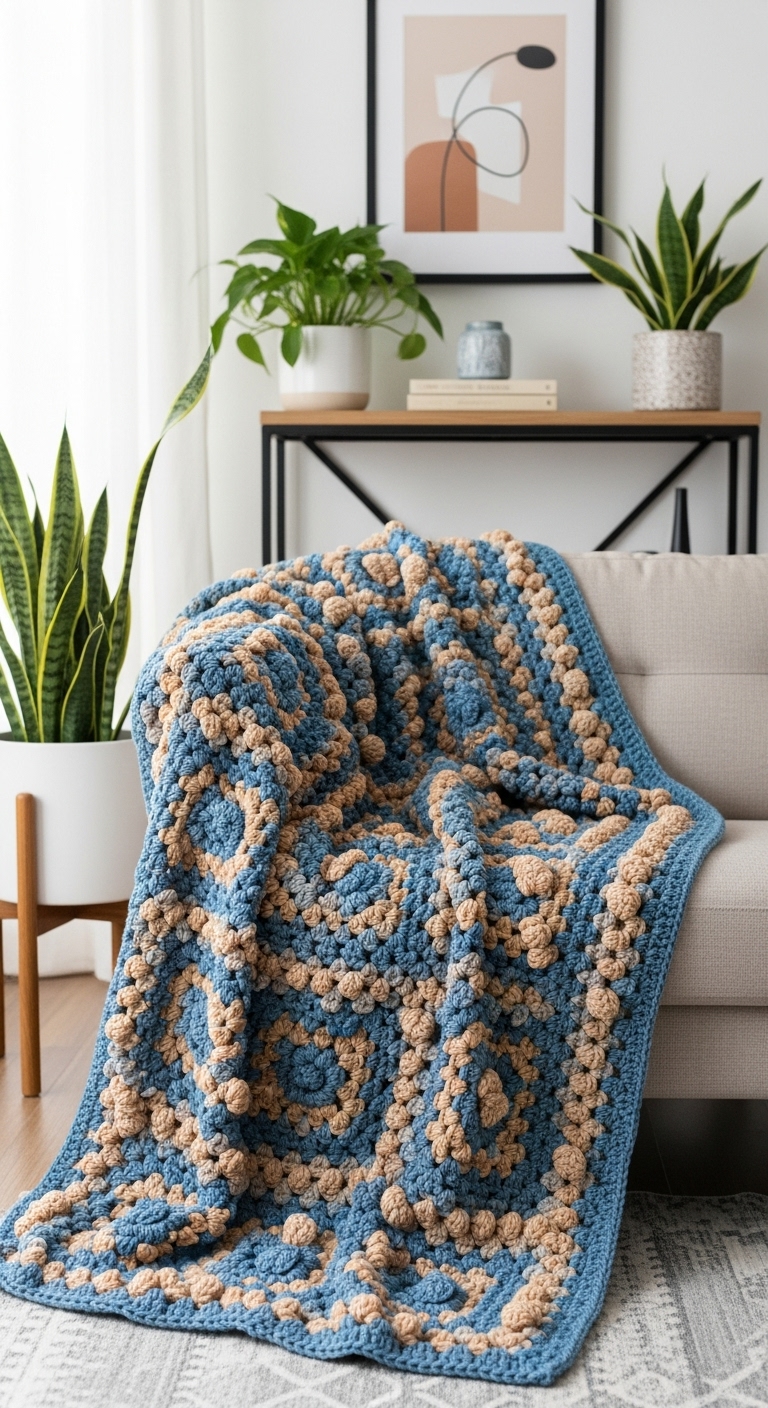
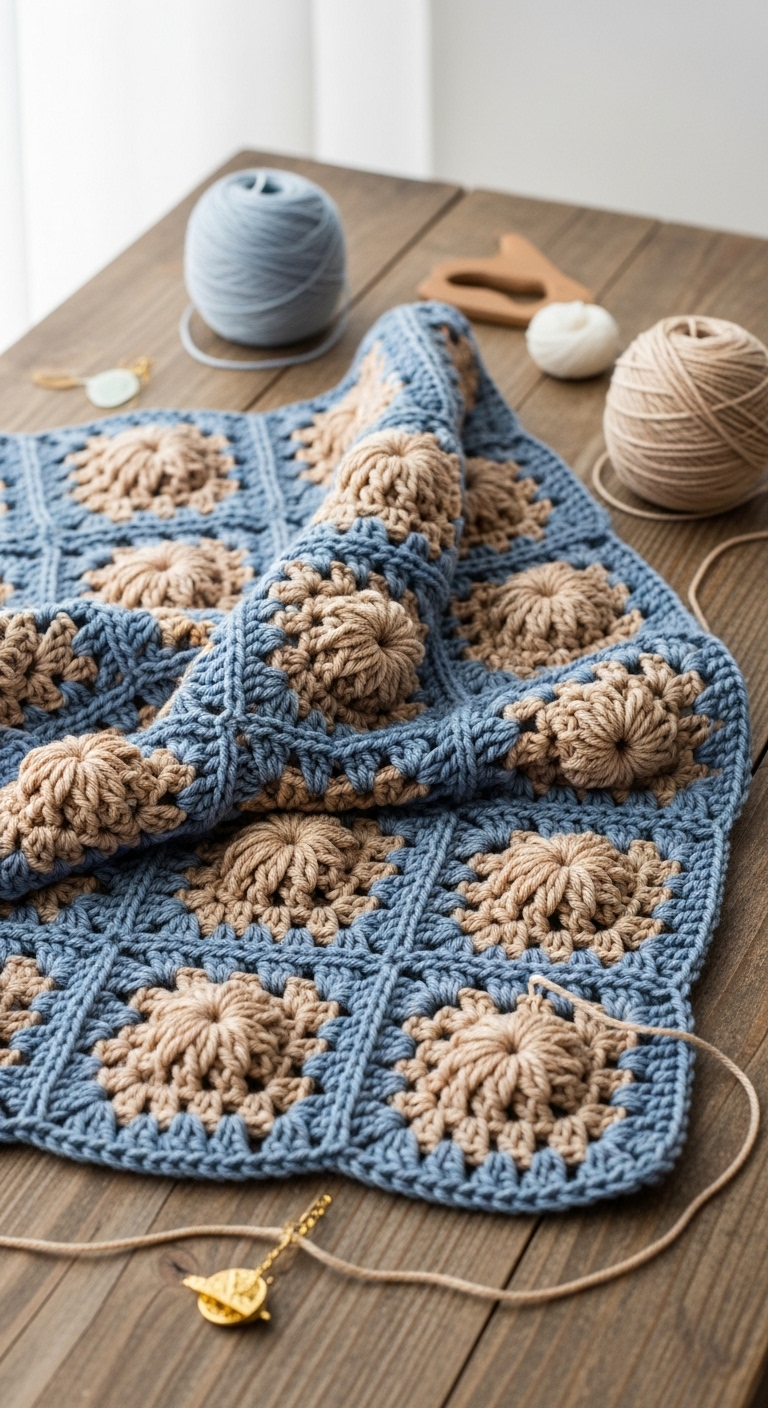
crochet rosemary blanket made with granny stitch and decorated with puff stitches
2. Introduction
Welcome to the delightful world of crochet with our beautifully designed Rosemary Blanket! Measuring approximately 36” x 48”, this cozy piece is perfect for snuggling up on a chilly evening or adding a splash of color to your living space. The blanket features a classic granny stitch pattern that brings a sense of nostalgia, while the whimsical puff stitches provide a modern twist, making it a perfect blend of vintage and contemporary.
For this project, we recommend using soft, durable worsted-weight yarn in complementary adult-friendly colors. Consider earthy tones like sage green, soft lavender, and creamy off-white, which not only harmonize beautifully but also evoke a serene atmosphere in any home. This blanket is not only fun to make but also quick to complete, making it a wonderful project for both novice and seasoned crocheters. If you’re looking for a heartfelt gift for a loved one or a seasonal piece for your home, this blanket checks all the boxes!
The skill level for this blanket is beginner-friendly, so don’t worry if you’re new to crochet or granny squares. With clear instructions and a dash of creativity, you’ll have a stunning blanket ready to showcase or gift in no time!
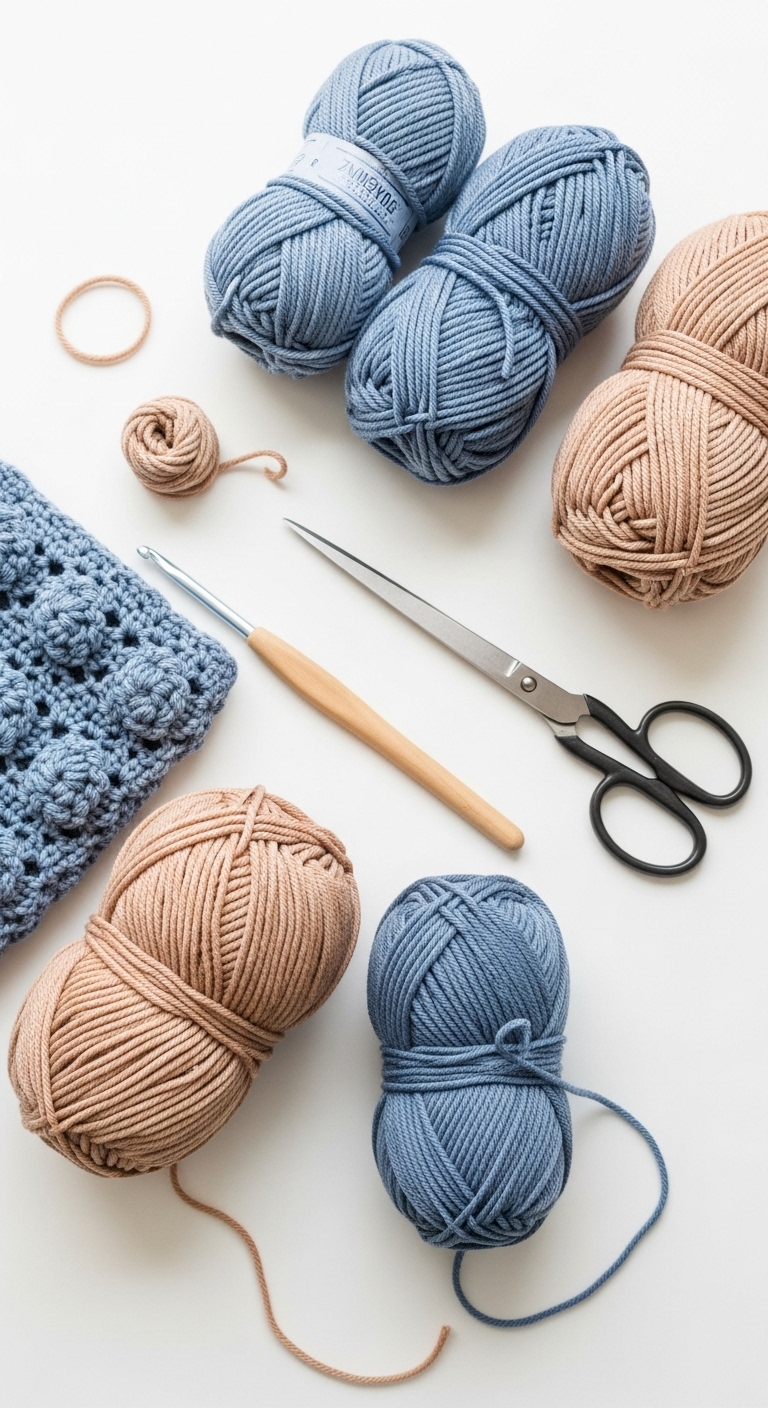
3. Materials Needed
– Yarn: Worsted weight yarn in sage green (approx. 800 yards), soft lavender (approx. 400 yards), and creamy off-white (approx. 600 yards)
– Hook: 4.0mm crochet hook
– Marker: Stitch marker
– Needle: Tapestry needle for weaving in ends
– Optional extras: None required, but you may wish to add a decorative border or tassels for a personal touch
4. Designer Notes / Tips
When working on the granny stitch, remember that this stitch is all about creating clusters. The texture becomes even more delightful with the added puff stitches, which are made by working multiple yarn overs into one stitch—making it a fun technique to learn! If you find the puff stitches a bit tricky, don’t hesitate to practice them on a swatch first.
For stuffing density, while this blanket doesn’t require stuffing, keep in mind that the yarn should feel plush yet not overly dense once completed. When it comes to yarn substitutions, feel free to choose any worsted weight yarn that has a good drape and softness; cotton blends or acrylics are great options.
A gauge swatch is always a good practice to ensure your blanket turns out the expected size. Aim for approximately 16 stitches and 10 rows in granny stitch for a 4” square. Lastly, if you’re planning to gift the blanket to a child, consider using child-safe yarn options and omitting any embellishments that may pose a choking hazard.
5. Pattern Instructions
Main Body:
Starting Chain: Begin with a slip knot, chain 4 and join to form a ring.
Round 1: Ch 3 (counts as first dc), 2 dc in ring, ch 2, *3 dc in ring, ch 2* repeat from * to * two more times, join with a slip stitch to top of beginning ch 3 (12 dc, 3 ch-2 spaces).
Round 2: Slip stitch to the first ch-2 space, ch 3 (counts as first dc), 2 dc in same space, ch 2, *3 dc in next ch-2 space, ch 2* repeat from * to * two more times, join with a slip stitch to top of beginning ch 3 (24 dc, 6 ch-2 spaces).
Round 3: Slip stitch to the first ch-2 space, ch 3 (counts as first dc), 2 dc in same space, ch 2, *3 dc in next ch-2 space, ch 2* repeat from * to * three more times, join (36 dc, 9 ch-2 spaces).
Rounds 4-10: Continue repeating Round 3, expanding as needed until the desired size is reached, alternating colors as desired. Feel free to use the creamy off-white for the last round for a finished look.
Puff Stitch Border:
Round 1: With the soft lavender yarn, attach yarn in any corner, *ch 1, puff stitch (made by [yarn over, inserting hook into stitch, yarn over, pull through, yarn over, pull through 2 loops] repeat twice), ch 1* in each corner, *ch 1, skip 1 stitch, puff stitch in next stitch* across each side of the blanket, join with a slip stitch to the first puff stitch.
Finishing Steps: Weave in all ends using a tapestry needle. Block the blanket gently to shape it properly.
6. Closing & Social Engagement
Congratulations on completing your beautiful Rosemary Blanket! I’d love to see your version of this cozy creation! What color combination will you try? Don’t forget to share your finished blanket on social media with your crochet community—it’s always inspiring to see how others have made the pattern their own. Leave a comment below to let me know how your project turned out!