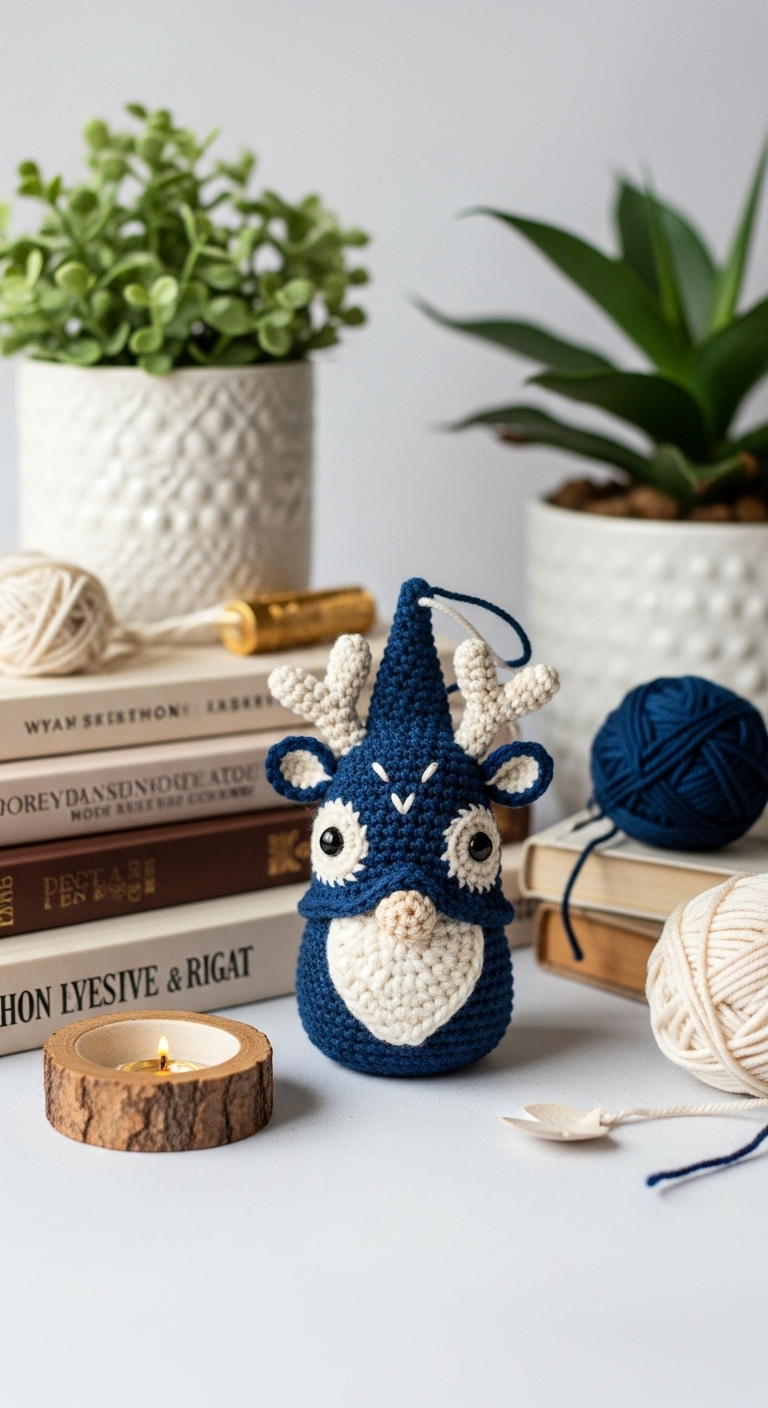
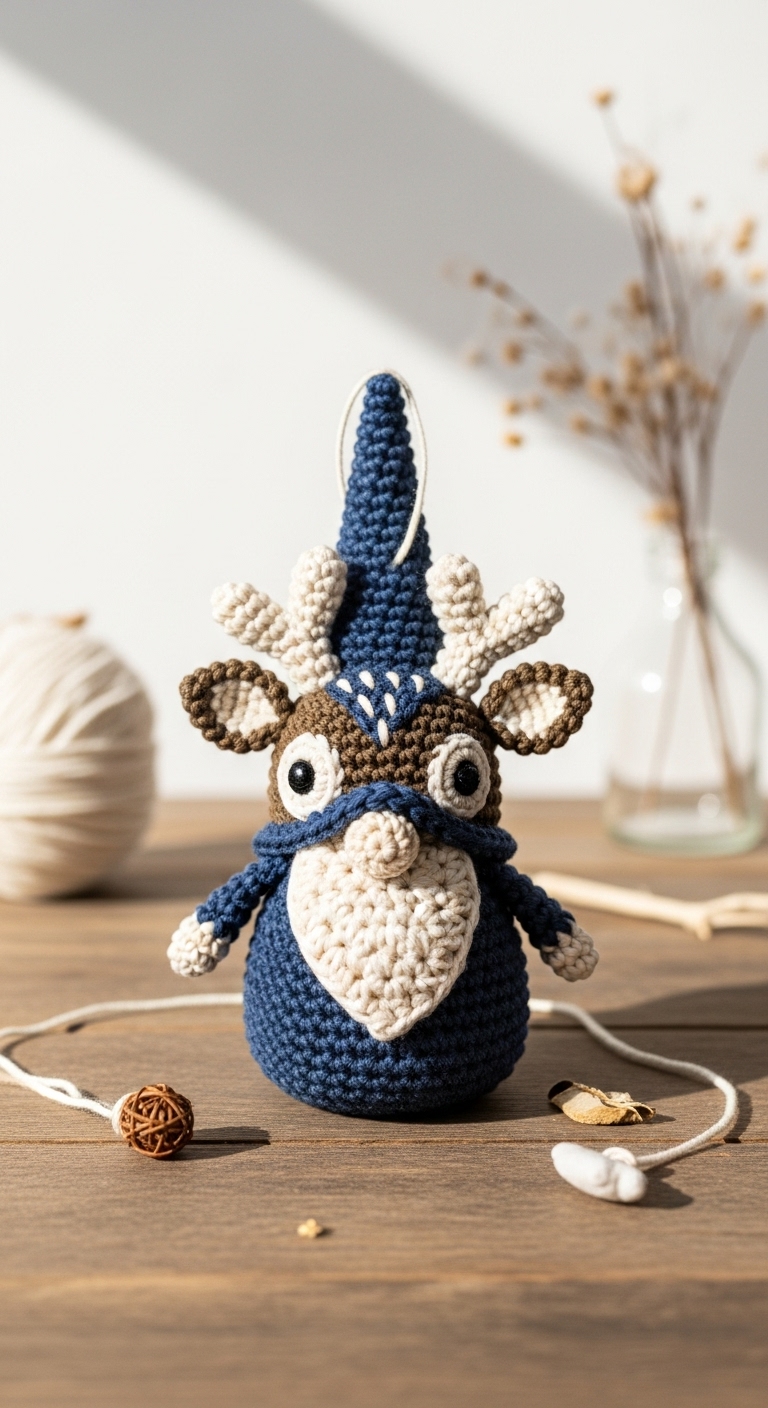
crochet reindeer gnome for christmas
2. Introduction
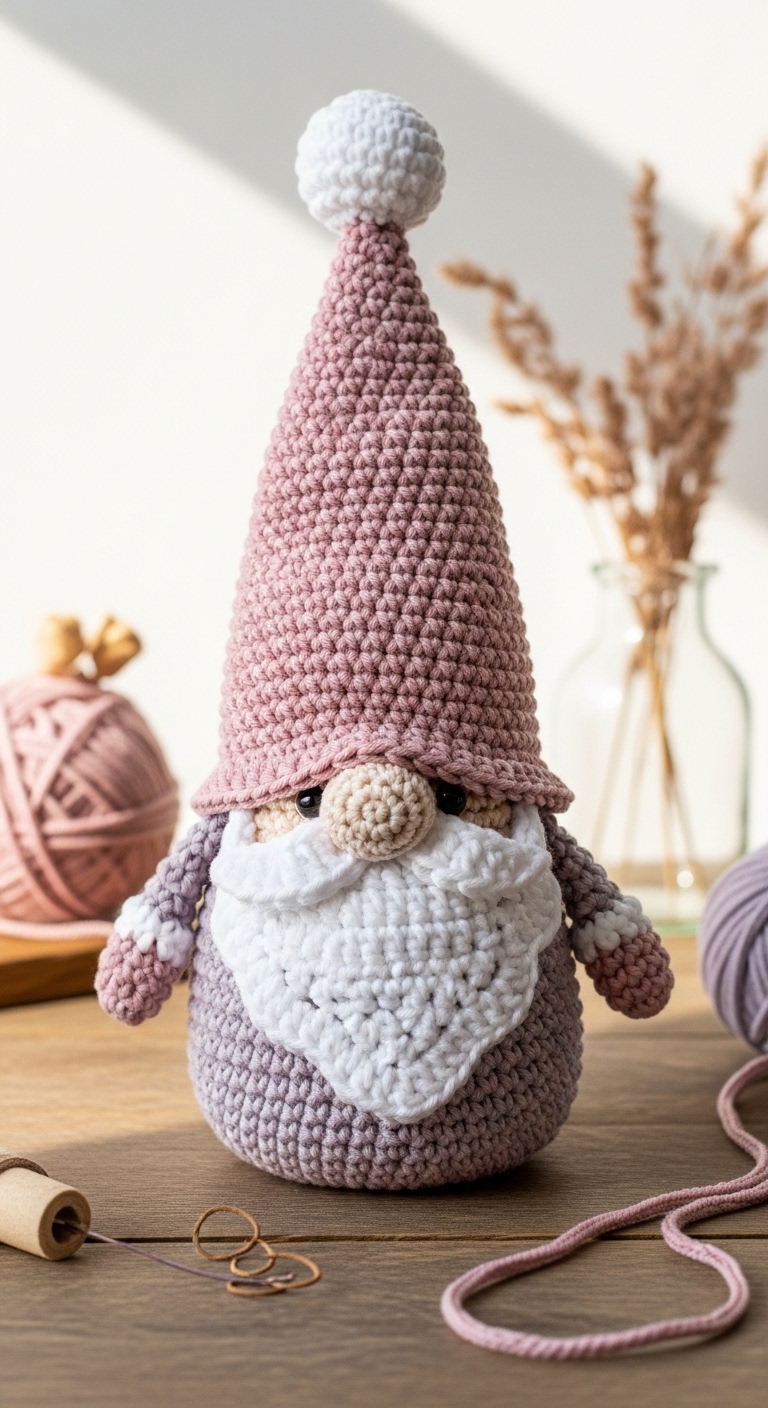
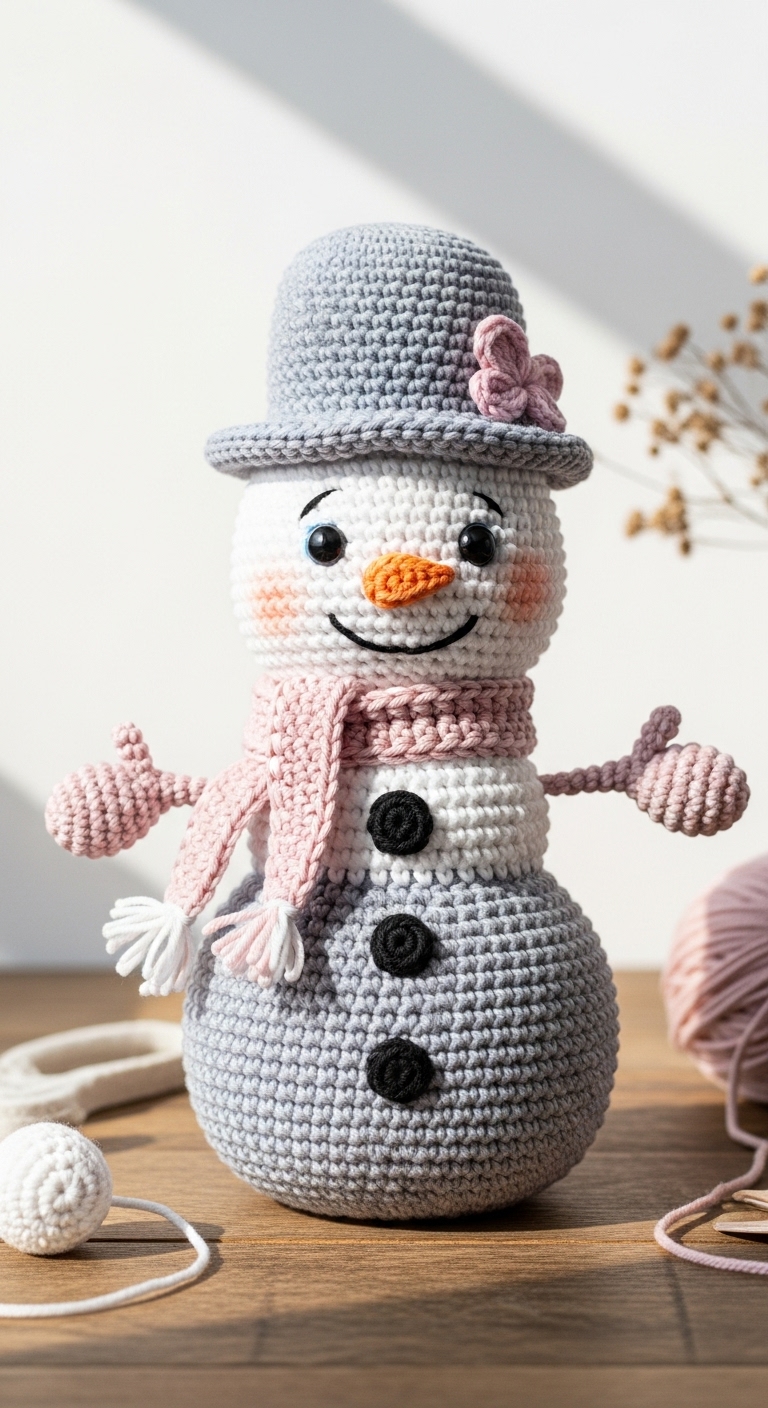
Get ready for a cozy holiday season with your very own Crochet Reindeer Gnome! This whimsical plushie stands approximately 12 inches tall, making it a delightful addition to your Christmas décor or a charming gift for a loved one. With its playful design featuring festive antlers and a soft, cuddly body, this gnome captures the essence of the holiday spirit while adding a touch of handmade charm to any festive setting.
For this project, we recommend using a soft worsted weight yarn in rich, complementary colors like deep brown, warm cream, and a pop of bright red. These colors not only embody the season but also create a sophisticated look that appeals to adults and children alike. Whether you’re an experienced crafter or just starting, this pattern is beginner-friendly and perfect for all skill levels. The quick construction makes it an excellent last-minute gift or a fun project to enjoy while sipping hot cocoa by the fireplace.
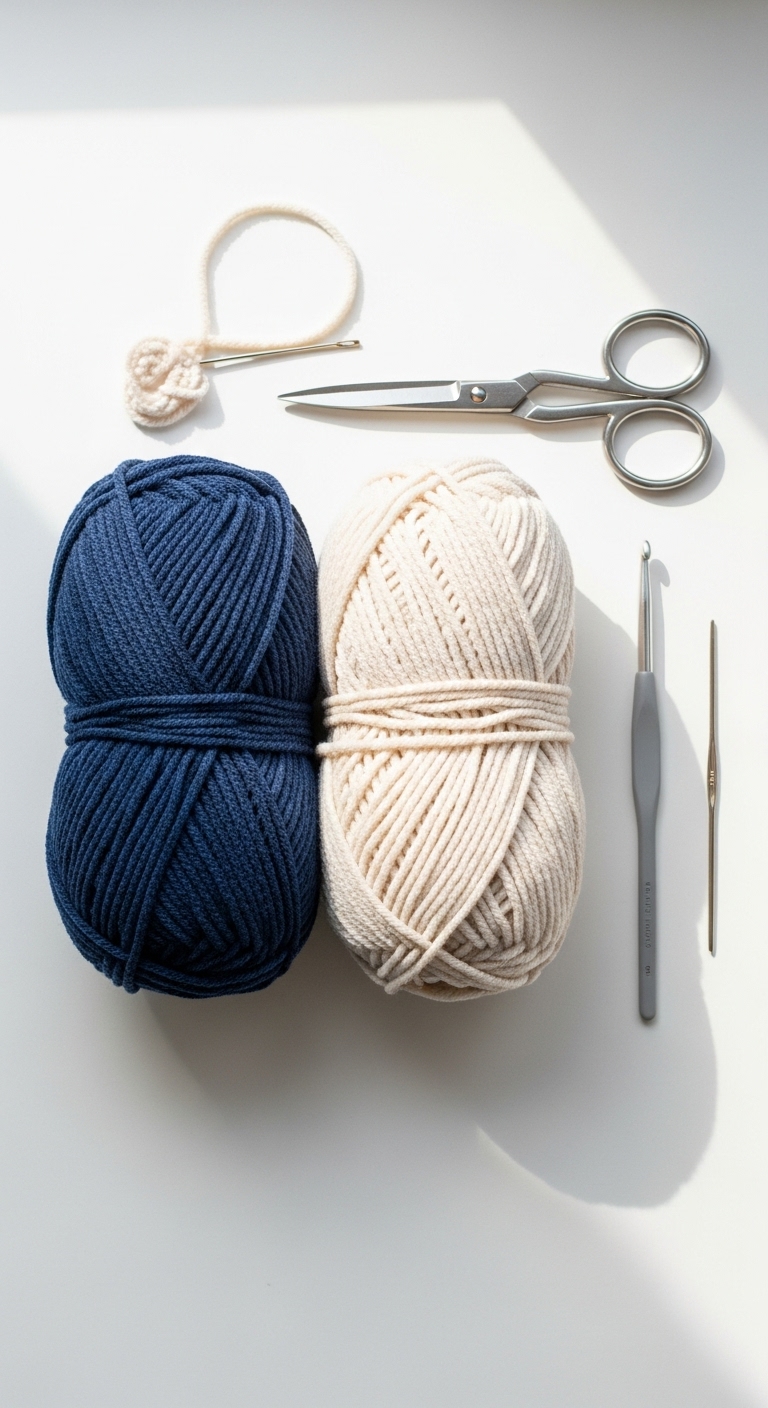
3. Materials Needed
– Yarn: Worsted weight yarn in deep brown (approx. 150 yards), warm cream (approx. 50 yards), and bright red (approx. 25 yards)
– Hook: 3.5mm or 4.0mm crochet hook
– Eyes: 12mm safety eyes OR black embroidery thread
– Stuffing: Polyester fiberfill stuffing
– Needle: Tapestry needle for sewing
– Marker: Stitch marker
– Optional extras: Pipe cleaners for antlers, buttons for decoration
4. Designer Notes / Tips
When crocheting your gnome, use a tight tension to prevent stuffing from poking through the stitches. This plushie features basic stitches and simple increases, making it ideal for beginners. If you’re new to amigurumi, don’t worry if your pieces aren’t perfect—embrace the handmade charm!
For stuffing, keep it light for the head and more firm for the body to ensure your gnome stands upright. When assembling the pieces, sew them securely, especially the hat and body, to ensure your gnome will be sturdy and travel well if you plan to gift it. If you’d like to substitute yarn, look for other worsted weight options that have a similar texture and softness.
It’s also wise to place the safety eyes after stuffing the head to ensure proper placement—roughly 6 rounds from the bottom of the head for a balanced look. If creating a gnome for small children, consider using embroidered features instead of safety eyes for added safety.
5. Pattern Instructions
For Plushies:
Head:
Body:
Arms:
Make two arms.
Legs:
Make two legs.
Ears:
Assembly:
1. Attach the ears to the head.
2. Sew the safety eyes in place, about 6 rounds from the bottom.
3. Attach the head to the body securely.
4. Sew the arms to either side of the body at the mid-point.
5. Attach the legs to the bottom of the body.
6. Optionally, create antlers using pipe cleaners and attach them to the head.
6. Closing & Social Engagement
I hope you enjoy creating your own Crochet Reindeer Gnome for Christmas! This project not only adds seasonal cheer to your home but also brings a sense of accomplishment as you watch it take shape. I’d love to see your version! Leave a comment below and tell me what color combination you chose. Share your finished gnome on social media with friends and family and spread the joy of handmade gifts this holiday season!