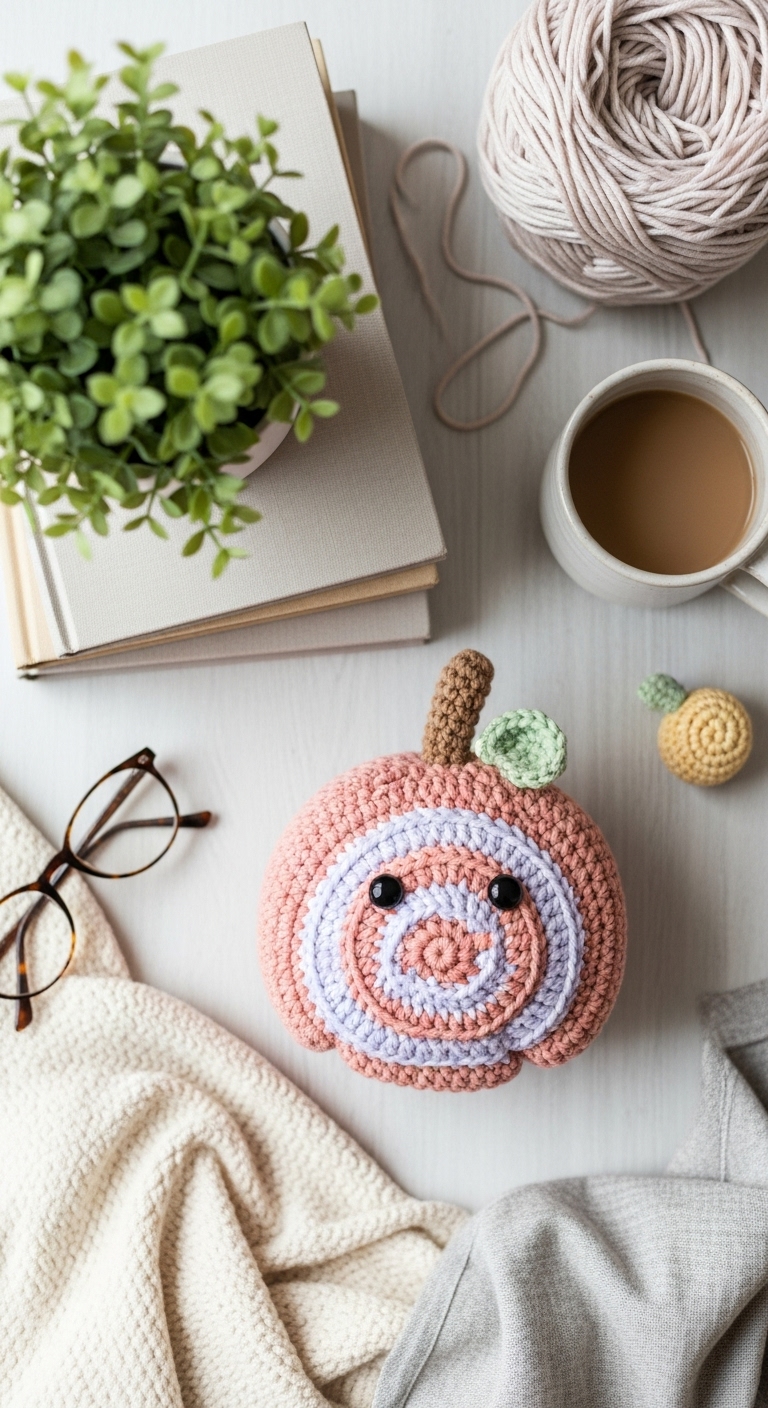
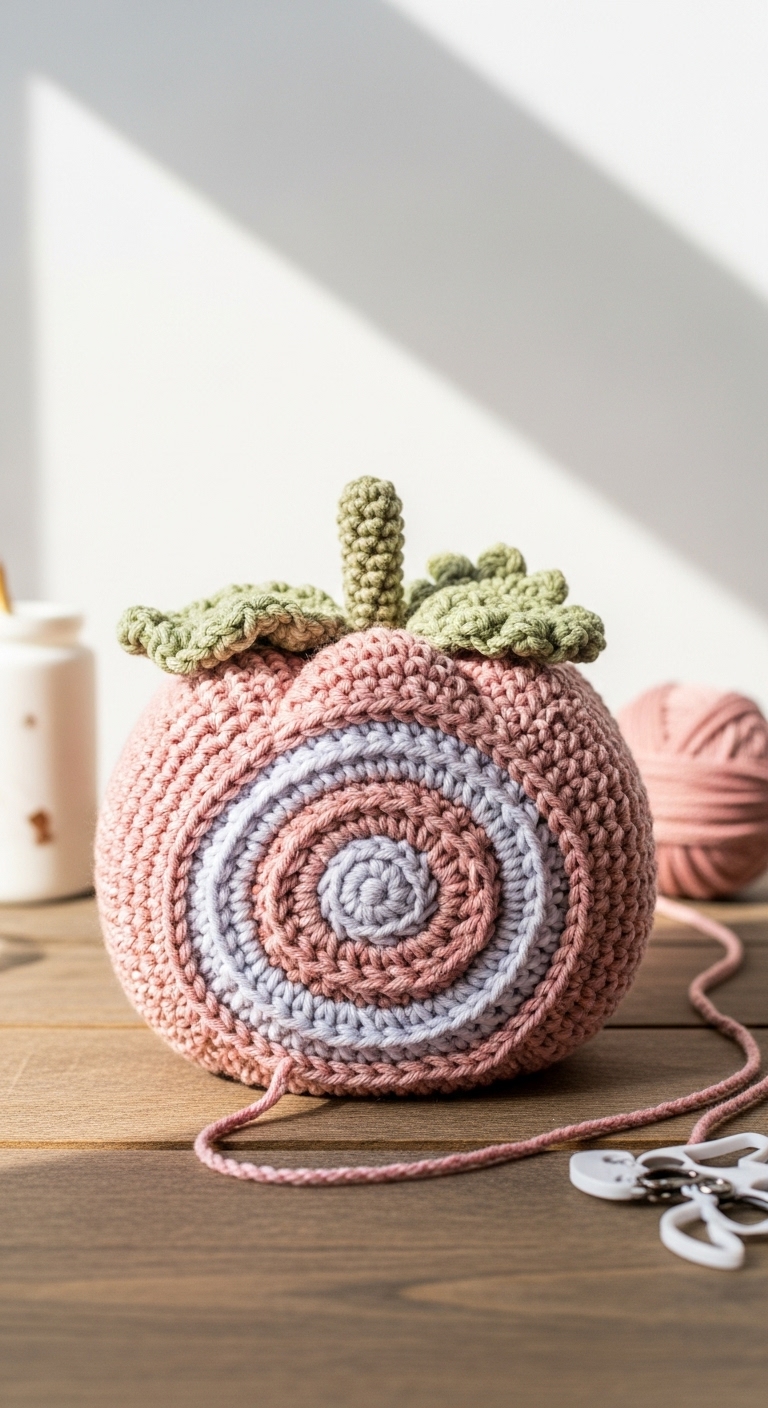
Crochet Pumpkin Pillow
2. Introduction
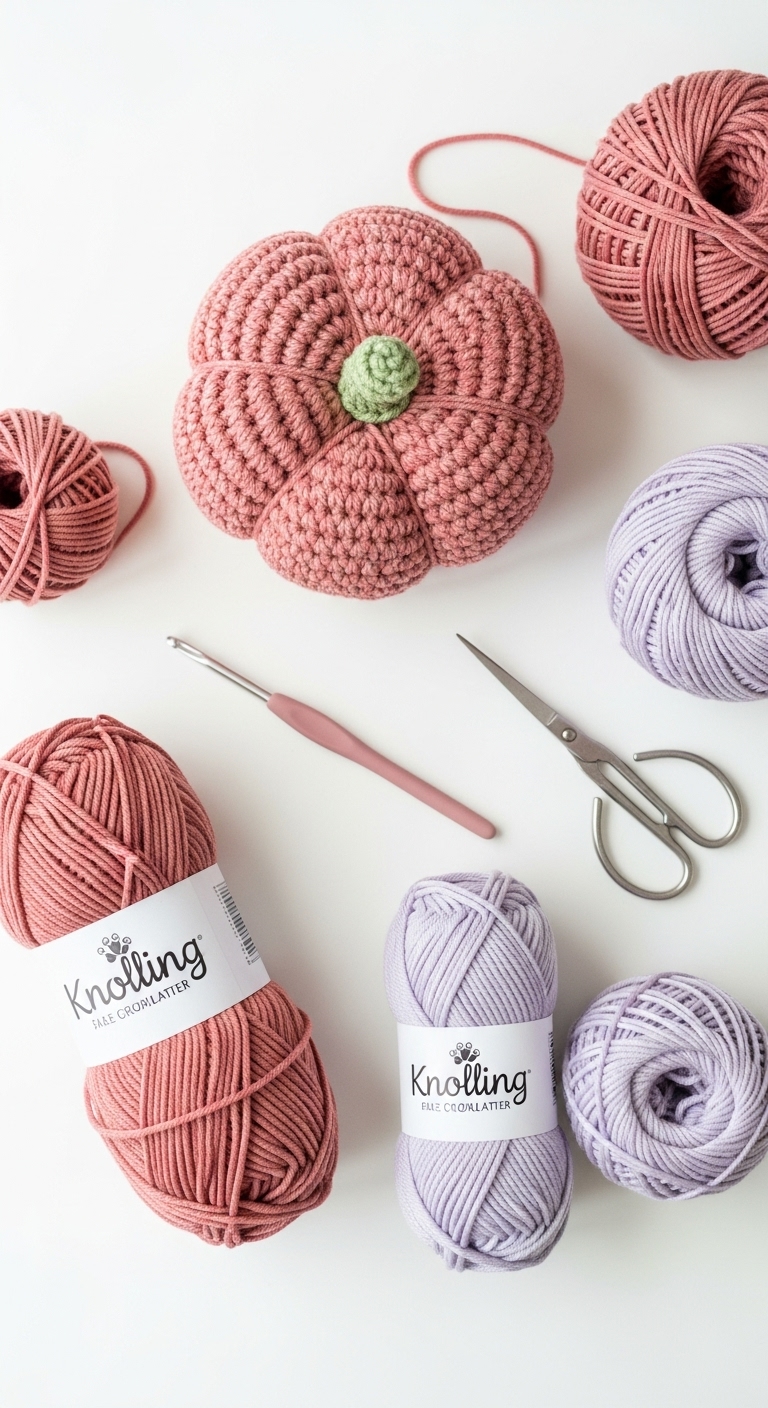
Welcome to the cozy world of crochet with our delightful Crochet Pumpkin Pillow! This charming, plush pumpkin measures approximately 12 inches in diameter, making it the perfect accent for your fall decor or as a cuddly companion for your little ones. Crafted from soft yarn, this pillow brings a touch of warmth and whimsy to any space, whether placed on a couch, bed, or as a part of your seasonal decorations.
For this project, we’ll be using a combination of worsted weight yarn in three sophisticated shades: a rich pumpkin orange, a deep forest green, and a warm cream. These complementary colors not only enhance the autumnal vibe but also offer a modern twist that resonates with adult aesthetics. The Crochet Pumpkin Pillow is not only a fun and quick project, but it also makes a thoughtful gift for friends and family during the harvest season. Suitable for beginners with some basic crochet skills, this pattern is designed to help you build confidence and creativity as you crochet.
3. Materials Needed
– Yarn: Worsted weight yarn in pumpkin orange (approx. 200 yards), forest green (approx. 50 yards), and cream (approx. 20 yards)
– Hook: 4.0mm crochet hook
– Eyes: Safety eyes (10mm) OR black embroidery thread
– Stuffing: Polyester fiberfill stuffing
– Needle: Tapestry needle for sewing
– Marker: Stitch marker
– Optional extras: Pipe cleaners (for added stability in the stem)
4. Designer Notes / Tips
As you embark on this pumpkin pillow journey, here are a few helpful tips to ensure your project is a success:
– Stitch technique: We will use basic single crochet (sc) and increase (inc) stitches to create the pumpkin’s round shape, along with some slip stitches (sl st) for finishing touches. If you’re new to these stitches, don’t worry! There are plenty of resources available to guide you.
– Stuffing density: For a plump pumpkin, fill it with medium-to-firm polyester stuffing. A light stuffing will give it a more floppy appearance, which may not hold its shape as well.
– Assembly: When joining pieces, take your time to ensure the seams are neat and secure. It’s often helpful to use a stitch marker to mark your starting point when closing.
– Yarn substitutions: If you want to experiment, any other worsted weight yarn will work, just keep in mind the texture and drape may vary.
– Gauge tips: While gauge is not crucial for this project, aim for a relatively tight tension to prevent stuffing from peeking through.
– Safety considerations: If making for small children, consider using embroidery thread for eyes to eliminate safety risks.
5. Pattern Instructions
For Plushies:
Body:
At this point, you’ll want to stuff your pumpkin firmly but gently.
Stem:
Using forest green yarn:
Sew the stem to the top center of the pumpkin.
Assembly:
– Position the safety eyes if using. Typically, they should be placed about 4-5 rounds from the bottom of the pumpkin, evenly spaced apart.
– Use the tapestry needle to sew the opening closed, ensuring to gather the stitches tightly.
6. Closing & Social Engagement
Thank you for joining me in creating this beautiful Crochet Pumpkin Pillow! I hope you find joy in stitching together this cozy project. I’d love to see your version! Leave a comment below with your color combinations and any tips you might have for fellow crafters. What color combination will you try? Don’t forget to share your finished pumpkin pillow on social media—let’s celebrate your creativity together!