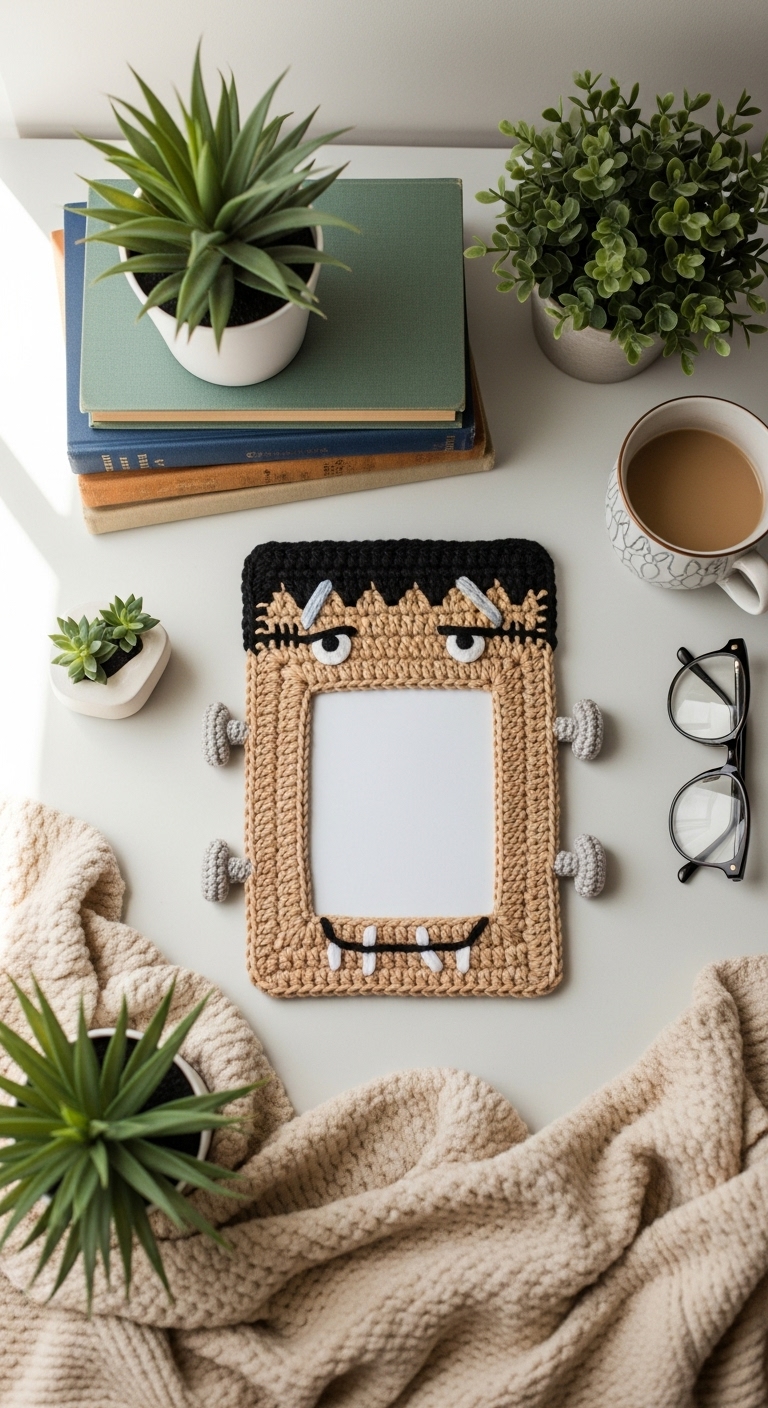
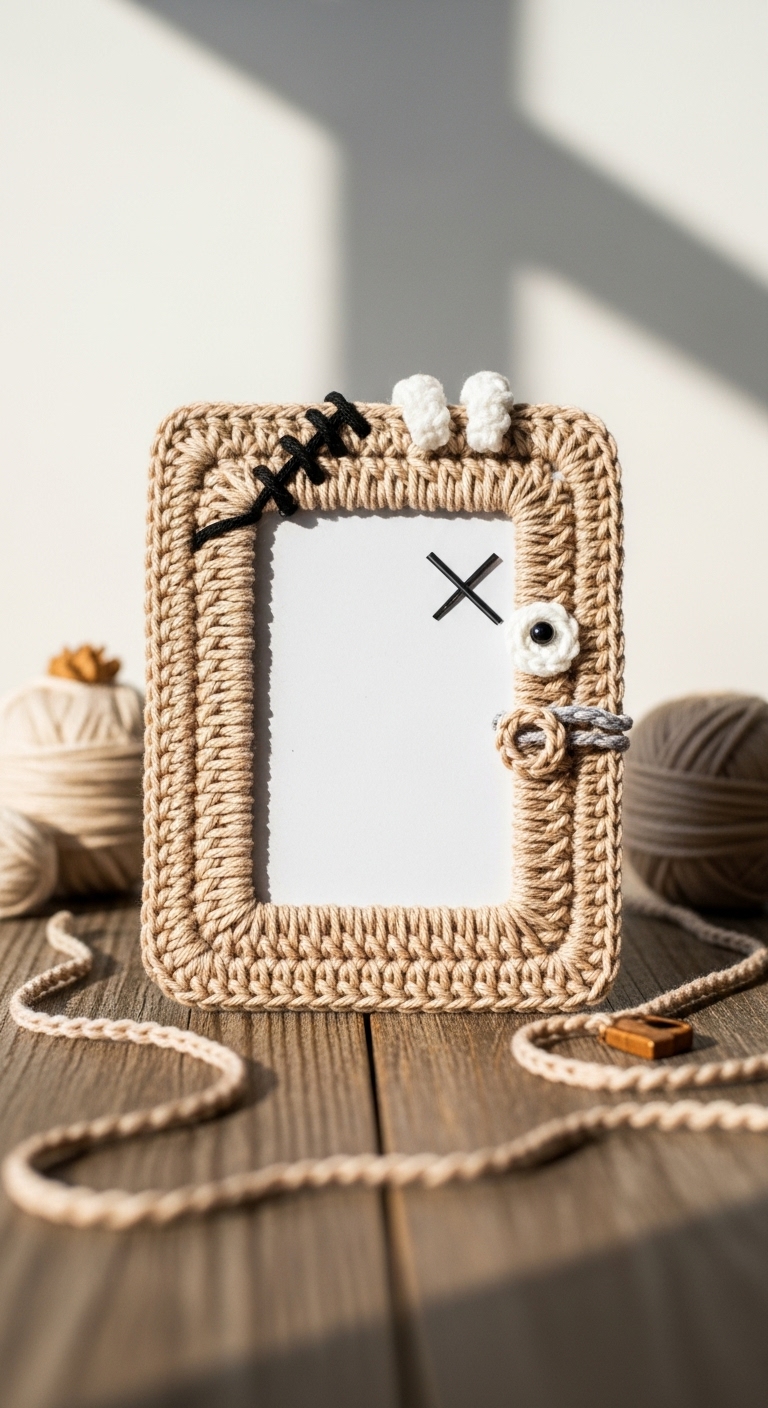
crochet photo frame frankenstein
2. Introduction
Welcome to the whimsical world of crochet! Today, we’re diving into a delightful project that combines both creativity and function: the Crochet Photo Frame Frankenstein. This charming frame is designed to hold your favorite 4×6 inch photos, making it not only a unique decoration for your home but also a perfect gift for Halloween or any time of the year. With its playful Frankenstein theme, it adds a fun, festive touch to your decor.
For this project, we will be using soft worsted-weight yarn in three adult-friendly colors: a vibrant green for Frankenstein’s face, black for his hair and bolts, and white for the eyes. The combination of these colors brings your spooky frame to life in a sophisticated yet playful manner. This project is not only quick to complete but is also a fantastic introduction to crochet for beginners, offering an opportunity to practice basic stitches while creating something truly special.
Whether you’re looking to spruce up your home for Halloween or searching for a thoughtful handmade gift, this crochet photo frame is a delightful choice. Let’s gather our materials and get started!
3. Materials Needed
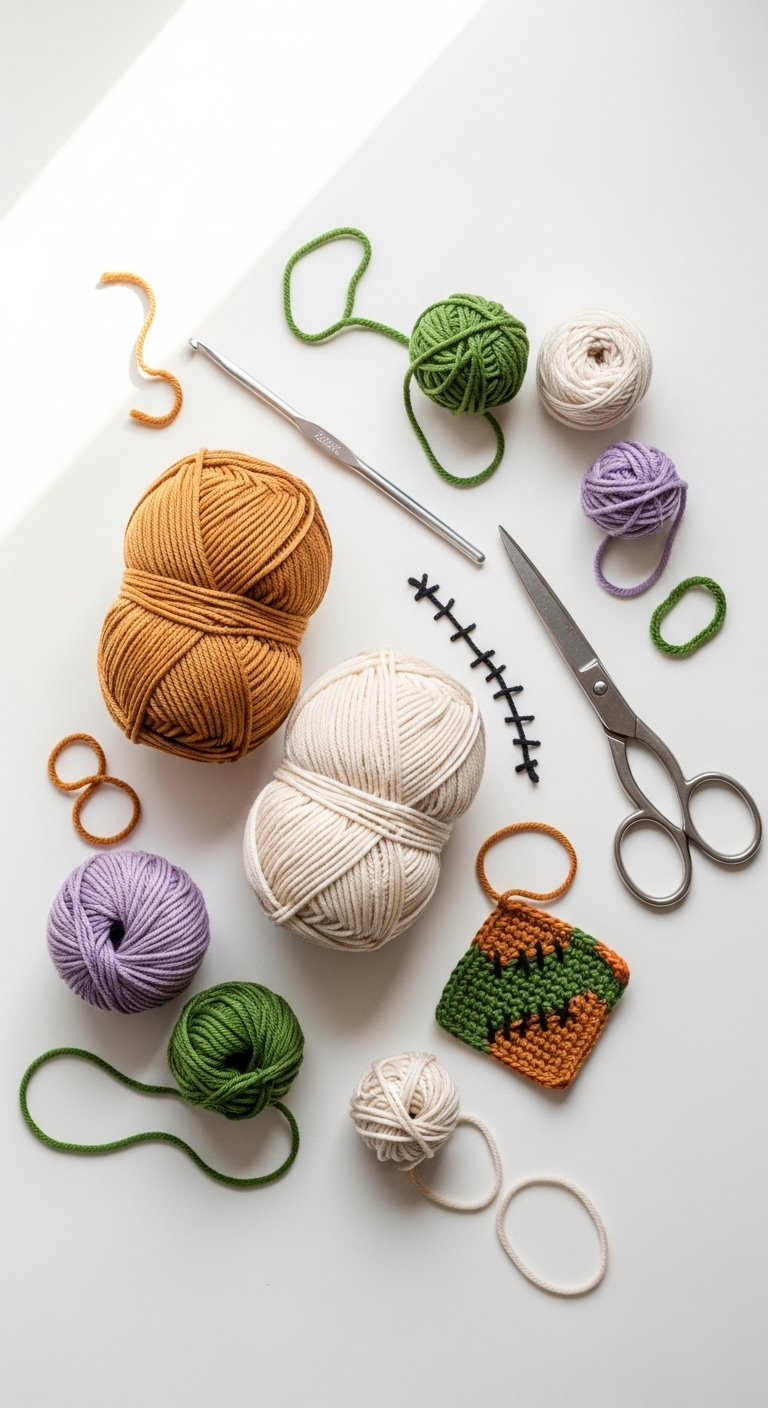
– Yarn: Worsted weight yarn in green, black, and white – approximately 150 yards total
– Hook: 3.5mm or 4.0mm crochet hook
– Eyes: Safety eyes (12mm) OR black embroidery thread for detailing
– Stuffing: Polyester fiberfill stuffing (optional)
– Needle: Tapestry needle for sewing
– Marker: Stitch marker
– Optional extras: Black pipe cleaners for added texture on the bolts
4. Designer Notes / Tips
– Stitch technique: We’ll be utilizing basic stitches such as single crochet (sc) and slip stitch (sl st) throughout this pattern. Don’t worry if you’re new to these stitches; the clear round-by-round instructions will guide you!
– Stuffing density: If you choose to add a bit of stuffing to give your frame a more 3D effect, aim for a light density. This will help maintain the shape without making it too bulky.
– Assembly: When attaching various pieces, use a tapestry needle and a whip stitch to join them securely. This ensures your frame holds up to use and display.
– Yarn substitutions: If you prefer a different look, feel free to experiment with chunky yarn for a plushier frame or cotton yarn for a more structured finish.
– Gauge tips: While gauge is not strictly necessary for this project, maintaining consistent tension will help ensure your frame looks neat and polished.
– Safety considerations: If you plan to give this frame to young children, consider using embroidery thread for the eyes instead of safety eyes to avoid any choking hazards.
5. Pattern Instructions
For the Photo Frame:
Frame Base
Top and Bottom Edges
– Top Edge:
– Bottom Edge: Repeat the Top Edge instructions.
Sides
– Left Side:
– Right Side: Repeat Left Side instructions.
Hair
Bolts
– Making the Bolts:
– Attach these to the sides of the head to create the iconic Frankenstein look.
Assembly
1. Sew the top and bottom edges to the frame base.
2. Attach the sides in the same manner.
3. Use your tapestry needle to attach the hair along the top.
4. Position and attach the bolts to each side of the frame.
Final Touches
– If using safety eyes, place them securely before finalizing the assembly of the frame. If you’re using embroidery thread, stitch on the eyes as a last step.
6. Closing & Social Engagement
Congratulations on completing your Crochet Photo Frame Frankenstein! This playful piece is not only a wonderful addition to your home but also a fantastic conversation starter. I’d love to see your version! Leave a comment below sharing your color combinations and any creative tweaks you made. What unique photo will you display in your frame? Share your finished creations on social media with #CrochetFrankensteinFrame!