crochet mini hat ornament
2. Introduction
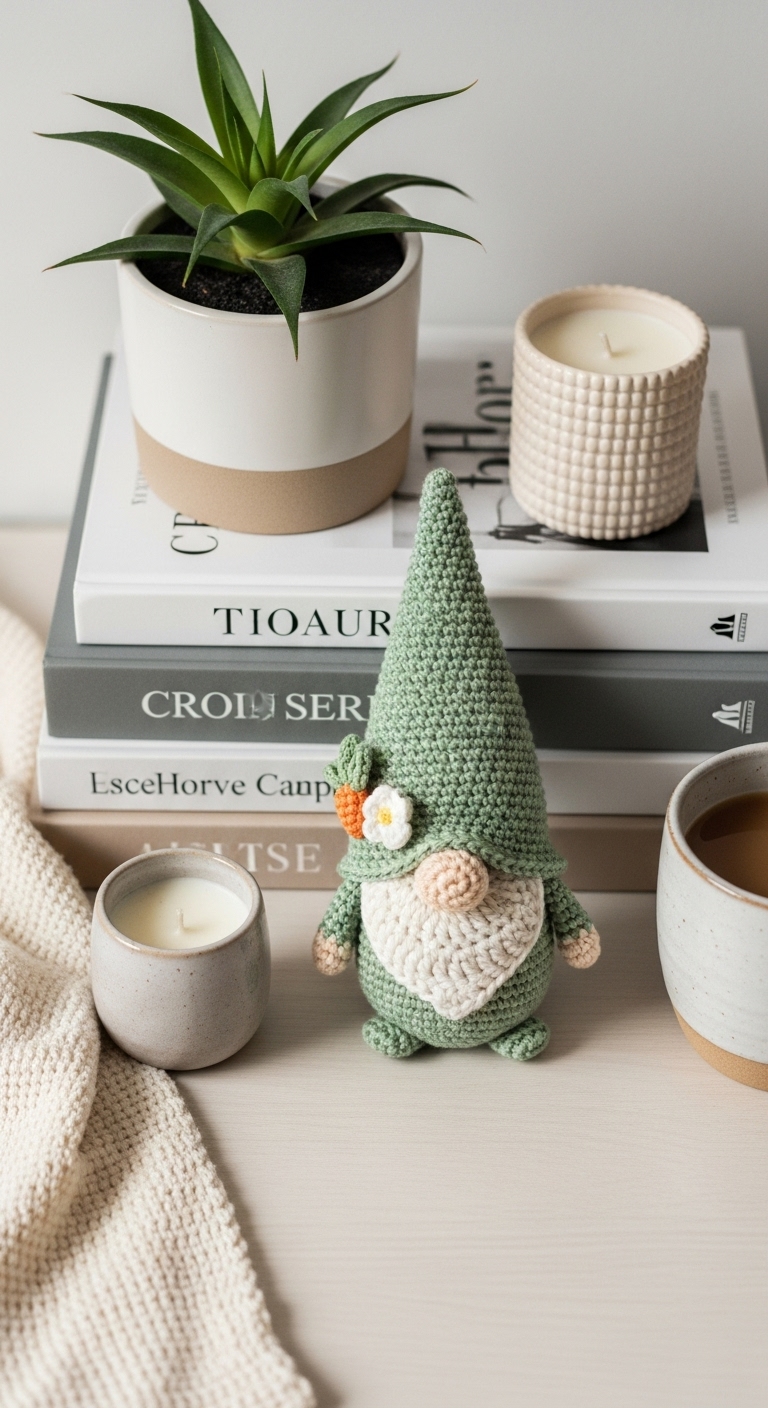
Welcome to the delightful world of crochet with this charming project: the crochet mini hat ornament! Measuring approximately 3 inches tall, this adorable little hat is perfect for adding a touch of handmade joy to your holiday decorations, gift wrapping, or even as a cute addition to your home decor. With its compact size, you can whip up several in no time, making it a fantastic project for both experienced crafters and those just starting their crochet journey.
For this project, we’ll use a medium-weight acrylic yarn in complementary colors such as deep burgundy, soft cream, and a lovely forest green. These adult-friendly hues not only evoke a cozy, festive spirit but also make your mini hats stand out beautifully on a tree or as part of a decorative garland. This project is beginner-friendly, allowing you to practice basic stitches while creating something special that can easily become a treasured gift or seasonal decoration.
Crocheting mini hat ornaments is a fun and quick way to indulge your creativity, making it ideal for those who want to create unique gifts or festive decor. They make wonderful presents for friends and family during the holiday season or can be used to decorate your home throughout winter. Grab your yarn and hook, and let’s get started on your new favorite crochet project!
3. Materials Needed
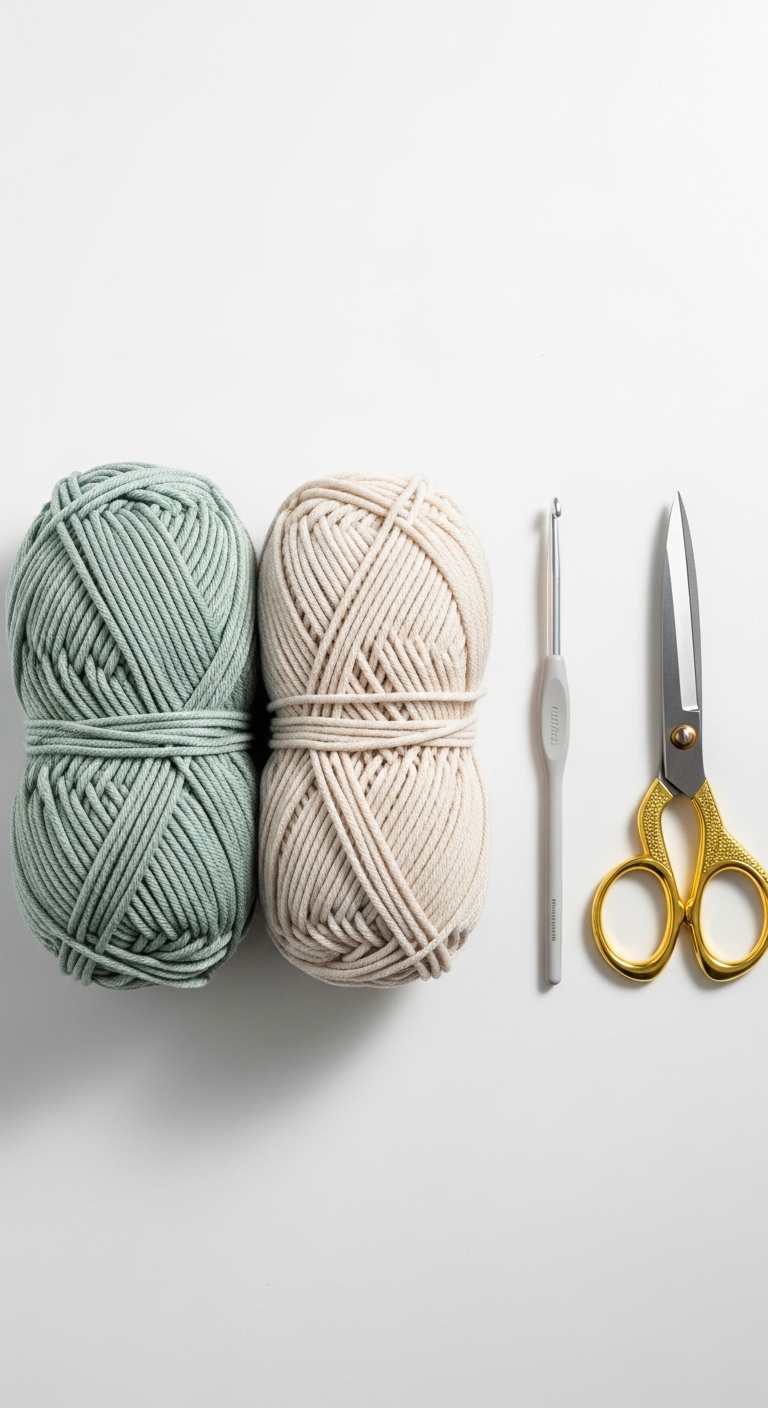
– Yarn: Worsted-weight (medium) yarn in deep burgundy, soft cream, and forest green – approximately 30 yards each
– Hook: 3.5mm or 4.0mm crochet hook
– Eyes: N/A (this ornament does not require eyes)
– Stuffing: A small amount of polyester fiberfill stuffing
– Needle: Tapestry needle for sewing in ends
– Marker: Stitch marker
– Optional extras: Small pom-poms for embellishment, ribbon for hanging
4. Designer Notes / Tips
When creating your mini hat ornament, you’ll primarily work in single crochet (sc), which is a great stitch for beginners. To add texture, consider using a slip stitch (sl st) for the brim to give it a neat edge. For stuffing, keep it light to maintain the hat’s shape without making it too bulky. A gentle puff of fiberfill is all you need to give your ornament a little structure.
For assembly, you will be joining two halves of the hat together, so be sure to use a whip stitch for a seamless finish. If you want to substitute yarn, any worsted-weight yarn would work well, but keep in mind that colors should remain similar to maintain the charm of the design. Check your gauge by making a small swatch; this is especially important if your tension tends to be loose or tight.
Since this ornament is intended for holiday decoration, it’s a good idea to keep it out of reach of young children, especially if using small embellishments like pom-poms or ribbons.
5. Pattern Instructions
For Mini Hat Ornament:
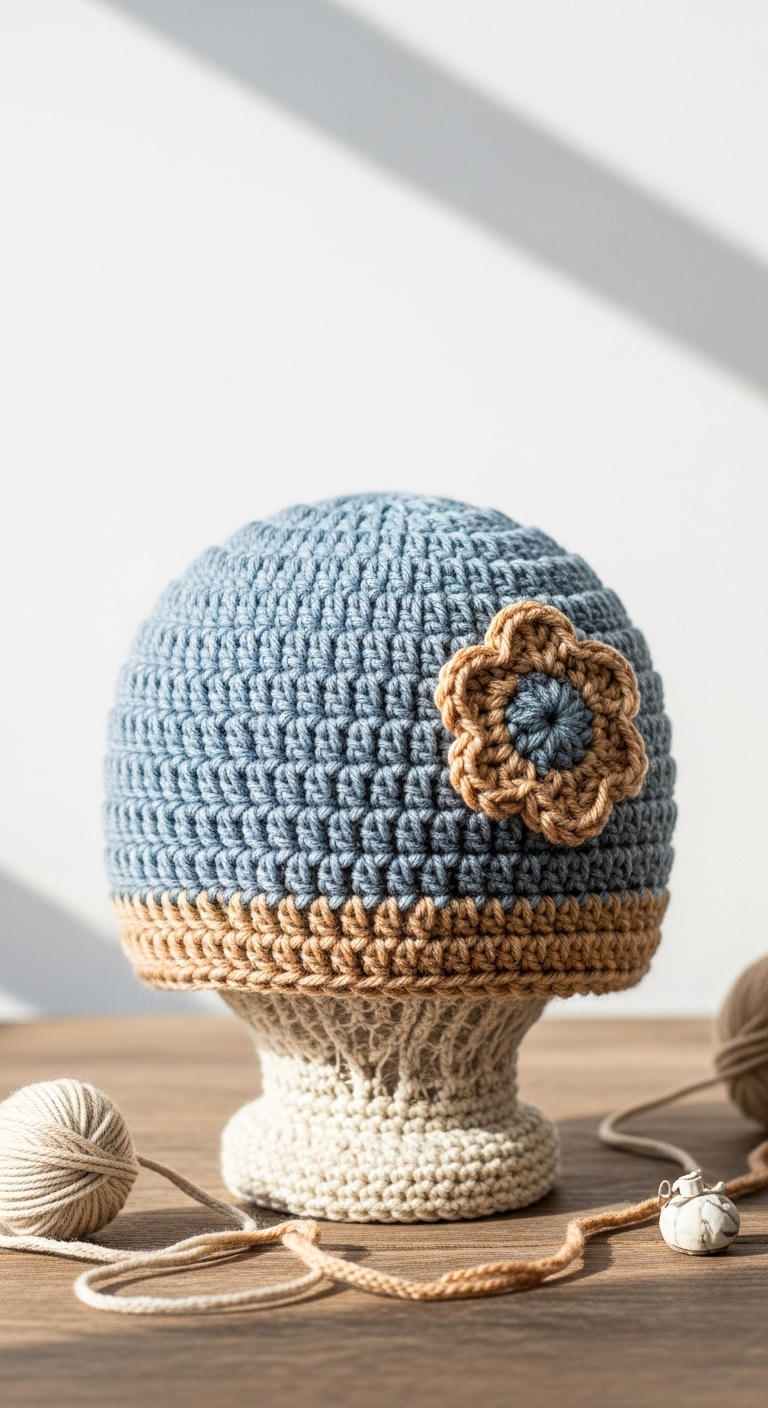
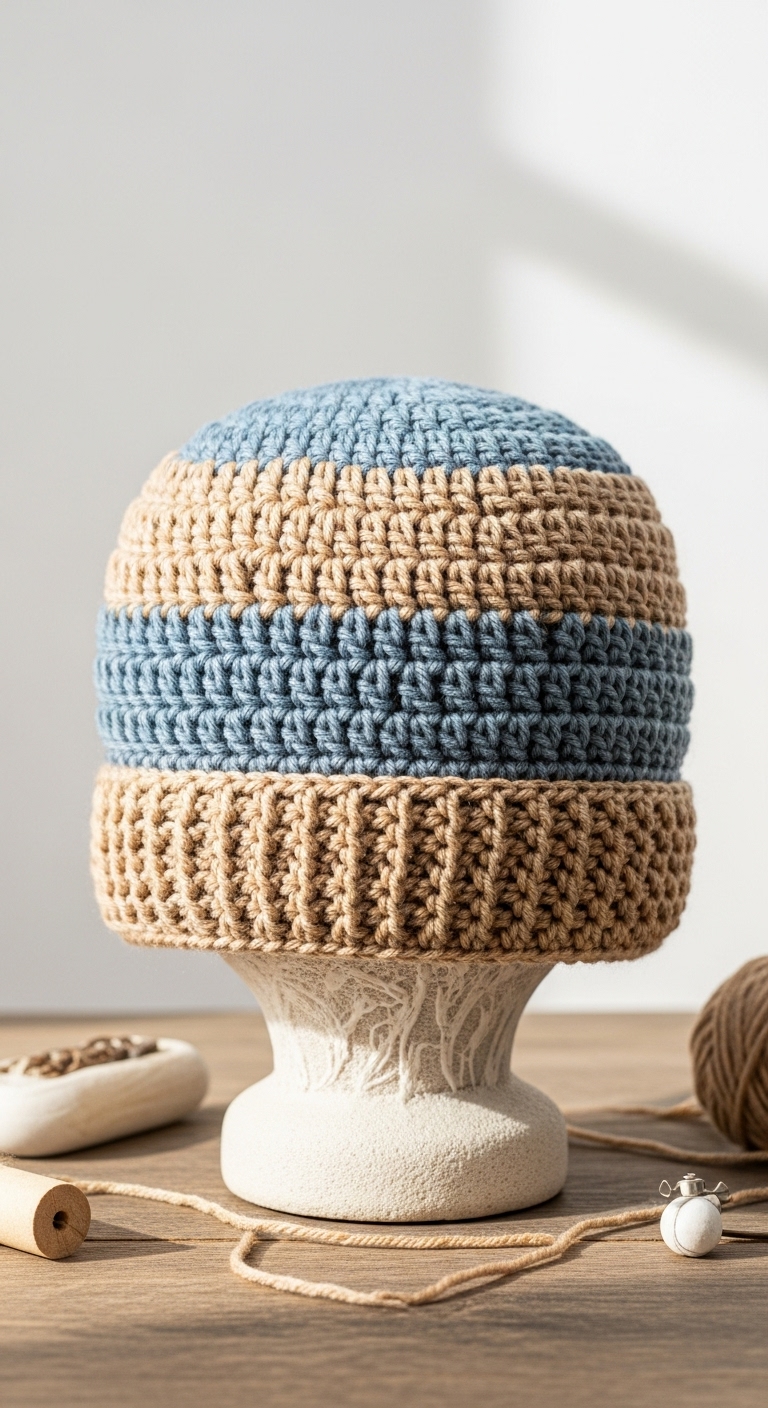
– Brim:
– Hat Body:
– Top of Hat:
At this point, you can gently stuff the top of the hat.
Fasten off, leaving a long tail for sewing.
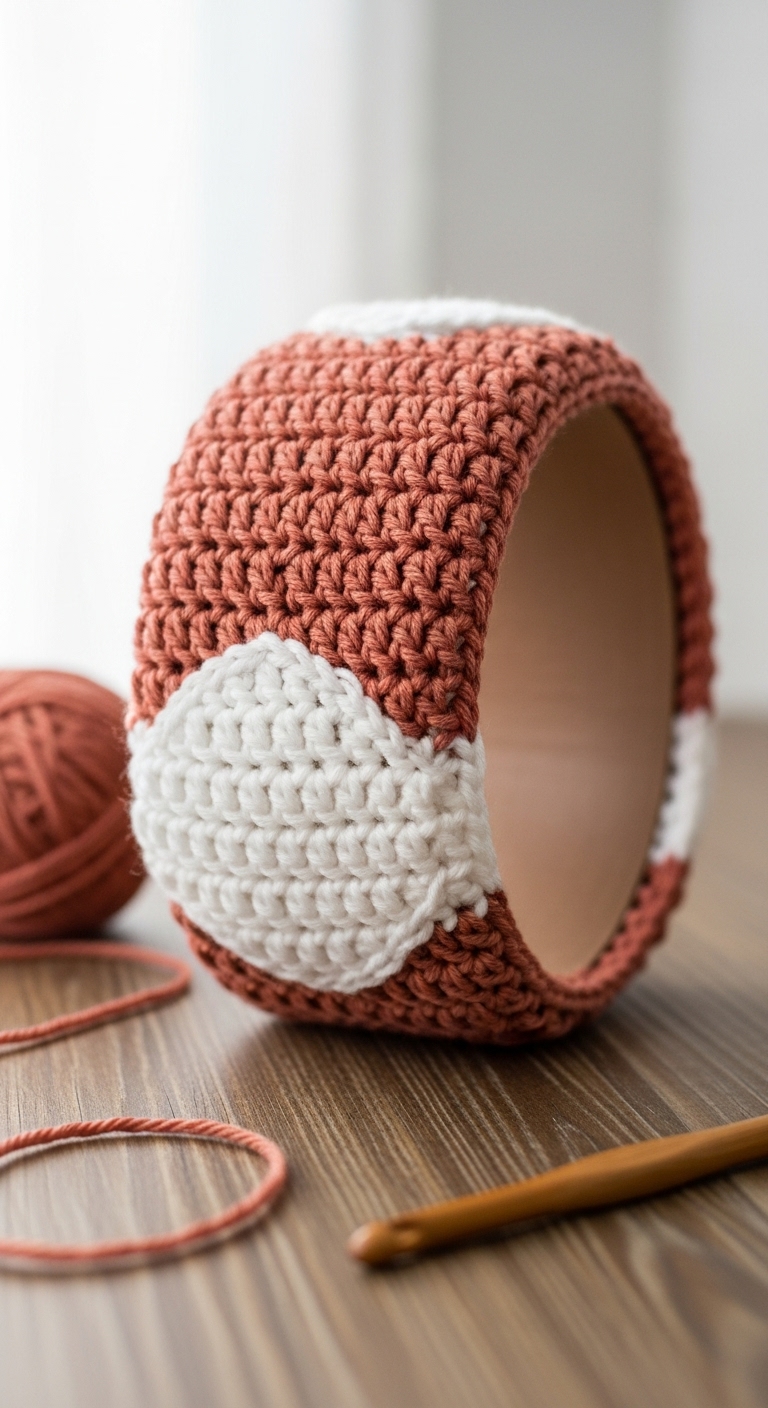
Assembly:
– Join the brim to the hat body using a whip stitch. Make sure the edges align perfectly for a neat finish.
– Use your tapestry needle to weave in any loose ends.
– If desired, attach a small pom-pom to the top of the hat and a ribbon loop for hanging.
6. Closing & Social Engagement
Congratulations on finishing your crochet mini hat ornament! I’d love to see your version! Leave a comment below sharing your color combinations or any unique embellishments you’ve added. What color combination will you try? Don’t forget to share your finished ornament on social media with your fellow crochet enthusiasts!