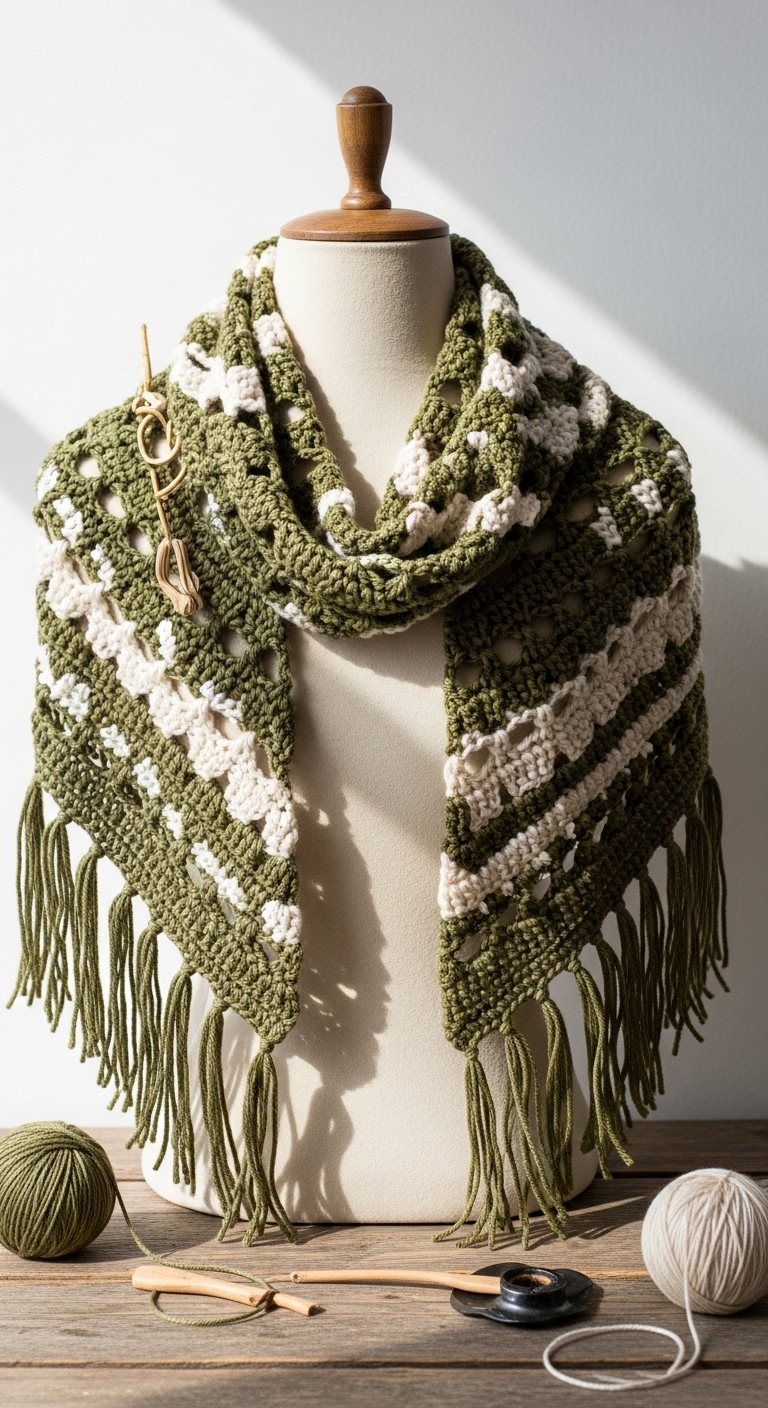
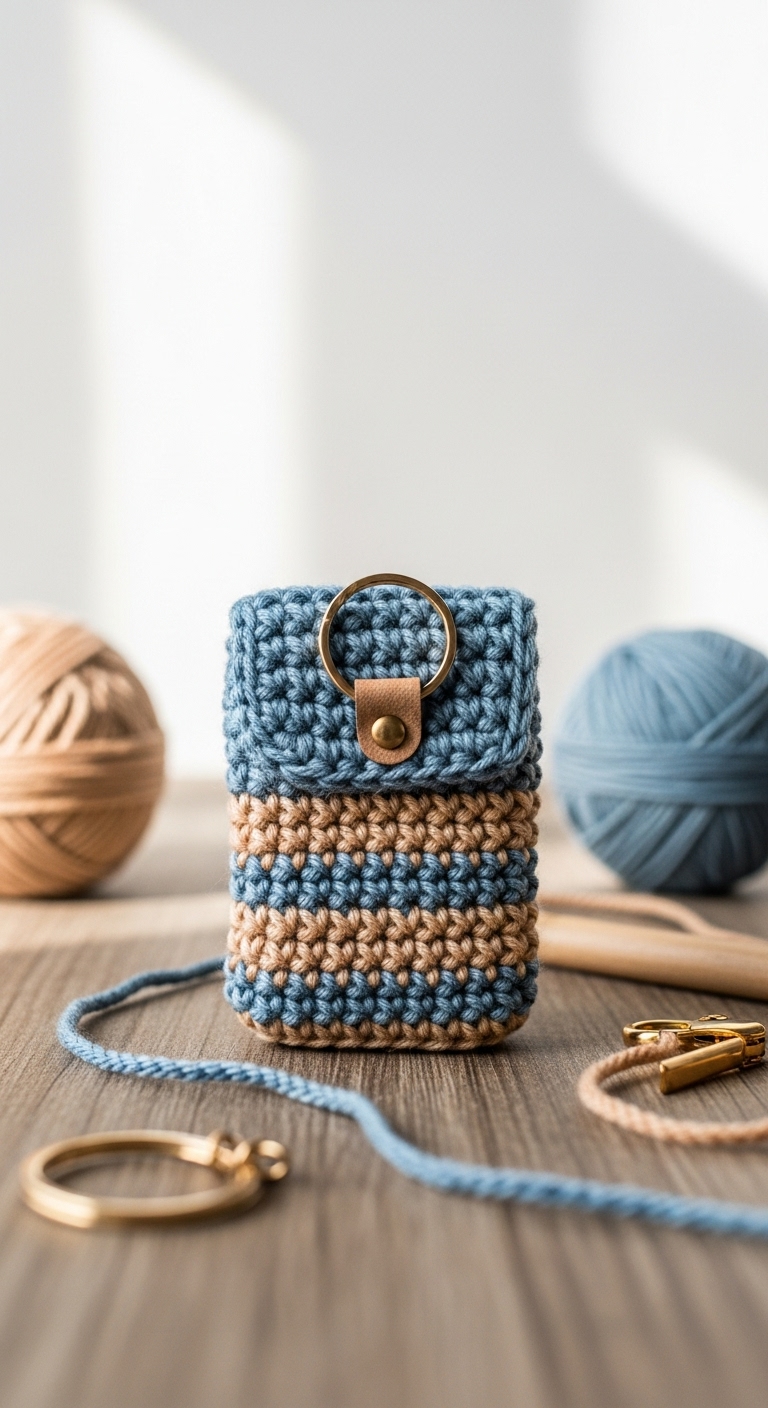
crochet key cover free pattern
2. Introduction
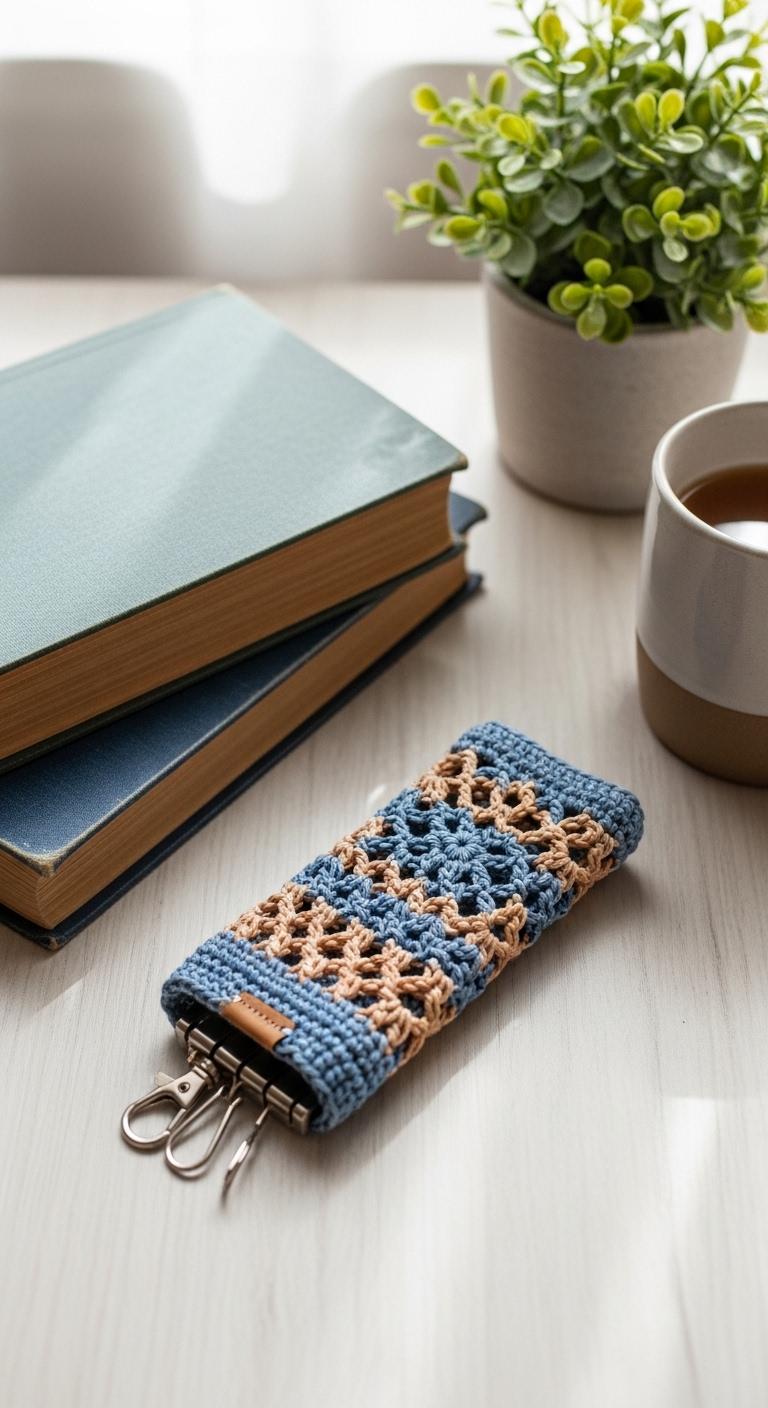
Welcome to your next fun crochet project: the Crochet Key Cover! This delightful accessory adds a personal touch to your keys while also providing a bit of extra protection. The finished key cover typically measures about 4-5 inches in length, making it a perfect fit for standard house or car keys. With just a little bit of time and creativity, you can elevate your everyday items into something truly special.
For this project, you will use medium-weight yarn in complementary adult-friendly colors such as deep navy, soft gray, and a pop of mustard yellow. These colors create a sophisticated and modern look that will appeal to a wide range of styles. Not only is this project quick and easy to complete (perfect for those short crafting sessions), but it also makes a fantastic gift! Whether for a housewarming, birthday, or just because, your loved ones will appreciate the thoughtful, handmade touch.
This pattern is beginner-friendly, making it a great choice for those new to crochet or looking to hone their skills. Plus, the small size and simple stitches mean you can whip up several key covers in no time!
3. Materials Needed
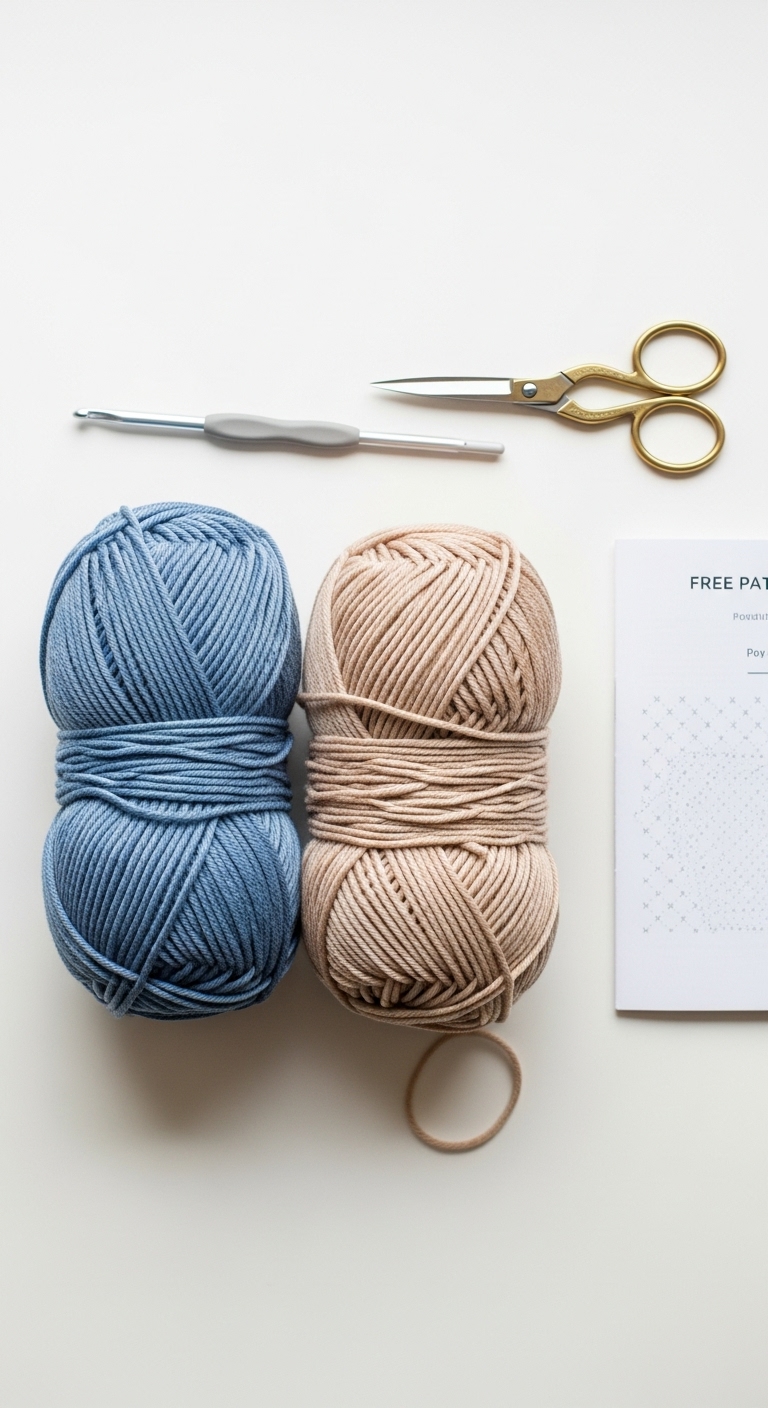
– Yarn: Medium-weight (worsted) yarn in navy, gray, and mustard yellow – approximately 50 yards total
– Hook: 3.5mm or 4.0mm crochet hook
– Eyes: Not required for this project
– Stuffing: Not necessary for this project
– Needle: Tapestry needle for weaving in ends
– Marker: Stitch marker
– Optional extras: Button or decorative charm for embellishment
4. Designer Notes / Tips
– Stitch technique: The key cover is worked in simple single crochet (sc) stitches, making it accessible for beginners. If you’re comfortable, you can experiment with adding texture by alternating stitches or using slip stitches for decorative bands.
– Assembly: When you finish crocheting the body of the key cover, fold it over and slip stitch the sides together. This will ensure a snug fit around your key.
– Yarn substitutions: If you prefer a different yarn, feel free to use cotton yarn for a more durable finish or a bamboo blend for a soft touch. Just make sure to keep an eye on the gauge!
– Gauge tips: For this project, gauge isn’t critical, but aim for a tight stitch to ensure your key doesn’t slip out unexpectedly. If you find your key cover is too loose, consider using a smaller hook size.
– Safety considerations: If you’re making this for a child or gifting it to someone with little ones, you might want to avoid buttons or small embellishments that could pose a choking hazard.
5. Pattern Instructions
Key Cover Body
Round 1: 6 sc in magic ring (6)
Round 2: inc in each st (12)
Round 3: [sc, inc] repeat (18)
Round 4: [2 sc, inc] repeat (24)
Round 5-7: sc in each st around (24)
Round 8: [2 sc, dec] repeat (18)
Round 9: [sc, dec] repeat (12)
Round 10: dec in each st around (6)
At the end of Round 10, you have the option to add a decorative charm or button to the top of the cover for a personalized touch. You can do this by making a small chain and attaching it to your charm before closing the key cover.
Assembly
– Fold the cover over your key, positioning the open end at the top. Use your tapestry needle and a slip stitch to sew the sides together, ensuring it fits snugly.
– Weave in any loose ends to secure your work and give it a clean finish.
6. Closing & Social Engagement
I’m so excited for you to try this crochet key cover pattern! It’s a fun and practical project that you can customize in so many ways. I’d love to see your version! Leave a comment below with your thoughts or any questions you have. What color combination will you try? Don’t forget to share your finished key cover on social media with your fellow crafters!