crochet january winter gnome free pattern
2. Introduction
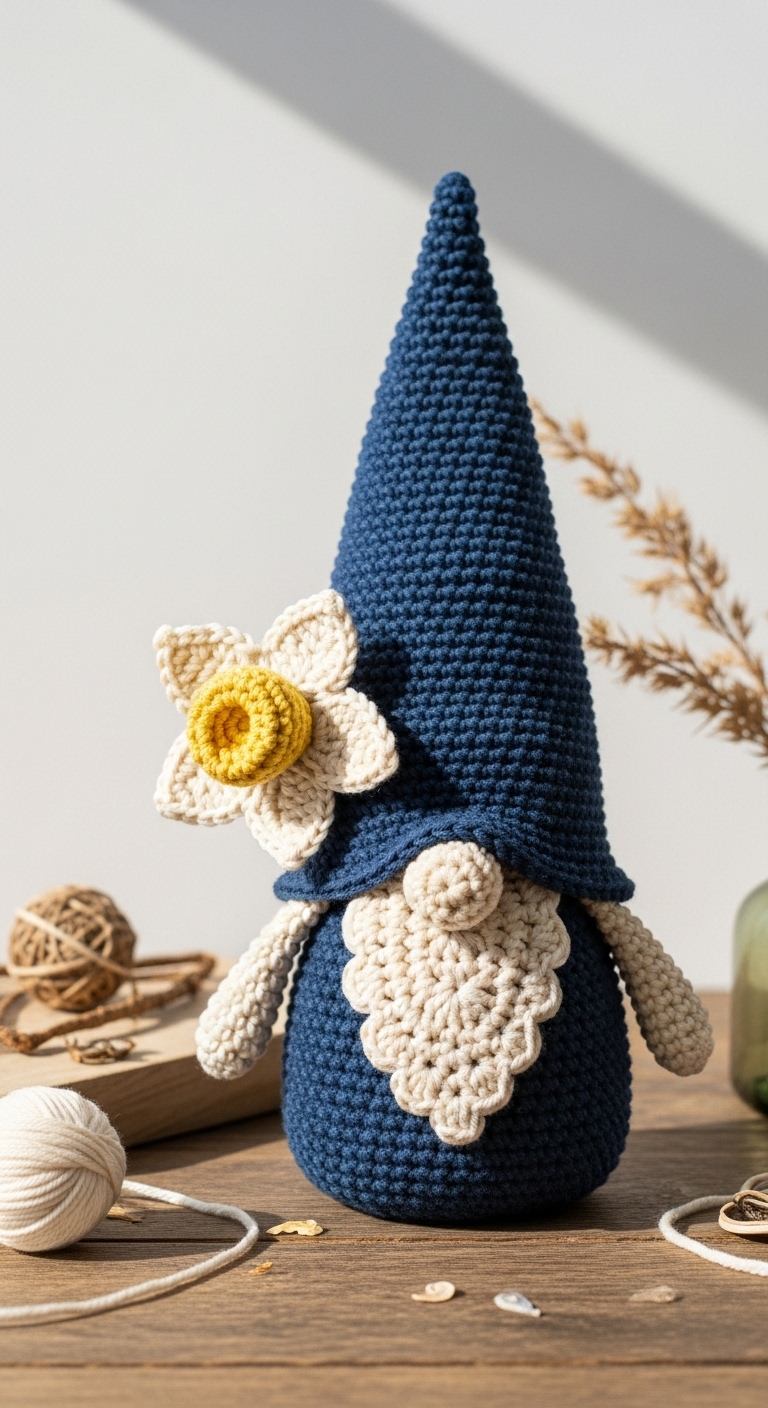
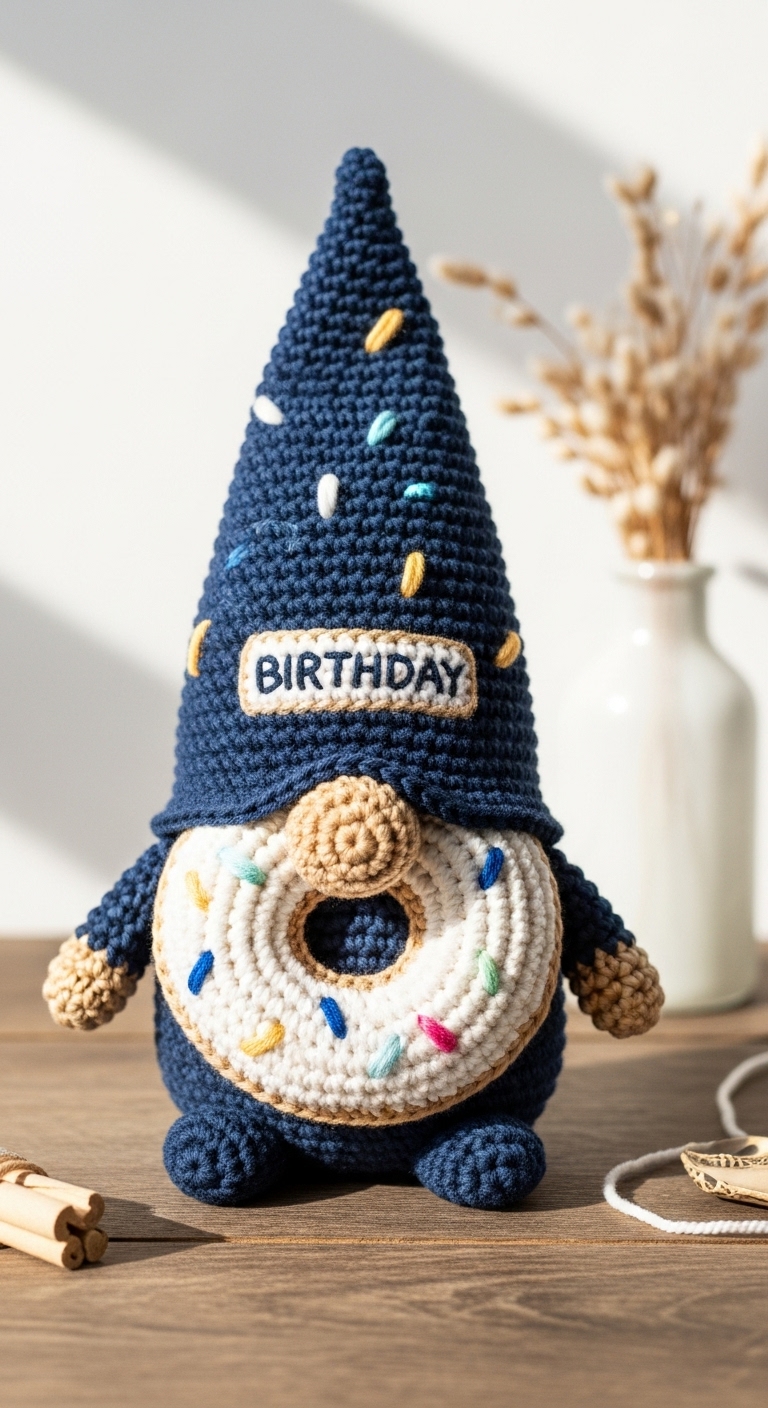
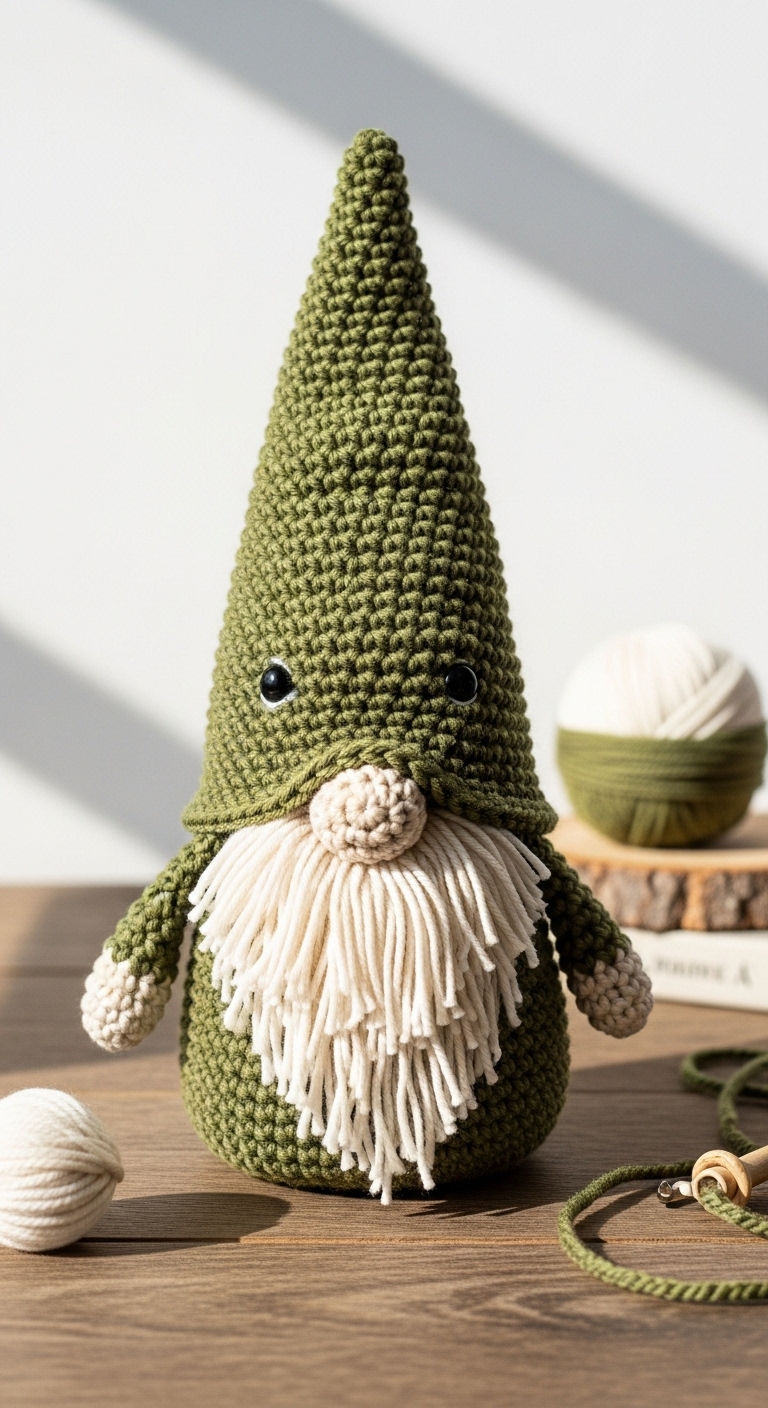
Welcome to the cozy world of crochet with this adorable January Winter Gnome pattern! This whimsical little gnome stands approximately 10 inches tall and is perfect for adding a touch of seasonal charm to your home decor or as a playful gift for a friend. Using a combination of rich, warm colors like navy blue, soft gray, and creamy white, this gnome is not only visually appealing but also embodies the serene essence of winter.
Creating this gnome is a delightful experience as it comes together quickly and easily, making it an excellent project for both beginners and more experienced crocheters alike. The simple shapes and stitches used in this pattern ensure you’ll have a finished gnome in no time, allowing you to enjoy the satisfaction of your handiwork or gift it to someone special. With its seasonal relevance, this gnome can be a lovely addition to your winter decorations or a thoughtful handmade gift during the chilly months.
3. Materials Needed
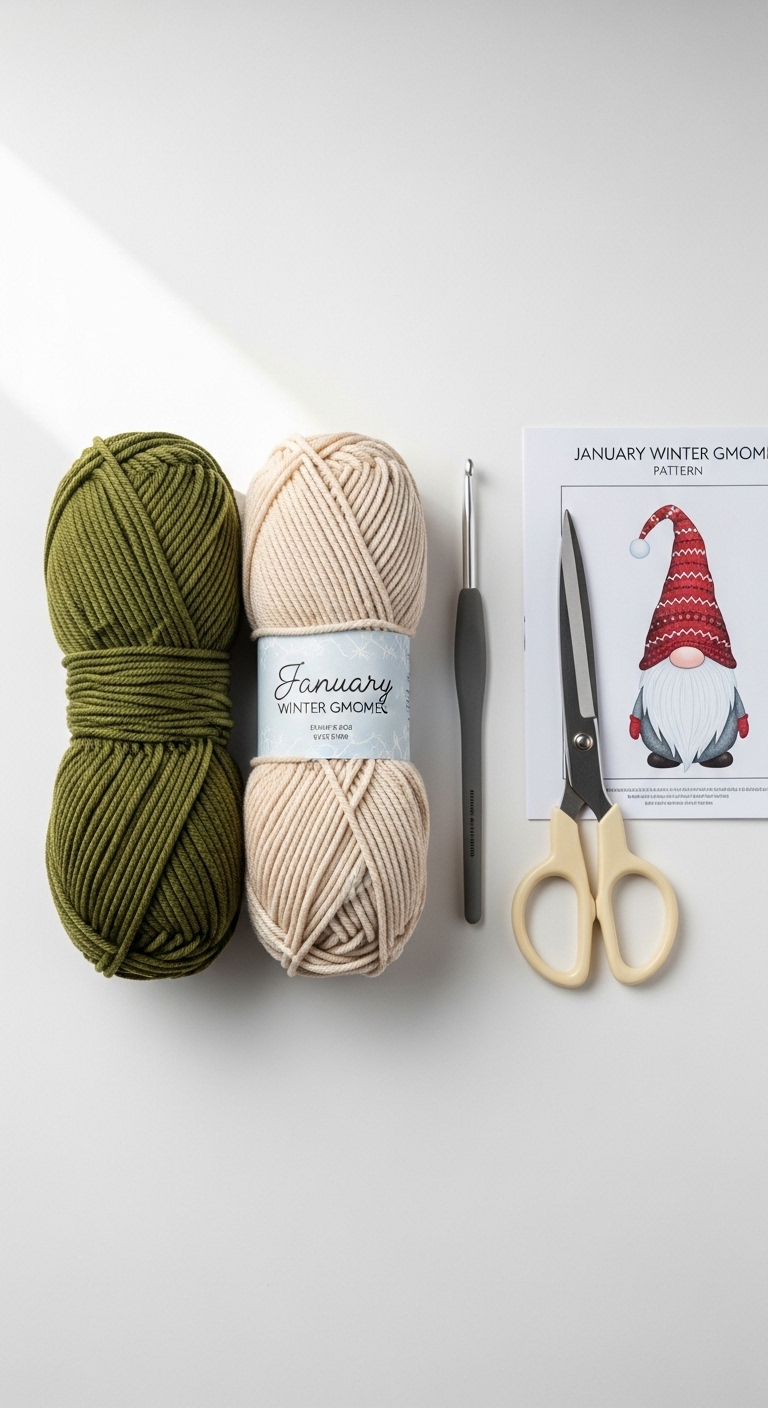
To create your January Winter Gnome, gather the following supplies:
– Yarn: Worsted weight (4) yarn in navy blue (about 150 yards), soft gray (about 100 yards), and creamy white (about 50 yards)
– Hook: 3.5mm or 4.0mm crochet hook
– Eyes: 12mm safety eyes or black embroidery thread for eyes
– Stuffing: Polyester fiberfill stuffing
– Needle: Tapestry needle for sewing ends and attaching pieces
– Marker: Stitch marker (optional but helpful)
– Optional extras: Small pom-poms for hat decoration, felt for a nose if not using yarn
4. Designer Notes / Tips
– Stitch technique: This pattern primarily uses single crochet (sc) stitches, which are perfect for creating the gnome’s sturdy body. If you’re unfamiliar with the magic ring technique, consider watching a quick tutorial to enhance your skills!
– Stuffing density: For a plush and cuddly gnome, stuff lightly, allowing some flexibility while keeping the shape defined.
– Assembly: When joining pieces, it’s helpful to use a yarn that matches the color of the pieces being joined for a seamless look. Understand where each part fits before starting to sew.
– Yarn substitutions: If you prefer a softer feel, consider using a cotton blend yarn in similar colors, which will add a lovely drape to the finished gnome.
– Gauge tips: While gauge isn’t critical for this project, check your tension if you want a snug fit, especially for the smaller pieces.
– Safety considerations: If gifting to young children, you may want to skip the safety eyes or use stitched eyes instead for added safety.
5. Pattern Instructions
For Plushies:
Head:
Body:
Arms:
Legs:
Assembly:
– Position the head on the body and sew securely.
– Attach the arms to the sides of the body and the legs at the bottom.
– For the gnome’s nose, you can either crochet a small round piece or use a felt circle and attach it between the eyes.
Hat:
– Once the hat is finished, you can attach a small pom-pom to the tip for extra flair!
6. Closing & Social Engagement
I can’t wait to see how your January Winter Gnome turns out! Each gnome will have its own unique charm thanks to your personal touch. Whether you choose vibrant colors or pastel shades, you’re creating a delightful piece of art. Don’t forget to share your finished gnome on social media—I’d love to see your version! What color combination will you try?
Happy crocheting!