crochet angel gnome free pattern
2. Introduction
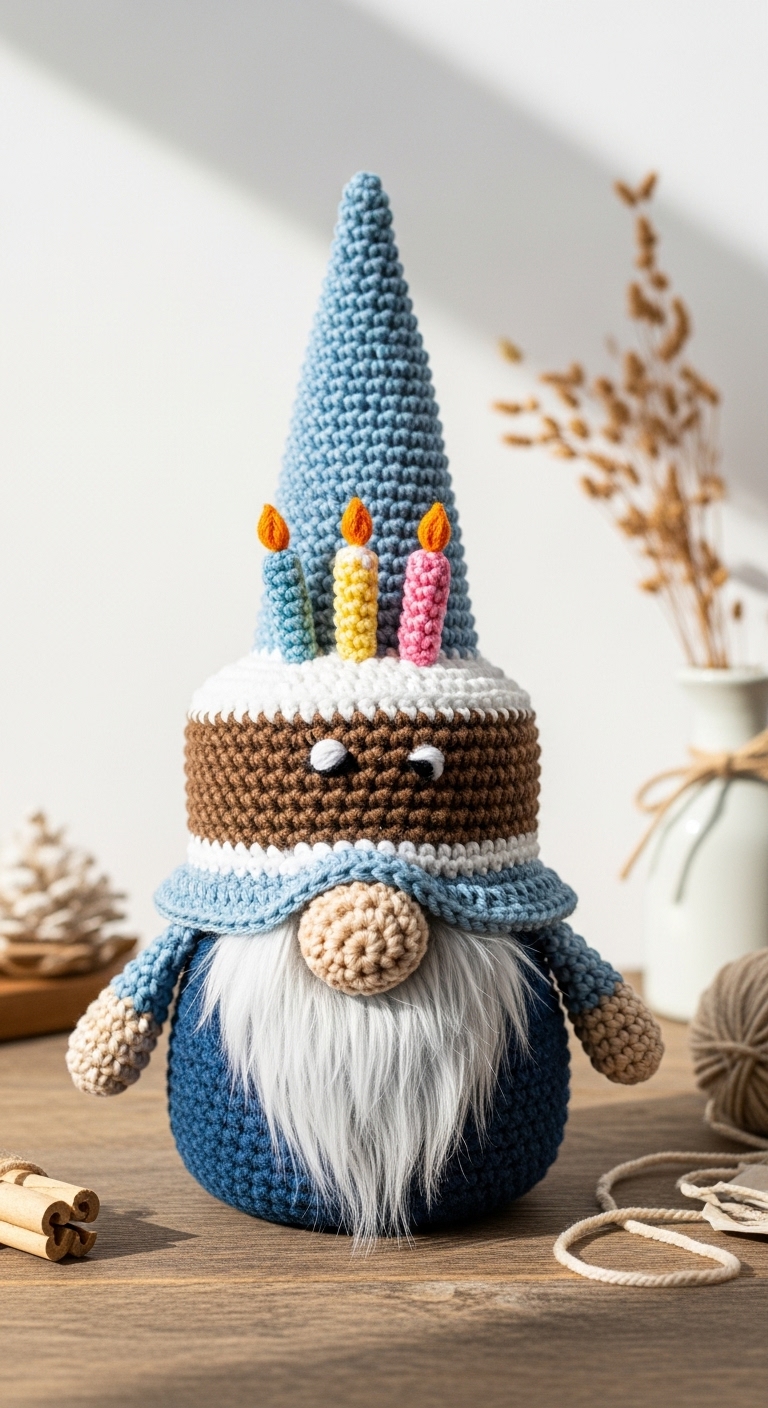
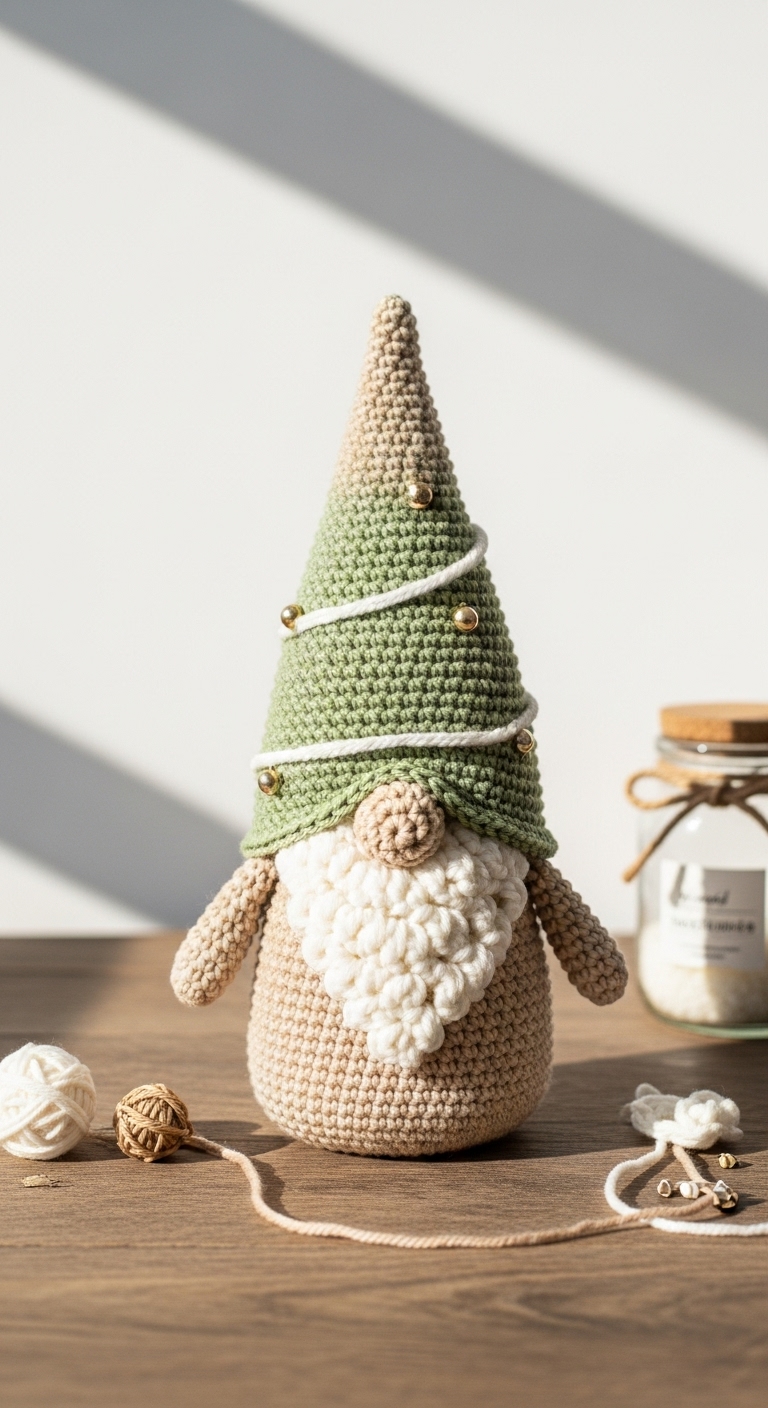
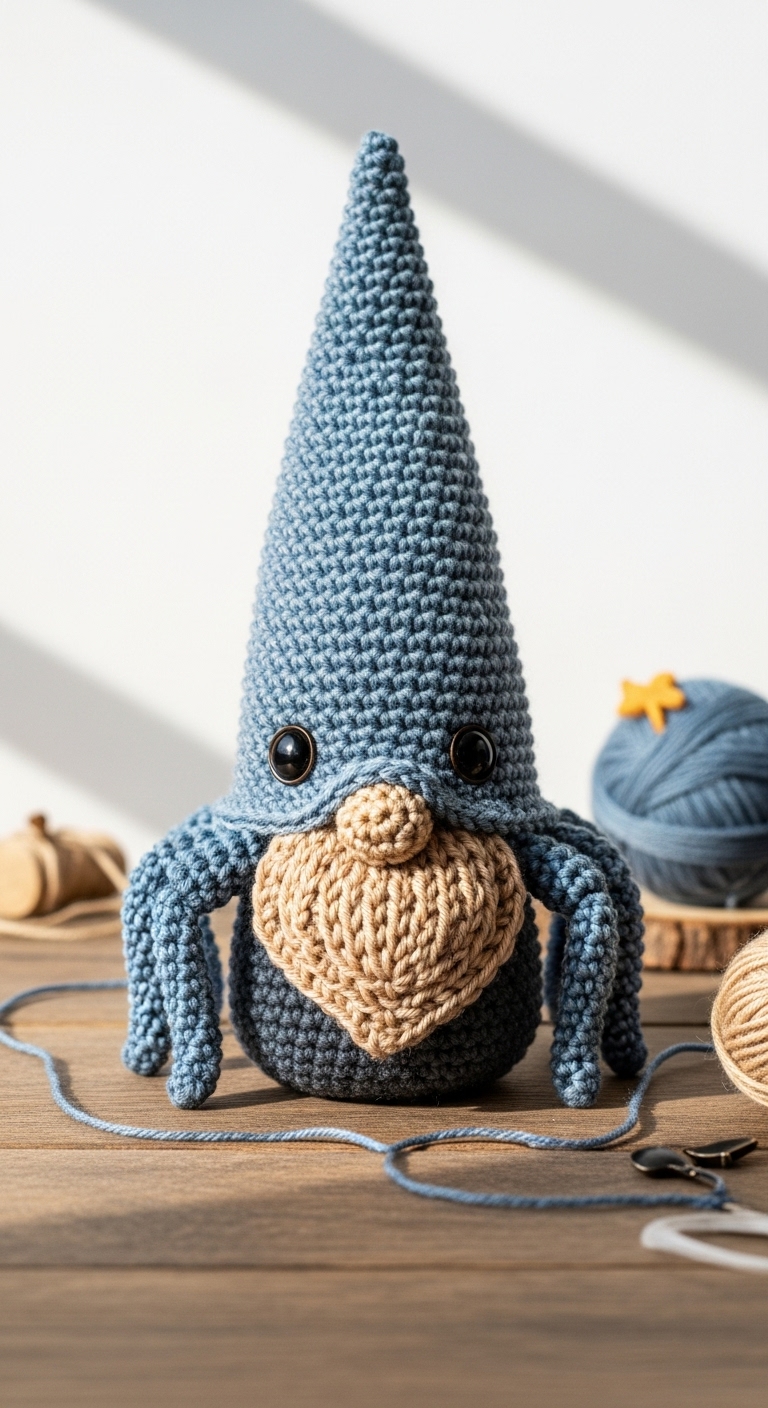
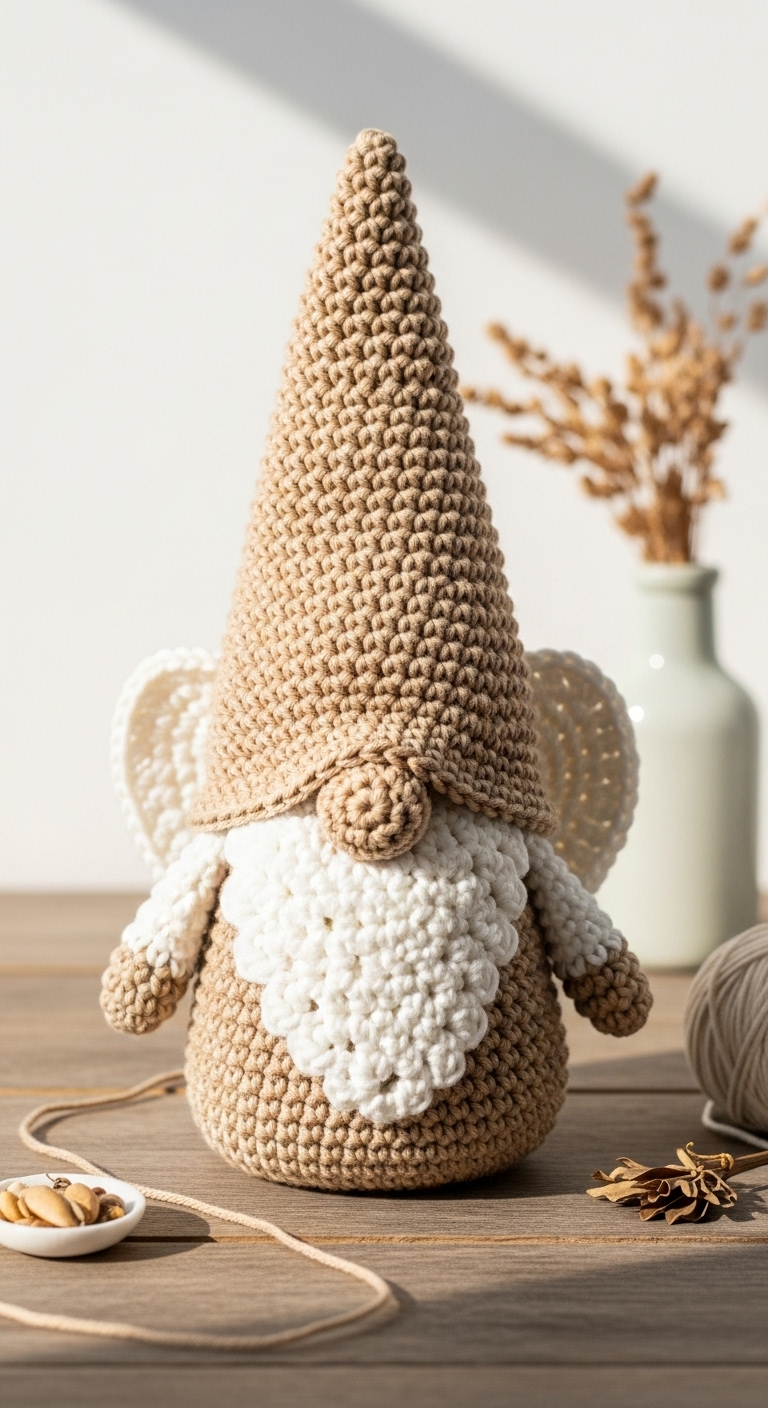
Welcome to your next enchanting crochet adventure—a delightful Crochet Angel Gnome! This whimsical plushie stands approximately 10 inches tall, making it a perfect addition to your seasonal decor or a charming gift for a loved one. Using soft yarn in serene shades, this gnome will surely bring a touch of magic to any space.
For this project, we recommend using a soft, worsted weight yarn in a palette of cream, pastel pink, and a lovely mint green. These complementary adult-friendly colors create a soothing vibe that is both modern and sophisticated. The use of these gentle hues not only enhances the gnome’s angelic charm but also makes it a delightful piece to display year-round, especially during the spring and holiday seasons.
This pattern is designed to be beginner-friendly, allowing even novice crocheters to dive into the world of plushie making with confidence. And let’s be honest—who wouldn’t love to receive a handmade angel gnome as a thoughtful gift? Its unique charm and quick assembly will make it a beloved project for any crochet enthusiast!
3. Materials Needed
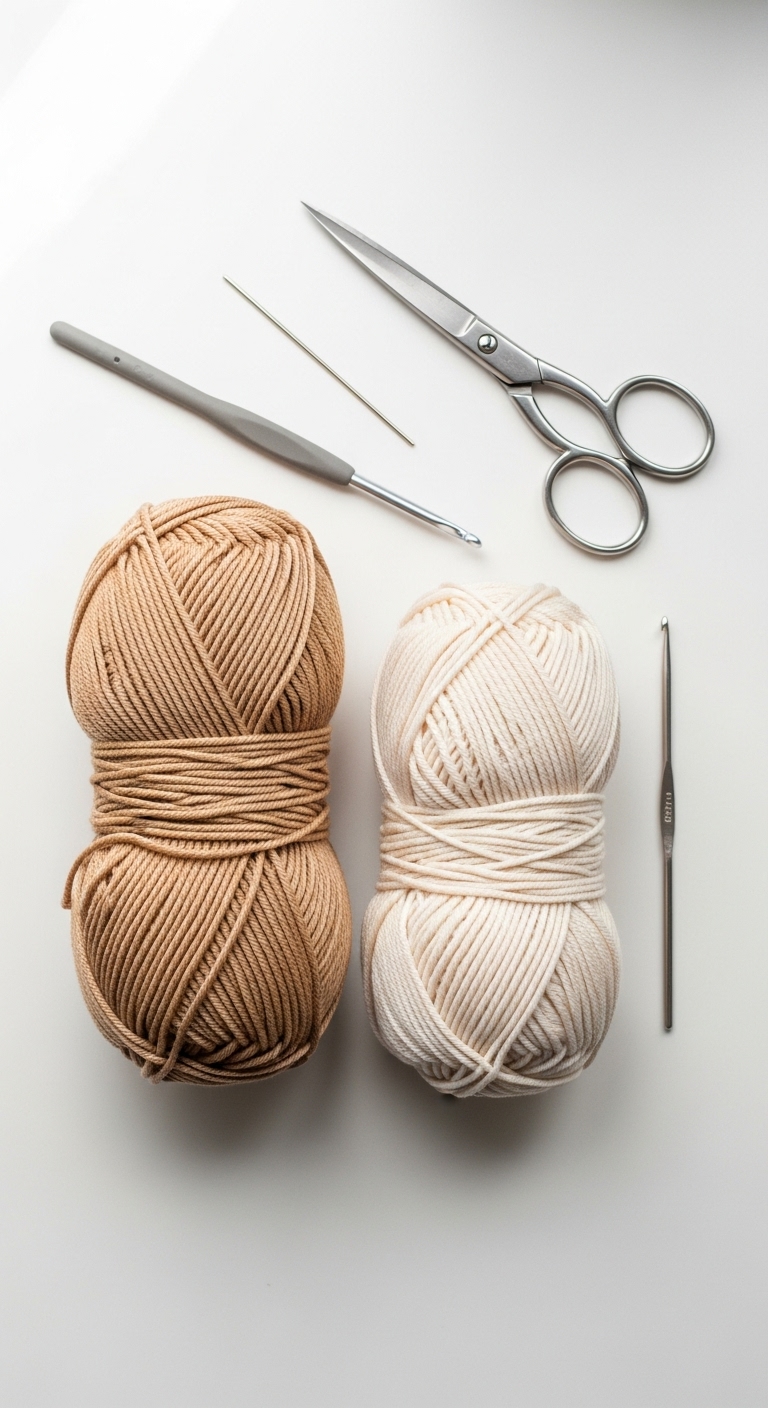
– Yarn: Worsted weight yarn in cream (approx. 150 yards), pastel pink (approx. 50 yards), and mint green (approx. 50 yards)
– Hook: 3.5mm or 4.0mm crochet hook
– Eyes: 12mm safety eyes OR black embroidery thread
– Stuffing: Polyester fiberfill stuffing
– Needle: Tapestry needle for weaving in ends and sewing pieces
– Marker: Stitch marker to keep track of rounds
– Optional extras: Pipe cleaners for added structure in the gnome’s hat
4. Designer Notes / Tips
– Stitch technique: For added texture, you can try using half double crochet stitches in some sections, especially the body of the gnome. It gives an adorable, cozy feel.
– Stuffing density: I recommend stuffing the head and body firmly but leave the arms a bit looser. This helps the arms maintain a natural pose.
– Assembly: When attaching the gnome’s hat, make sure it overlaps the head slightly for a snug fit. Use pins to hold the pieces in place while sewing.
– Yarn substitutions: If you want a chunky version, consider using a bulky weight yarn, but adjust your hook size to accommodate.
– Gauge tips: Keep your tension even; a loose gauge may lead to gaps, especially if you’re using a lighter yarn.
– Safety considerations: If you’re making this gnome for small children, consider using embroidered eyes instead of safety eyes for added safety.
5. Pattern Instructions
For Plushies:
Head:
Body:
Arms (make 2):
Hat:
Assembly:
– Position the head on top of the body and sew securely.
– Attach the arms to the sides of the body.
– Place the hat on top of the head and sew down the edges.
– If using safety eyes, position them between rounds 5 and 6 of the head before closing.
6. Closing & Social Engagement
Congratulations on creating your very own Crochet Angel Gnome! I’d love to see your version—leave a comment below sharing your unique color combinations and any personal touches you added. What color combination will you try? Don’t hesitate to share your finished gnome on social media; it’s delightful to connect with fellow crochet lovers!