crochet amigurumi along learn amigurumi with us
2. Introduction
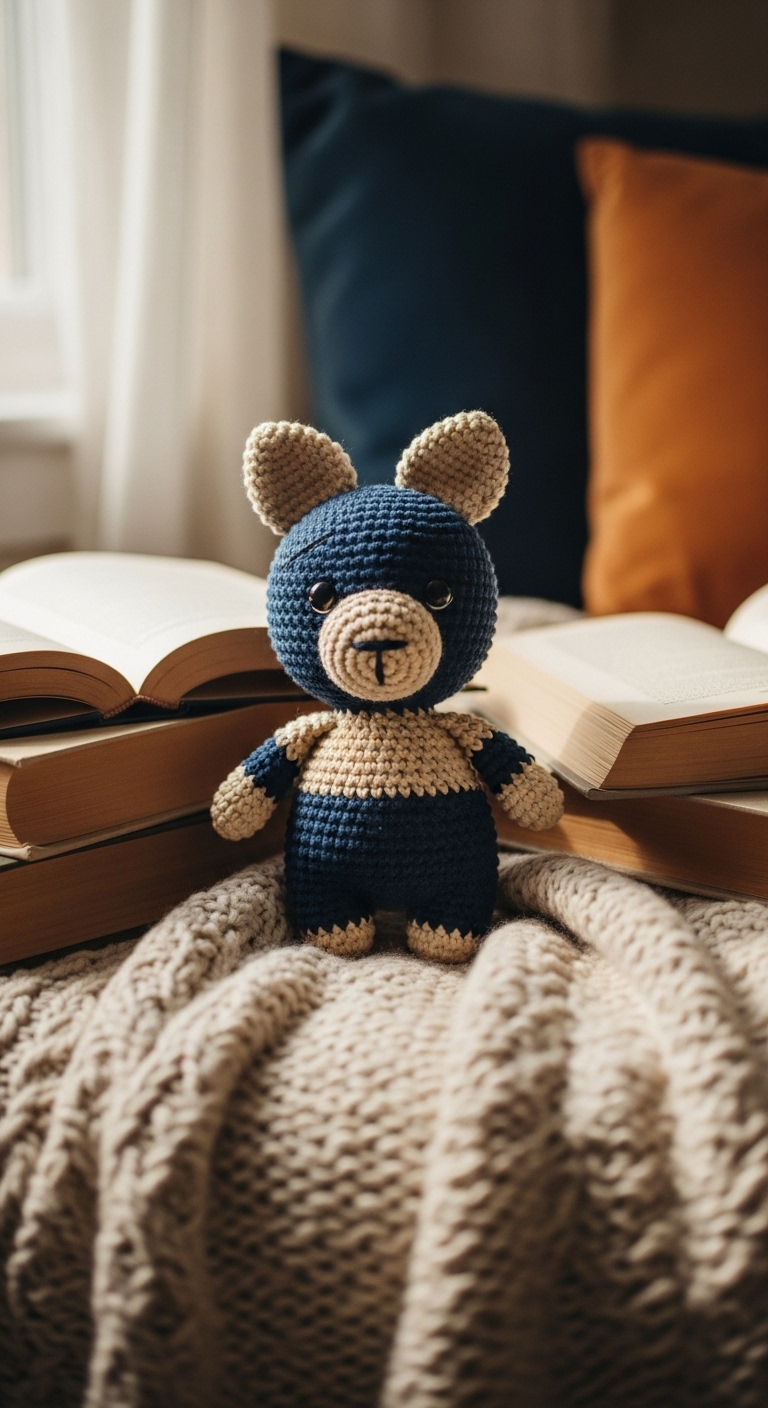
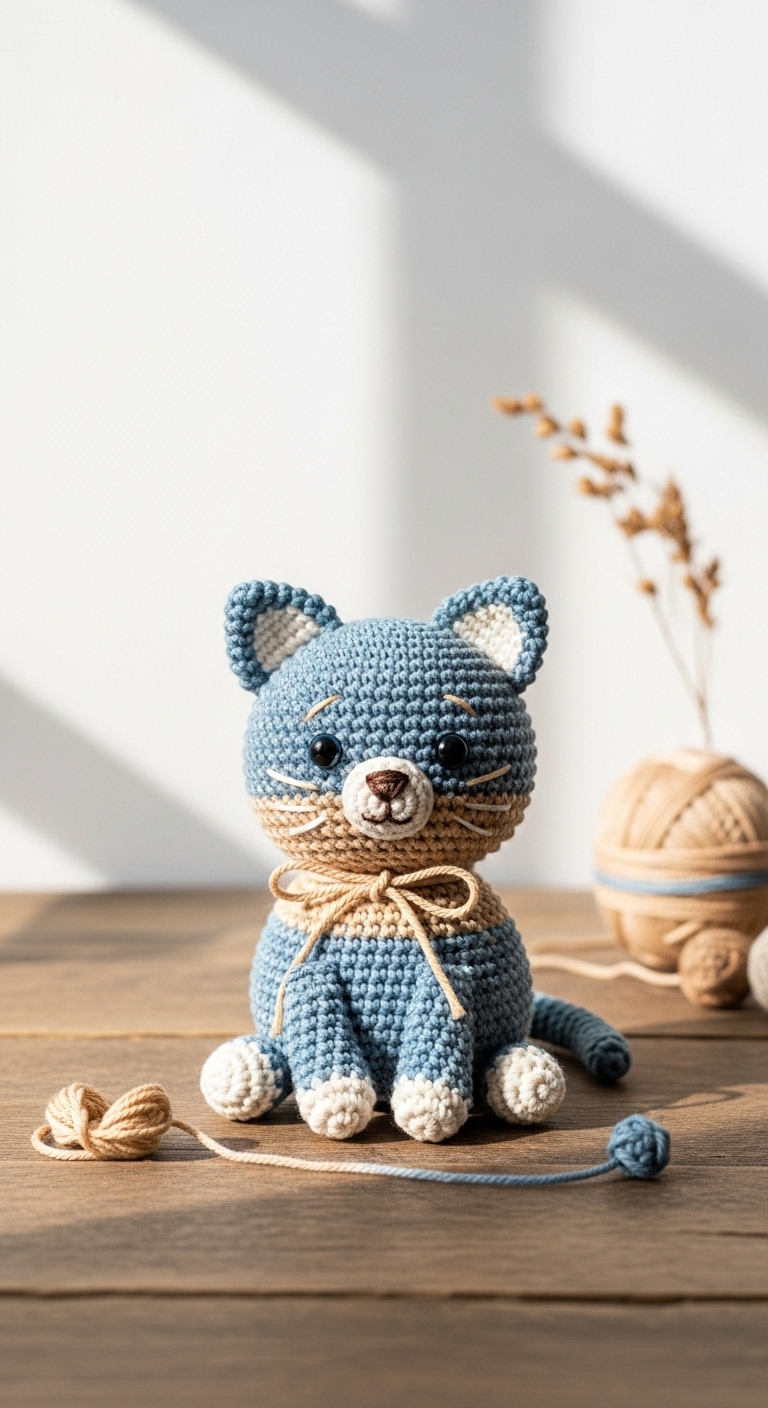
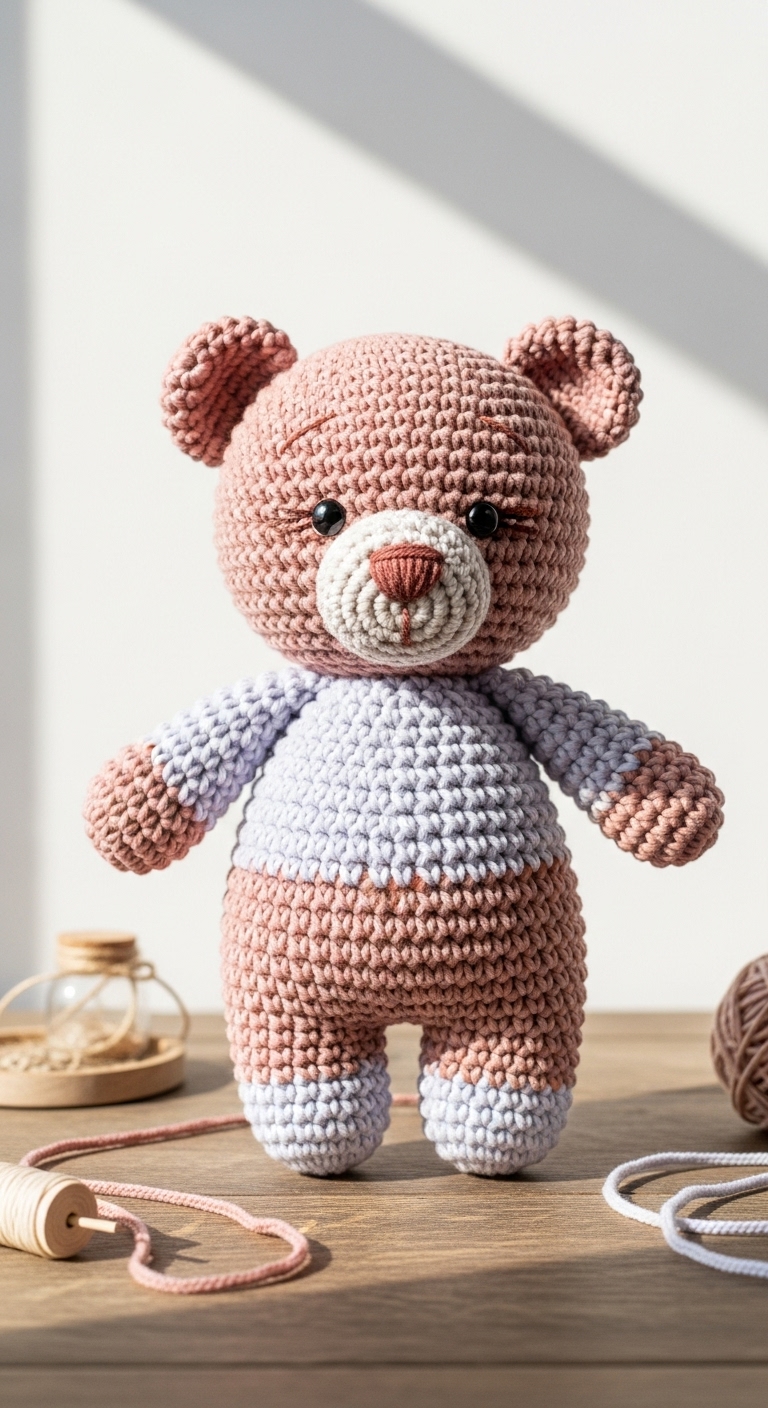
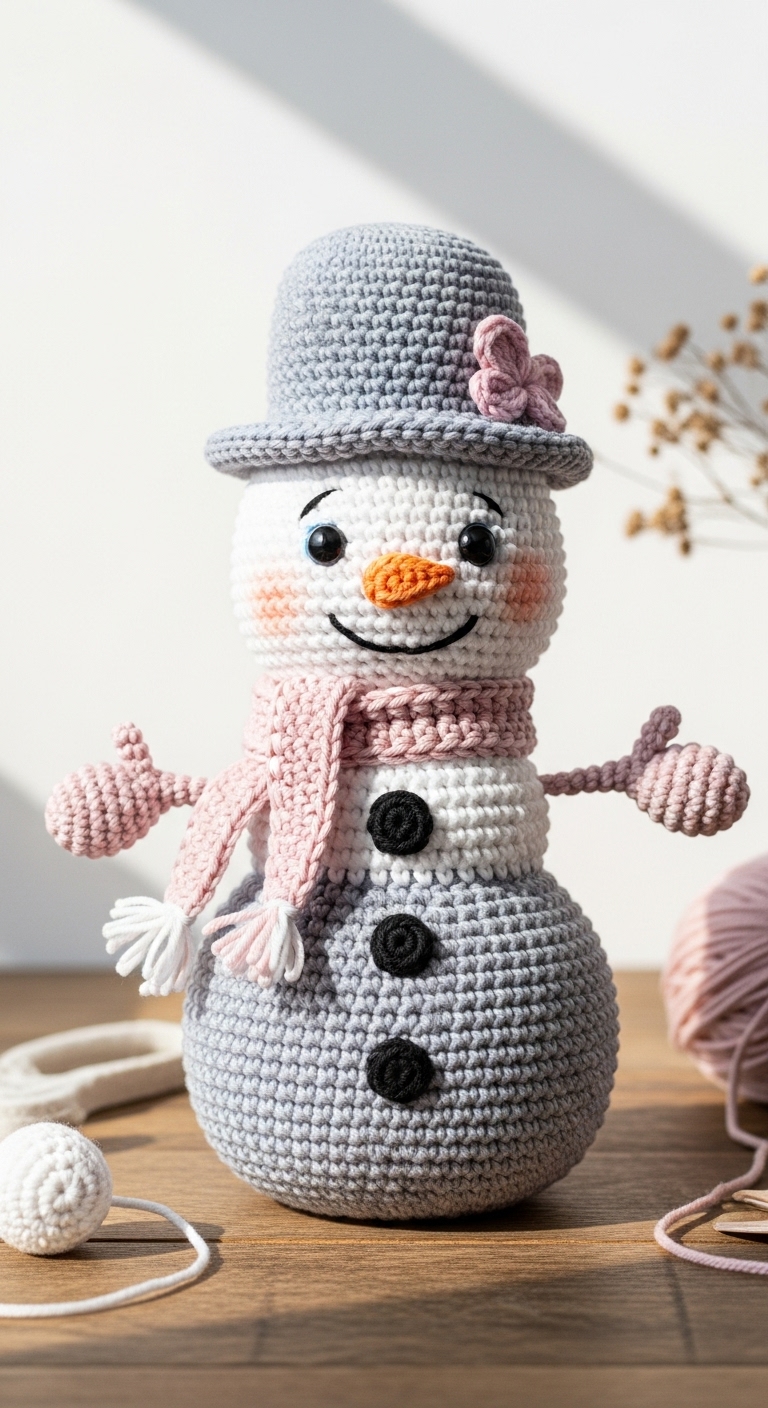
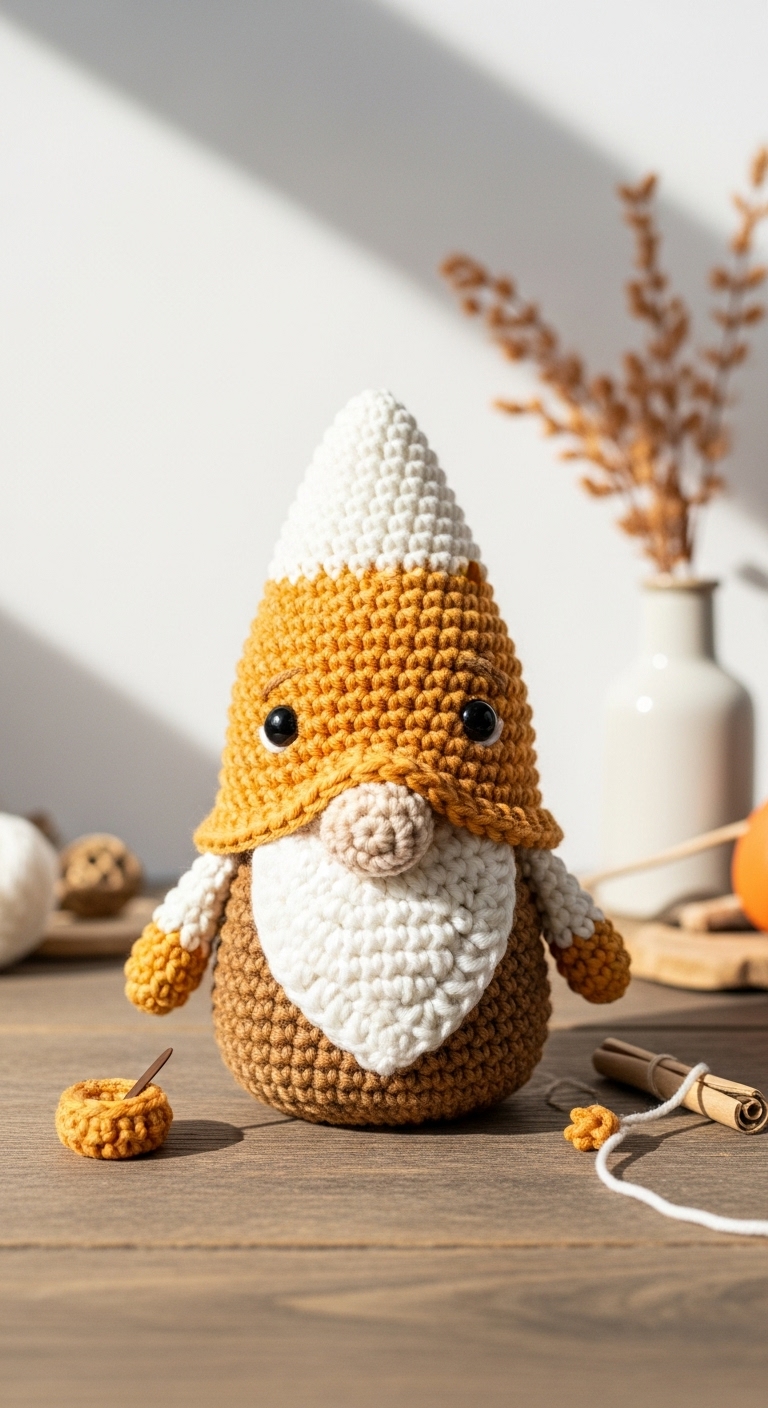
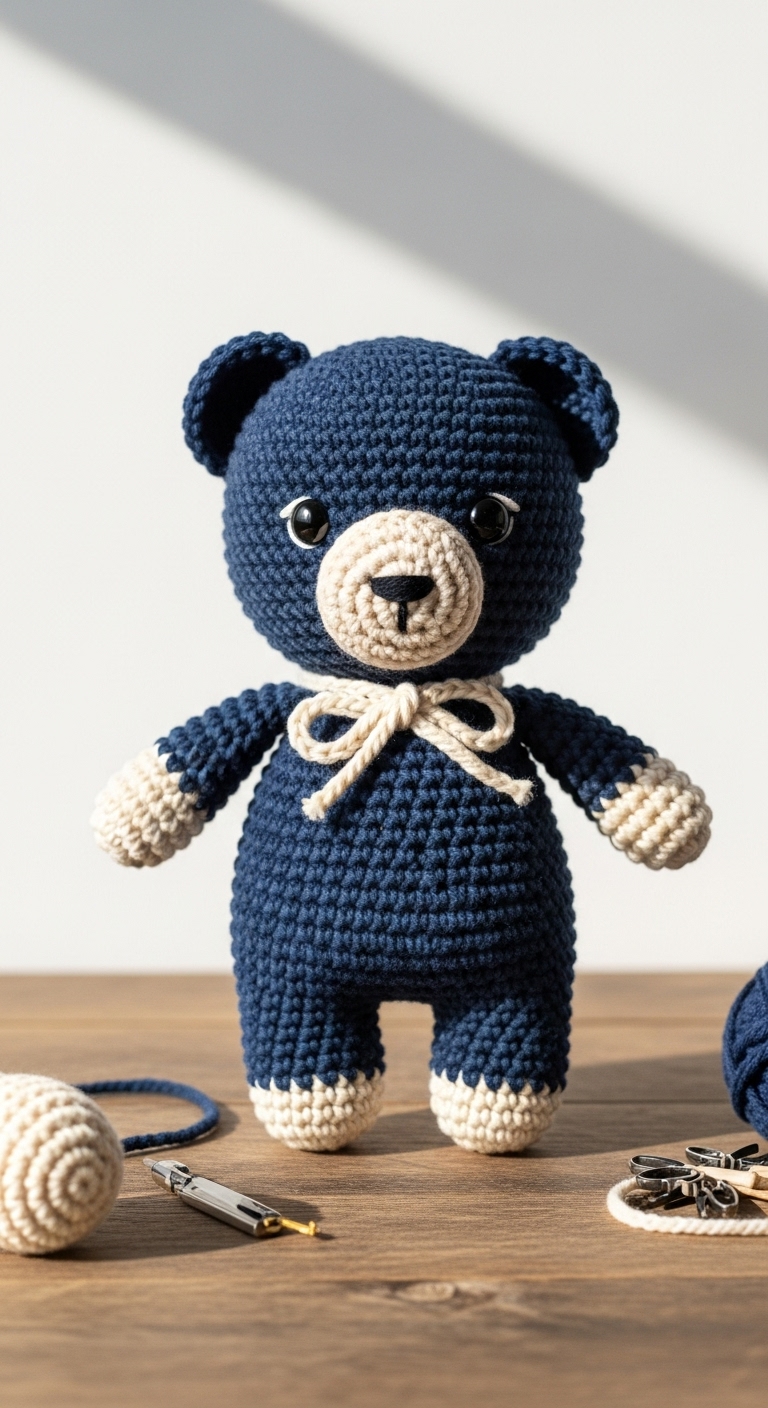
Welcome to our crochet amigurumi along! Today, we’re diving into creating an adorable plushie that stands about 8 inches tall—perfect for cuddling or as a delightful decor piece for your home. This project is designed for crafters eager to learn the ins and outs of amigurumi, offering a fun and engaging way to develop your skills. We will be using soft worsted weight yarn in a lovely palette of muted teal, warm gray, and soft cream, which together create a sophisticated look that appeals to adults.
What makes this amigurumi project special is its charming personality and the satisfaction of crafting something truly unique. It’s a quick make, which means you can see results in a matter of hours. This makes it perfect for gift-giving or a thoughtful handmade touch for seasonal celebrations—imagine the joy of presenting a handmade plushie for a baby shower or as a decorative gift during the holidays. Whether you’re a seasoned crocheter or just starting, this pattern is designed to be beginner-friendly, guiding you through each step with clarity.

3. Materials Needed
To create your stunning amigurumi plushie, gather the following materials:
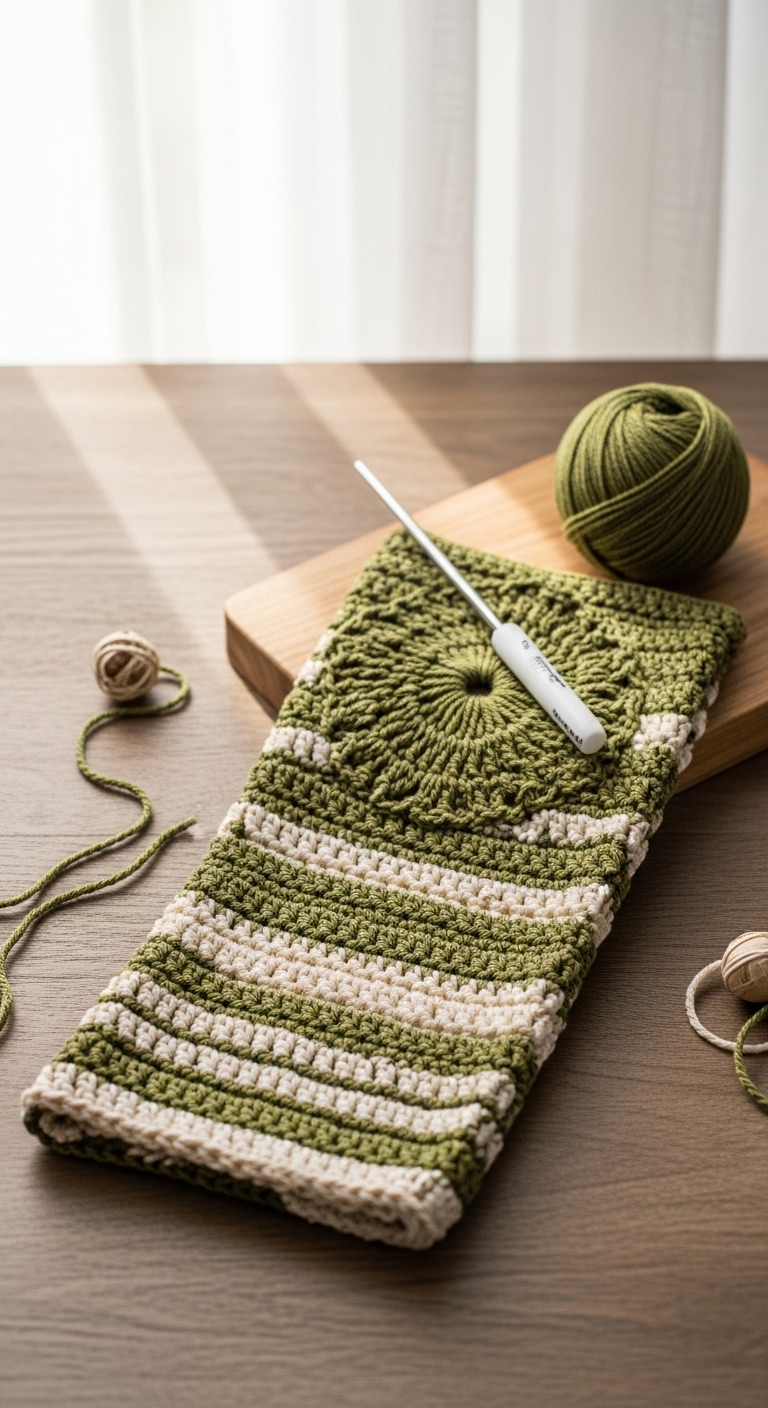
– Yarn: Worsted weight yarn in teal (approx. 150 yards), gray (approx. 100 yards), and cream (approx. 50 yards)
– Hook: 3.5mm crochet hook
– Eyes: 12mm safety eyes
– Stuffing: Polyester fiberfill stuffing
– Needle: Tapestry needle for sewing
– Marker: Stitch marker
– Optional extras: Pipe cleaners for added stability in limbs (if desired)
4. Designer Notes / Tips
Before you begin, here are some helpful tips that will enhance your crocheting experience:
– Stitch technique: Familiarity with single crochet (sc), increase (inc), and slip stitch (sl st) will be helpful. Don’t worry if you need a refresher—plenty of resources are available!
– Stuffing density: For this plushie, aim for a medium density when stuffing. A firm yet flexible body will hold its shape without feeling overly rigid. Stuff as you go, ensuring even distribution.
– Assembly: When joining the head to the body, use a whip stitch or mattress stitch for a seamless finish. Don’t rush this part; take your time to hide any seams for a polished look.
– Yarn substitutions: If you can’t find the exact colors, consider using any soft worsted weight yarn you have on hand. Look for acrylic or cotton fibers for a soft, plush feel.
– Gauge tips: While gauge isn’t critical for amigurumi, working tightly will help prevent stuffing from showing through. Aim for a firm tension.
– Safety considerations: If your plushie is intended for a small child, consider embroidering the eyes rather than using safety eyes to eliminate choking hazards.
5. Pattern Instructions
For Plushies:
Head:
*Stuff the head firmly before closing.*
Body:
*Stuff the body as you go for the perfect shape.*
Arms/Legs:
*Make 2 arms and 2 legs.*
*Leave a long tail for sewing.*
Ears/Tail:
*Ears (make 2):*
*Tail: Round 1: 6 sc in magic ring (6); Round 2: sc in each st (6) – 1 round.*
Assembly:
– Attach safety eyes between rounds 5 and 6 on the head.
– Sew the arms and legs onto the body, positioning them evenly.
– Attach the head to the body securely.
6. Closing & Social Engagement
Congratulations on crafting your very own amigurumi plushie! I’d love to see your version—leave a comment below with your thoughts and experiences. What color combination will you try for your next creation? Don’t forget to share your finished plushie on social media; your handmade treasures deserve to be shown off!