crochet alpine tulip bag
2. Introduction
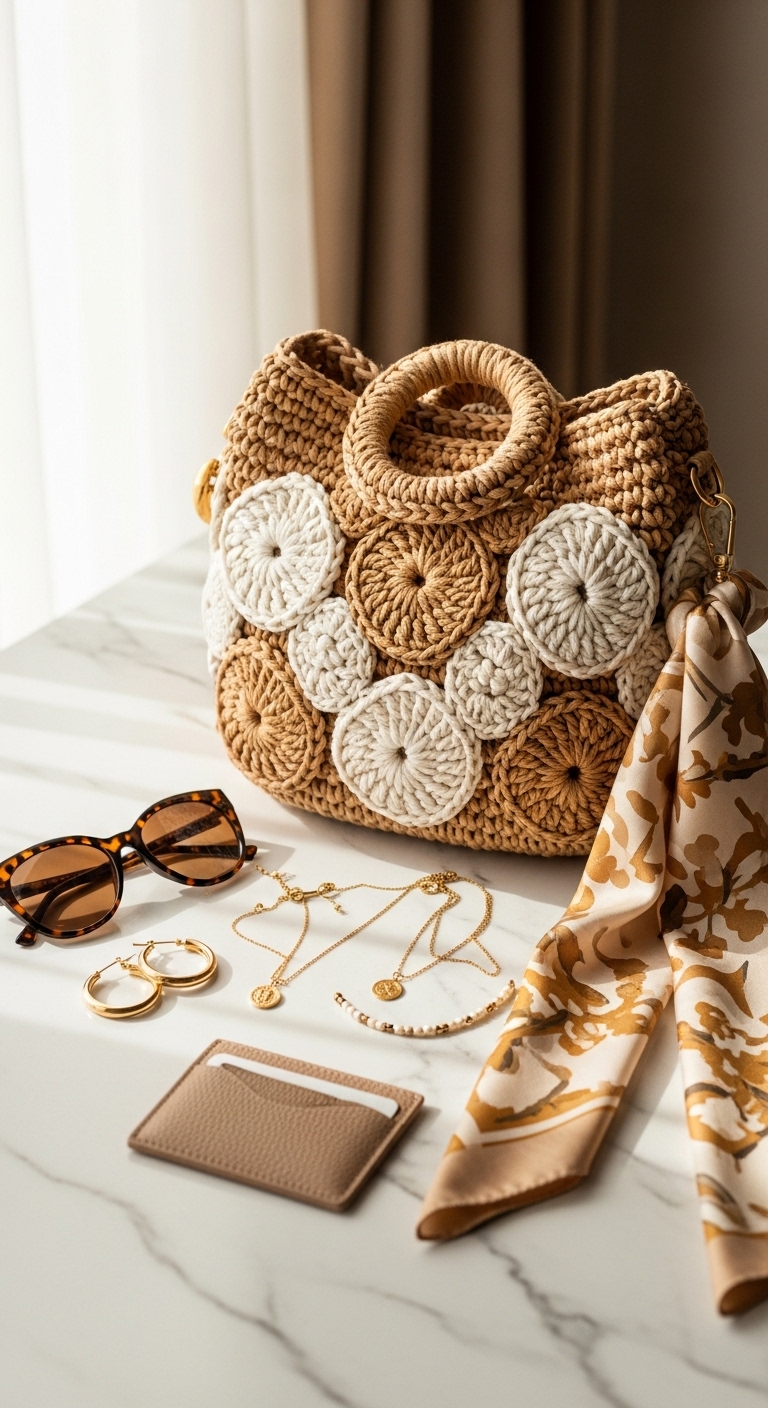
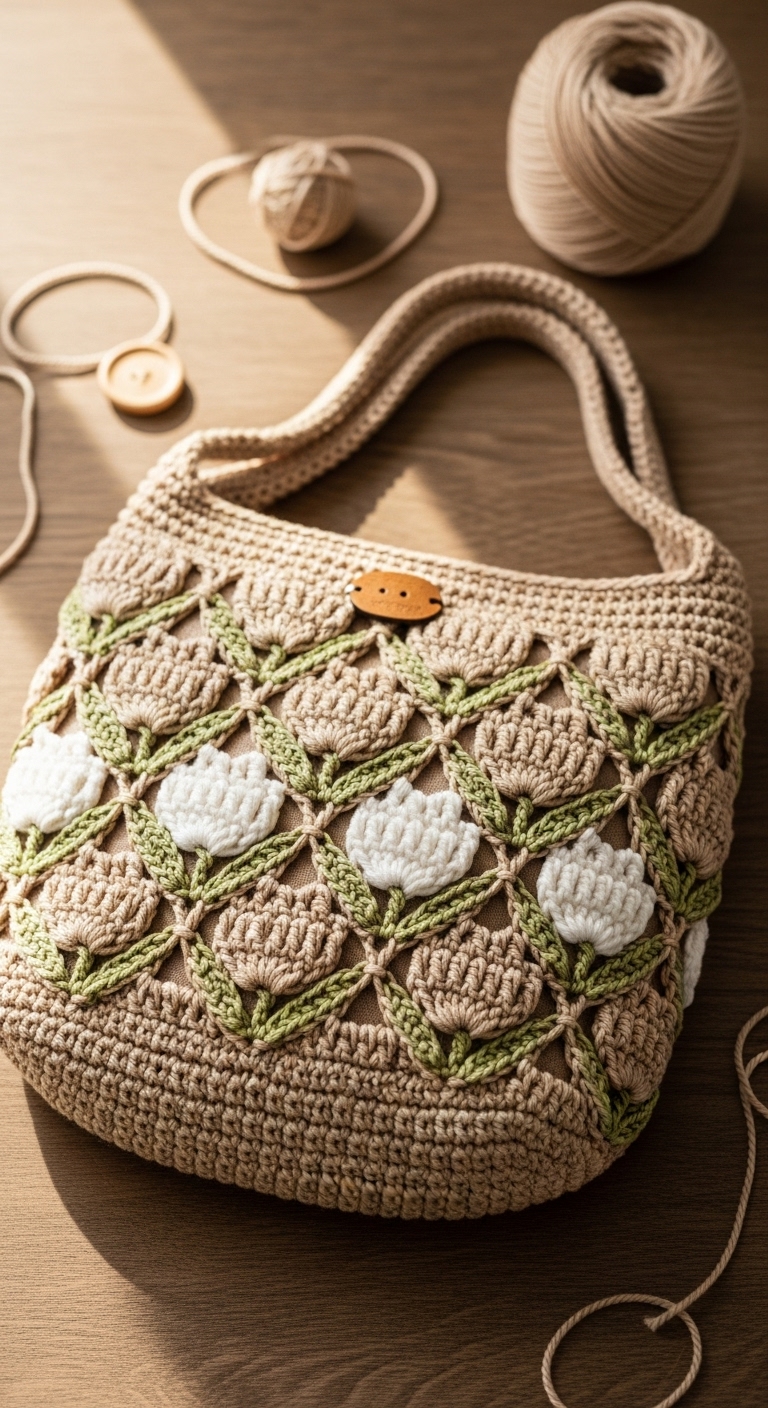
Welcome to the delightful world of crochet with the Alpine Tulip Bag! This charming accessory is both stylish and practical, making it perfect for carrying your essentials on a sunny day out or to add a pop of color to your outfit. Measuring approximately 12 inches wide and 10 inches tall, the Alpine Tulip Bag features a captivating tulip stitch pattern that adds a lovely texture, showcasing your crochet skills beautifully.
For this project, we will be using a soft, worsted weight yarn in a palette of complementary adult-friendly colors: a rich forest green, a blush pink, and a soft cream. These colors not only evoke a fresh spring feel but also transition well into autumn with their earthy tones. This bag is a fun and relatively quick project, perfect for crocheters of all skill levels, especially beginners looking to expand their skills in creating accessories. It also makes for a thoughtful gift for birthdays or a lovely surprise for someone special, especially during the spring season.
3. Materials Needed
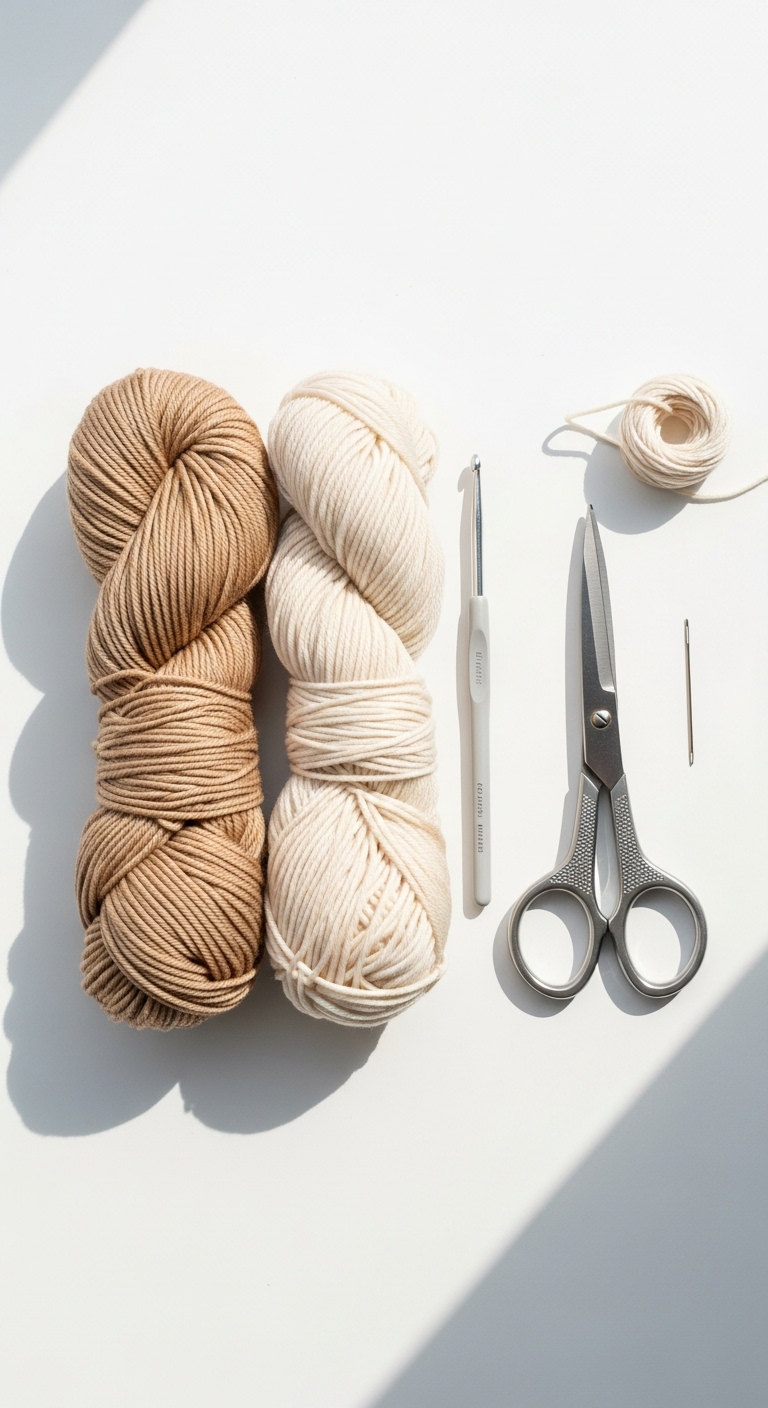
– Yarn: Worsted weight yarn in forest green (approx. 200 yards), blush pink (approx. 150 yards), and soft cream (approx. 100 yards)
– Hook: 4.0mm crochet hook
– Eyes: Not applicable for this project
– Stuffing: Not applicable for this project
– Needle: Tapestry needle for weaving in ends and sewing
– Marker: Stitch marker
– Optional extras: A zipper for a secure closure or buttons for decorative accents
4. Designer Notes / Tips
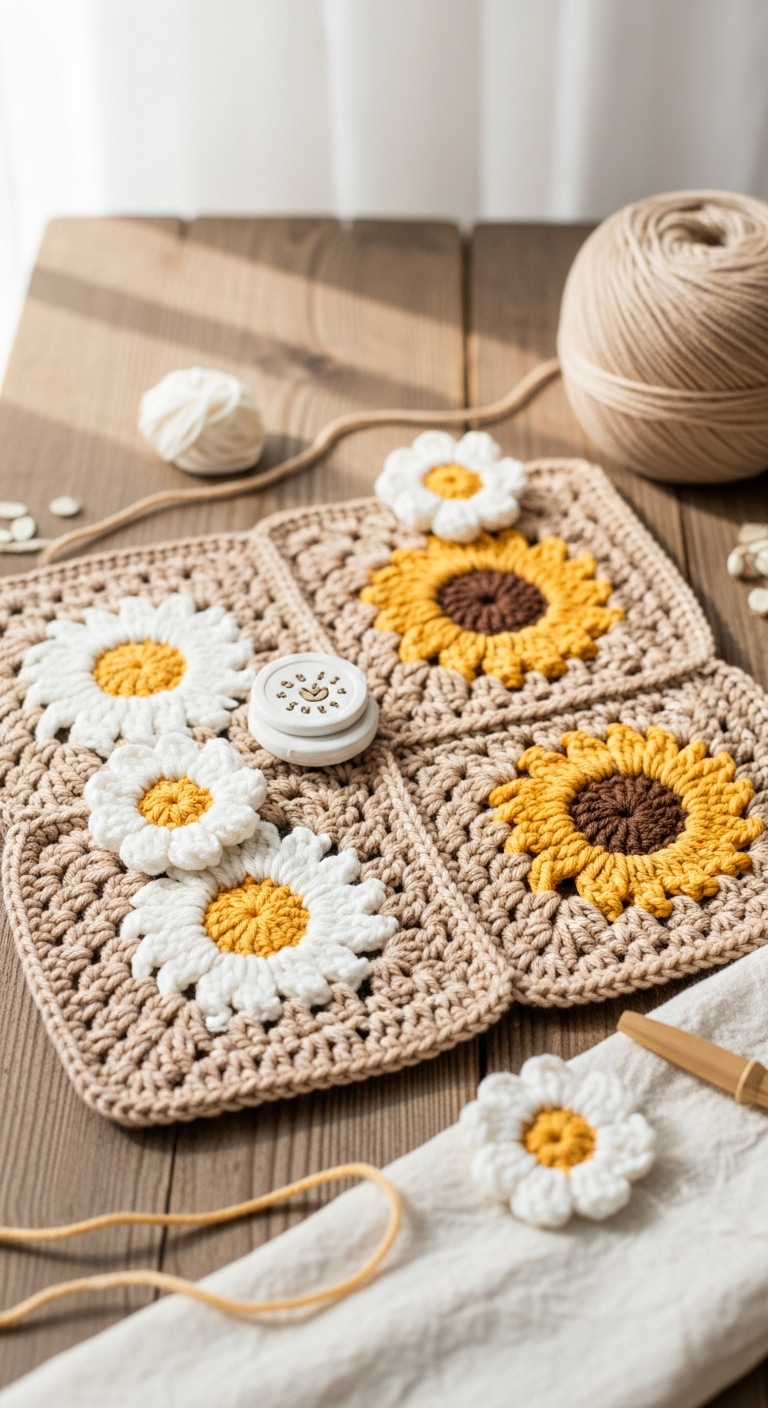
To create the beautiful texture of this bag, we will be utilizing the tulip stitch, which involves a series of double crochets worked together to form a stunning floral appearance. Don’t worry if you’re new to this stitch; I’ll guide you through it step by step!
When it comes to filling your bag, a light and airy stuffing is recommended to keep the fabric supple and easy to carry. Assembling the bag involves joining the panels securely; I suggest using a slip stitch for a neat finish. If you’re looking to substitute yarn, cotton yarn could be a great alternative for a more structured feel.
Remember to check your gauge! A tighter tension will give you a more defined shape but could also restrict the bag’s flexibility. For those making this as a gift for children, consider omitting any buttons or decorative elements that might pose a choking hazard.
5. Pattern Instructions
For Accessories:
Main Panel
Start with the forest green yarn.
Continue the pattern in the tulip stitch for approximately 12 more rows, alternating colors as desired.
Straps
Using the blush pink yarn, create two straps:
Make each strap approximately 20 inches long.
Assembly
1. Fold the main panel in half, with the tulip stitch on the outside.
2. Using the tapestry needle, sew the sides together, ensuring to align the stitches for a neat finish.
3. Attach the straps to the top edge of the bag, spaced evenly apart, and secure with slip stitches.
Closure (Optional)
If you’d like to add a zipper, sew it along the top edge of the bag. Alternatively, sew on a couple of decorative buttons to enhance the bag’s charm.
Finishing
Weave in any loose ends with your tapestry needle. You may want to block the bag lightly to allow the stitches to open up beautifully.
6. Closing & Social Engagement
Congratulations on crafting your very own Alpine Tulip Bag! I’d love to see your version! Leave a comment below sharing your color combinations and any modifications you made. What colors will you choose to make yours unique? Share your finished bag on social media using the hashtag #AlpineTulipBag – let’s celebrate your creativity together!