crochet adorable and unique bunny amigurumi in one day free pattern 5
2. Introduction
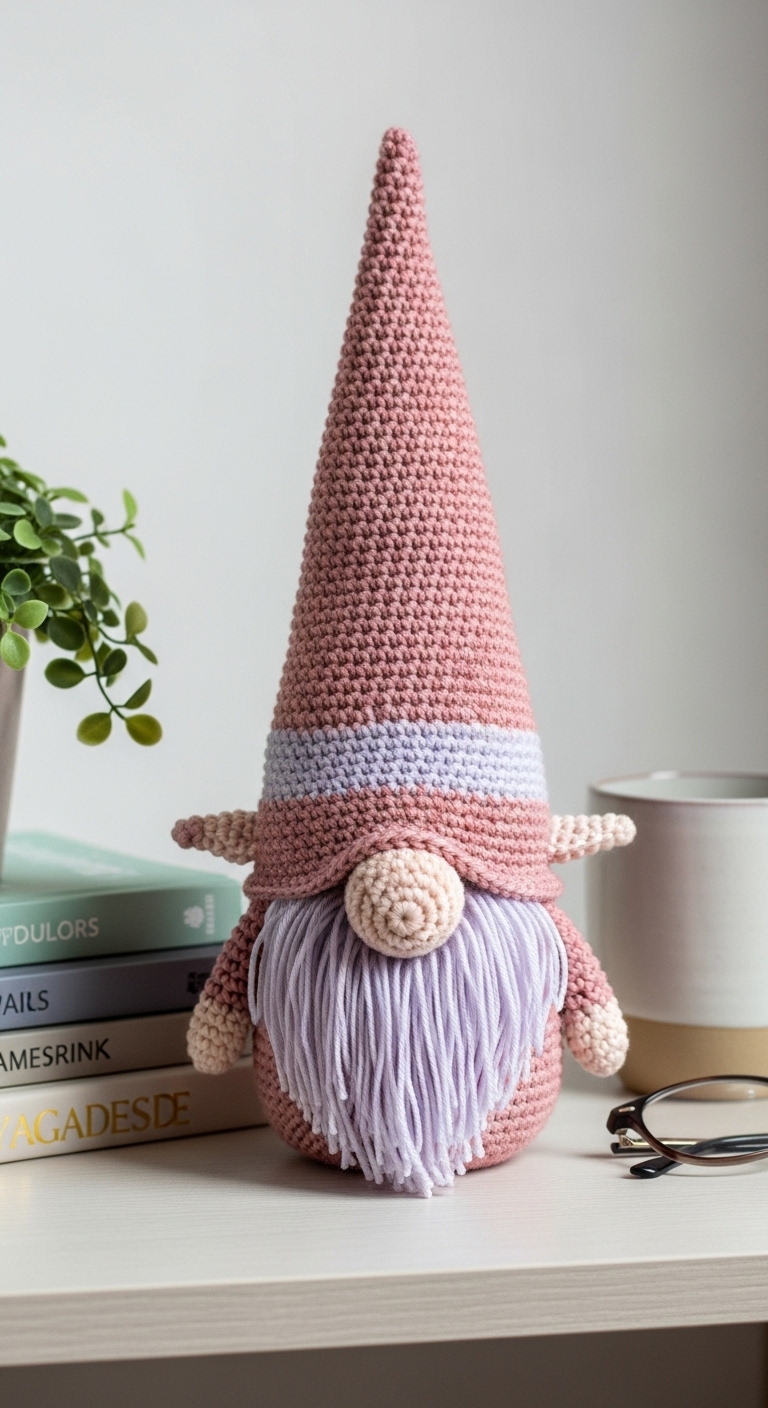
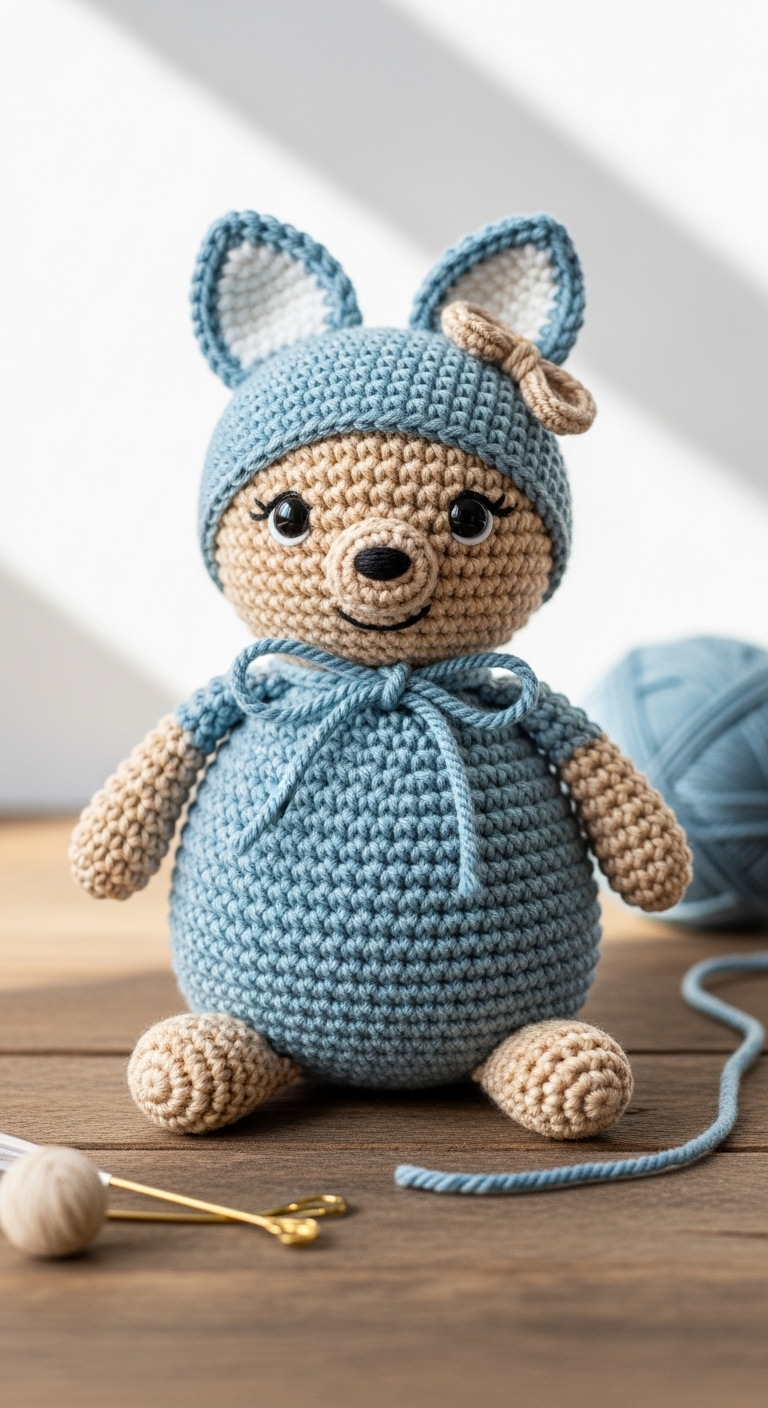
Welcome to your next delightful crochet project: the adorable and unique bunny amigurumi! This charming bunny stands at approximately 10 inches tall, making it a perfect cuddle buddy or decorative piece for your home. With its sweet little features and floppy ears, this bunny is bound to bring a smile to anyone’s face. For this project, you’ll be using a soft, worsted weight yarn in two complementary adult-friendly colors — a soft lavender paired with a gentle cream. This color combination offers a sophisticated yet playful look that will appeal to both young and adult audiences alike.
What makes this pattern extra special is how quick it is to complete! In just one day, you can have your very own bunny to cherish or gift. It’s a fantastic project for beginners, as it primarily utilizes basic crochet stitches, while also providing a wonderful opportunity for intermediate crocheters to perfect their crafting skills. This amigurumi bunny is an ideal gift for Easter, baby showers, or simply as a token of love for someone special.
3. Materials Needed
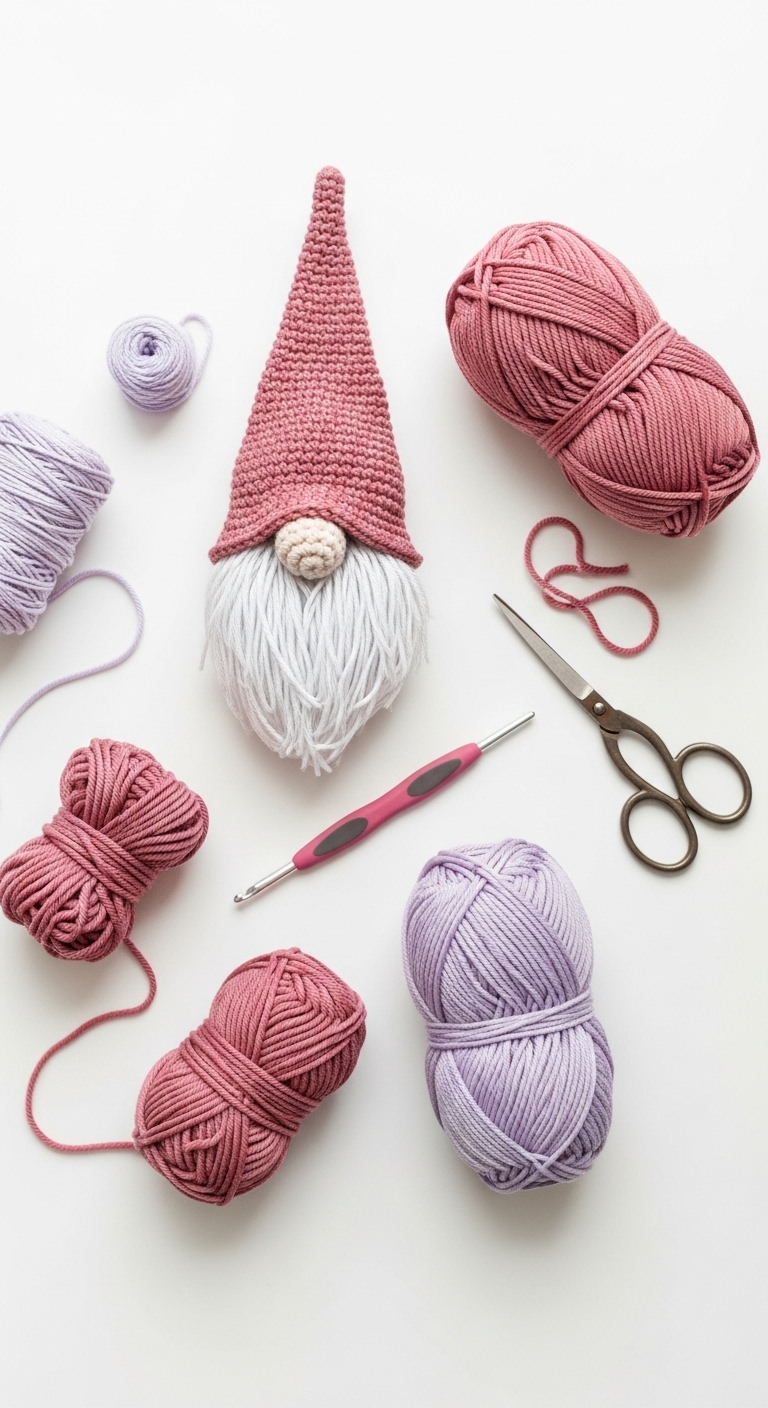
– Yarn: Worsted weight yarn in lavender (approximately 150 yards) and cream (approximately 50 yards)
– Hook: 3.5mm or 4.0mm crochet hook
– Eyes: 12mm safety eyes OR black embroidery thread for stitching
– Stuffing: Polyester fiberfill stuffing
– Needle: Tapestry needle for sewing
– Marker: Stitch marker
– Optional extras: Pipe cleaners for added ear stability (if desired)
4. Designer Notes / Tips
Here are a few important notes to help you along the way:
– Stitch technique: This pattern primarily uses single crochet (sc), along with increases (inc) and decreases (dec) to shape the bunny. Be sure to keep your tension consistent to maintain a neat appearance throughout.
– Stuffing density: For a plush feel, use a light stuffing. If you prefer a firmer bunny, feel free to pack it a bit more firmly.
– Assembly: When joining the limbs and head to the body, take care to position them symmetrically. It may help to use a stitch marker to hold them temporarily in place while you sew.
– Yarn substitutions: If you can’t find the exact yarn, any soft worsted weight yarn will do. Cotton yarns can also work, but they may create a firmer texture.
– Gauge tips: Although gauge is not crucial for amigurumi, if you want your bunny to be the same size, aim for a fabric that is tight enough to prevent stuffing from showing through.
– Safety considerations: If your bunny is intended for a small child, consider stitching the eyes on instead of using safety eyes to eliminate any choking hazards.
5. Pattern Instructions
For Plushies:
Head:
*Stuff the head before closing.*
Body:
*Stuff the body as you go.*
Arms/Legs:
*Lightly stuff each limb before closing.*
Ears:
*Do not stuff the ears; keep them floppy.*
Tail:
*Stuff lightly before closing.*
Assembly:
– Attach the safety eyes to the head between rounds 5 and 6, about 5 stitches apart.
– Sew the head onto the body using the tapestry needle.
– Attach the arms and legs evenly on the body.
– Position the ears on top of the head and stitch them securely.
– Finally, sew the tail onto the back of the bunny.
6. Closing & Social Engagement
I hope you enjoy creating this charming bunny amigurumi! There’s something so rewarding about crafting a handmade toy, and I can’t wait to see how your version turns out! Don’t forget to leave a comment below sharing your thoughts or any color combinations you plan to use. Be sure to share your finished bunny on social media; I would love to see your beautiful creations!