crayon gnome free crochet pattern

2. Introduction
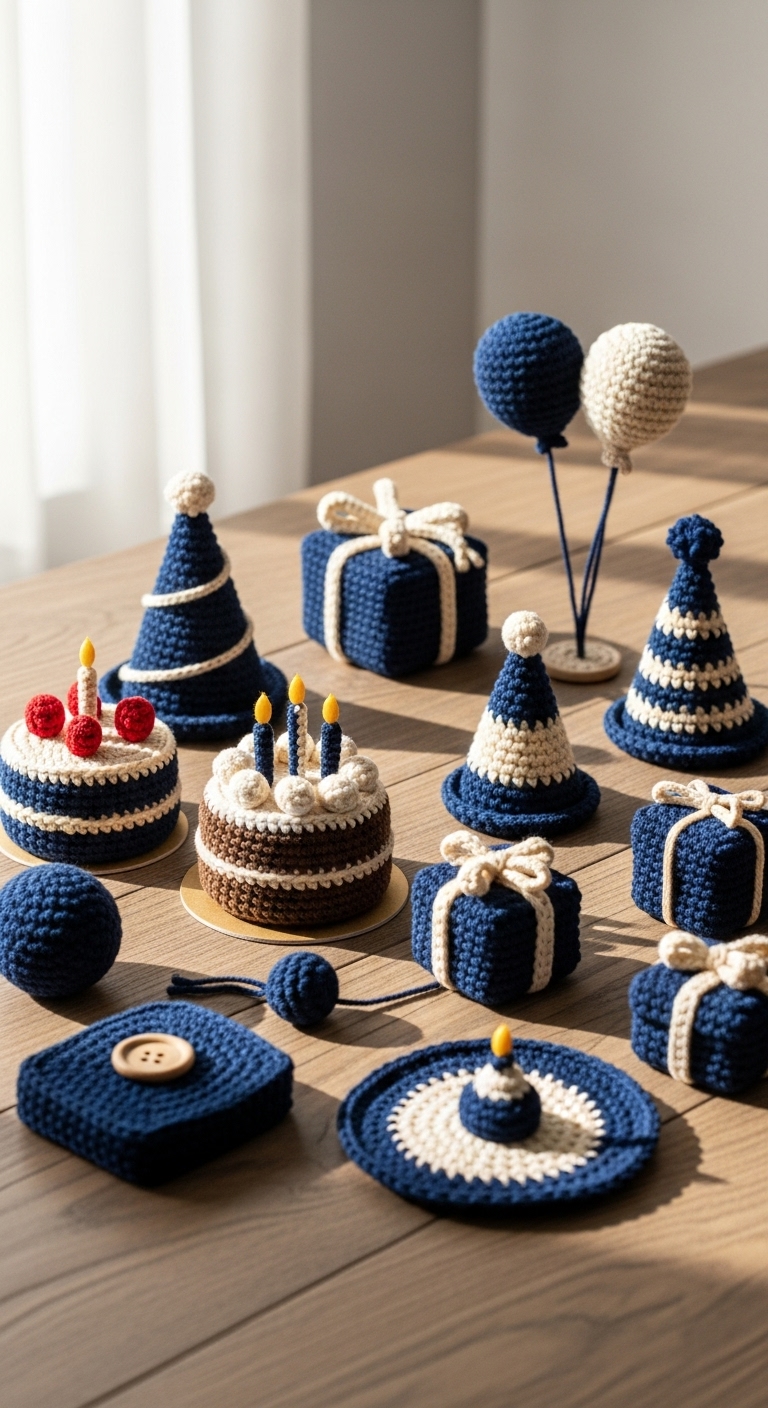
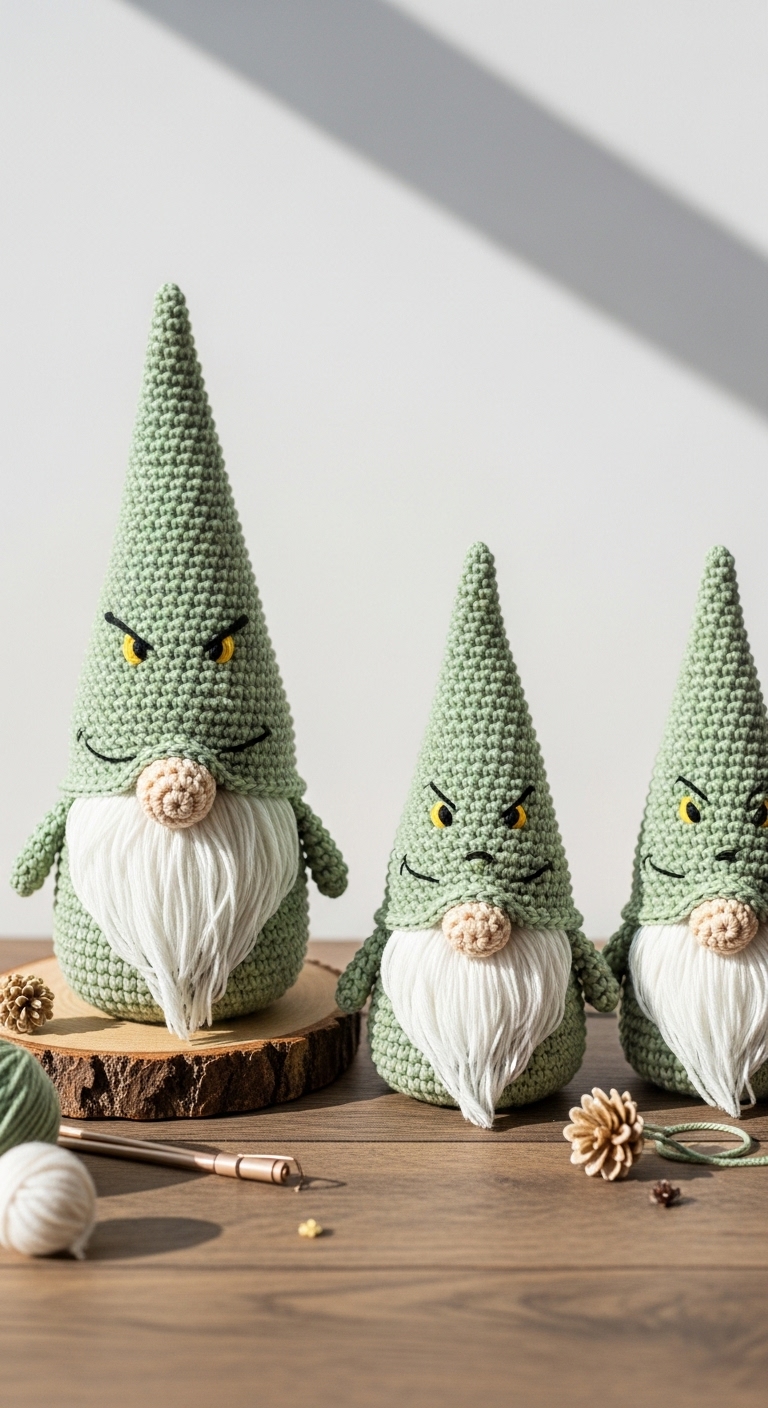
Welcome to the whimsical world of crochet with our delightful Crayon Gnome free crochet pattern! This charming little gnome stands approximately 8 inches tall, making it the perfect size for a playful decor piece or a sweet companion for kids and adults alike. With its vibrant colors reminiscent of a crayon box, this gnome embodies creativity and fun, sure to bring a smile to anyone who lays eyes on it.
For this project, you’ll need worsted weight yarn in rich, complementary colors like bright yellow, deep blue, and cheerful red. These adult-friendly colors not only reflect the playful spirit of a crayon but also create a modern look that will complement any home decor. This gnome is an enjoyable and quick project, making it ideal for both beginner and intermediate crocheters looking to enhance their skills. Plus, it’s a fantastic gift idea for birthdays or as a seasonal decoration during the back-to-school period or holidays!
3. Materials Needed
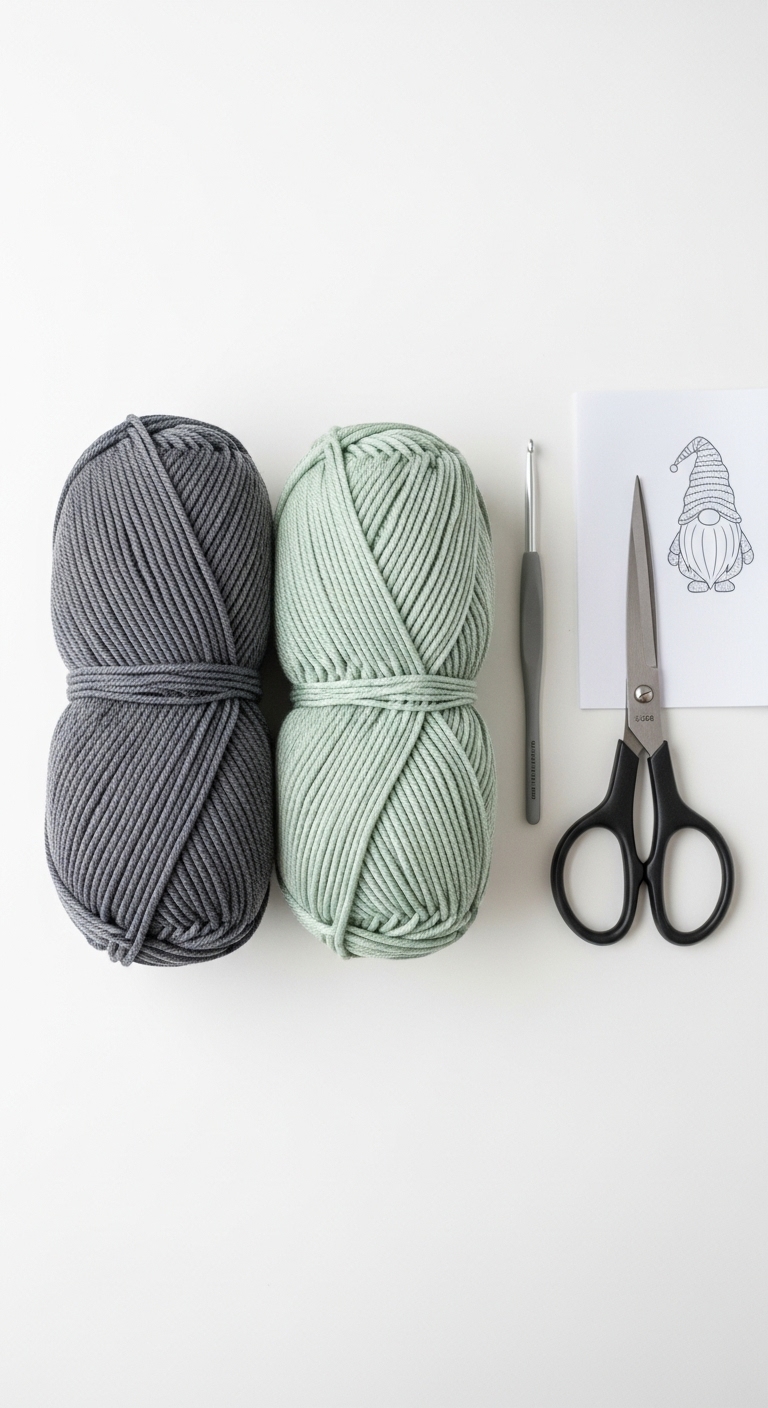
– Yarn: Worsted weight yarn in bright yellow (approximately 100 yards), deep blue (approximately 50 yards), and cheerful red (approximately 50 yards)
– Hook: 3.5mm or 4.0mm crochet hook
– Eyes: 12mm safety eyes
– Stuffing: Polyester fiberfill stuffing
– Needle: Tapestry needle for sewing
– Marker: Stitch marker
– Optional extras: Small buttons for embellishing the gnome’s outfit
4. Designer Notes / Tips
When working on the Crayon Gnome, you’ll be using basic stitches such as single crochet (sc) and increase (inc) techniques. Don’t worry if you’re a beginner; these stitches are straightforward and will help you develop your crochet skills. For a more textured finish, consider using a half double crochet (hdc) in some rounds of the body.
When stuffing your gnome, aim for a firm yet squishy density. This will help your gnome maintain its shape without feeling too stiff. A good practice is to stuff lightly at first, then gradually add more stuffing until you’re satisfied with the firmness.
As you assemble your gnome, remember to use a tapestry needle to weave in any loose ends and secure all pieces, ensuring everything is tightly attached. If you wish to substitute yarn, look for similar worsted weight fibers that have a soft texture to maintain the cuddly feel of the gnome.
Lastly, gauge isn’t critical for this pattern, but if you want your gnome to be the exact size mentioned, aim for a tension that allows you to comfortably fit 5 sc in a 1-inch square.
5. Pattern Instructions
For Plushies:
Head:
Body:
Hat:
Assembly:
– Attach the hat to the top of the head and sew securely.
– Position the head on top of the body, ensuring it is centered, and sew in place.
– If desired, use small buttons to embellish the gnome’s body.
6. Closing & Social Engagement
Congratulations on creating your very own Crayon Gnome! I’d love to see your version! Leave a comment below sharing your thoughts and any color combinations you chose. What colors will you try next? Don’t forget to share your finished creation on social media; tag me so we can celebrate your crochet journey together!