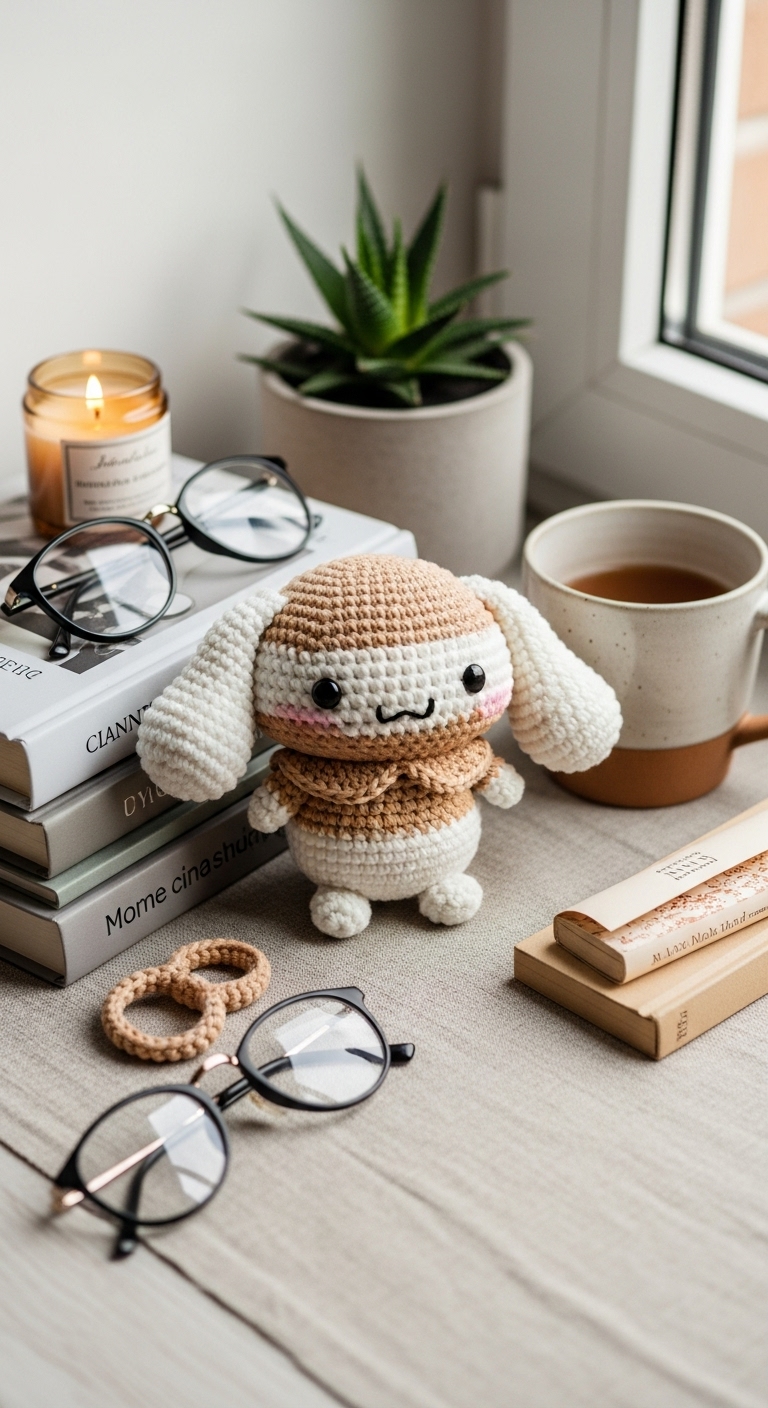
Cinnamoroll – Free Crochet Pattern
2. Introduction
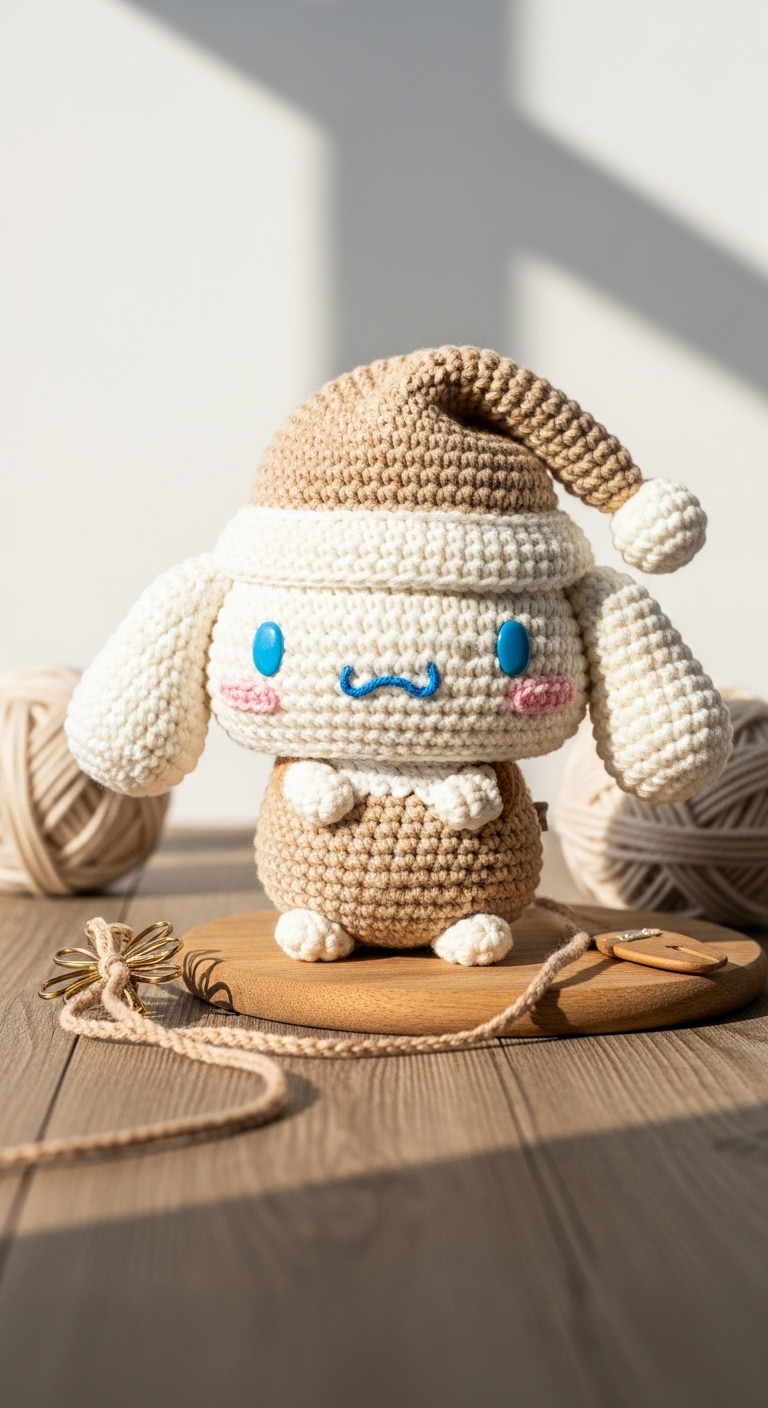
Welcome to the delightful world of crochet with our Cinnamoroll plushie pattern! This adorable plushie measures approximately 10 inches long, making it the perfect snuggle buddy or decorative accent for your space. Cinnamoroll, with its endearing big ears and charming smile, will surely bring joy to anyone who receives it.
For this project, we’ll be using a soft worsted weight yarn in a soothing palette of sky blue, cream, and light pink. These adult-friendly colors not only capture Cinnamoroll’s signature look but also provide a sophisticated touch that can easily blend into any modern home decor. This pattern is a fun and quick project that is suitable for crocheters of all skill levels, especially beginners looking to expand their skills with plushies. With the holiday season around the corner, Cinnamoroll makes a fabulous gift for friends and family, or a delightful treat for yourself!

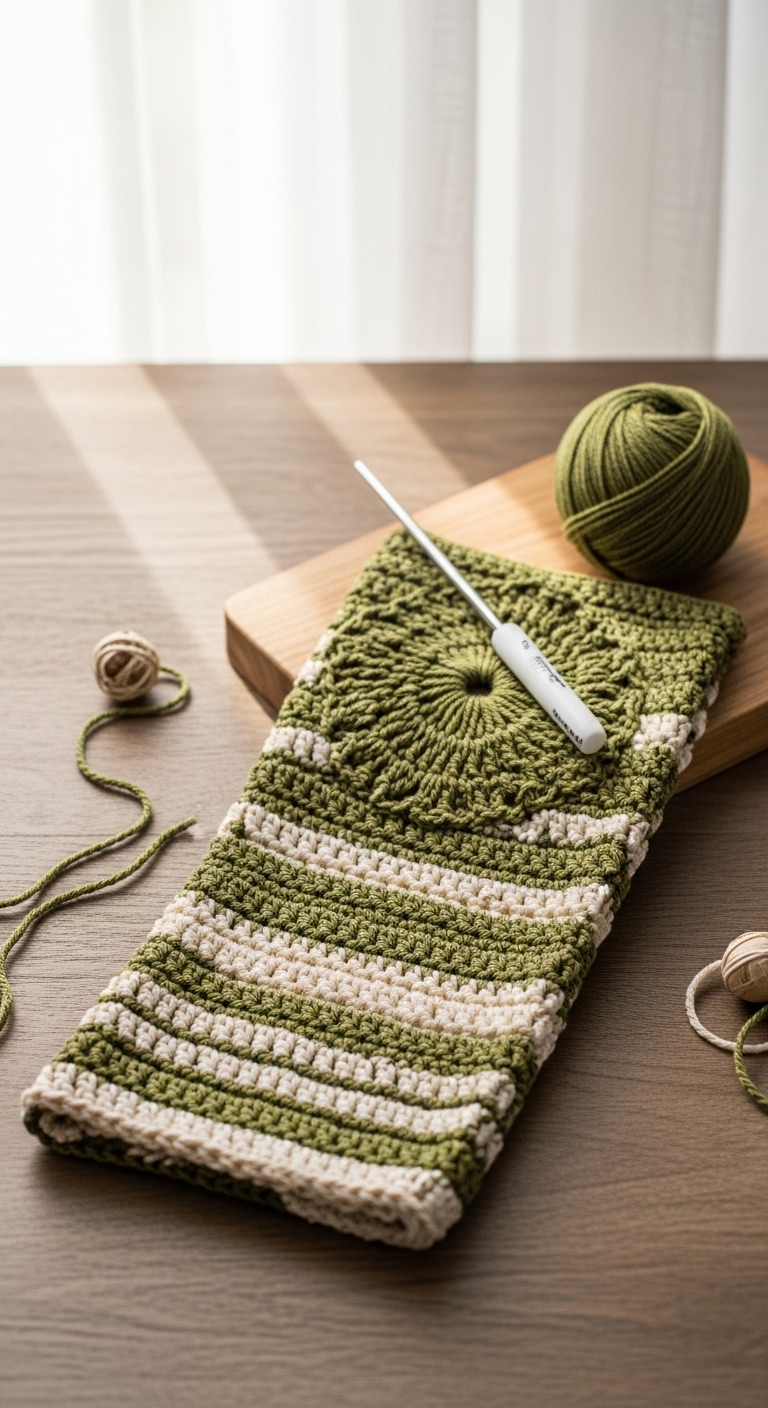
3. Materials Needed
– Yarn: Worsted weight yarn in cream (approx. 200 yards), sky blue (approx. 50 yards), and light pink (approx. 50 yards)
– Hook: 3.5mm or 4.0mm crochet hook
– Eyes: 12mm safety eyes OR black embroidery thread
– Stuffing: Polyester fiberfill stuffing
– Needle: Tapestry needle for sewing
– Marker: Stitch marker
– Optional extras: Pipe cleaners (for a sturdier tail), embroidery floss for additional facial features
4. Designer Notes / Tips
When crocheting Cinnamoroll, you’ll primarily use basic stitches, but feel free to experiment with your tension to achieve a plush texture. It’s best to aim for a firm stuffing density to keep the plushie shape while ensuring it remains cuddly. Consider stuffing the head more firmly than the body to maintain the character’s proportions.
For assembly, I recommend using a whip stitch to join various parts together. This will give your plushie a seamless finish. If you’re new to crocheting plushies, don’t forget that gauge isn’t as critical here, as plushies are often forgiving in size. However, if you would like to keep a consistent look, aim for a tighter tension to avoid gaps in your stitches, especially when stuffing. If you’re creating this for children, consider using securely fastened features to ensure safety.
5. Pattern Instructions
For Plushies:
Head:
*Stuff the head firmly before the next round.*
Body:
*Stuff the body lightly before closing.*
Arms (make 2):
*Leave long tails for sewing.*
Legs (make 2):
*Leave long tails for sewing.*
Ears (make 2):
Tail:
Assembly:
1. Attach safety eyes to the head between rounds 7 and 8.
2. Sew the head to the body using the tapestry needle.
3. Attach the arms on either side of the body and legs at the bottom.
4. Sew the ears on top of the head, shaping them to curve outward slightly for that cute floppy look.
5. Finally, attach the tail at the back of the body for a finishing touch.
6. Closing & Social Engagement
I can’t wait to see your version of Cinnamoroll! Don’t forget to leave a comment below sharing your experience or any color combinations you tried. This pattern invites creativity, so think about the different shades you can use to bring your Cinnamoroll to life! Feel free to share your finished plushie on social media with the hashtag #CinnamorollCrochet — let’s celebrate the joy of handmade creations together!