christmas tree gnome free crochet pattern
2. Introduction
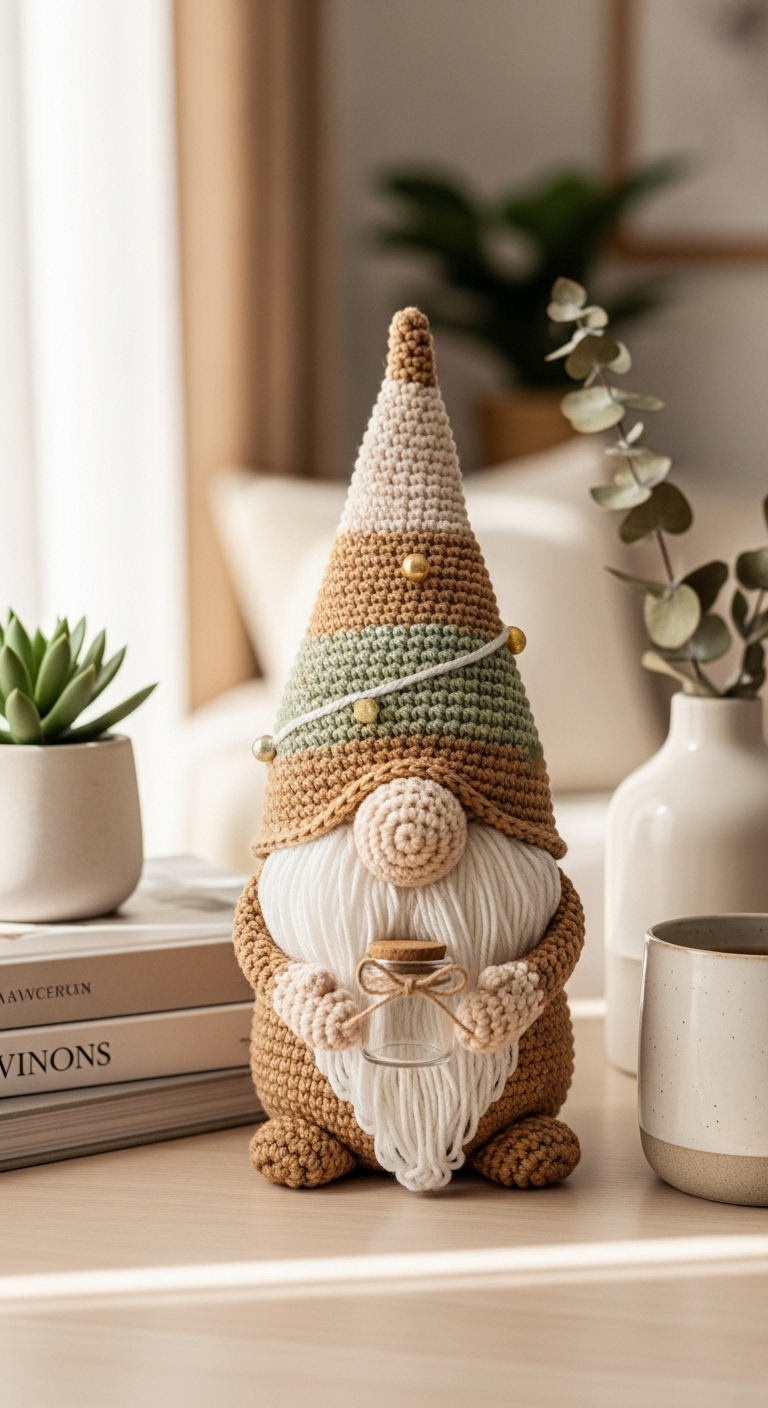
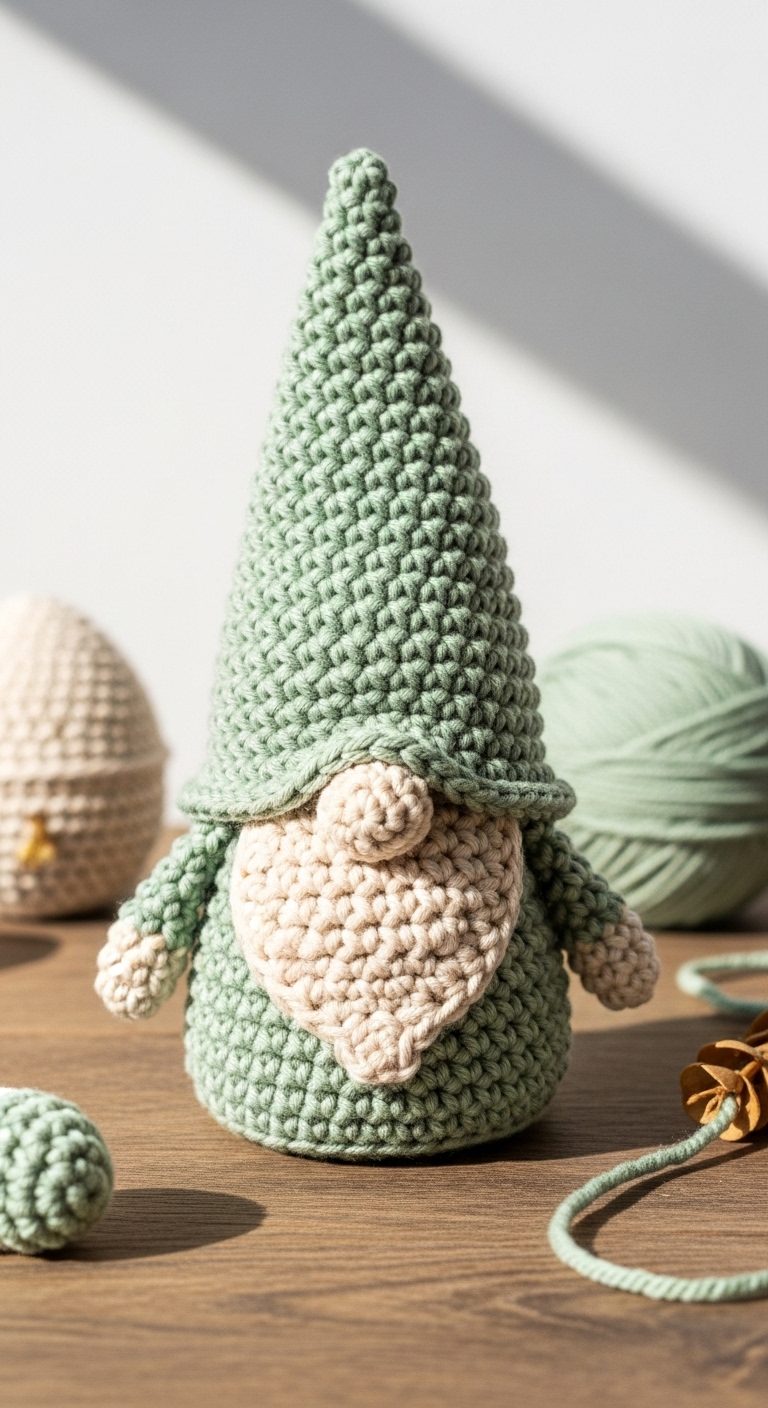
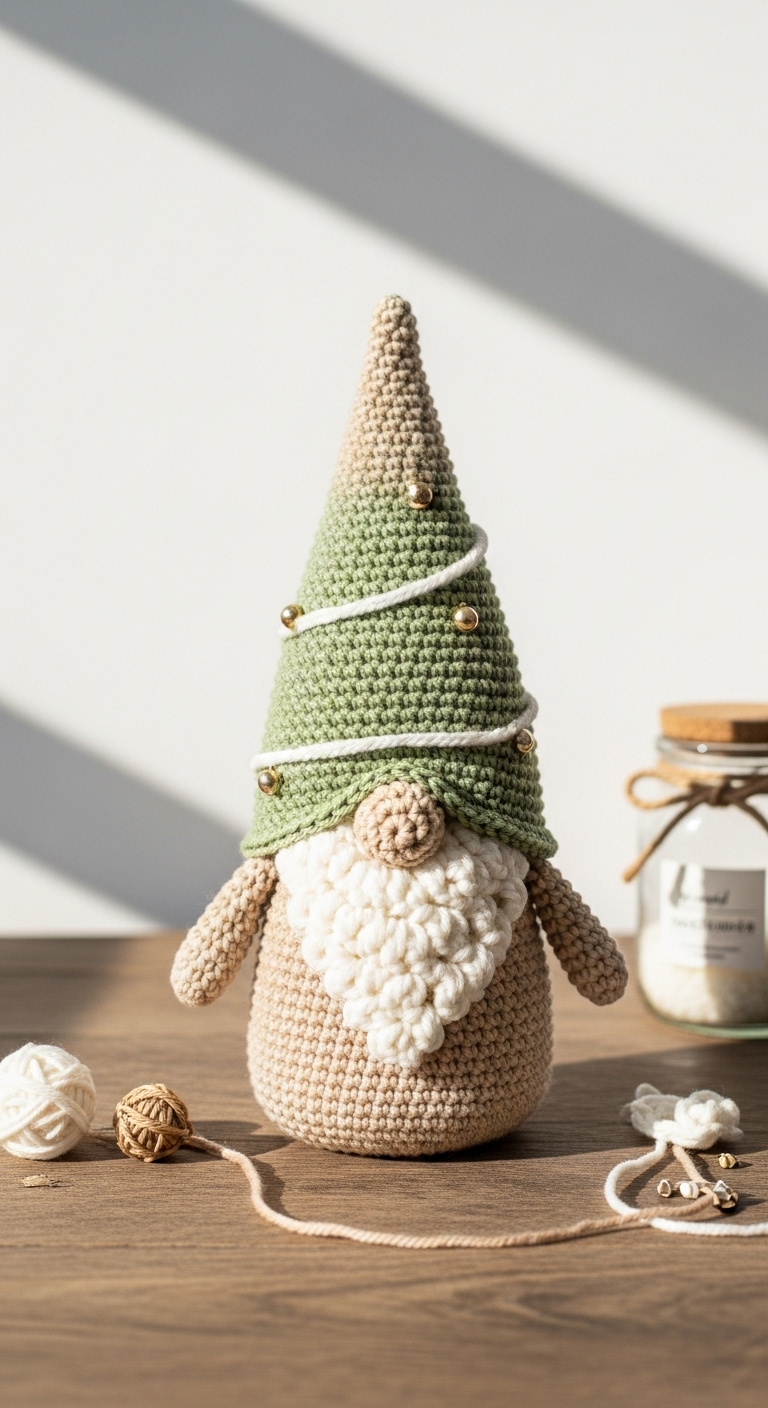
Get ready to bring a touch of whimsy to your holiday decor with this delightful Christmas Tree Gnome crochet pattern! Standing approximately 12 inches tall, this charming gnome is adorned with a festive tree-shaped hat that makes it an eye-catching addition to any Christmas display. Made with soft yarn in a lovely blend of emerald green, warm beige, and bright red, this gnome captures the essence of the holiday season while maintaining a modern aesthetic.
This project is not only enjoyable and quick to make, but it also serves as a perfect gift for friends and family who appreciate handmade treasures. With its cheerful expression and playful design, the Christmas Tree Gnome is sure to bring smiles and joy to anyone lucky enough to receive it! Suitable for intermediate crocheters, this pattern also provides a wonderful opportunity for beginners to level up their skills with straightforward stitches and assembly techniques.
3. Materials Needed
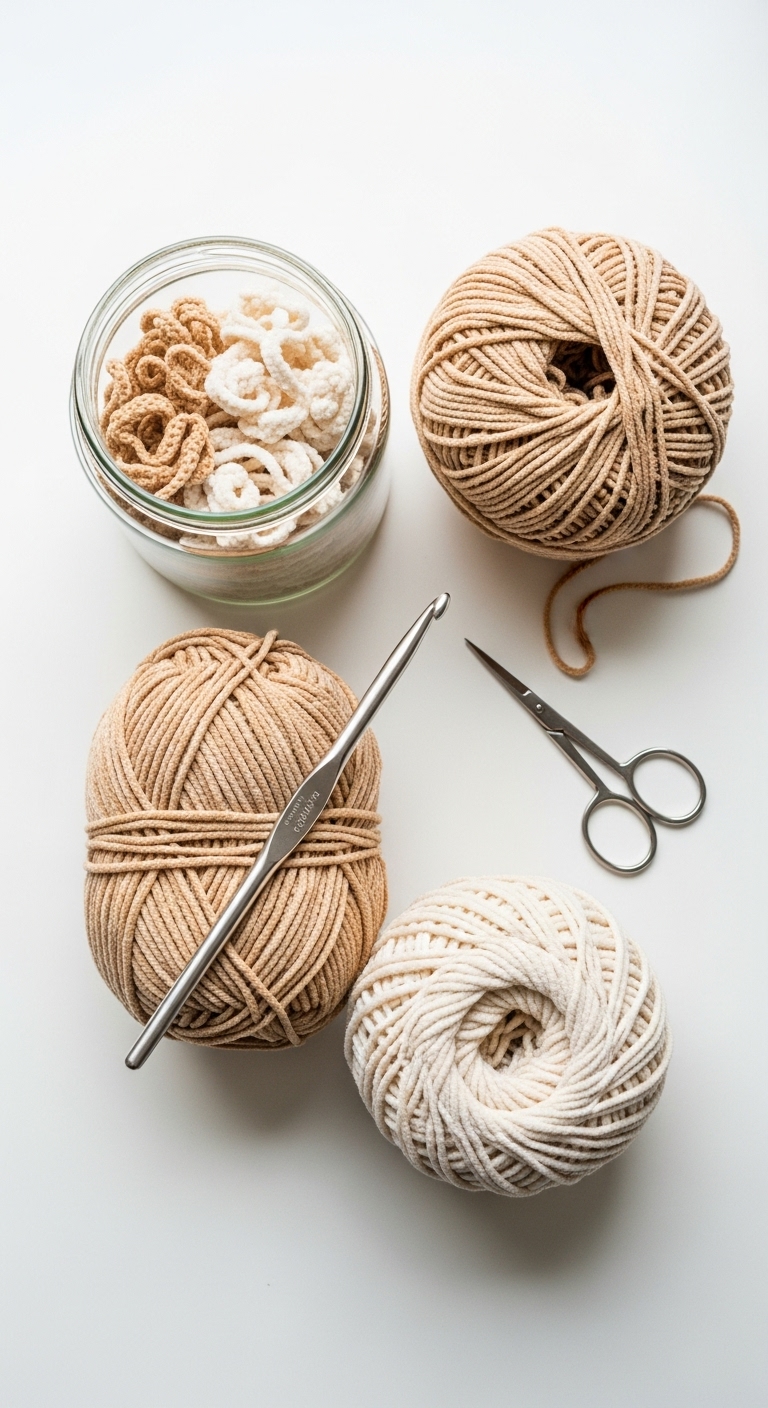
– Yarn: Worsted weight yarn in emerald green (approx. 150 yards), warm beige (approx. 50 yards), and bright red (approx. 30 yards)
– Hook: 3.5mm or 4.0mm crochet hook
– Eyes: Safety eyes (12mm) OR black embroidery thread
– Stuffing: Polyester fiberfill stuffing
– Needle: Tapestry needle for sewing
– Marker: Stitch marker
– Optional extras: Pipe cleaners for the gnome’s beard, felt for embellishments
4. Designer Notes / Tips
Before you dive into the pattern, here are some tips to make your crochet experience smoother:
– Stitch technique: This pattern primarily uses single crochet (sc) stitches, but you’ll also encounter increases (inc) and decreases (dec) to shape the gnome. Take your time to ensure your tension is consistent, especially when transitioning between colors.
– Stuffing density: For the gnome, a light, airy stuffing works best to keep its shape without being too rigid. However, the bottom can be stuffed a bit firmer for stability.
– Assembly: When joining pieces, make sure to secure your stitches tightly to avoid gaps. Use the tapestry needle to weave ends in securely.
– Yarn substitutions: If you’d like to use a different yarn, consider a bamboo or cotton blend for a unique texture, while still maintaining the same weight.
– Gauge tips: Check your gauge to ensure your gnome is the right size. If you find your stitches are too loose, try a smaller hook.
– Safety considerations: If making this gnome for a small child, consider using embroidered eyes instead of safety eyes, and ensure all small parts are securely attached.
5. Pattern Instructions
For Plushies:
Head:
Body:
Arms (make 2):
Hat:
Assembly:
1. Attach safety eyes or embroider eyes onto the head.
2. Sew the head to the body, ensuring it is centered.
3. Attach arms just below the head and sew securely.
4. Position the hat atop the head, adjusting it to your liking, and secure it with stitches.
5. If desired, add a pipe cleaner to create a beard or embellish the hat with felt shapes.
6. Closing & Social Engagement
Now that you’ve finished your festive Christmas Tree Gnome, I’d love to see your version! Leave a comment below and share what color combination you chose. Don’t forget to share your finished gnome on social media and spread the holiday cheer!
