Christmas Elf Plush – Free Crochet Pattern (Amigurumi)
2. Introduction
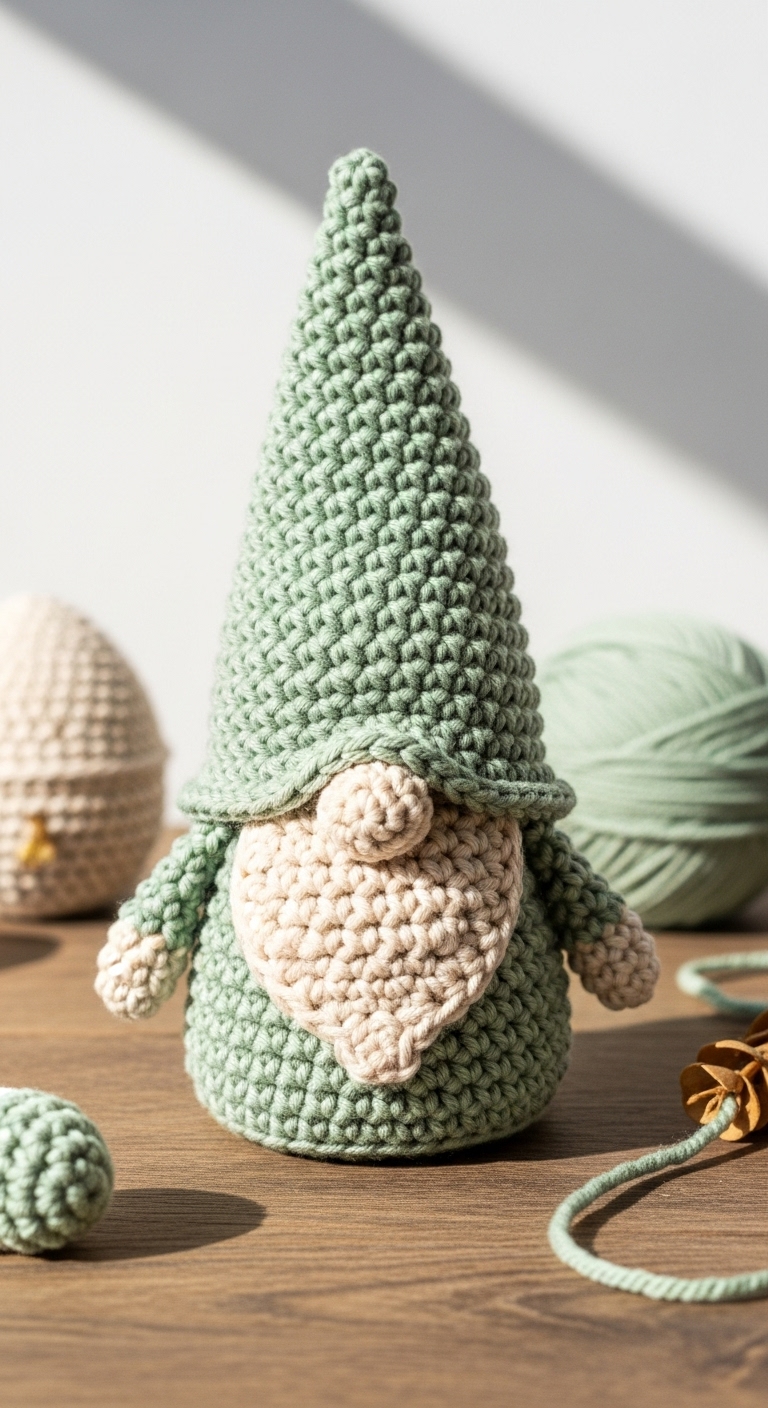
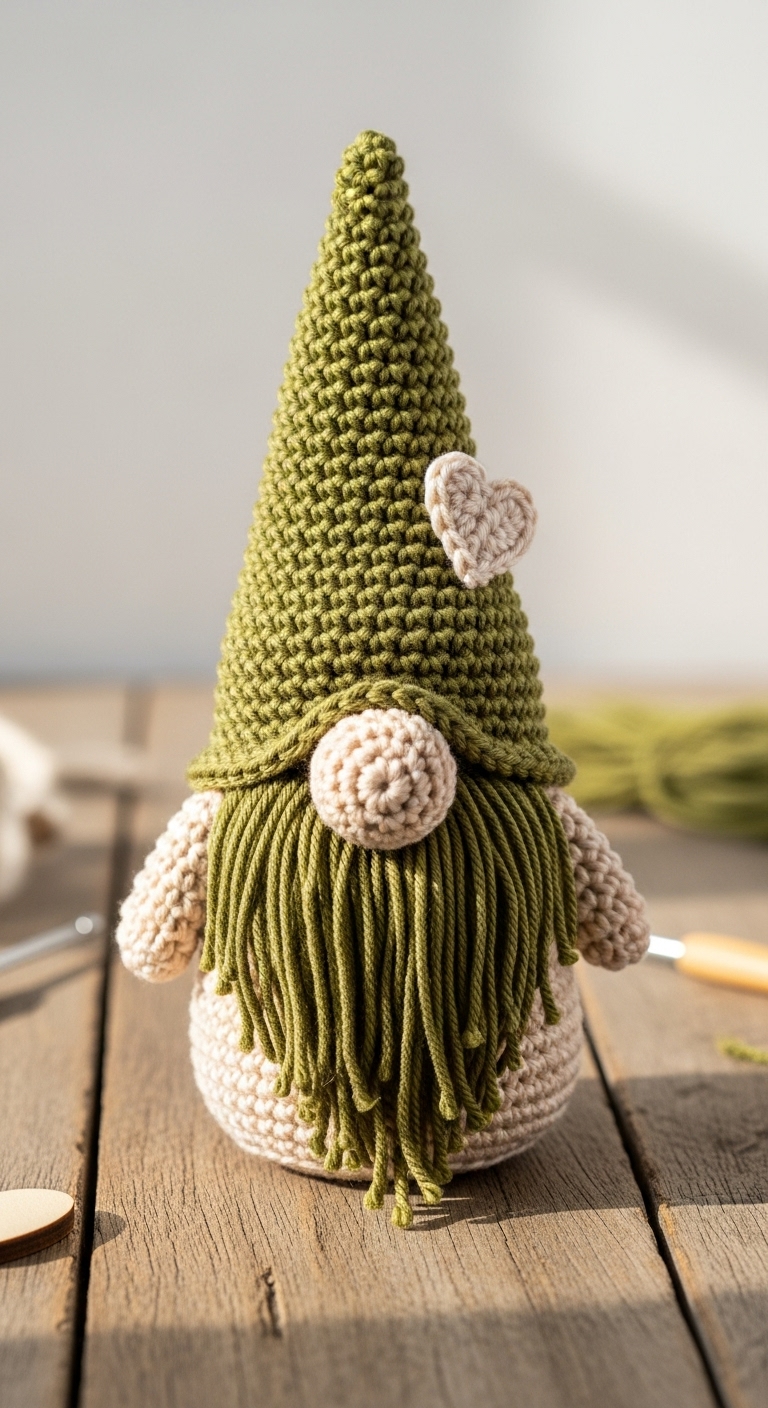
This delightful Christmas Elf Plush is a wonderful addition to your holiday decor or a charming gift for loved ones! Standing at approximately 10 inches tall, this adorable amigurumi elf is sure to bring smiles and festive cheer. With its whimsical design and cheerful demeanor, it’s a project that embodies the spirit of the season, making it perfect for the holidays.
For this project, you’ll need medium weight yarn in vibrant, adult-friendly colors such as deep green, rich red, and soft cream. These complementary shades not only reflect the classic Christmas palette but also add a touch of modern sophistication, making this plush elf suitable for any home decor. Plus, you’ll delight in how quickly this project comes together—ideal for crocheters looking to create something special in a short amount of time.
This pattern is beginner-friendly, making it a fantastic choice for those just starting their crochet journey. Whether you’re looking to enhance your skills or create a memorable gift for someone special, this Christmas Elf Plush is a joyful project to tackle during the festive season.
3. Materials Needed
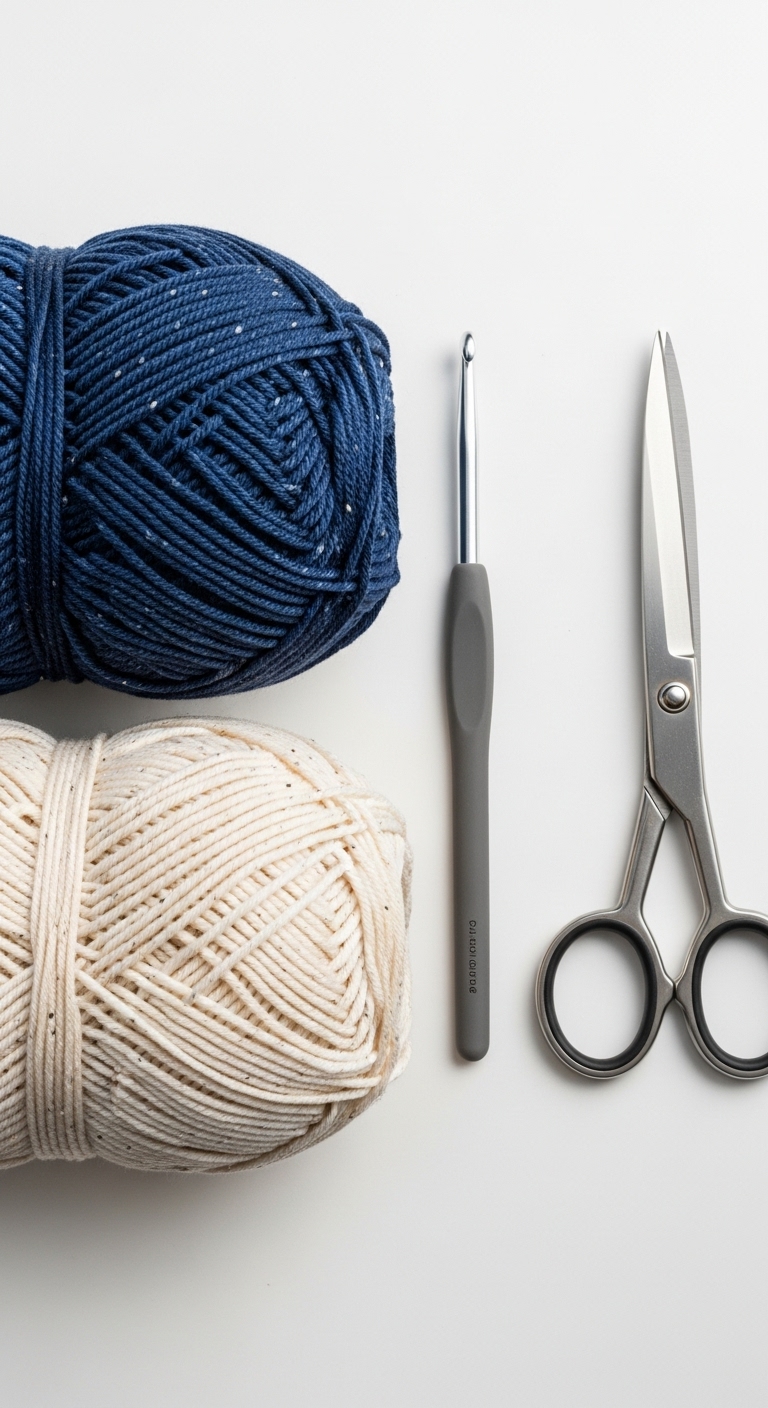
– Yarn: Medium weight yarn (Worsted weight) in the following colors:
– Deep Green: Approximately 100 yards
– Rich Red: Approximately 50 yards
– Soft Cream: Approximately 30 yards
– Hook: 3.5mm or 4.0mm crochet hook
– Eyes: 12mm safety eyes OR black embroidery thread for stitching
– Stuffing: Polyester fiberfill stuffing
– Needle: Tapestry needle for sewing pieces together
– Marker: Stitch marker to keep track of rounds
– Optional extras: Small jingle bells for added charm, felt for embellishments, or a tiny hat embellishment
4. Designer Notes / Tips
– Stitch technique: This pattern primarily uses single crochet stitches (sc). If you’re new to amigurumi, don’t worry if the stitches feel tight at first; the texture will smooth out as you progress.
– Stuffing density: For the elf, aim for medium-density stuffing. You want it to be firm enough to hold its shape, but soft enough to give it a cuddly feel.
– Assembly: When joining pieces, use a whip stitch or slip stitch to create seamless joins. Make sure to stuff the limbs before closing them completely.
– Yarn substitutions: If you prefer a softer feel, consider using a cotton or bamboo yarn which will give the elf a lovely drape.
– Gauge tips: While gauge is not critical for this project, if you want your elf to be a specific size, be sure to check your tension. Aim for a tight stitch to prevent stuffing from showing through.
– Safety considerations: If this plush is intended for young children, consider using embroidered eyes instead of safety eyes to eliminate any choking hazard.
5. Pattern Instructions
For Plushies:
Head
Round 1: 6 sc in magic ring (6)
Round 2: inc in each st (12)
Round 3: [sc, inc] repeat (18)
Round 4: [2 sc, inc] repeat (24)
Rounds 5-10: sc in each st (24)
Round 11: [2 sc, dec] repeat (18)
Round 12: [sc, dec] repeat (12)
*Stuff the body and attach to the head using the long tail.*
Round 1: 6 sc in magic ring (6)
Round 2-5: sc in each st (6)
*Stuff lightly and attach to either side of the body.*
Round 1: 6 sc in magic ring (6)
Round 2: inc in each st (12)
Rounds 3-6: sc in each st (12)
*Stuff lightly and attach to the bottom of the body.*
Round 1: 6 sc in magic ring (6)
Round 2: inc in each st (12)
Round 3: [sc, inc] repeat (18)
*Fold and sew to the top of the head.*
“`
Assembly
– Position the arms and legs symmetrically. Use the tapestry needle to sew them securely.
– Optionally, you can add small jingle bells to the elf’s hat or shoes for an extra festive touch.
6. Closing & Social Engagement
Thank you for joining me on this crochet journey! I can’t wait to see your version of the Christmas Elf Plush. Leave a comment below about your favorite color combinations, or share photos of your finished plush on social media! Remember, every handmade item carries a touch of love—enjoy every stitch!