beaded bucket bag crochet pattern
2. Introduction
Welcome to the world of crochet accessories! Today, we’ll be crafting a stylish beaded bucket bag that’s not only trendy but also incredibly functional. This bag measures approximately 10 inches tall and 8 inches in diameter, making it the perfect size for a day out or a casual evening. Its unique design features a delicate arrangement of beads that elevate the overall look, creating a chic piece that complements any outfit.
For this project, we’ll be using medium-weight cotton yarn in a stunning palette of soft cream, earthy taupe, and rich burgundy. These complementary colors not only provide a sophisticated aesthetic but are also easy to find. Crocheting this bag is a wonderful experience, as it combines fundamental stitches with the added texture of beads, making it a fun and engaging project. The beaded bucket bag is beginner-friendly, with clear instructions that will help you build confidence in your crochet skills. Plus, it makes for a fantastic gift for a loved one or a delightful personal accessory for the upcoming season.
3. Materials Needed
– Yarn: Medium-weight cotton yarn in cream (approx. 300 yards), taupe (approx. 150 yards), and burgundy (approx. 150 yards).
– Hook: 4.0mm crochet hook
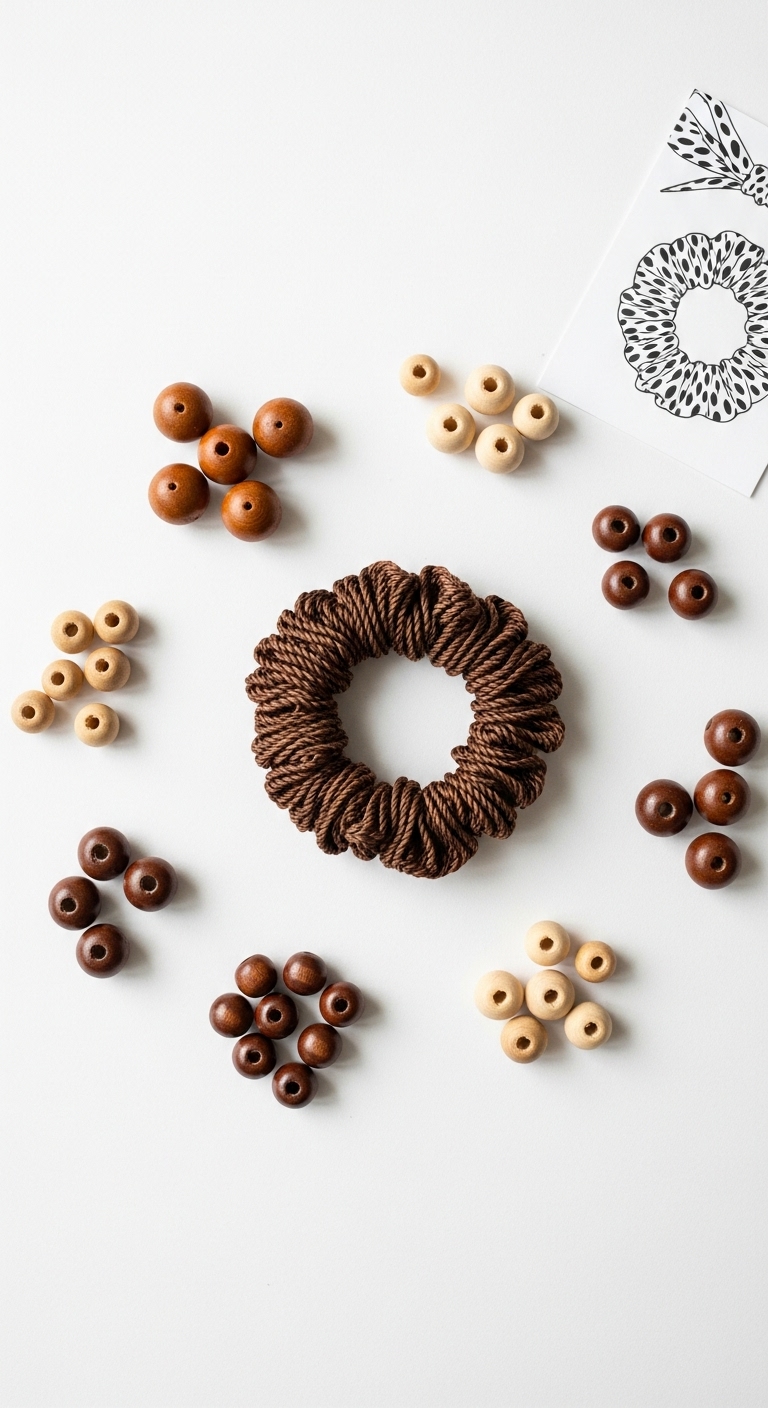
– Beads: Approximately 50 beads (size 6mm) in a complementary color for embellishment
– Needle: Tapestry needle for sewing
– Marker: Stitch marker
– Optional extras: A drawstring or fabric lining for added structure and style
4. Designer Notes / Tips
– Stitch technique: This pattern utilizes basic stitches such as single crochet (sc) and half double crochet (hdc). Make sure to maintain a consistent tension to ensure that your bag holds its shape.
– Stuffing density: Since this is a bucket bag, you won’t need stuffing. However, if you choose to line the bag, consider using a lightweight fabric to help the bag maintain its structure while remaining flexible.
– Assembly: When connecting different parts of your bag, take your time to ensure neat joins. Using a slip stitch (sl st) can create a seamless look.
– Yarn substitutions: If you prefer a different yarn type, consider using acrylic yarn for a budget-friendly option, but keep in mind that it may alter the overall drape of the bag.
– Gauge tips: Aim for a gauge of 4 inches = 12 sc, which will help ensure your bag is the correct size.
– Safety considerations: If you’re making this bag as a gift for a child, consider using plastic beads instead of glass, and ensure that any small parts are securely attached to prevent choking hazards.
5. Pattern Instructions
For Accessories:
Main Panel:
Body:
*Repeat Round 18 until the bag reaches approximately 7 inches in height.*
Adding Beads:
*Before starting the final round, thread your beads onto the yarn. When you reach the end of a round, add a bead by pulling the working yarn through the bead before completing the stitch.*
Closure:
*If you’re adding a drawstring, chain 60 and weave it through the top round of the bag. This will create a secure closure.*
Finishing:
– Fasten off and weave in all ends. If you choose to line the bag, measure the interior and cut fabric to fit, sewing it in place before the final round.
6. Closing & Social Engagement
I hope you enjoyed this beaded bucket bag crochet pattern! It’s a creative way to express your style while enhancing your crochet skills. Don’t hesitate to share your progress or any variations you make; I’d love to see your version! Leave a comment below about your color combinations or any tips you found helpful during the process.
What color combination will you try? Share your finished bag on social media, and let the crochet community celebrate your creativity with you!