Bat Plush – Free Crochet Pattern (Amigurumi)
2. Introduction
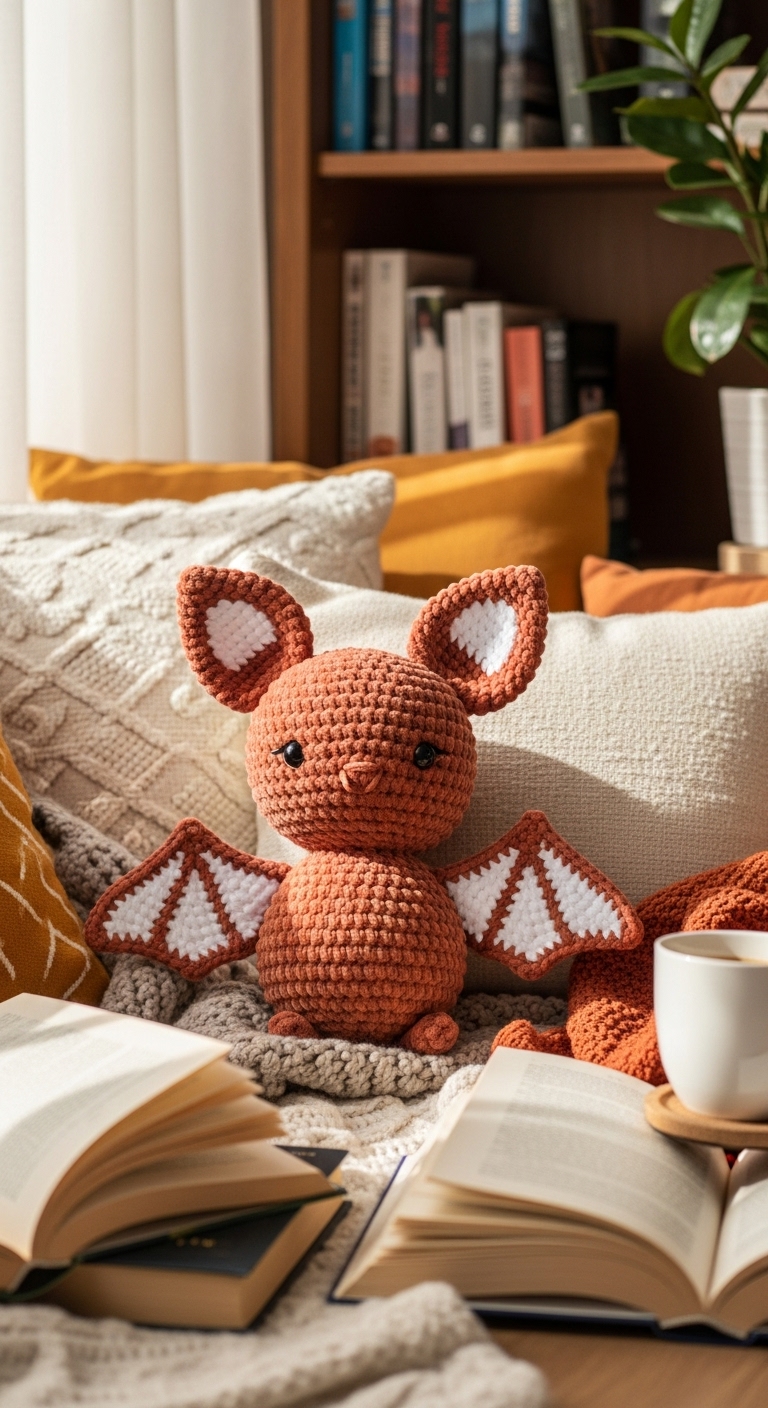
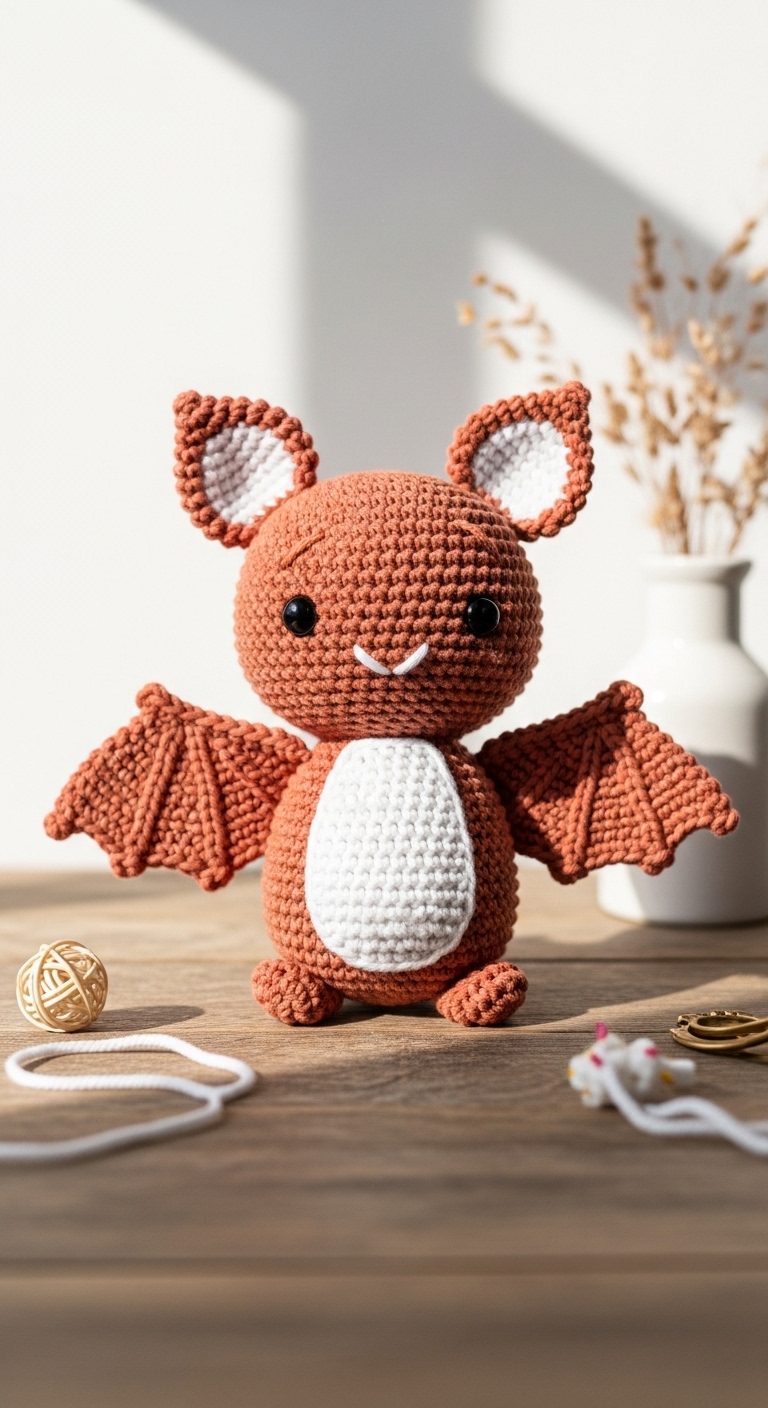
Welcome to the enchanting world of amigurumi with this delightful Bat Plush crochet pattern! Measuring approximately 8 inches from ear to toe, this charming little bat plushie is perfect for adding a whimsical touch to your home or gifting to a fellow crochet lover. Using a soft, cozy yarn in shades of deep purple, black, and a subtle hint of silver, this project not only looks fantastic but feels great too!
This Bat Plush is a fast and fun project, making it an excellent choice for crafters of all skill levels—especially beginners eager to try their hand at stuffed toys. Its friendly face and bat-like wings make it a seasonal favorite for Halloween, but it’s also an adorable companion year-round. Whether you’re decorating for spooky season or looking for a unique gift, this bat is sure to bring a smile!

3. Materials Needed
– Yarn: Worsted weight yarn in deep purple (approx. 150 yards), black (approx. 50 yards), and silver (approx. 20 yards)
– Hook: 3.5mm or 4.0mm crochet hook
– Eyes: 12mm safety eyes
– Stuffing: Polyester fiberfill stuffing
– Needle: Tapestry needle for sewing
– Marker: Stitch marker
– Optional extras: Pipe cleaners for added wing support
4. Designer Notes / Tips
– Stitch technique: This pattern primarily uses single crochet (sc) stitches, which are perfect for creating the smooth, rounded shapes of the bat. To add texture, consider using a back loop only (BLO) stitch for the wings.
– Stuffing density: For a plush and cuddly feel, use light stuffing. However, if you prefer a more structured form, feel free to stuff the plushie a bit firmer.
– Assembly: When joining pieces, ensure that you use a whip stitch for a seamless finish. This will help the plushie maintain its shape.
– Yarn substitutions: If you don’t have worsted weight yarn on hand, any soft yarn in similar colors will do—just keep in mind that this may affect the final size of your plushie.
– Gauge tips: While gauge is not critical for this project, aiming for an even tension will help maintain consistency in your stitches and overall look.
– Safety considerations: If you’re making this plushie for a small child, consider using embroidered eyes instead of safety eyes to avoid any choking hazards.
5. Pattern Instructions
For Plushies:
Head
*Stuff the head lightly before finishing.*
Body
*Make sure to stuff the body firmly before completing.*
Arms
*Stuff the arms lightly and leave a long tail for sewing.*
Ears
*You will need two ears. Stuff them lightly.*
Wings
*Make sure to use pipe cleaners if you want the wings to be poseable. Finish off and leave a long tail for joining.*
Assembly
1. Attach safety eyes to the head between Rounds 8 and 9.
2. Sew the ears to the top of the head.
3. Join the arms to the sides of the body.
4. Sew the head onto the body.
5. Attach the wings to the back of the body.
6. Weave in all loose ends and give your bat a little squeeze to fluff it up!
6. Closing & Social Engagement
Congratulations on creating your very own Bat Plush! It’s such a satisfying project that adds a unique touch to your crochet collection. I’d love to see your version! Leave a comment below sharing your experience or any color combinations you tried. What color combination will you choose? Share your finished Bat Plush on social media, and let’s spread the joy of crochet together!