anniversary gnome the groom and bride gnome pattern
2. Introduction
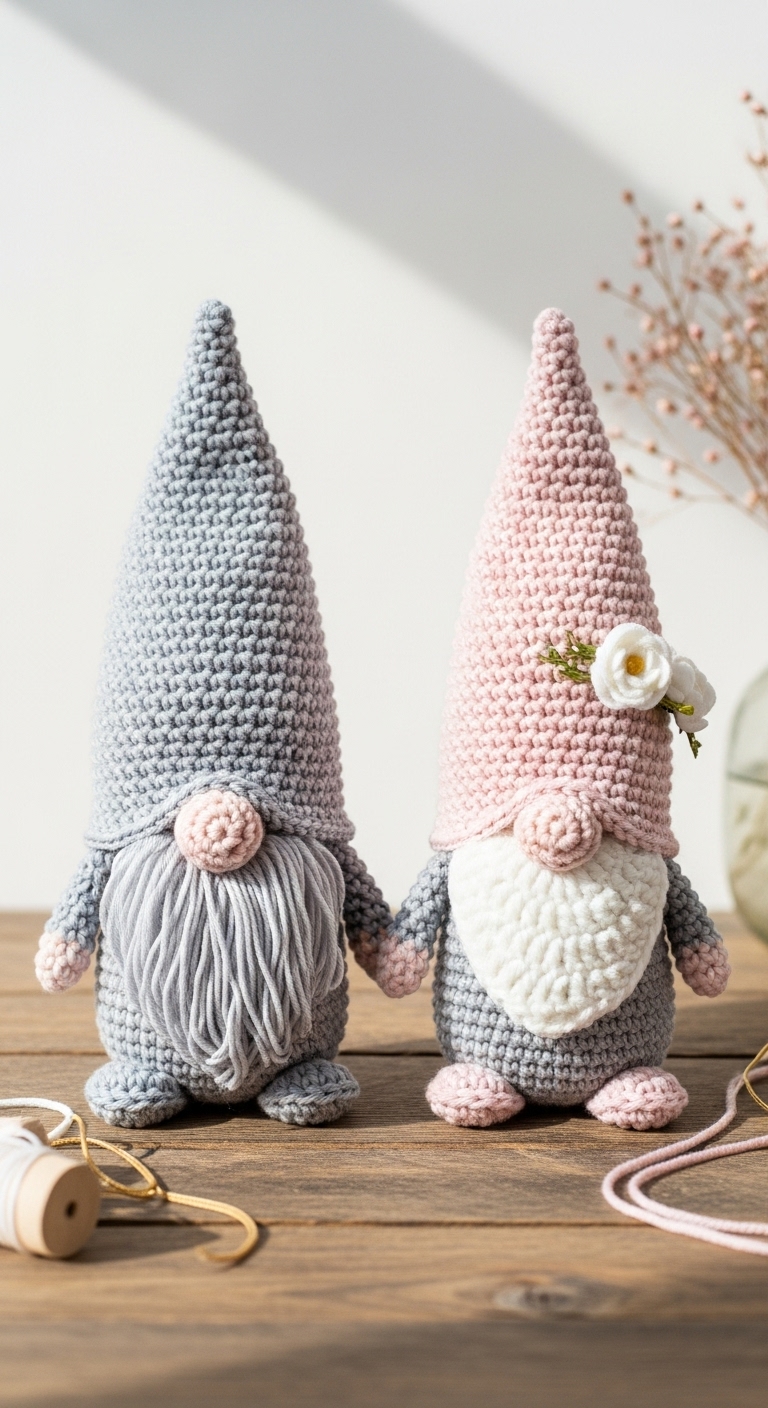
Welcome to this delightful crochet pattern for the Anniversary Gnome: The Groom and Bride Gnome! Standing at approximately 10 inches tall, these charming gnomes are perfect for celebrating love and unity in a whimsical way. Whether you’re making them for a wedding gift, an anniversary celebration, or simply as a fun decoration, they add a unique touch to any occasion.
For this project, we’ll be using soft, durable worsted weight yarn in three classic colors: a sophisticated cream for the bride’s dress, a rich navy blue for the groom’s outfit, and a lovely pastel pink for accents. These adult-friendly colors not only complement each other beautifully but also lend a contemporary feel to the gnomes, making them a joy to create and display.
This project is both fun and quick, making it suitable for crafters of all skill levels. The gnomes are beginner-friendly, with simple stitches and straightforward assembly. Plus, they make for heartfelt gifts that are sure to bring smiles to any couple celebrating their love!
3. Materials Needed
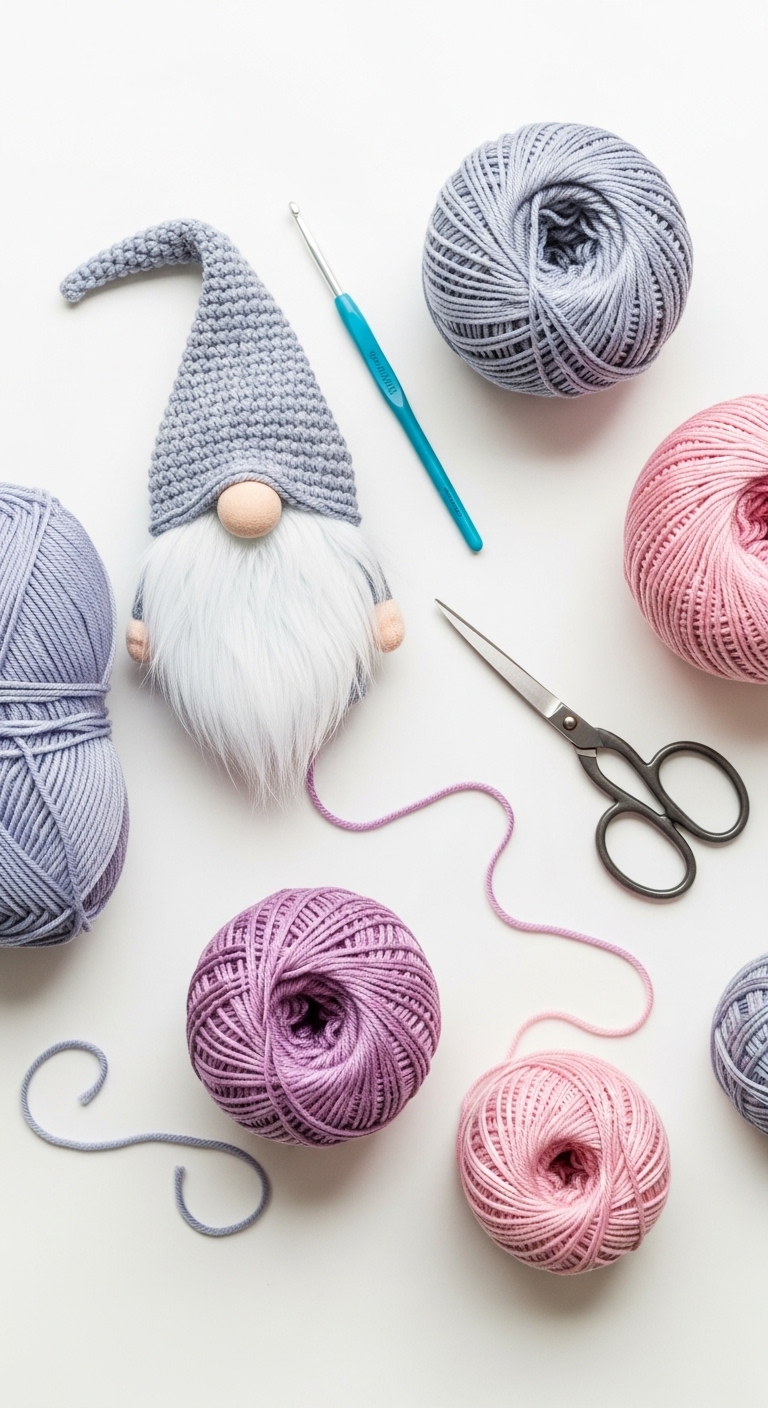
– Yarn: Worsted weight yarn in cream (approx. 150 yards), navy blue (approx. 100 yards), and pastel pink (approx. 50 yards)
– Hook: 3.5mm crochet hook
– Eyes: Safety eyes (12mm) OR black embroidery thread
– Stuffing: Polyester fiberfill stuffing
– Needle: Tapestry needle for sewing
– Marker: Stitch marker
– Optional extras: Tiny bouquet embellishments (like felt flowers), buttons for the groom’s jacket, or a tiny bow tie
4. Designer Notes / Tips
– Stitch technique: For this pattern, we’ll be using basic stitches such as single crochet (sc) and increases (inc) to shape the gnomes. Don’t worry if you’re new to these stitches; follow along closely, and you’ll be fine!
– Stuffing density: Light stuffing is recommended for the body to maintain a soft, cuddly feel, while a firmer stuffing is suggested for the gnome’s hat to help it stand upright.
– Assembly: When joining the pieces, use a whip stitch for a seamless look. Be sure to secure all limbs and hats tightly, but don’t pull too hard to avoid warping the shape.
– Yarn substitutions: If you prefer a more textured look, consider using a soft cotton blend or even a chunky yarn for a cozy, plush effect.
– Gauge tips: For this project, a loose gauge is preferable; aim for a relaxed tension to ensure your gnomes have a nice drape, especially in the hats and outfits.
– Safety considerations: If making this gnome for a child or as a toy, consider stitching the eyes securely with embroidery thread instead of using safety eyes.
5. Pattern Instructions
For Plushies:
Head
– Stuff the head firmly before closing.
Body
– Stuff the body lightly.
Arms (Make 2)
– Leave a long tail for sewing.
Legs (Make 2)
– Stuff lightly and leave a long tail.
Hat (Groom)
– Stuff the tip of the hat lightly.
Assembly
– Attach the head to the body using a tapestry needle and whip stitch.
– Sew the arms and legs onto the body before attaching the hat.
– For the bride, modify the hat with a veil made from a bit of lace or tulle.
6. Closing & Social Engagement
I hope you enjoyed creating the Anniversary Gnome: The Groom and Bride Gnome! I’d love to see your version! Leave a comment below with your thoughts or any questions you may have. What color combination will you try? Share your finished gnomes on social media—let’s celebrate love together!