amigurumi crochet doll cal crochet along part 3 crochet hat and dress
2. Introduction
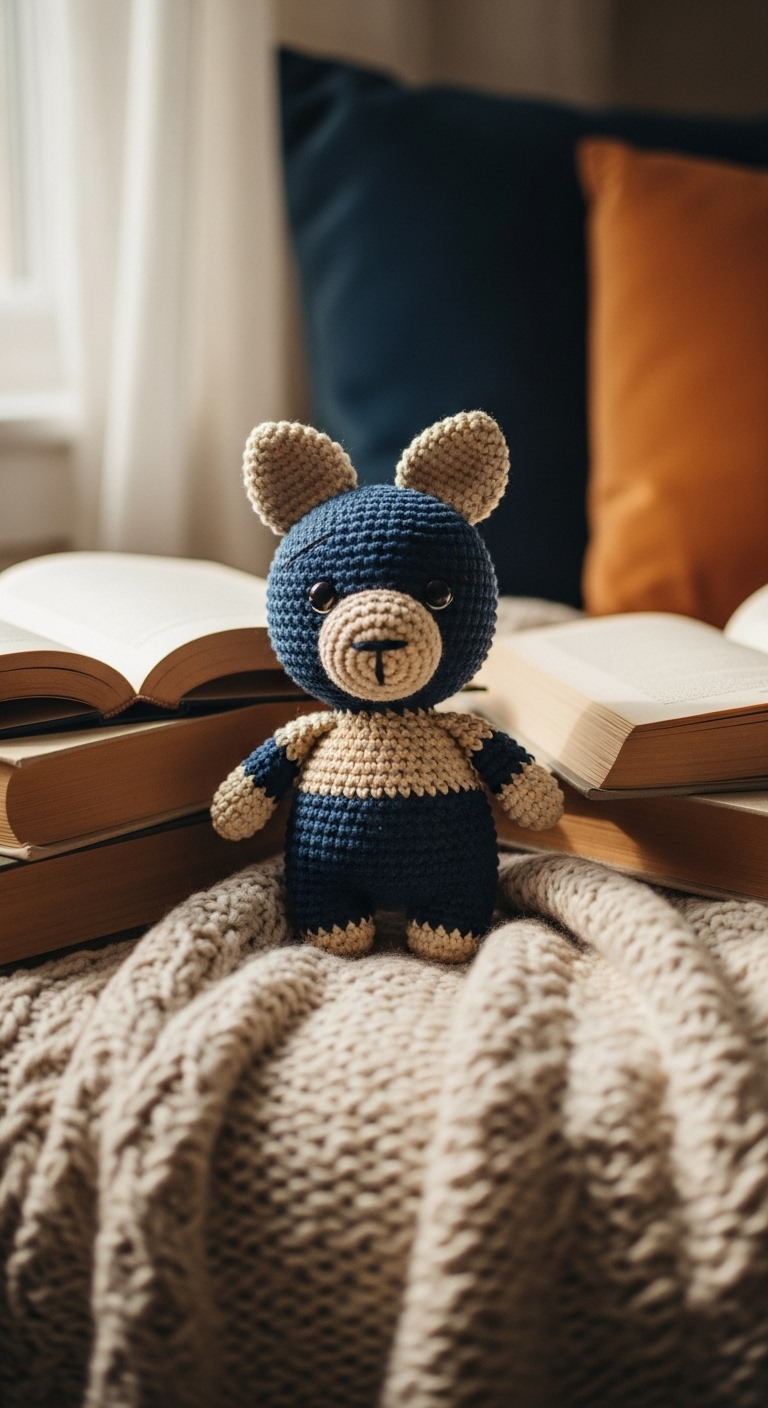
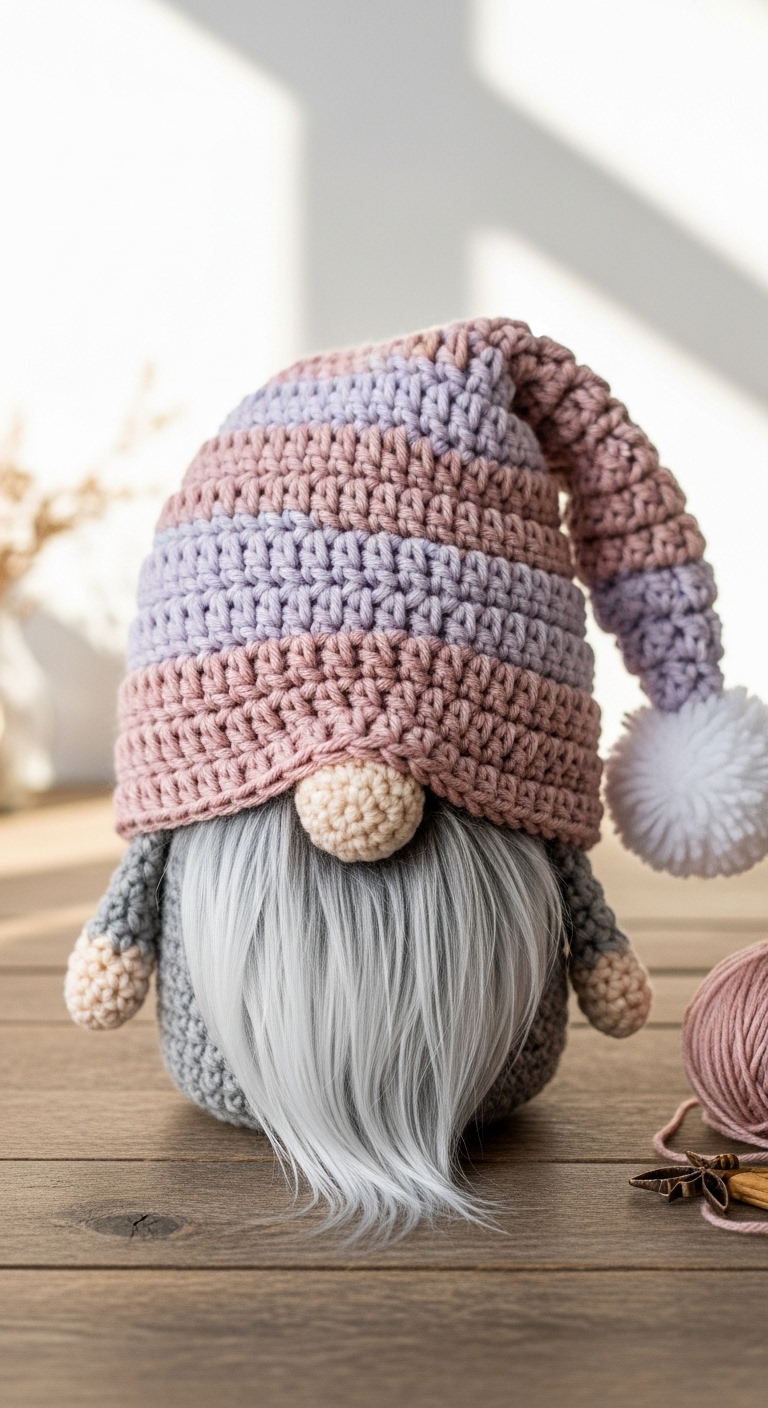
Welcome to Part 3 of our Amigurumi Crochet Doll CAL (Crochet Along)! In this section, we will be creating an adorable hat and a charming dress for your amigurumi doll. When completed, your doll will stand approximately 12 inches tall, making it the perfect size for hugging or for displaying on a shelf.
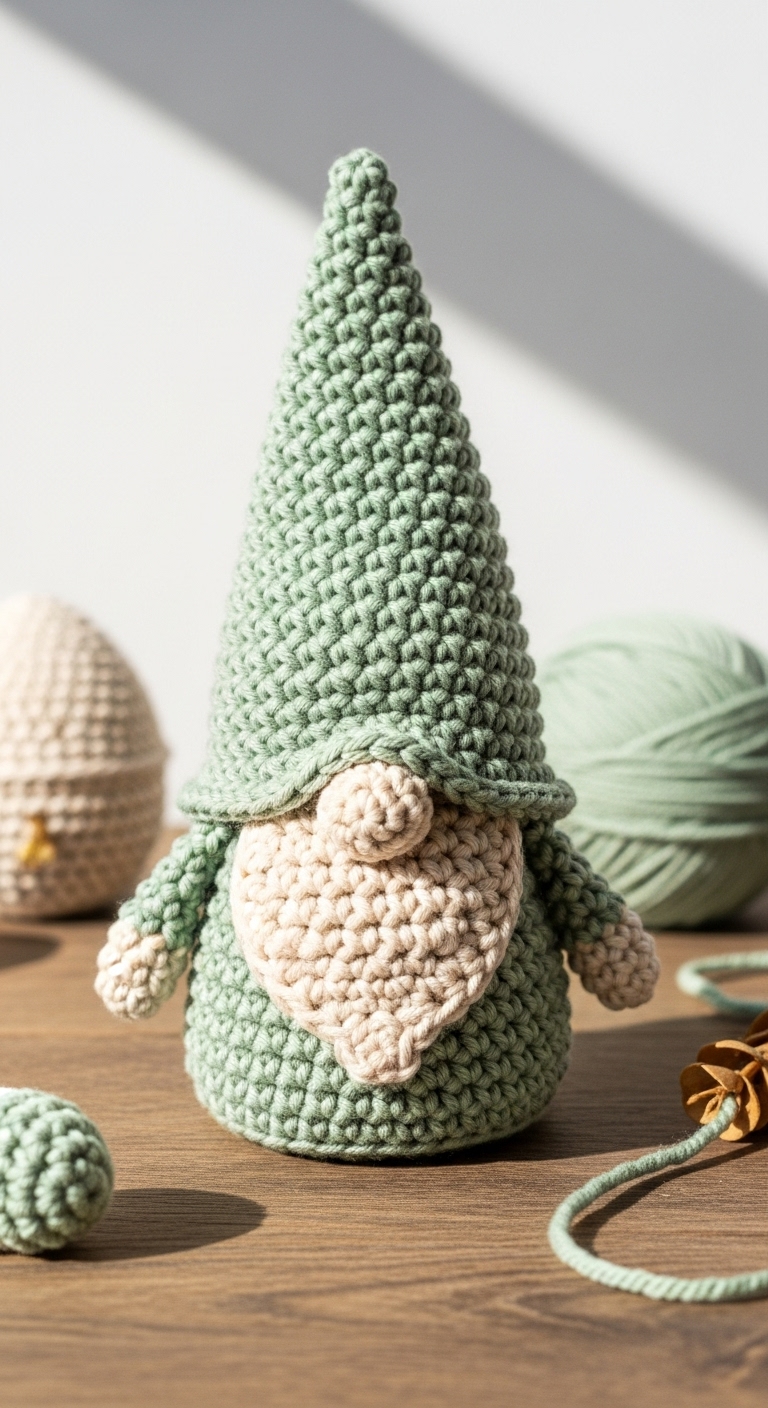
For this project, we’ll be using soft worsted weight yarn in a delightful palette of lavender, cream, and mint green. These adult-friendly colors not only complement one another beautifully, but they also give your doll a whimsical charm that can fit right into any home decor. This project is not only fun and quick to complete but also special in that it allows you to customize your doll’s look, making it a thoughtful gift for birthdays or holidays.
This pattern is designed to be beginner-friendly, so don’t worry if you’re new to crochet! The instructions are straightforward and will guide you through each step of the process. Whether you’re crafting for a child or simply indulging in your crochet hobby, this project is sure to bring joy and satisfaction.
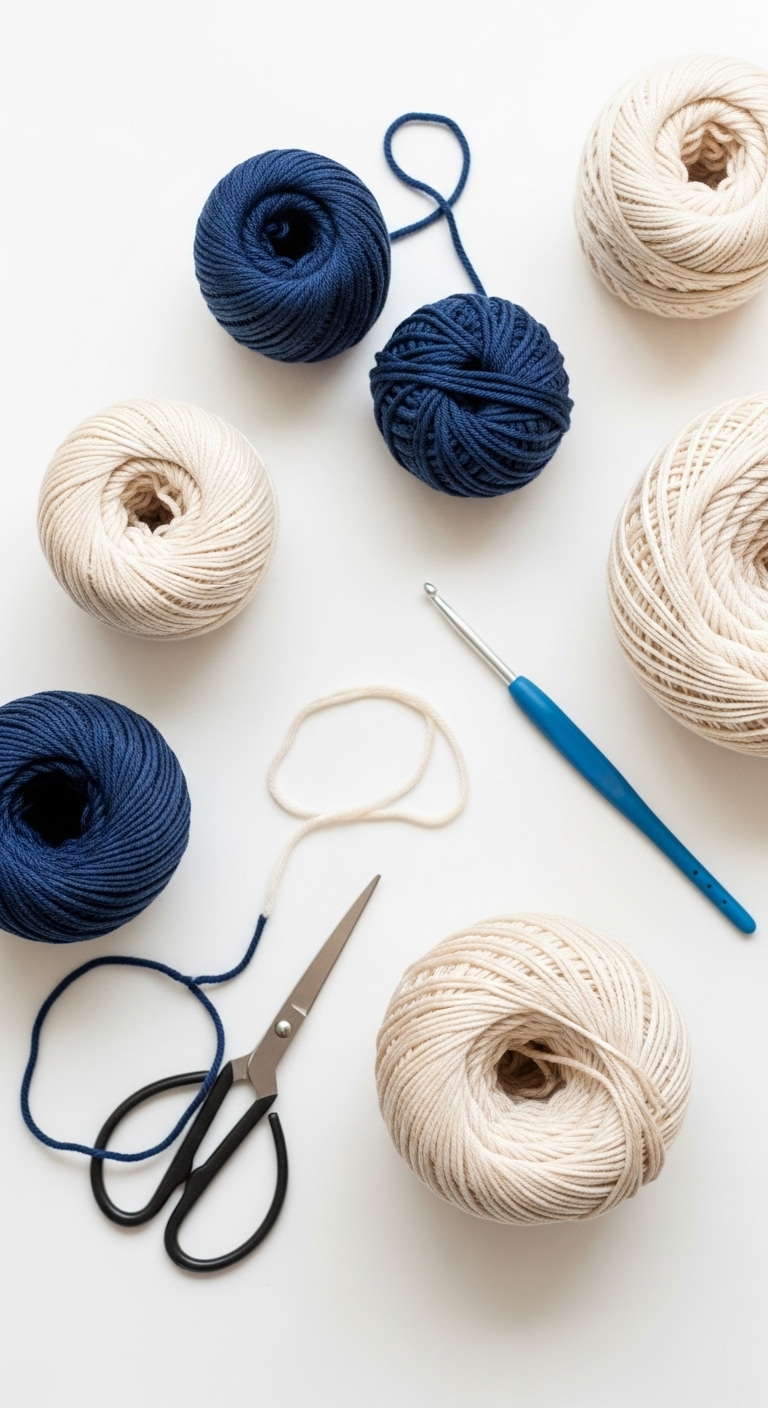
3. Materials Needed
– Yarn: Worsted weight yarn in lavender (approx. 50 yards), cream (approx. 30 yards), and mint green (approx. 30 yards)
– Hook: 3.5mm or 4.0mm crochet hook
– Eyes: 12mm safety eyes OR black embroidery thread
– Stuffing: Polyester fiberfill stuffing
– Needle: Tapestry needle for sewing
– Marker: Stitch marker
– Optional extras: Ribbons for embellishment, decorative buttons
4. Designer Notes / Tips
When working on the hat and dress, you’ll be utilizing basic stitches like single crochet (sc) and increases (inc), so be sure to familiarize yourself with these terms. If you want a more textured look for the dress, consider using a half double crochet (hdc) stitch in some sections to add a bit of variety.
Regarding stuffing, keep in mind that we want the hat to maintain a floppy but structured feel, so moderate stuffing is recommended. For the dress, a firm stuffing will help it hold its shape without being too rigid.
During assembly, take your time to ensure the dress fits snugly around the doll’s body and that the hat is securely on the head. You can always try it on the doll as you go to adjust fit and style. If you need to substitute yarn, any soft worsted weight yarn will work, just be mindful of the color match!
Finally, if you’re creating this doll for a young child, you might want to sew the safety eyes in place instead of using the safety backs to ensure extra safety.
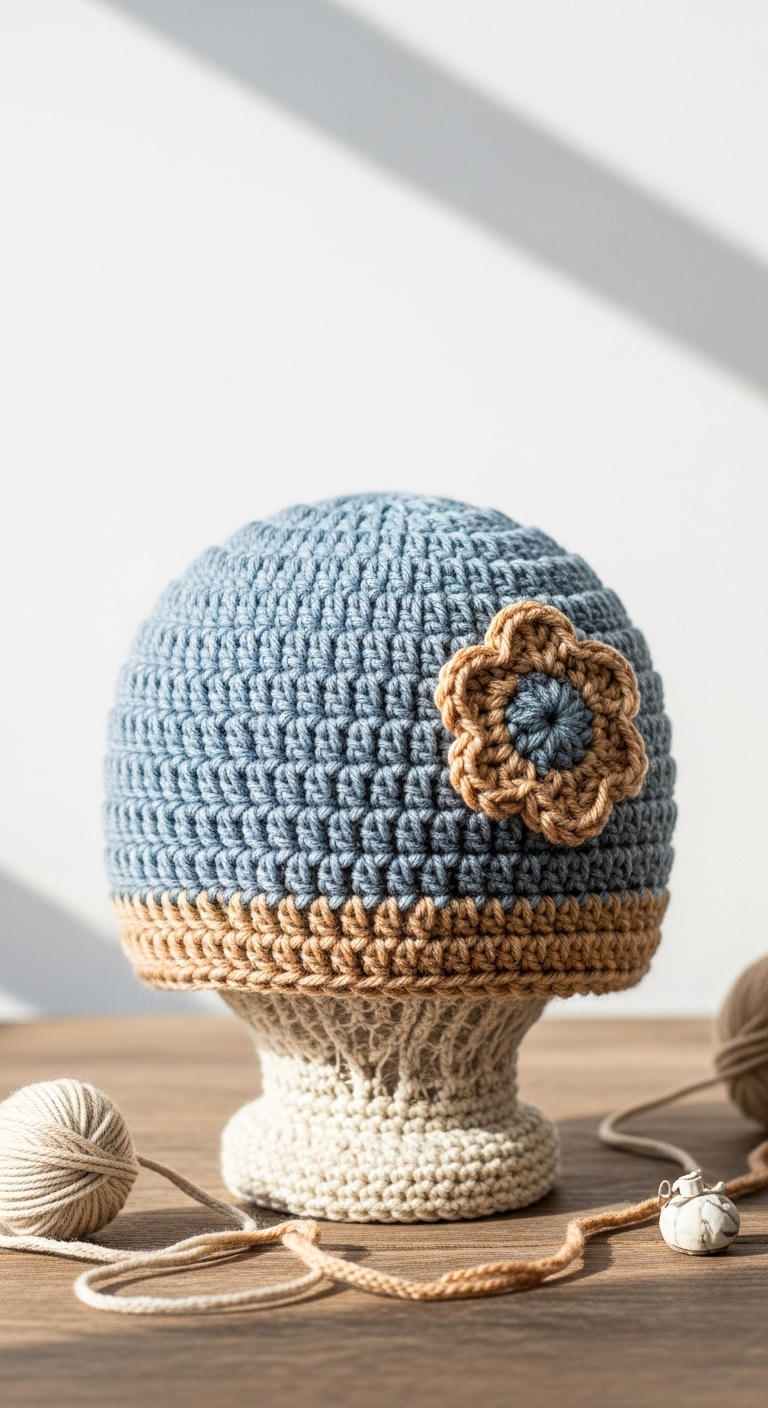
5. Pattern Instructions
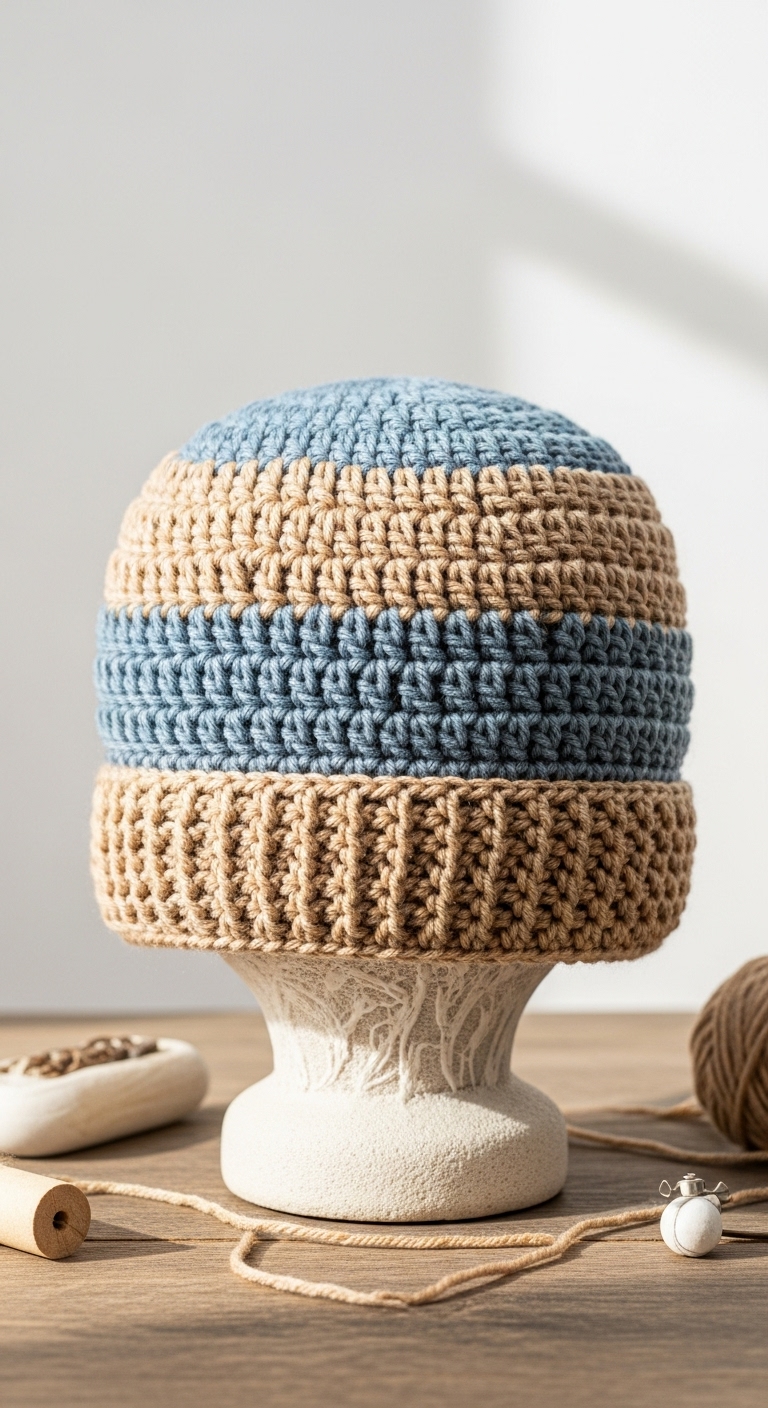
For the Hat:
Round 1: 6 sc in magic ring (6)
Round 2: inc in each st (12)
Round 3: [sc, inc] repeat (18)
Round 4: [2 sc, inc] repeat (24)
Round 5: [3 sc, inc] repeat (30)
Round 6-10: sc in each st (30)
Round 11: [3 sc, dec] repeat (24)
Round 12: [2 sc, dec] repeat (18)
Round 13: [sc, dec] repeat (12)
Start adding stuffing to the hat.
Round 14: dec in each st (6)
Fasten off and leave a long tail for sewing.
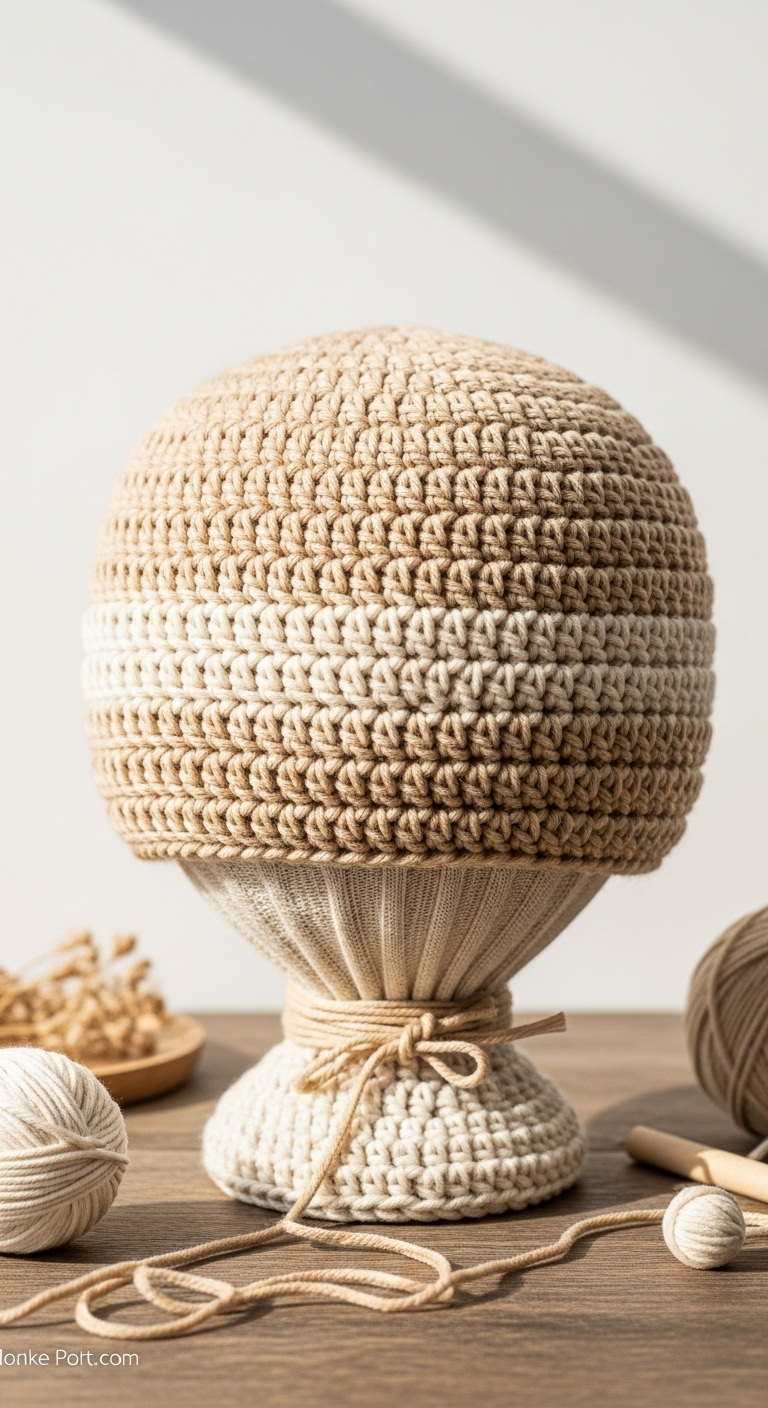
For the Dress:
Round 1: 6 sc in magic ring (6)
Round 2: inc in each st (12)
Round 3: [sc, inc] repeat (18)
Round 4: [2 sc, inc] repeat (24)
Round 5-10: sc in each st (24)
Round 11: [2 sc, dec] repeat (18)
Round 12: [sc, dec] repeat (12)
Lightly stuff the bottom of the dress to maintain shape.
Round 13: dec in each st (6)
Fasten off and leave a long tail for sewing.
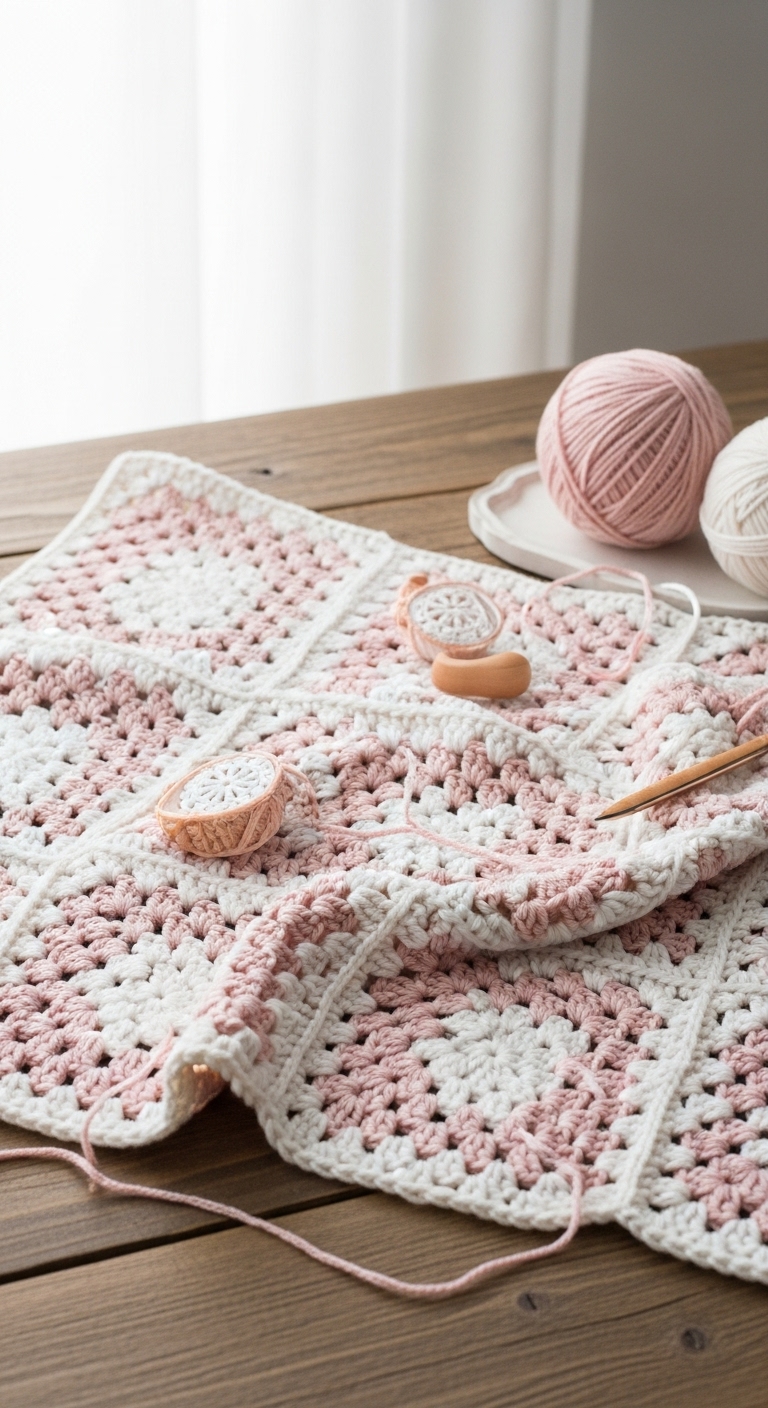
Assembly:
– Attach the hat to the head, ensuring it fits snugly.
– Sew the dress to the body. You may want to add decorative embellishments like lace or buttons at this point!
6. Closing & Social Engagement
Congratulations on creating a delightful hat and dress for your amigurumi doll! I’d love to see your version! Leave a comment below letting me know what colors you chose or how your doll turned out. What color combination will you try next? Don’t forget to share your finished doll on social media – let’s inspire each other with our crochet creations!