amigurumi crochet doll cal crochet along part 1
2. Introduction
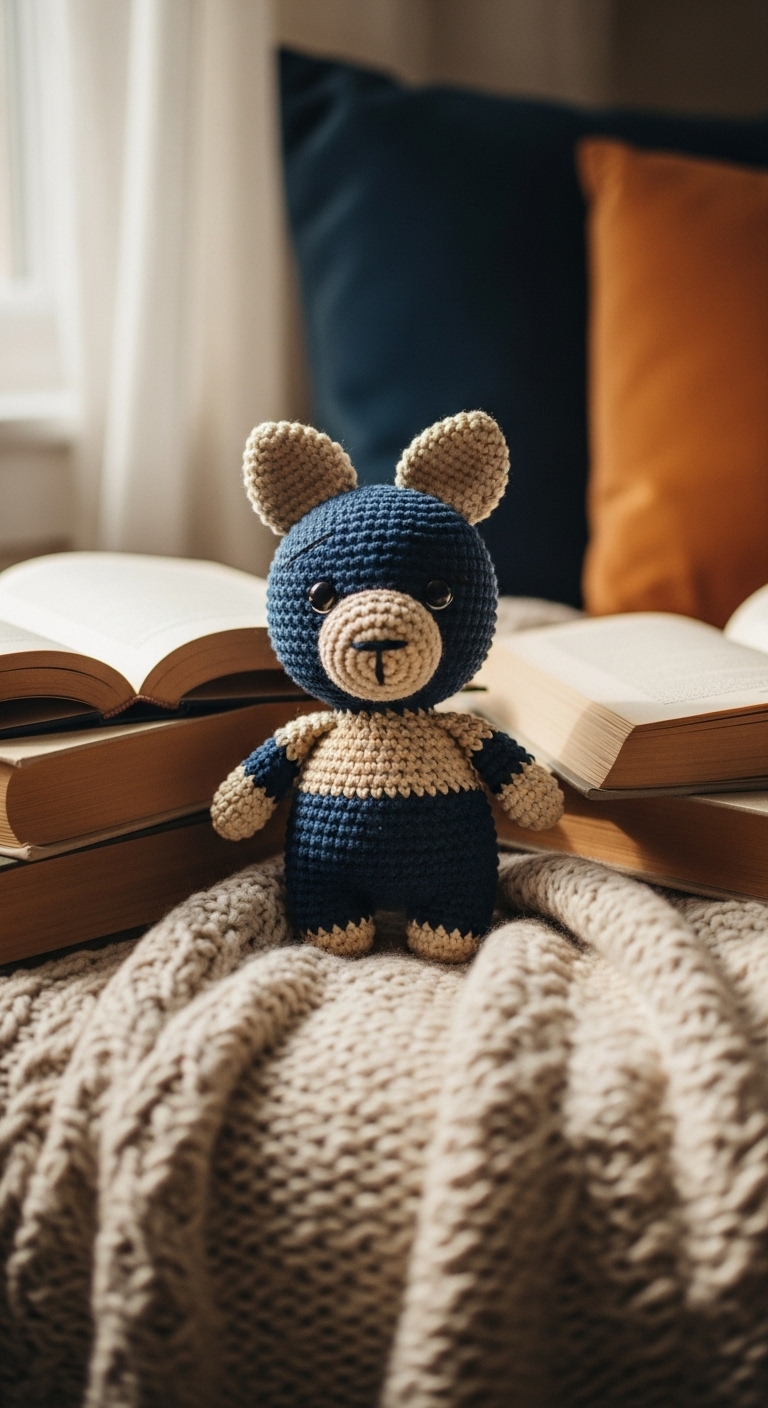
Welcome to Part 1 of our Amigurumi Crochet Doll CAL (Crochet Along)! In this delightful project, we will be creating an adorable amigurumi doll that stands approximately 12 inches tall when finished. This doll will be a unique addition to your collection and a perfect gift for friends or family members of all ages.
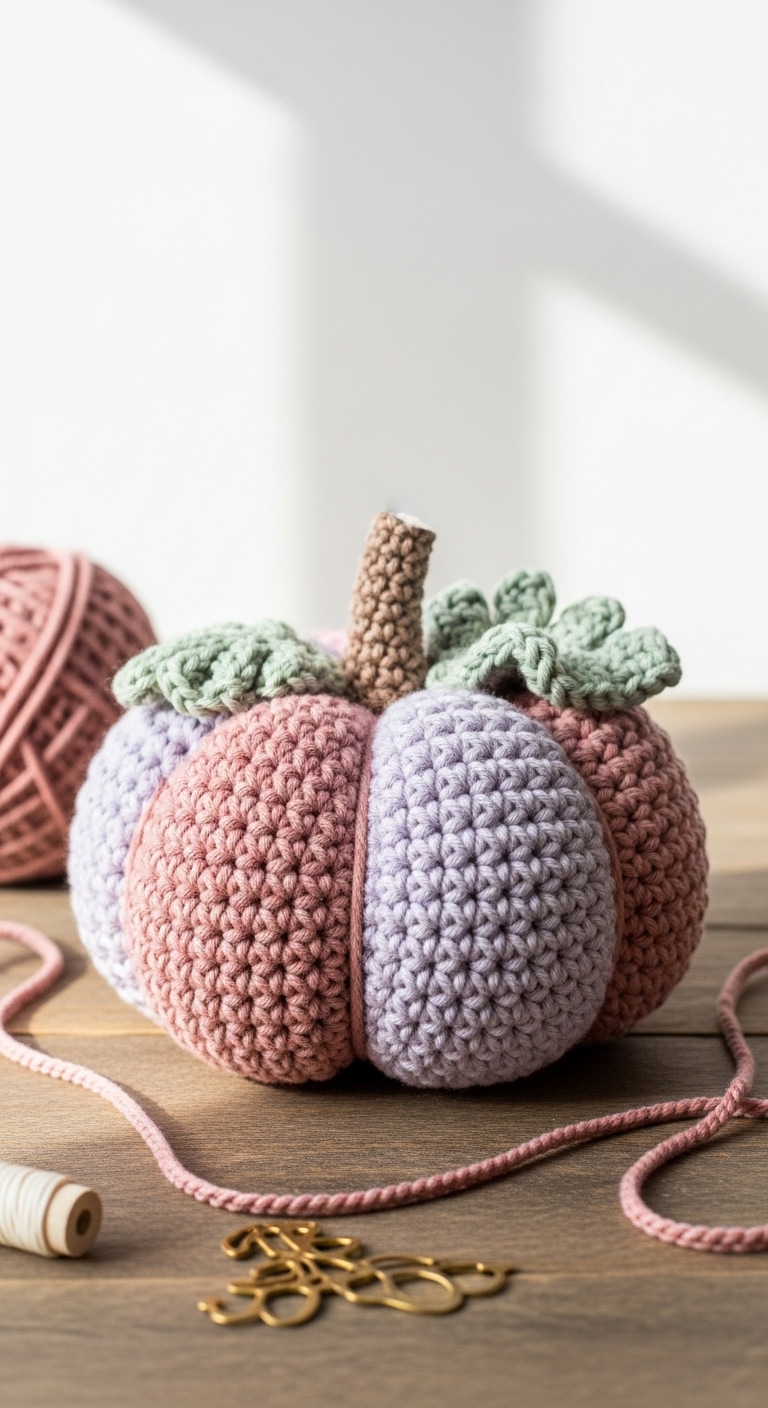
For this project, we will use soft, plush yarn in two to three complementary adult-friendly colors. Think shades like a soft lavender, serene mint green, or a gentle blush pink. These colors not only create a sophisticated look but also evoke a sense of calm and joy, making your crochet doll even more special. This project is not only fun to work on but is also quick to assemble, making it ideal for both beginner and intermediate crocheters looking to hone their skills.
Whether you’re preparing for a birthday gift or simply want to brighten up your space with a handmade creation, this amigurumi doll is an excellent choice. It’s an engaging project that allows for creativity, so you can personalize it with different hairstyles, outfits, and accessories. Let’s begin our crochet adventure together!
3. Materials Needed
To get started on your amigurumi crochet doll, gather the following materials:
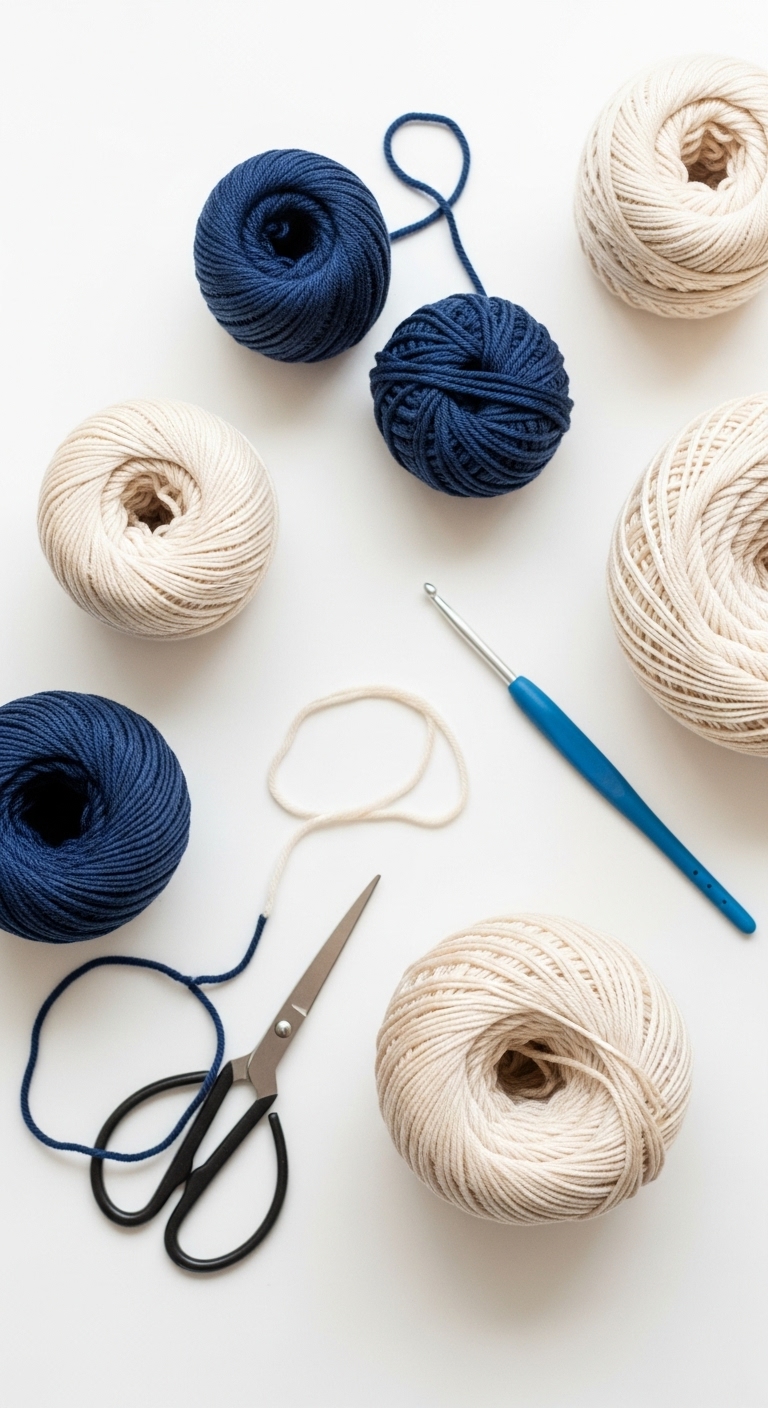
– Yarn: Worsted weight yarn in selected colors (approx. 200 yards of main color, 50 yards of secondary color)
– Hook: 3.5mm or 4.0mm crochet hook
– Eyes: Safety eyes (12mm)
– Stuffing: Polyester fiberfill stuffing
– Needle: Tapestry needle for sewing
– Marker: Stitch marker
– Optional extras: Pipe cleaners for poseable limbs, buttons for added embellishments
4. Designer Notes / Tips
As you embark on this project, here are some helpful tips to consider:
– Stitch technique: We’ll primarily use single crochet (sc) stitches for a sturdy and smooth finish. If you’re new to amigurumi, remember that working in continuous rounds helps maintain a neat appearance.
– Stuffing density: For the doll’s body and head, use a light stuffing to allow for flexibility, while keeping limbs slightly firmer for structure. This balance will help your doll maintain its shape without being overly rigid.
– Assembly: When joining pieces, secure them tightly with your tapestry needle for a polished look. Don’t worry if things don’t align perfectly right away; you can always adjust as you go.
– Yarn substitutions: If you don’t have worsted weight yarn on hand, consider using a similar weight of cotton or bamboo yarn for a unique texture.
– Gauge tips: If you want your doll to be the exact size noted, be sure to check your gauge. You can adjust your hook size as needed to achieve the correct tension.
– Safety considerations: If the doll is intended for younger children, consider using embroidered features instead of safety eyes to minimize choking hazards.
5. Pattern Instructions
For the Amigurumi Doll:
Head
Body
Arms (Make 2)
Legs (Make 2)
Assembly
– Attach the safety eyes between Rounds 8 and 9 of the head, about 8 stitches apart.
– Sew the head onto the body, ensuring it is centered.
– Attach the arms and legs securely on either side of the body for balance.
– Use the long tail from the head and body to sew them together tightly.
6. Closing & Social Engagement
Congratulations on completing Part 1 of our Amigurumi Crochet Doll CAL! I can’t wait to see your beautiful creations come to life. Don’t hesitate to leave a comment below sharing what color combinations you’re trying or any tips you may have discovered along the way. Remember, the joy of crocheting is not just in the finished product but in the process itself. Share your finished dolls on social media using our CAL hashtag, and let’s inspire each other with our creativity!