amigurumi crochet doll cal crochet along 4 different crochet dolls
2. Introduction
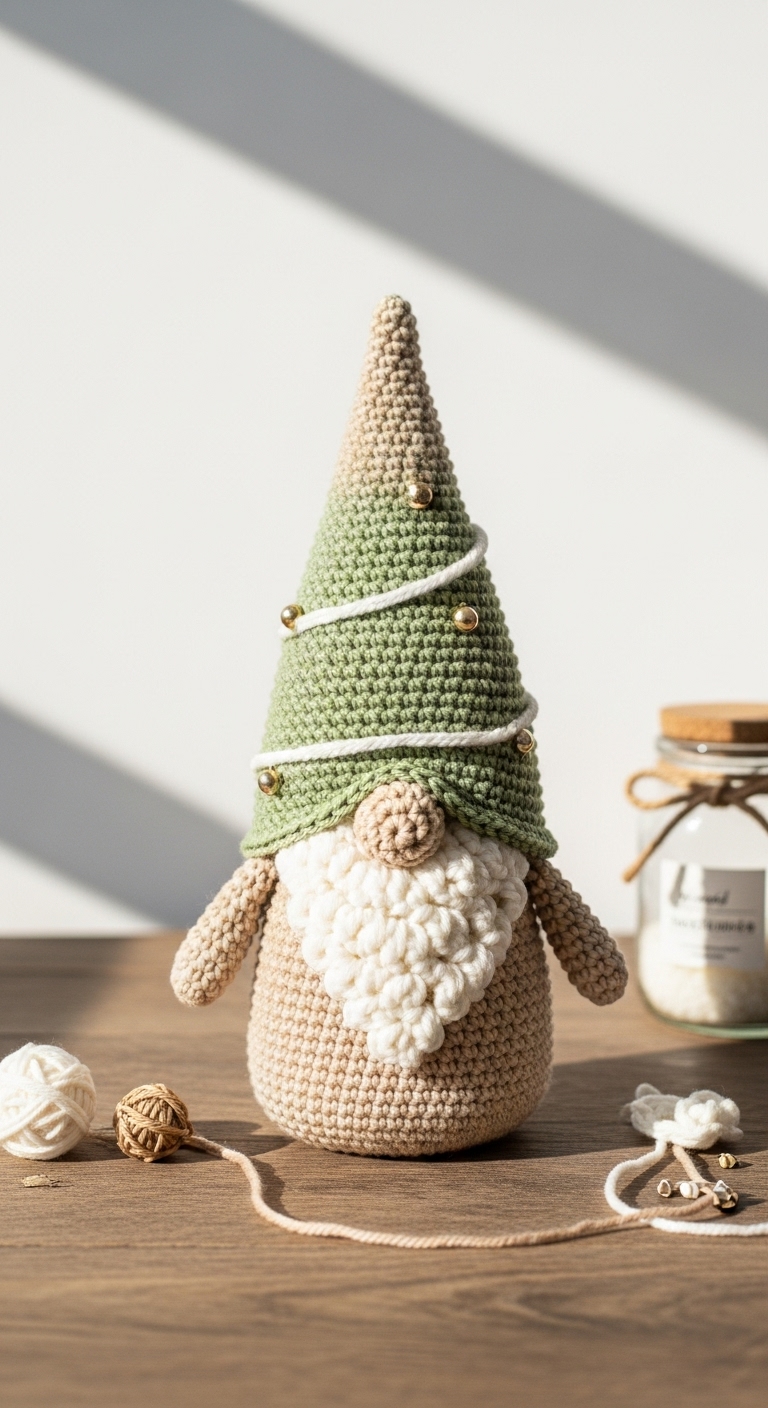
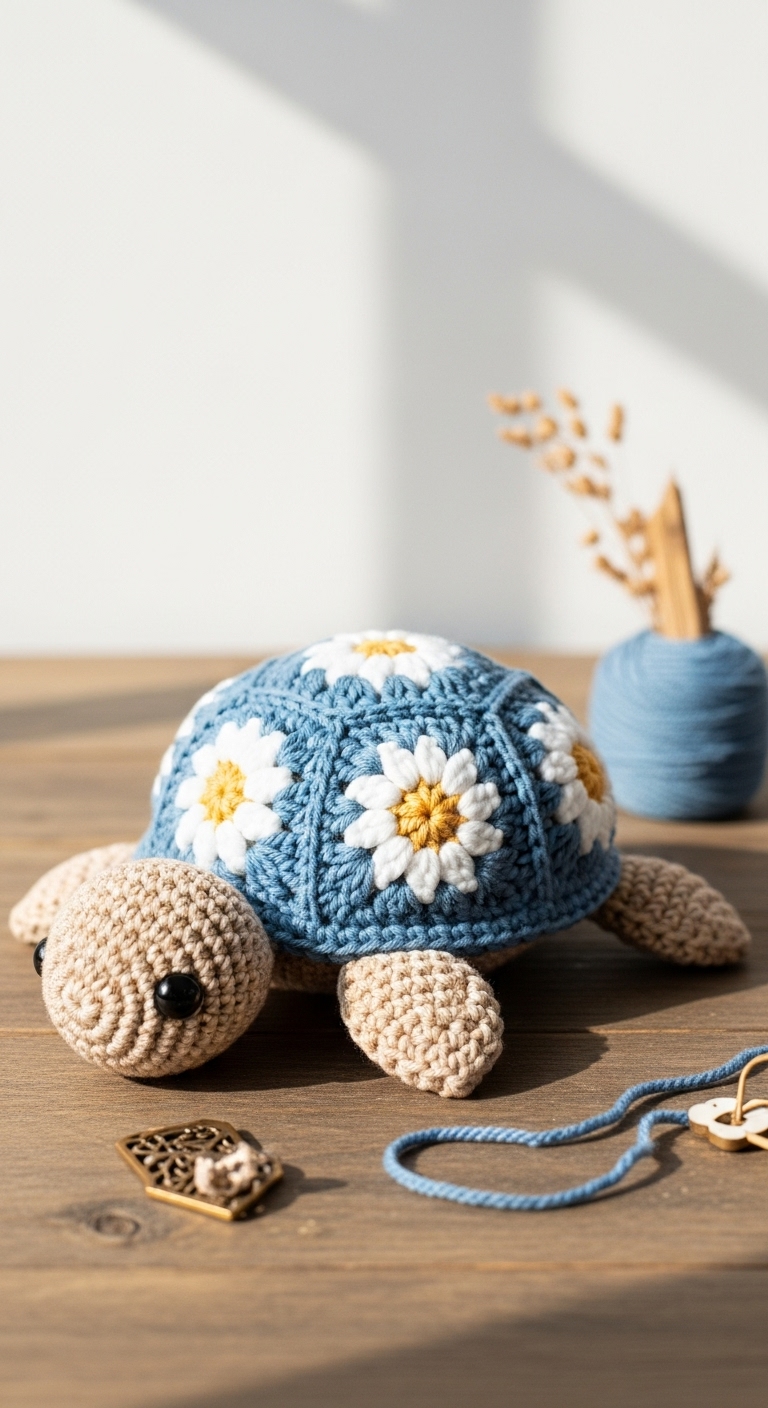
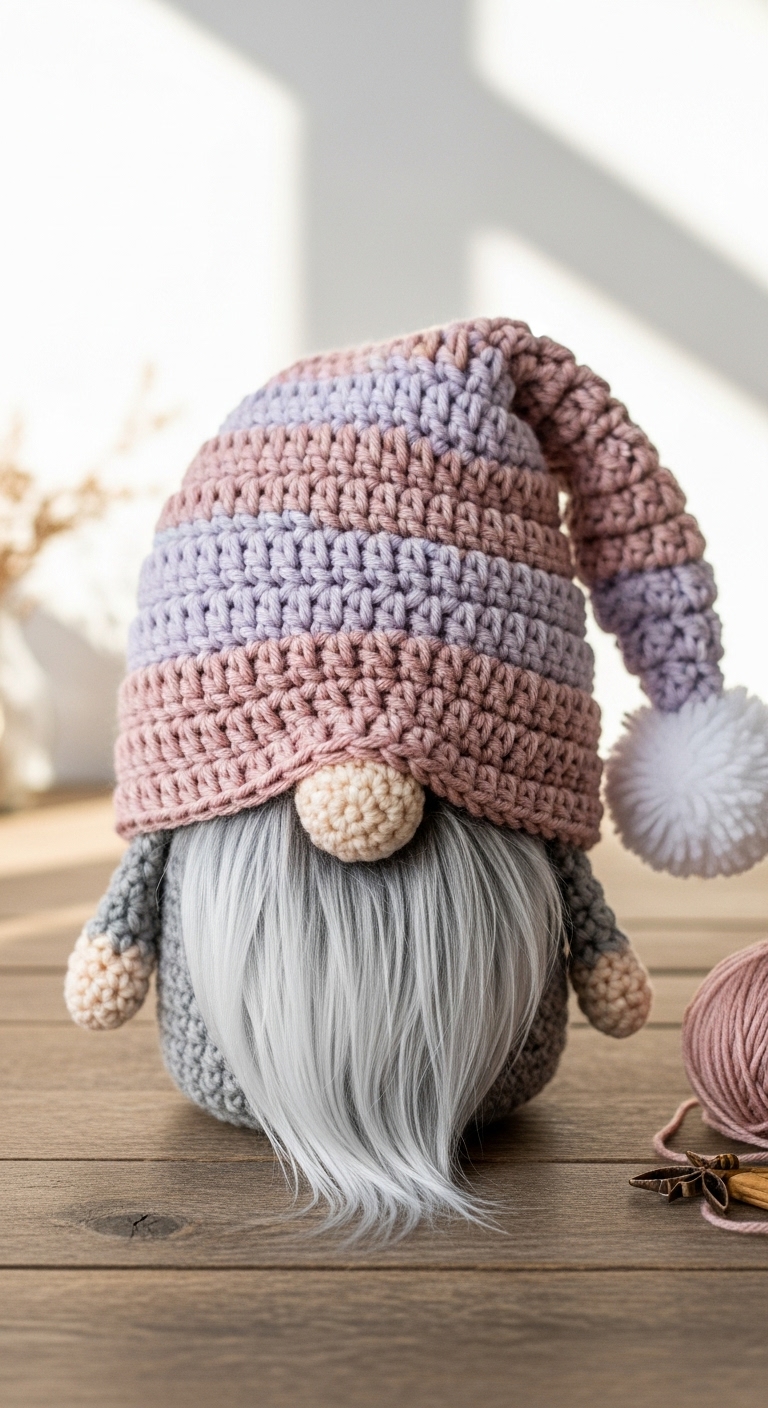
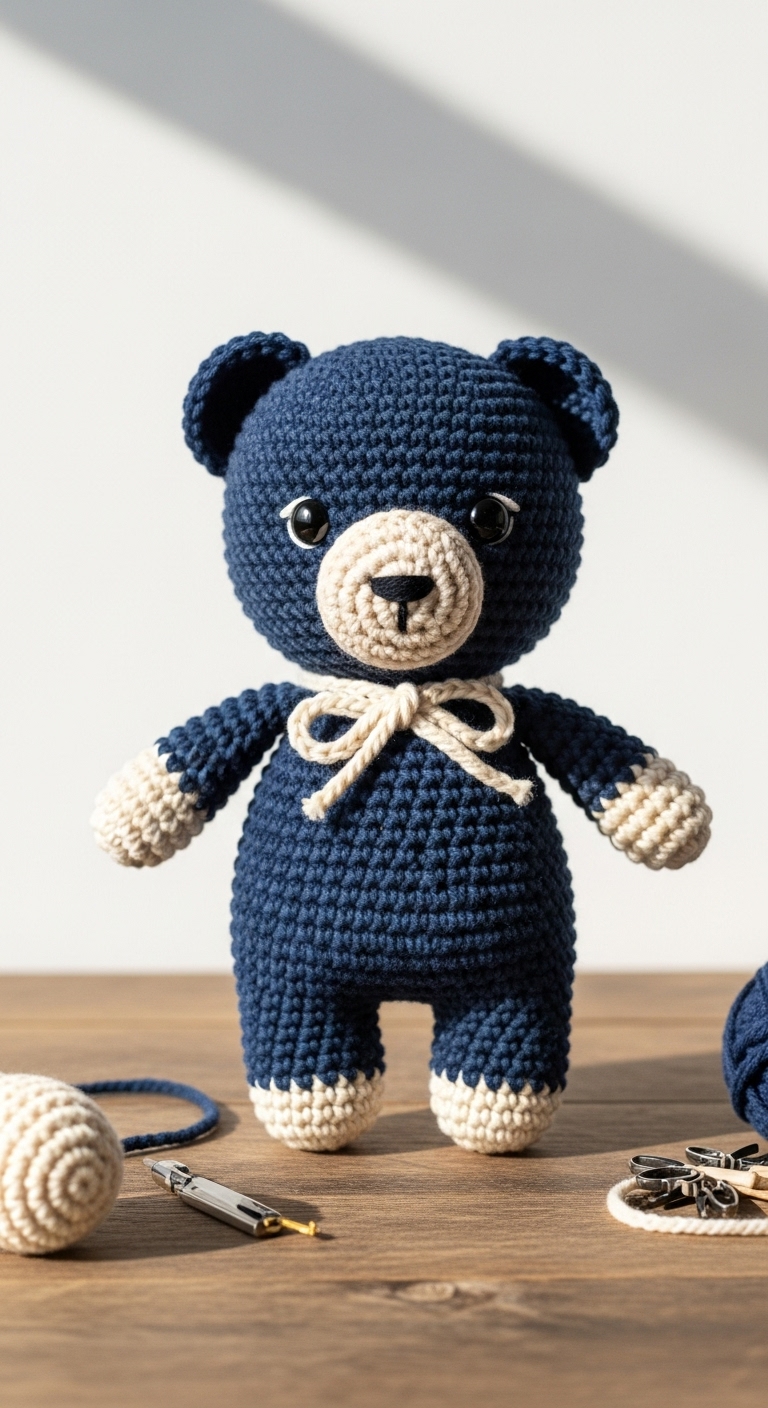
Welcome to our Amigurumi Crochet Doll CAL (Crochet Along)! In this exciting project, you’ll be crafting four different adorable crochet dolls, each with its own unique personality and charm. These delightful dolls will measure approximately 10 inches tall, making them the perfect size for cuddling or displaying on a shelf. Whether you’re looking to create a special gift or simply want to enhance your crochet skills, this project offers a fun and rewarding experience.
For this CAL, we suggest using soft, worsted-weight yarn in complementary adult-friendly colors like a serene teal, a warm mustard yellow, and a neutral cream. These hues work beautifully together to create sophisticated, modern dolls that will make lovely additions to your home décor or thoughtful gifts for friends and family. This project is beginner-friendly, allowing newer crocheters to dive in while offering enough variety to keep more experienced crafters engaged. Plus, with holidays and special occasions on the horizon, these dolls have incredible gift potential!
3. Materials Needed
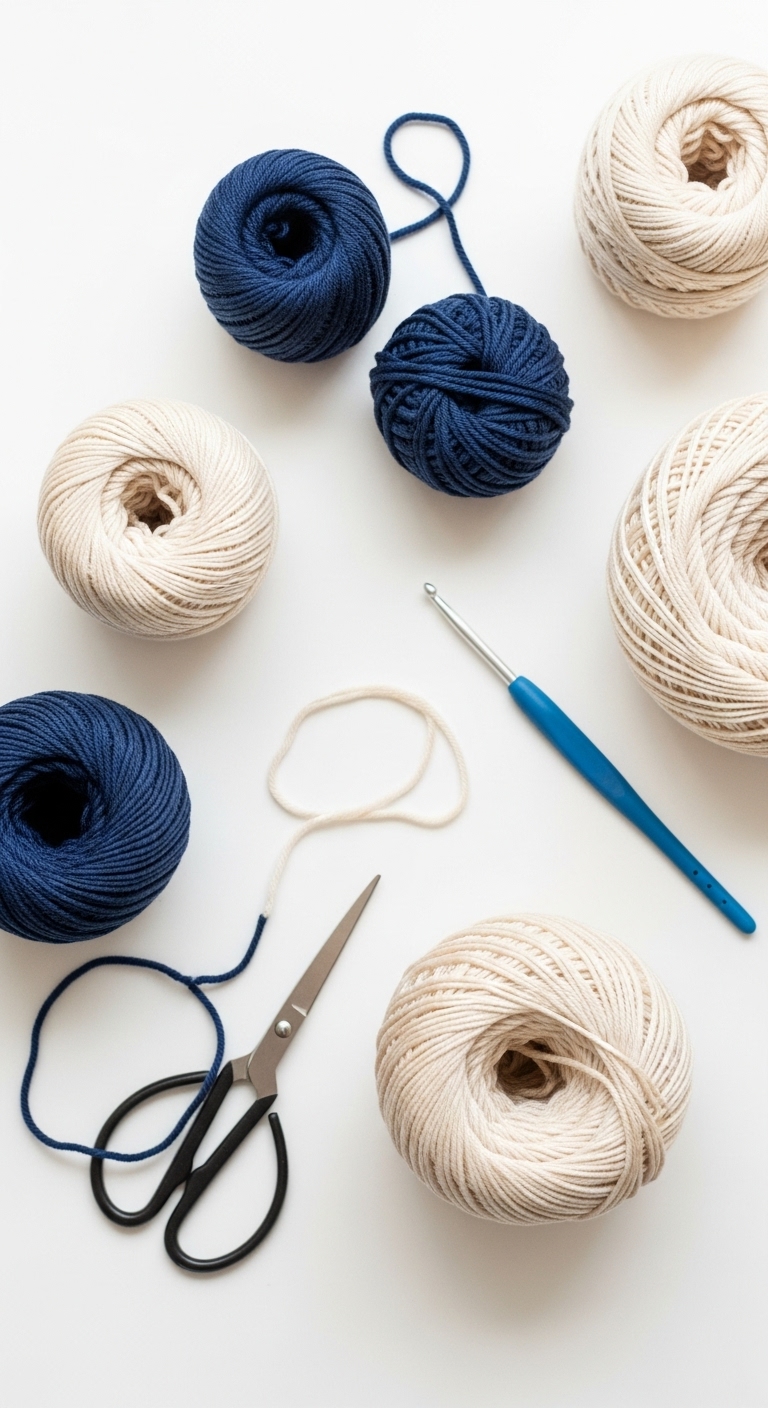
– Yarn: Worsted weight yarn in teal, mustard yellow, and cream – approximately 150 yards of each color
– Hook: 3.5mm or 4.0mm crochet hook
– Eyes: 12mm safety eyes
– Stuffing: Polyester fiberfill stuffing
– Needle: Tapestry needle for sewing
– Marker: Stitch marker
– Optional extras: Pipe cleaners (for poseable arms), buttons (for additional embellishments)
4. Designer Notes / Tips
When working on your amigurumi dolls, pay special attention to the stitches. We’ll be using single crochet (sc) and increases (inc) primarily, which are perfect for achieving a smooth finish. If you want to add texture, consider incorporating a few rounds of half double crochet (hdc) in specific areas, such as the hair or clothing.
Regarding stuffing, aim for a medium firmness. You want your doll to be huggable without feeling overly floppy. As you assemble your dolls, be sure to securely attach all limbs and features; using a tapestry needle to sew pieces together can provide additional strength. If you wish to use alternative yarns, consider cotton or bamboo blends for a softer finish, but keep in mind that different weights may alter the final size.
If you’re a beginner, gauge is less critical for this project, but testing your tension with a small swatch can help ensure your stitches are consistent, especially for the doll’s features.
5. Pattern Instructions
For Plushies:
Head:
*Note: Place safety eyes between Rounds 7 and 8, spaced about 8 stitches apart.*
Body:
Arms (make 2):
*Stuff lightly and sew to the body after assembly.*
Legs (make 2):
*Stuff lightly and attach to the bottom of the body.*
Ears:
*Attach to the head after stuffing.*
Assembly:
– Sew the head to the body, ensuring it is securely fastened.
– Attach arms and legs, positioning as desired.
– Finish with any embellishments, such as buttons or embroidery for facial features.
6. Closing & Social Engagement
I can’t wait to see your versions of these delightful dolls! Don’t hesitate to share your progress and finished creations in the comments below. What color combination will you try? Each doll is a wonderful canvas for your creativity, so embrace the opportunity to personalize them! If you share your finished dolls on social media, tag us—we’d love to feature your work!