forest appliqes blanket pattern
2. Introduction
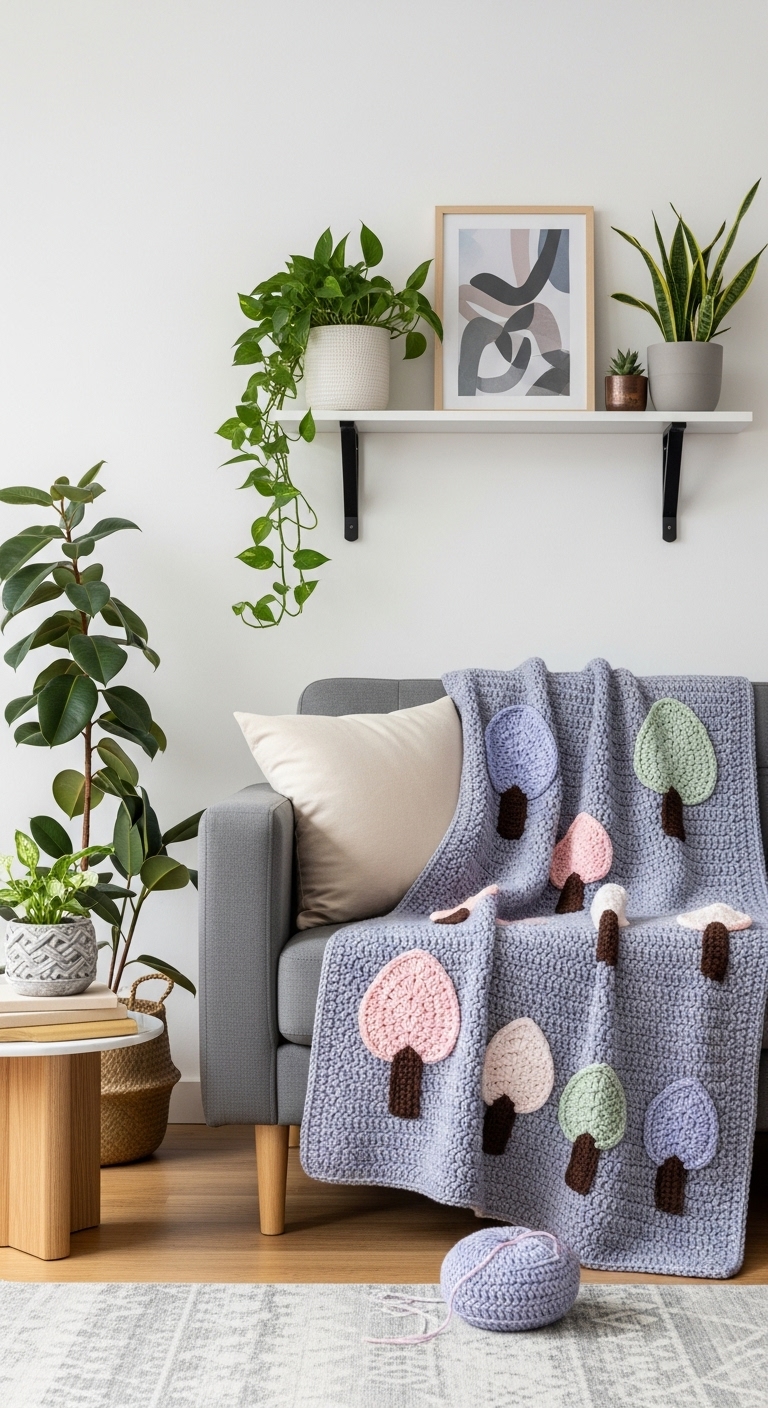
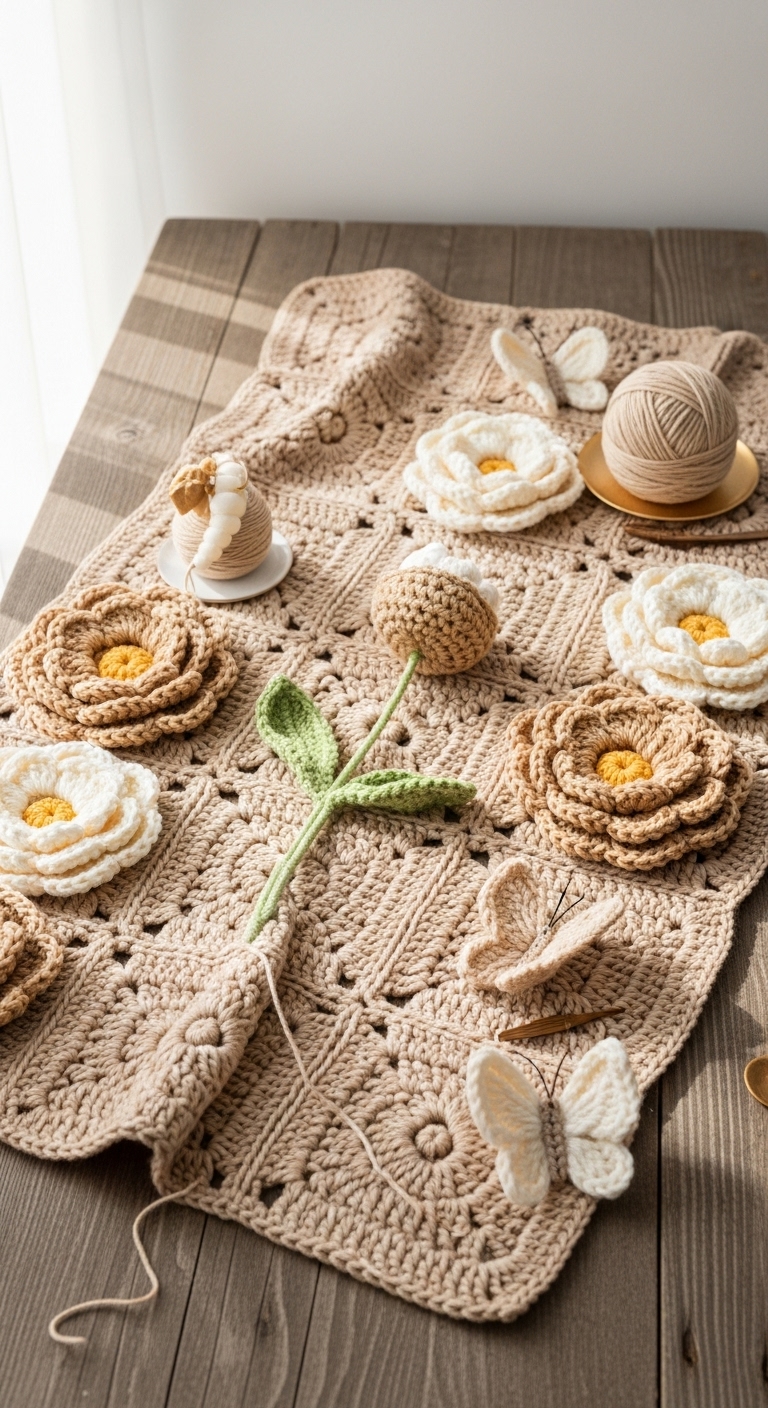
Welcome to the cozy world of crochet! In this article, we’ll be creating a delightful Forest Appliqués Blanket that is perfect for snuggling up during chilly evenings or adding a touch of woodland whimsy to your living space. This blanket measures approximately 40 x 50 inches, making it just the right size for a throw or lap blanket. With its playful forest-themed appliqués, it’s sure to add a unique charm to your home.
For this project, we recommend using a soft worsted weight yarn in earthy tones. A palette combining forest green, soft brown, and cream will not only create a harmonious look but also resonate with the natural theme of the blanket. This project is designed to be beginner-friendly, making it an excellent choice for those new to crochet or looking to refine their skills. Plus, it’s a perfect gift for nature lovers or anyone who appreciates handmade warmth!
The beauty of this blanket lies not just in its design but also in the joy of creating it. The quick-to-make appliqués allow for some exciting creativity, while the larger blanket body gives you the satisfaction of completing a substantial piece. Imagine wrapping yourself or gifting this lovely blanket to someone special; it makes for a heartfelt present that is sure to be cherished.
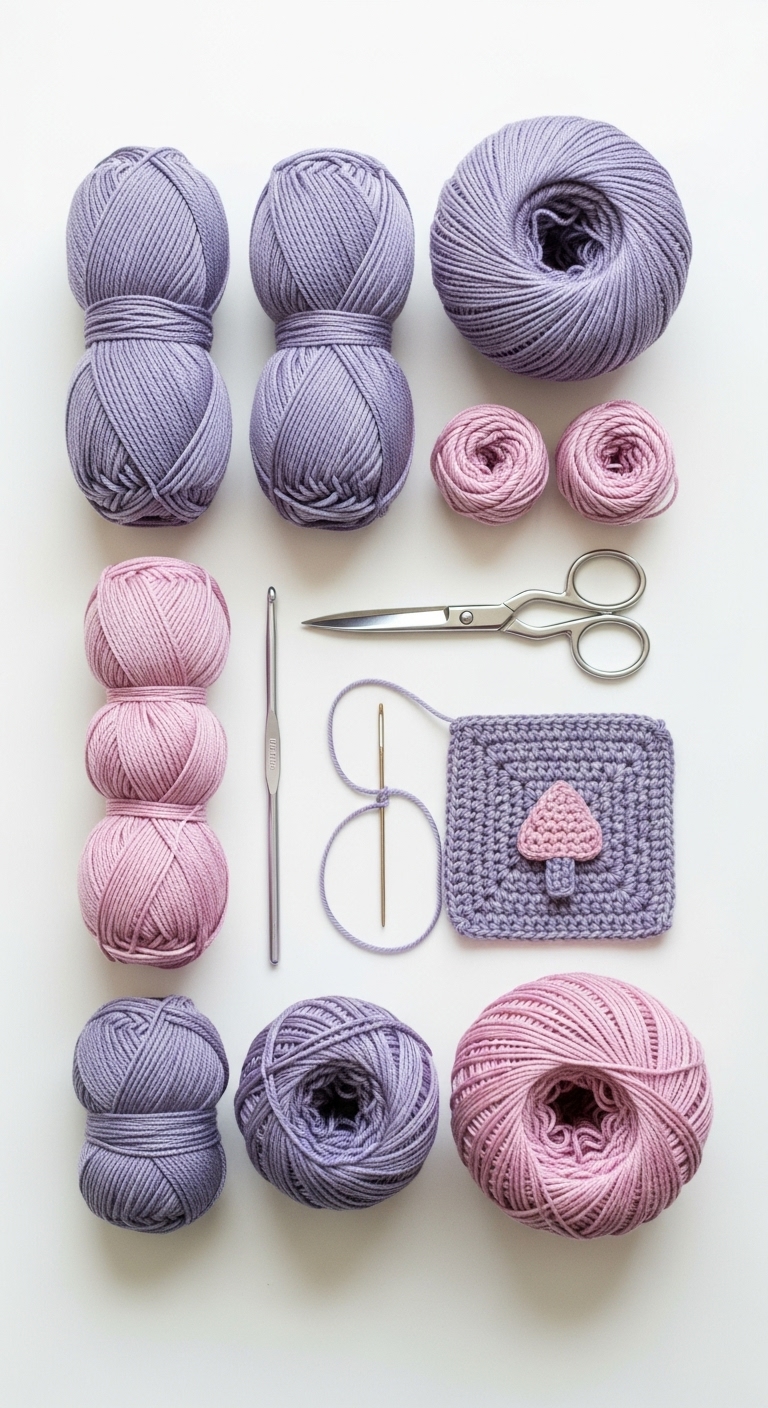
3. Materials Needed
– Yarn: Worsted weight yarn in forest green, soft brown, and cream – approximately 800 yards in total
– Hook: 5.0mm crochet hook
– Eyes: Safety eyes (12mm) OR black embroidery thread
– Stuffing: Polyester fiberfill stuffing (for appliqués)
– Needle: Tapestry needle for sewing
– Marker: Stitch marker
– Optional extras: Embellishments like buttons or fabric flowers for decoration
4. Designer Notes / Tips
Creating this Forest Appliqués Blanket is a fantastic way to play with textures and colors. For the appliqués, you’ll use basic stitches such as single crochet (sc) and half double crochet (hdc) to achieve a lovely depth. When stuffing the appliqués, aim for a medium density—enough to give it shape without making it too firm.
When assembling the blanket, consider using a whip stitch for joining the appliqués to the blanket body, ensuring they are securely attached but also allowing for some flexibility. If you want to personalize your blanket further, you can easily substitute the suggested yarn with any soft, durable worsted weight yarn available to you.
As for gauge, it’s important to find a comfortable tension that you like. A gauge of 14 stitches and 17 rows in single crochet over a 4-inch square should work well, but don’t worry if your gauge varies slightly; just adjust your hook size if needed. For child-safe modifications, consider using securely embroidered eyes instead of safety eyes for added peace of mind.
5. Pattern Instructions
Let’s dive right into the creation of your Forest Appliqués Blanket! We will break this section into two parts: the main blanket body and the forest appliqués.
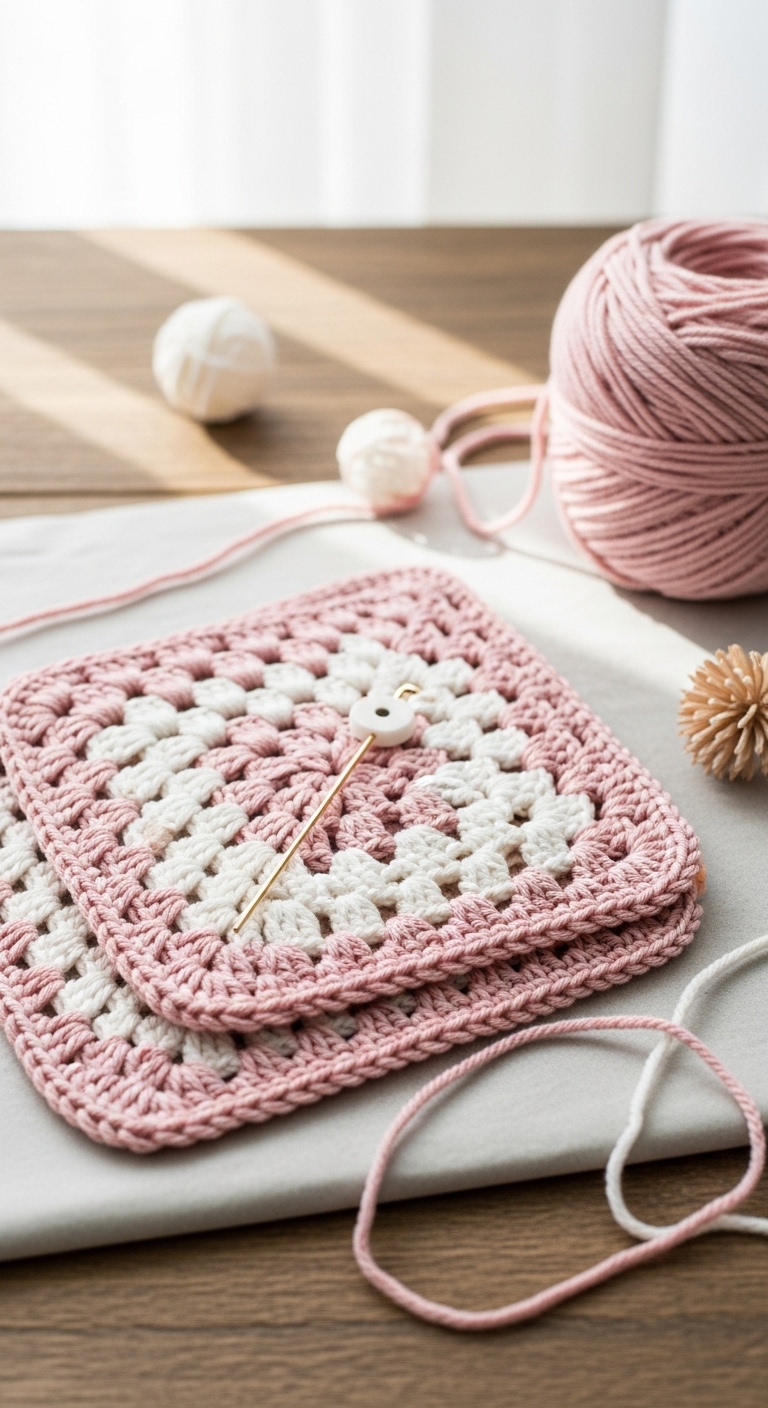
Main Blanket Body:
1. Foundation Chain: Ch 120 (This is your foundation chain for the blanket width).
2. Row 1: Sc in the 2nd ch from hook, sc in each ch across (119 sc).
3. Row 2: Ch 1, turn. Sc in each st across.
4. Repeat Row 2: Until the blanket reaches approximately 50 inches in length.
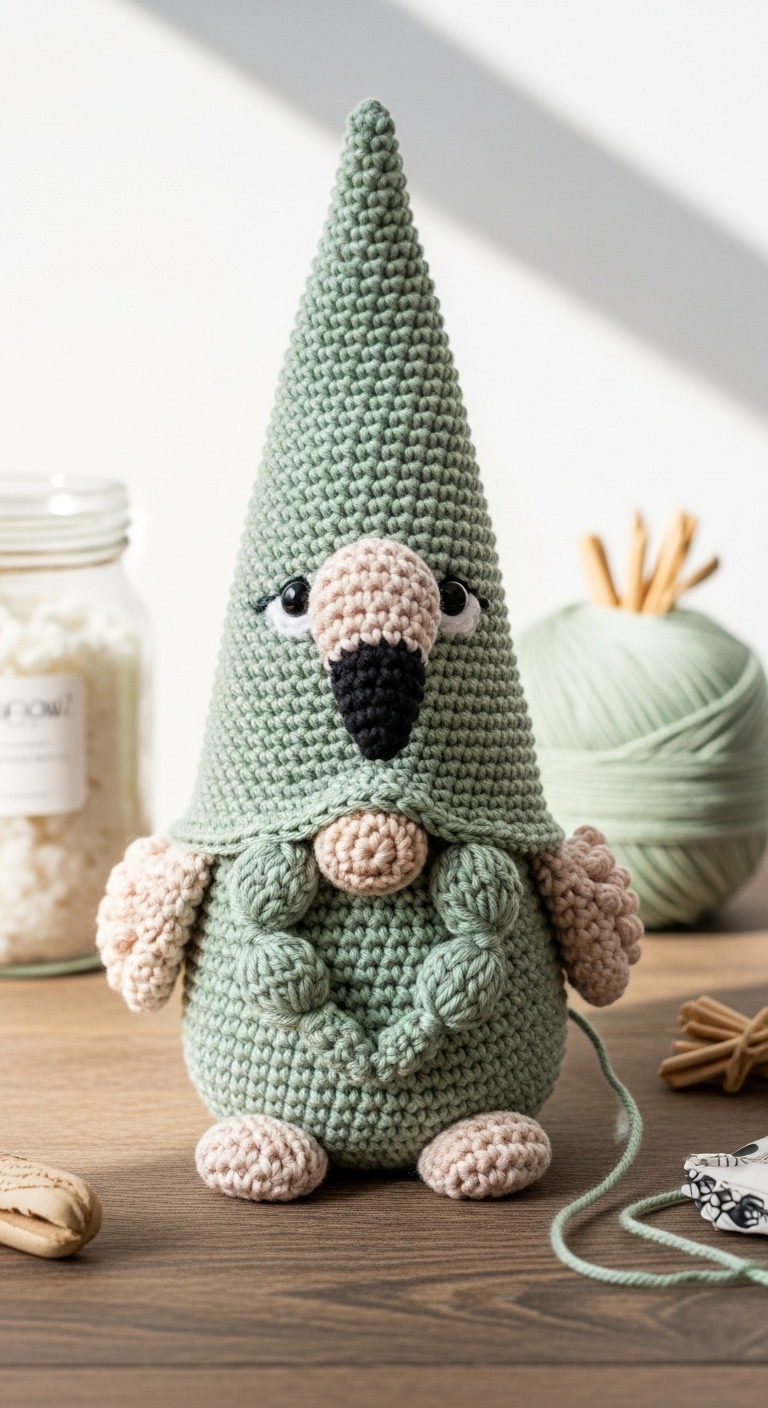
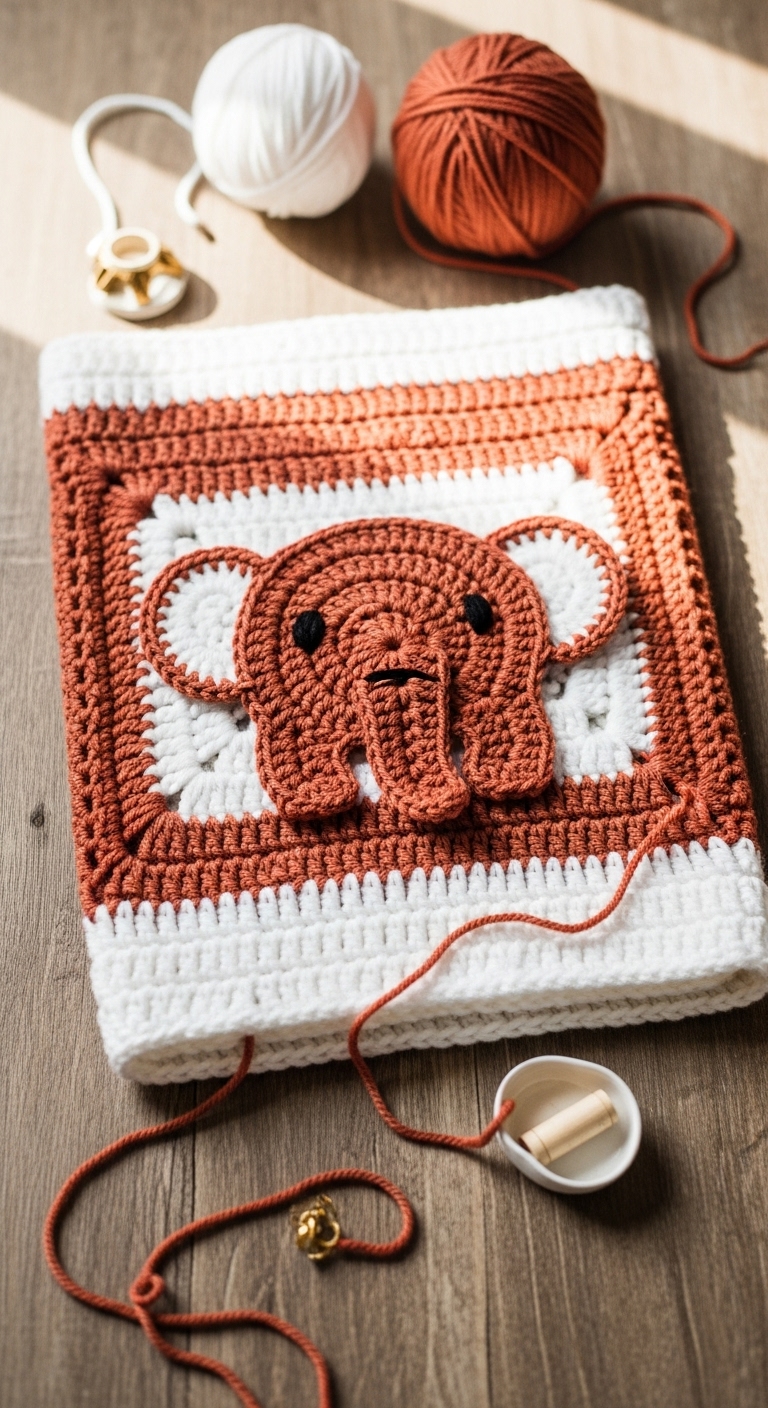
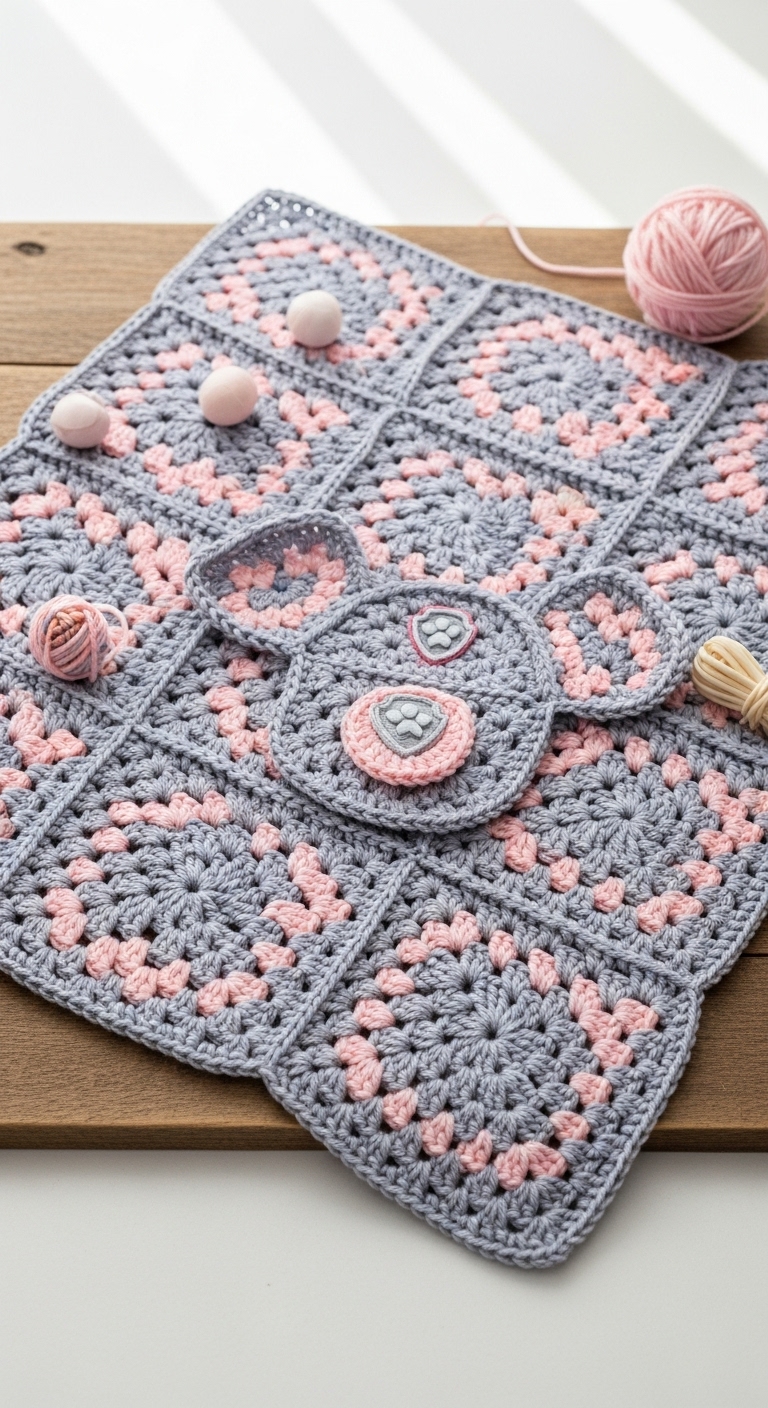
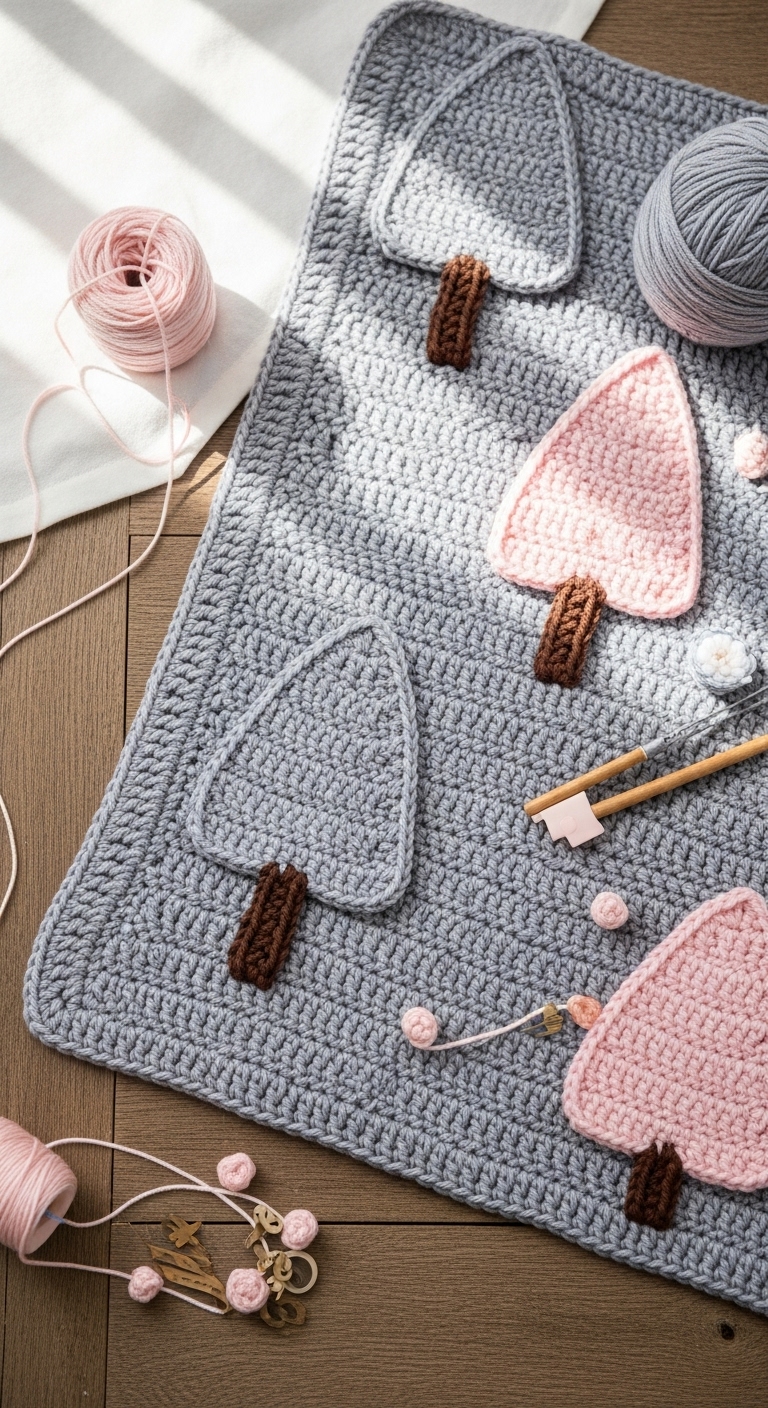
Forest Appliqués:
We’ll create a few different appliqués: a tree, a mushroom, and a fox. Feel free to create as many as you desire!
Tree Appliqué:
– Round 1: Ch 2, 6 sc in the 2nd ch from hook (6).
– Round 2: [Sc, inc] repeat (9).
– Round 3: [2 sc, inc] repeat (12).
– Round 4: [3 sc, inc] repeat (15).
– Round 5: [4 sc, inc] repeat (18).
– Fasten off, leaving a long tail for sewing. Stuff lightly.
Mushroom Appliqué:
– Cap:
– Round 1: Ch 2, 6 sc in the 2nd ch from hook (6).
– Round 2: Inc in each st (12).
– Round 3: [Sc, inc] repeat (18).
– Stem:
– Ch 4, starting in the 2nd ch from hook: 3 sc (3).
– Fasten off and sew the cap to the stem.
Fox Appliqué:
– Head:
– Round 1: Ch 2, 6 sc in the 2nd ch from hook (6).
– Rounds 2-3: Inc in each st for 2 rounds (24).
– Ears: Make 2.
– Ch 2, 4 sc in the 2nd ch from hook (4).
– Row 2: Ch 1, turn, sc in each (4).
– Fasten off and attach all parts securely, stuffing lightly.
Assembly:
– Position your appliqués on the main blanket as desired, and once you’re happy with their layout, use the tapestry needle to sew them in place securely.
6. Closing & Social Engagement
Congratulations on making your very own Forest Appliqués Blanket! I can’t wait to see your unique color combinations and how you position your appliqués. Feel free to share your finished work on social media and tag me; I’d love to see your version! What colors will you choose for your forest creatures? Remember, the world of crochet is all about personal expression, so have fun with it!