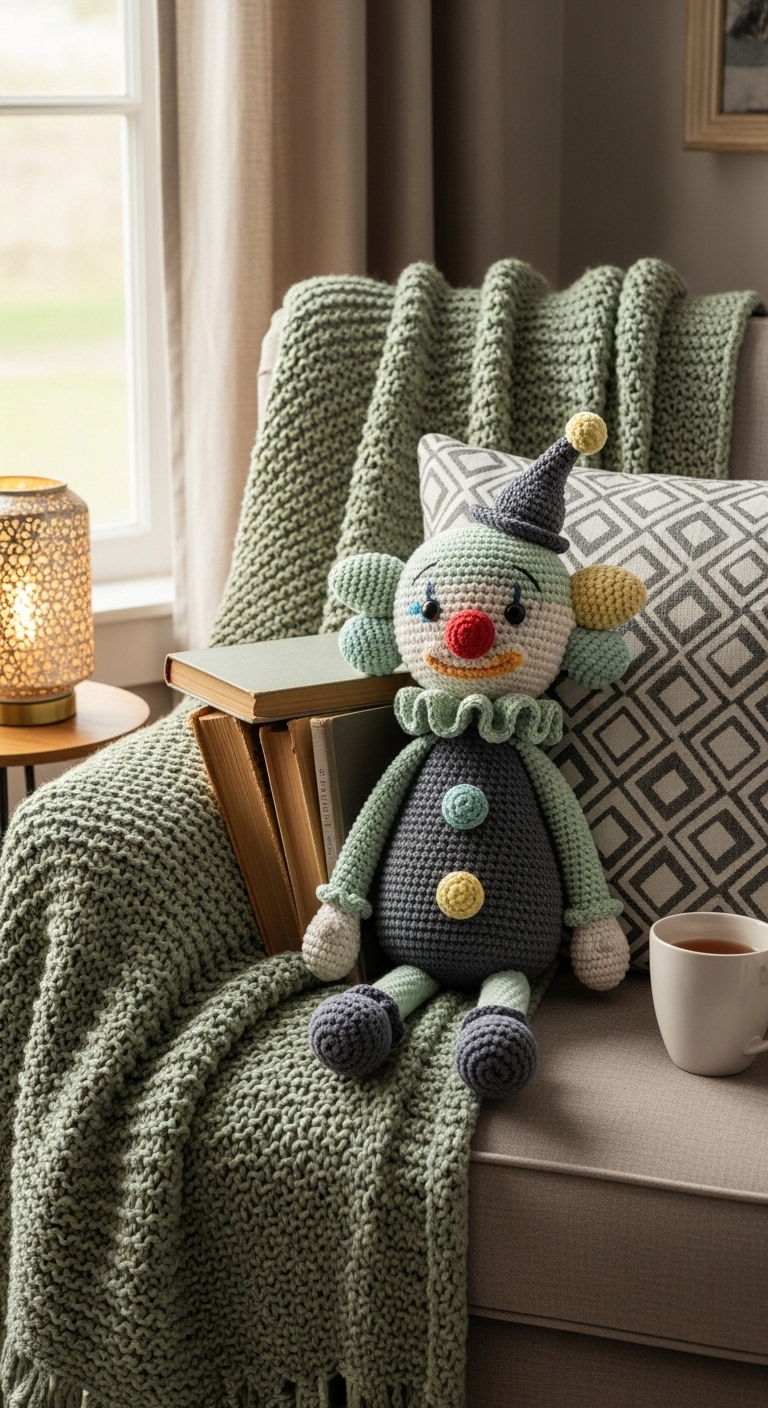
fooly clown amigurumi pattern
2. Introduction
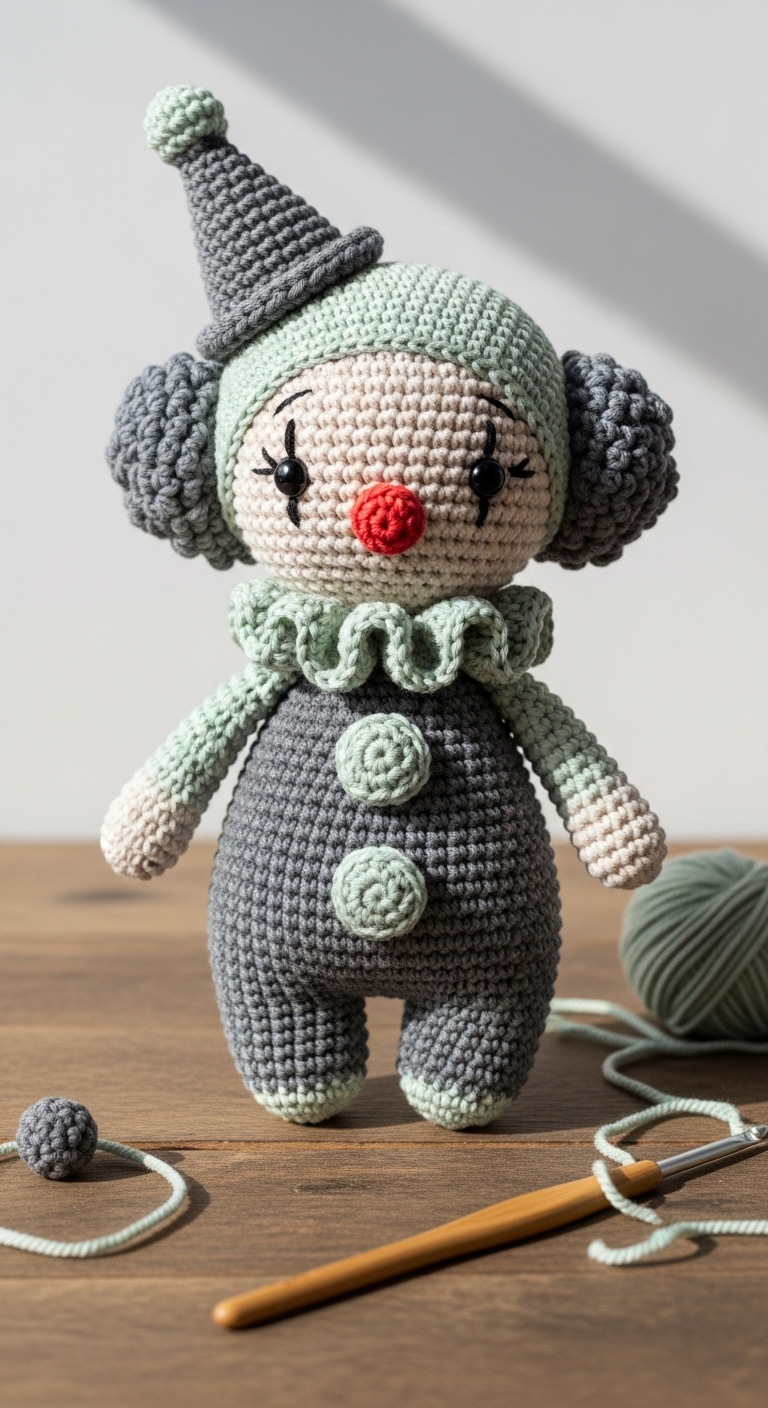
Welcome to the whimsical world of amigurumi! In this article, we will create the delightful Fooly Clown, a cheerful plushie that stands approximately 10 inches tall. This charming little character is perfect for brightening up any space or bringing a smile to your loved ones. Made with squishy yarn, the Fooly Clown is sure to be a hit with both kids and adults alike!
For this project, you will need a medium weight yarn (worsted) in a vibrant array of colors such as bright yellow, playful red, and soft blue. These colors work harmoniously to give the Fooly Clown its iconic jester-like appearance. The best part? This project is both fun and quick, making it an ideal choice for a weekend crochet session or a thoughtful handmade gift. The skill level is beginner-friendly, so even if you are just starting your crochet journey, you will find this pattern easy to follow. It’s a perfect gift for birthdays, holidays, or simply to spread joy in your home!
3. Materials Needed
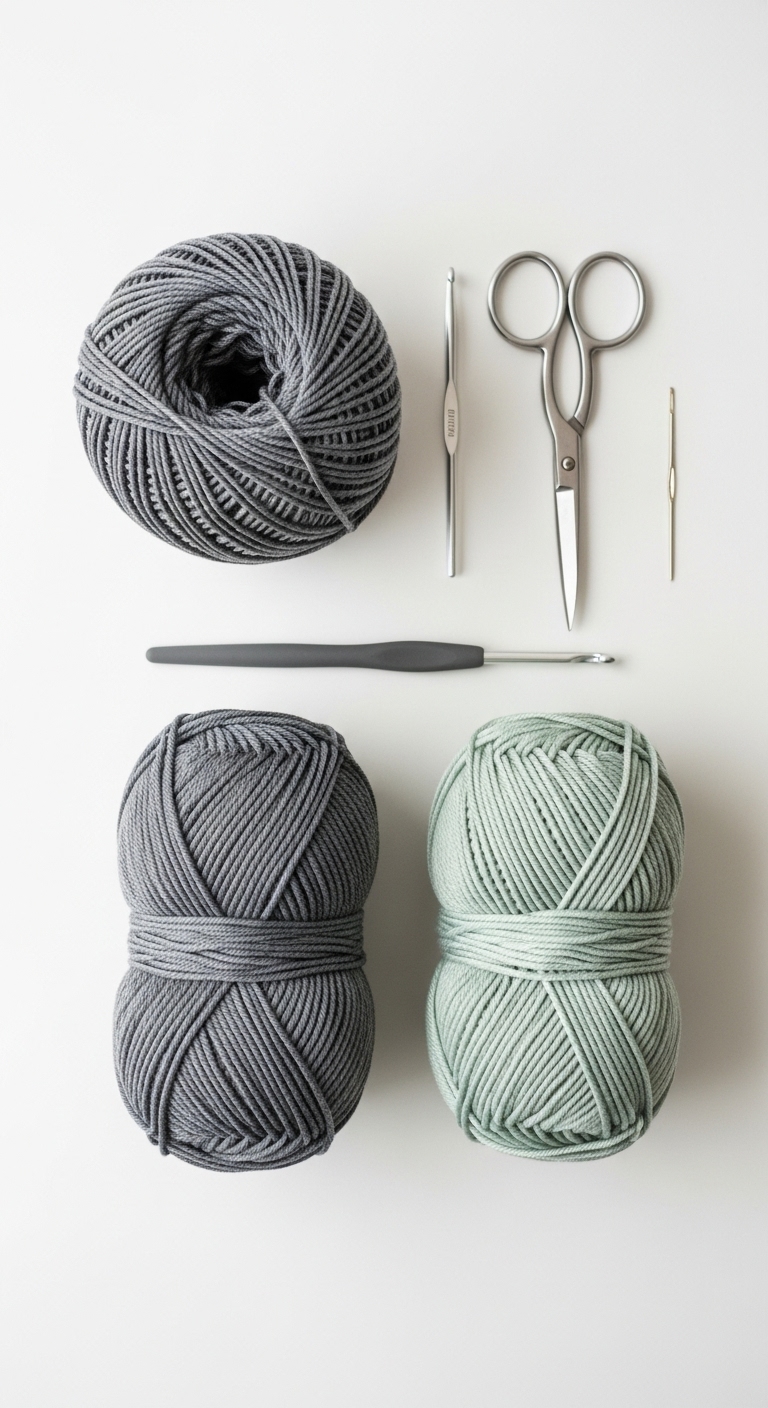
– Yarn: Medium (worsted) weight yarn in bright yellow (approximately 150 yards), playful red (approximately 100 yards), and soft blue (approximately 50 yards).
– Hook: 3.5mm or 4.0mm crochet hook
– Eyes: 12mm safety eyes (optional: you can use black embroidery thread for eyes)
– Stuffing: Polyester fiberfill stuffing
– Needle: Tapestry needle for sewing
– Marker: Stitch marker
– Optional extras: Small pom-poms for the clown’s hat, or fabric scraps for an extra fun accessory!
4. Designer Notes / Tips
When crocheting the Fooly Clown, you will be working with simple stitches, primarily single crochet (sc). If you’re new to crochet, don’t worry if your stitches aren’t perfect; it’s all part of the charm of handmade items! I recommend using firm stuffing for the head and body to give it a nice structure, but keep limbs lightly stuffed for a softer feel.
As you assemble the parts, take your time to ensure everything aligns correctly. Place safety eyes between rounds 10 and 11 of the head, spaced about 6 stitches apart for a friendly look. If you prefer to use embroidery thread for the eyes, you can stitch them with a simple black thread after completing the head. For yarn substitutions, any medium weight yarn in similar colors would work beautifully, just be sure to check your tension to maintain the overall size.
Safety is paramount! If you’re making this for a small child, consider using embroidered eyes instead of safety eyes for added safety.
5. Pattern Instructions
For Plushies:
Head:
– At this point, insert safety eyes as mentioned above.
– Leave a long tail for sewing. Stuff the head firmly.
Body:
– Stuff lightly and leave a long tail.
Arms (make 2):
– Stuff lightly and leave a long tail.
Legs (make 2):
– Stuff lightly and leave a long tail.
Hat:
– You can add a pom-pom to the tip of the hat if desired!
Assembly:
– Sew the head to the body using the long tails left. Attach the arms and legs securely on either side. Position the hat atop the head and sew in place.
– Weave in all ends and ensure everything is secure.
6. Closing & Social Engagement
Congratulations on completing your very own Fooly Clown amigurumi! I can’t wait to see how your project turns out. Please share your version in the comments below! What color combinations will you try? Don’t forget to show off your finished creation on social media! Happy crocheting!