crochet 2 in 1 be my valentine bear blanket hearts and bears
2. Introduction
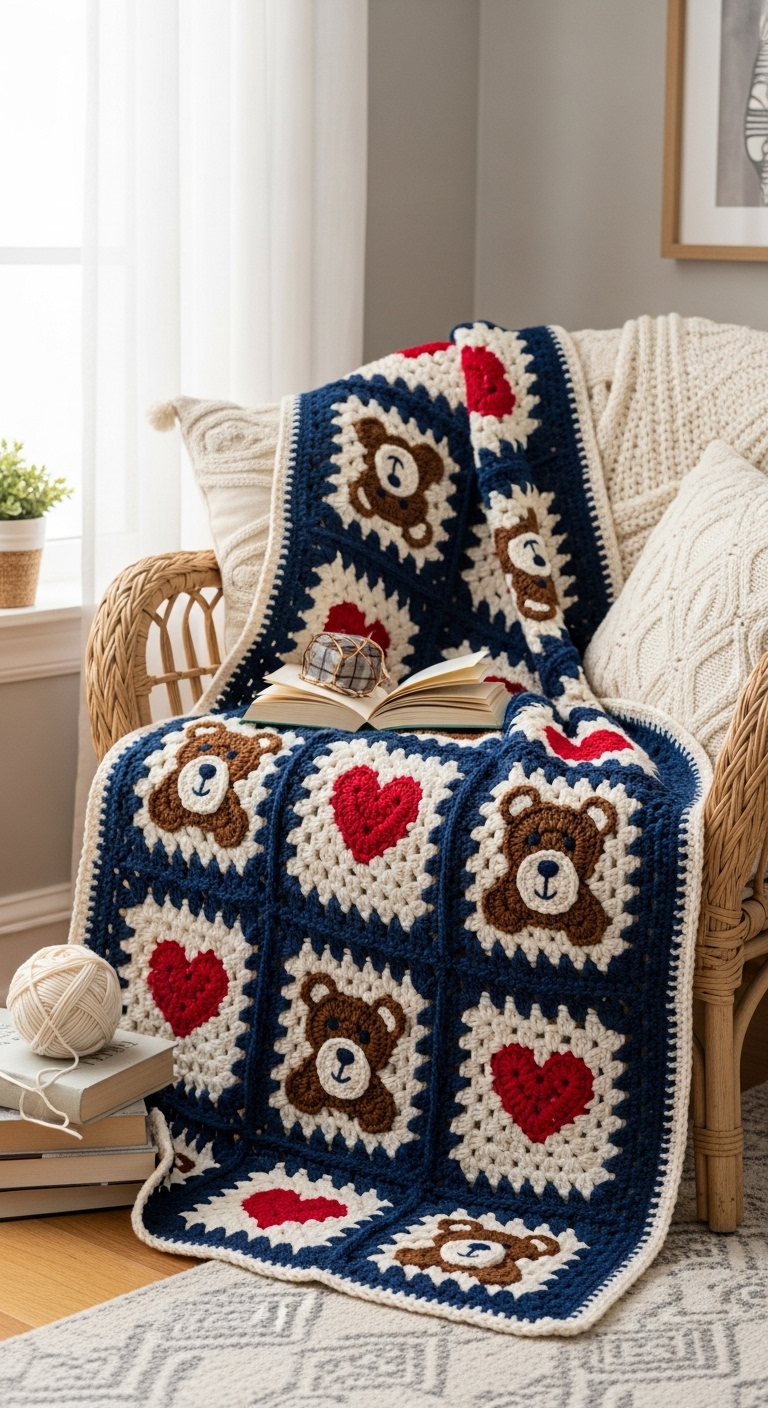
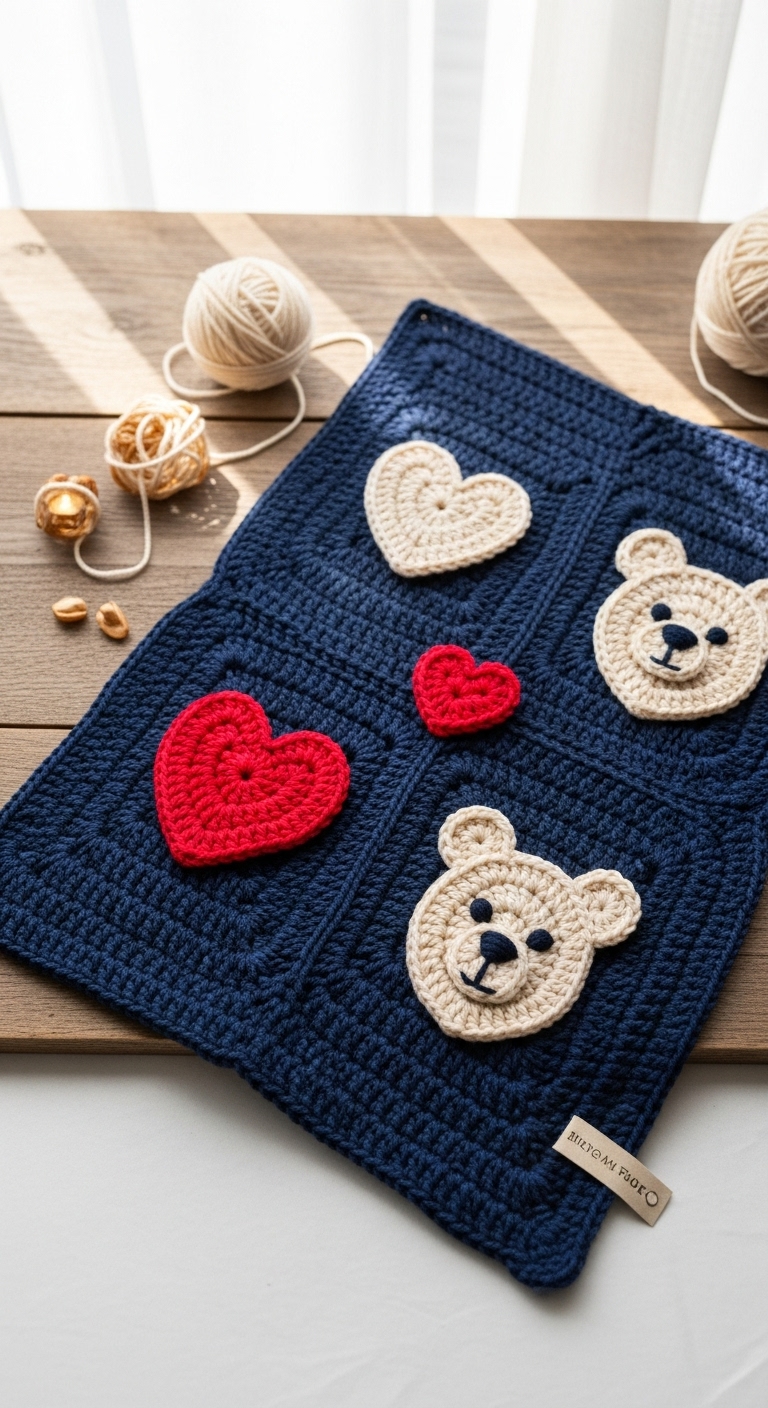
Welcome to the cheerful world of crochet with our delightful project: the 2 in 1 Be My Valentine Bear Blanket featuring hearts and bears! This adorable blanket combines a cozy layer with a fun plushie bear that can double as a cute toy. Measuring approximately 36 inches by 36 inches, it’s the perfect size for snuggling up on chilly evenings or gifting to a loved one.
You’ll be using soft, medium-weight yarn in colors like blush pink, cream, and a touch of chocolate brown to create this charming ensemble. These adult-friendly colors not only keep it sophisticated but also ensure it appeals to all ages. This project is both fun and quick to make; you’ll find yourself enjoying the repetitive stitches while creating a heartfelt gift that will surely be cherished.
The skill level for this pattern is beginner-friendly, making it accessible for crocheters who are just starting out. With Valentine’s Day around the corner, this project is not only a perfect seasonal gift but also a lovely way to express your affection through the art of crochet.
3. Materials Needed
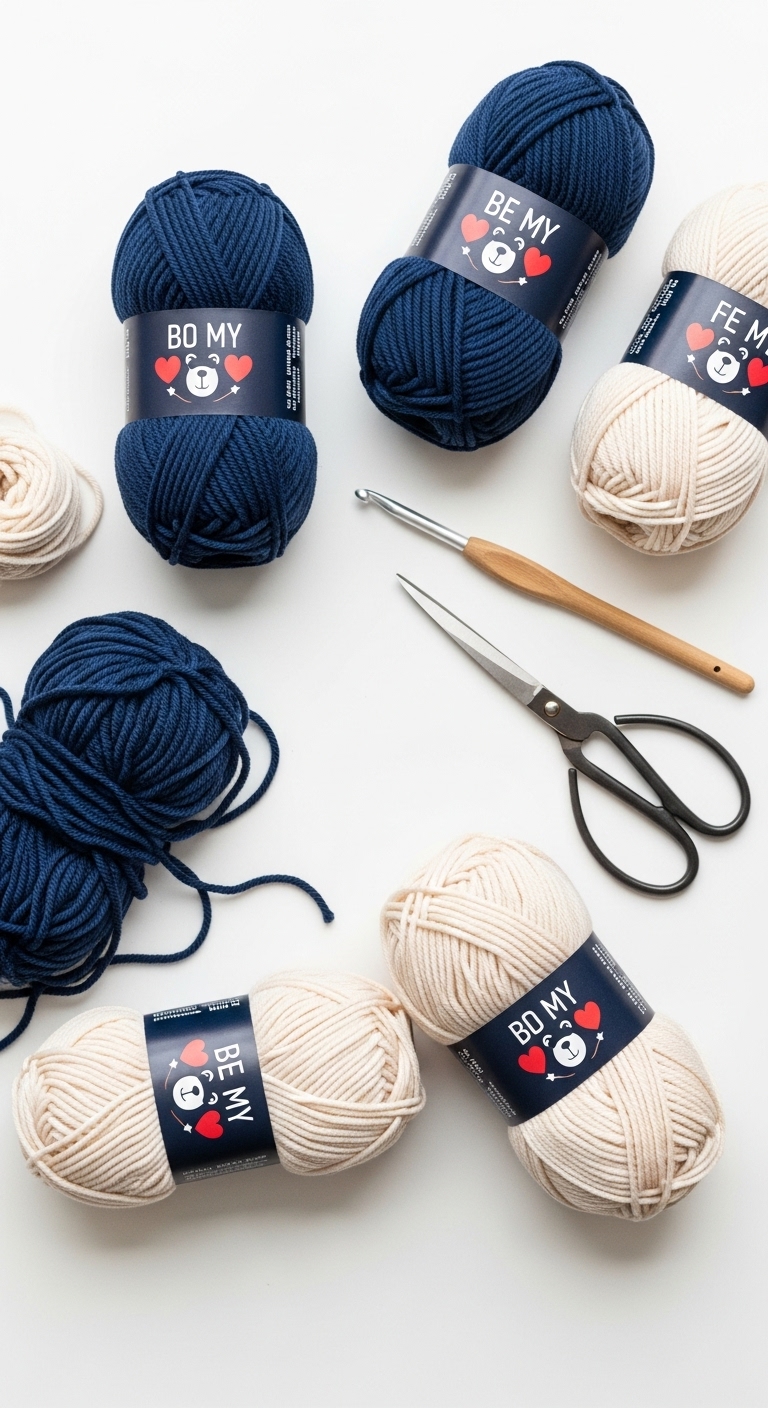
– Yarn: Medium weight (#4) yarn in blush pink (approx. 800 yards), cream (approx. 400 yards), and chocolate brown (approx. 200 yards)
– Hook: 4.0mm crochet hook
– Eyes: 12mm safety eyes OR black embroidery thread
– Stuffing: Polyester fiberfill stuffing
– Needle: Tapestry needle for sewing
– Marker: Stitch marker
– Optional extras: Embellishments like heart-shaped buttons or a small zipper for a pocket
4. Designer Notes / Tips
When working on the plushie portion of the blanket, consider using a soft yarn that has a nice drape for the blanket itself while maintaining structure for the bear. If you’re new to stuffing plushies, aim for a light density to ensure your bear remains cuddly and huggable without being too firm.
For assembly, it’s best to sew the bear parts together securely, especially if it’s intended for children, ensuring all pieces are well-attached. If you ever want to switch yarns, feel free to use acrylic blends or cotton yarn; just make sure to maintain the same weight for consistent sizing.
Measuring your gauge can help ensure your stitches are uniform. A good rule of thumb is to crochet a small swatch (about 4 inches) to check your tension before starting the main pieces. Remember to place safety eyes before fully stuffing the head to make sure they’re secure and positioned correctly.
5. Pattern Instructions
This pattern is broken down into several logical sections for both the blanket and the bear plushie.
For the Bear Plushie:
Head:
(Stuff the head lightly before closing it up.)
Body:
(Stuff the body before closing.)
Arms (Make 2):
(Stuff lightly before attaching.)
Legs (Make 2):
(Stuff lightly before attaching.)
Ears (Make 2):
(Attach safety eyes before closing the head and stuff lightly.)
Assembly:
– Attach the arms, legs, and ears to the body using your tapestry needle. Position them evenly for balance.
– Sew on the safety eyes, placing them about 6 stitches apart.
– Use the chocolate brown yarn to stitch a small nose and mouth.
For the Blanket:
Main Panel:
Hearts and Bear Appliques:
– Use a heart pattern of your choice and attach it to the blanket using a whip stitch.
– For the bear, follow the plushie instructions above, but attach it onto the blanket in a playful position.
Finishing:
– Weave in all loose ends with your tapestry needle.
– Block your blanket gently to shape it nicely.
6. Closing & Social Engagement
Congratulations on creating your very own 2 in 1 Be My Valentine Bear Blanket! It’s a wonderful project that combines comfort and cuteness—a true testament to your crochet skills. I’d love to see your version! Leave a comment below and share your beautiful creations on social media, tagging me so I can enjoy your color combinations and variations. What color scheme will you choose for your bear and blanket? You’ve got this, and I can’t wait to see your work!