free crochet blooming spring blanket with crochet big 3d flowers and cute butterflies
2. Introduction
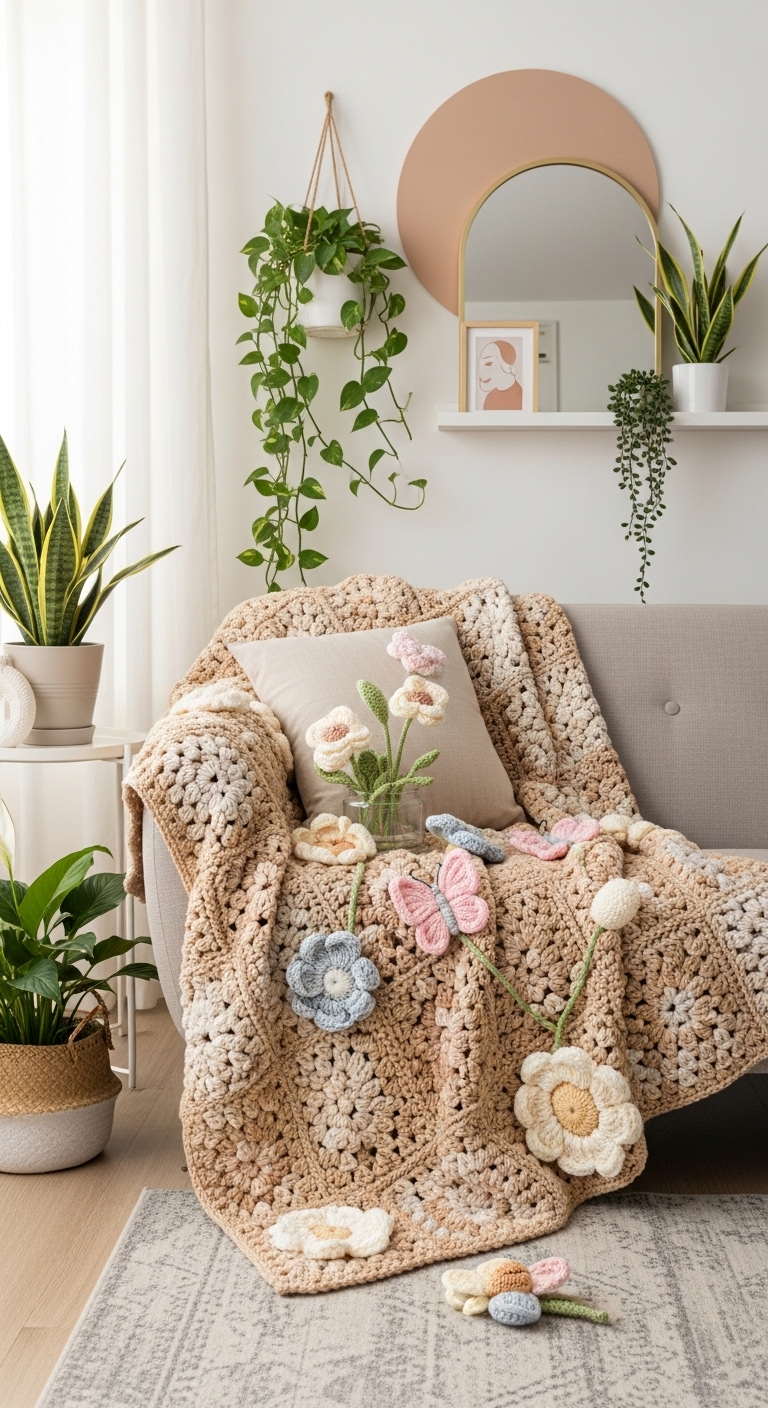
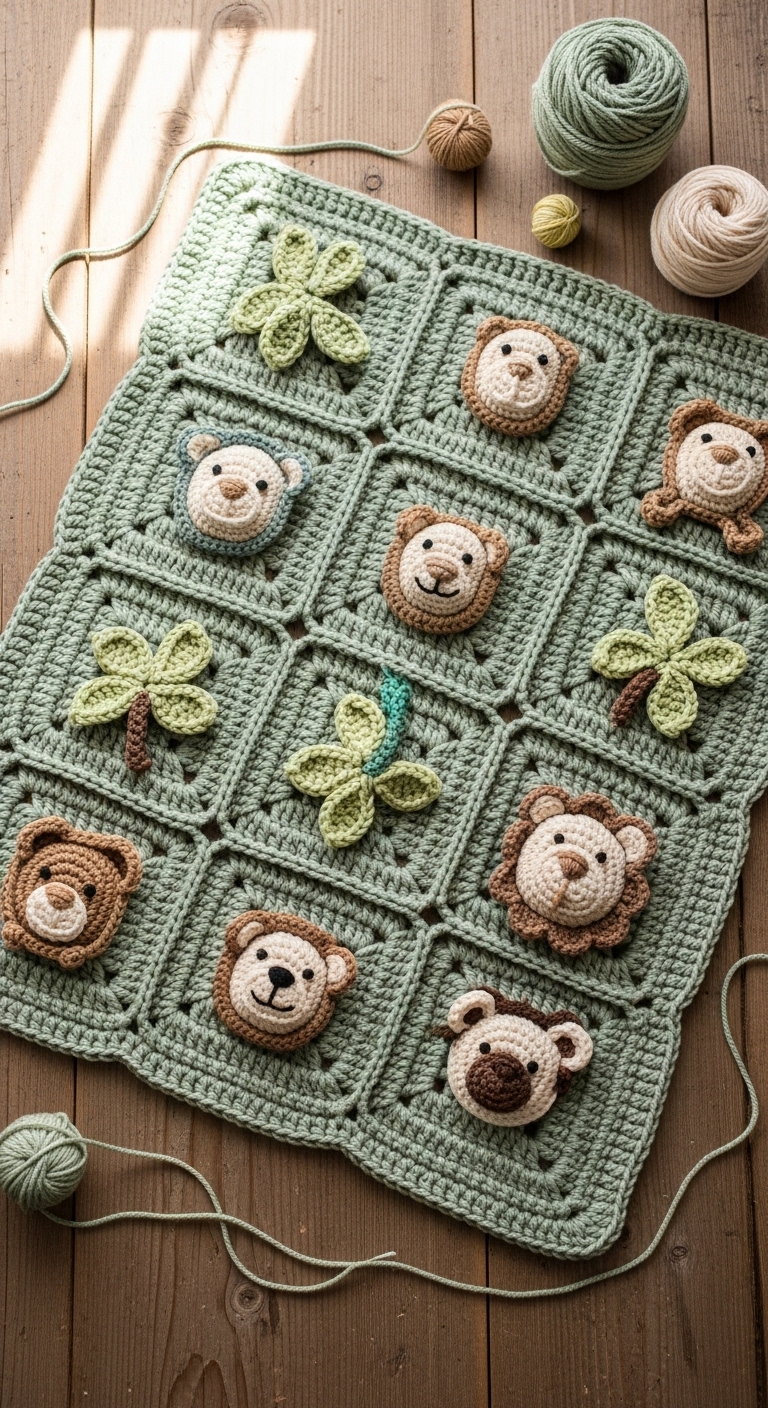
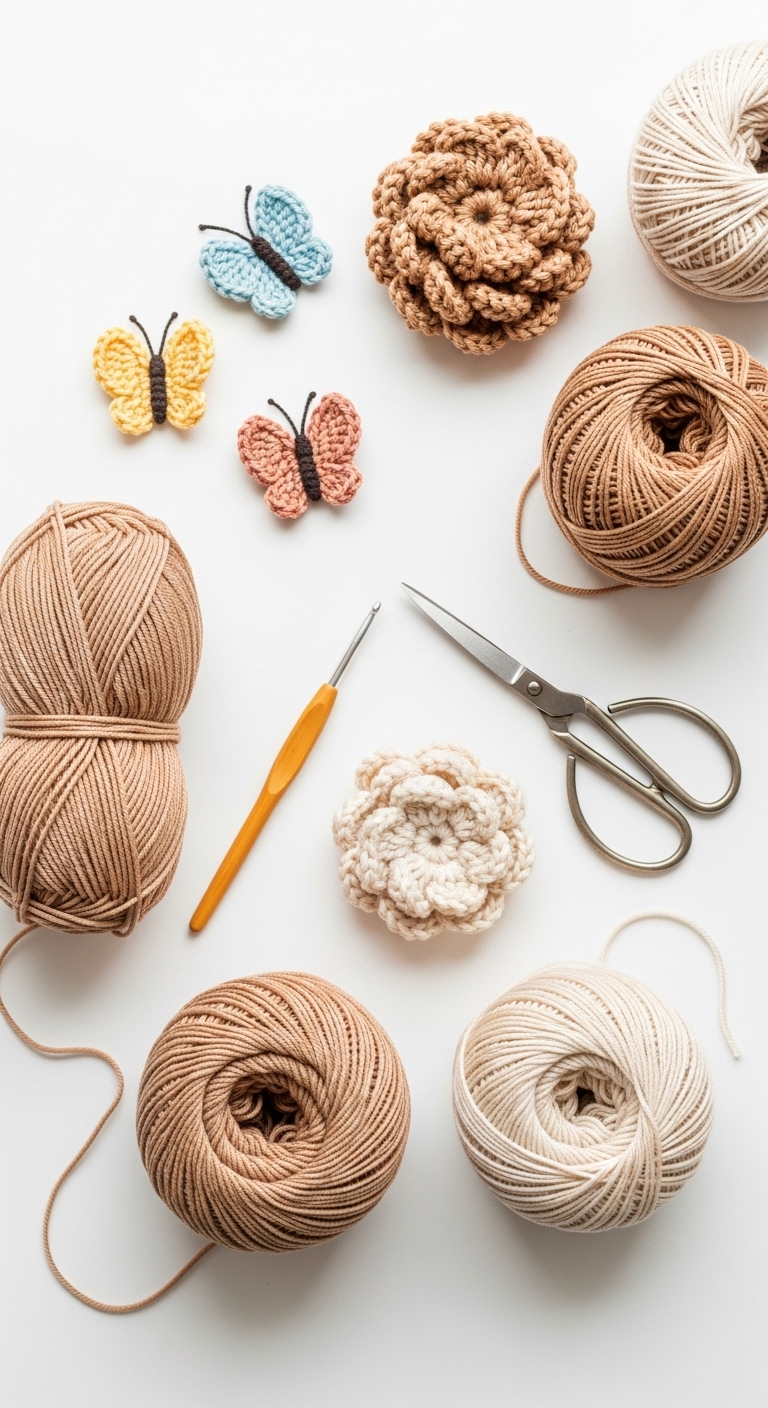
Welcome to the world of crochet with this delightful project: the Blooming Spring Blanket adorned with beautiful 3D flowers and charming butterflies! This blanket, measuring approximately 50 inches by 60 inches, is perfect for snuggling up on a chilly spring evening or adding a pop of color to your living space. Imagine curling up under this vibrant blanket, surrounded by the lively essence of springtime.
For this project, I chose a soft, worsted weight yarn in a soothing palette of pastel pink, vibrant mint green, and sunny yellow. These adult-friendly colors not only lend a fresh aesthetic but also evoke the cheerful spirit of spring. What makes this pattern truly special is how quickly you can see your progress; the large flower motifs create an engaging visual without demanding extensive time commitments. This pattern is perfect for adventurous beginners and those who are eager to enhance their skills. Additionally, it makes a heartfelt gift for loved ones during spring celebrations or as a cozy homewarming present.
3. Materials Needed
– Yarn: Worsted weight yarn in pastel pink (approximately 800 yards), vibrant mint green (approximately 600 yards), and sunny yellow (approximately 400 yards)
– Hook: 4.0mm crochet hook
– Eyes: N/A (not applicable for this blanket)
– Stuffing: N/A (not applicable for this blanket)
– Needle: Tapestry needle for weaving in ends
– Marker: Stitch marker
– Optional extras: None
4. Designer Notes / Tips
This pattern incorporates basic crochet stitches such as single crochet (sc) and double crochet (dc), while special stitches for the 3D flowers will add delightful texture. When working the flowers, be sure to crochet them tightly to maintain their shape; using a firm tension can help achieve this.
Regarding assembly, it’s best to attach the flowers and butterflies once your blanket is complete. This allows you to play around with placement and design before securing them down. For yarn substitutions, consider using a cotton blend to enhance the blanket’s durability and washability.
Pay attention to your gauge, as achieving the correct tension will ensure that your blanket maintains its size and the flowers are proportionate. Lastly, if you’re making this for a child or pet, consider using non-toxic and hypoallergenic yarns to ensure safety.
5. Pattern Instructions
For the Blanket:
Main Panel
Foundation:
Chain 140 (this will be your starting chain, adjust for your desired width).
Row 1: Sc in second chain from hook and across (139 sc).
Row 2: Ch 3 (counts as dc), turn, dc in each stitch across (139 dc).
Row 3: Ch 1, turn, sc in each stitch across (139 sc).
Row 4: Repeat Row 2.
Row 5: Repeat Row 3.
Repeat Rows 2-5 for a total of 30 rows (or until your blanket reaches your desired length).
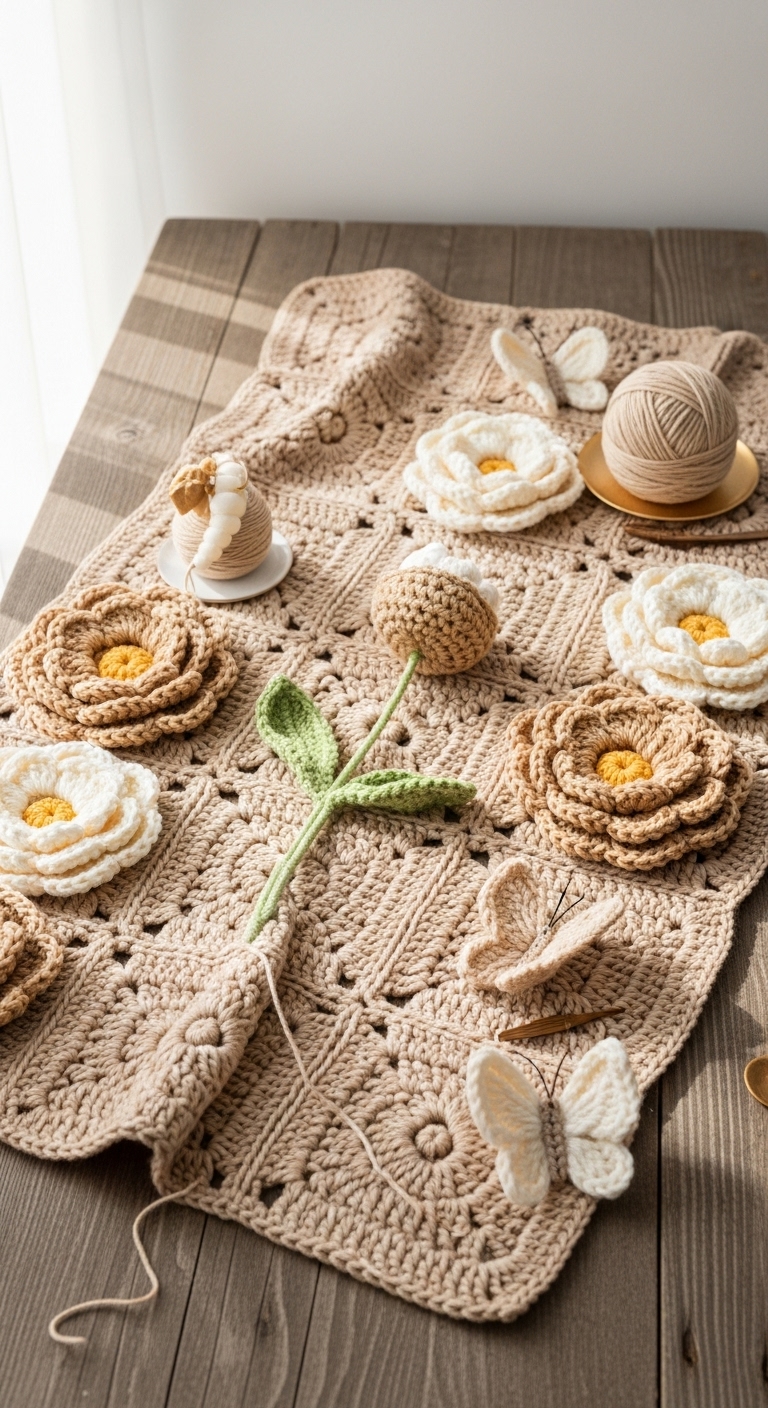
3D Flowers
Flower Pattern (Make 10):
1. Magic Ring: Create a magic ring.
2. Round 1: 10 sc into the ring (pull tight to close) (10).
3. Round 2: *[1 dc in next st, 2 dc in next st]* repeat around (15).
4. Round 3: *[1 dc in next 2 sts, 2 dc in next st]* repeat around (20).
5. Fasten off and leave a long tail for sewing.
Cute Butterflies (Make 5):
1. Magic Ring: Create a magic ring.
2. Round 1: 6 sc in magic ring (6).
3. Round 2: Inc in each st around (12).
4. Round 3: *[sc, inc]* repeat (18).
5. Fasten off leaving a long tail for sewing.
Assembly
– Joining the Flowers: Arrange your completed flowers across your blanket; use a tapestry needle to sew them onto the blanket securely.
– Joining the Butterflies**: Similarly, sew the butterflies onto your blanket in flight positions above the flowers for a whimsical touch.
6. Closing & Social Engagement
Congratulations on your beautiful Blooming Spring Blanket! I’d love to see your version! Leave a comment below and let me know how your project turned out. What color combination will you try? Don’t forget to share your finished blanket on social media – let’s spread the joy of crochet together!