free crochet parrot applique pattern
2. Introduction
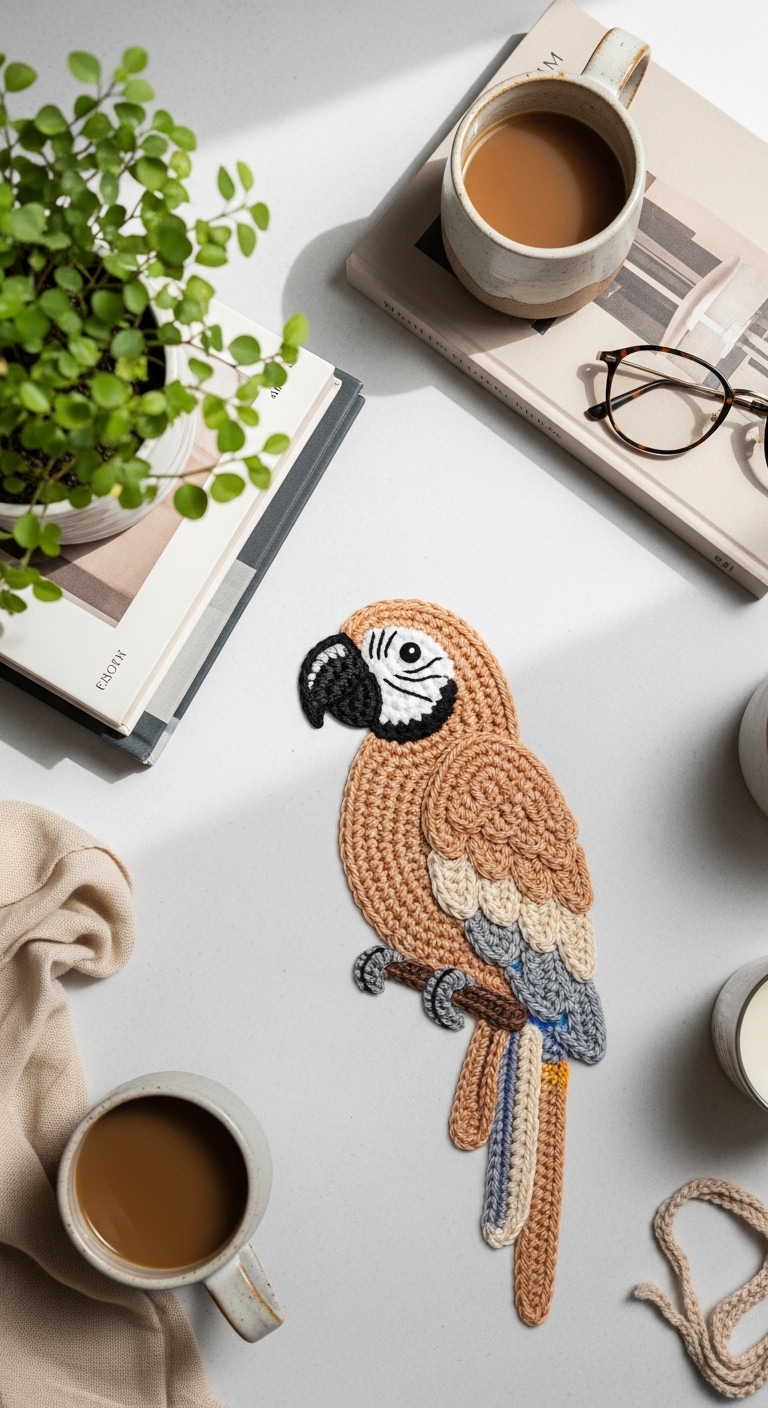
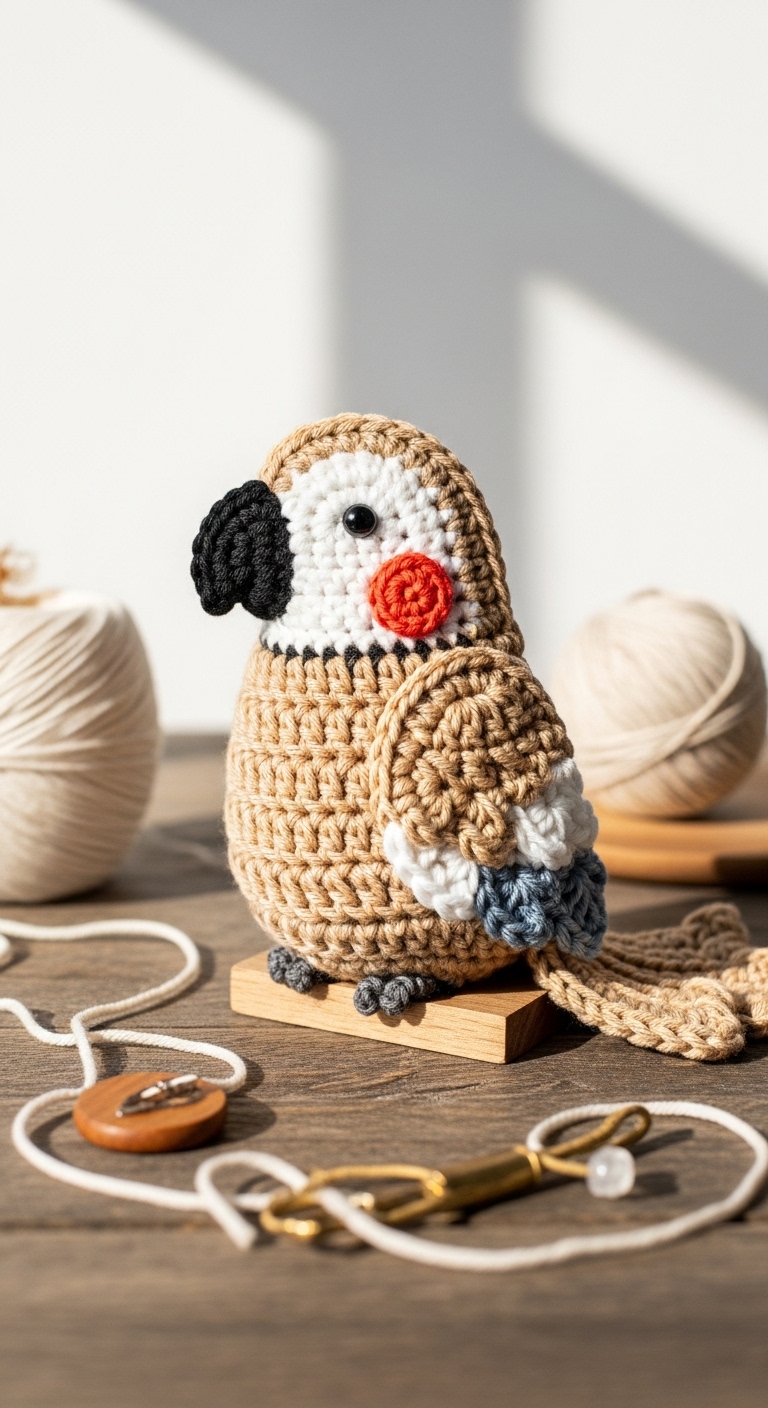
Welcome to the vibrant world of crochet with this delightful free crochet parrot applique pattern! This cheerful little parrot measures approximately 4 inches tall and 3 inches wide, making it the perfect size for embellishing bags, hats, or even as a fun addition to baby clothes. With its bright colors and whimsical design, this applique is sure to add a splash of personality to any project!
For this project, you will need a medium-weight yarn in a few complementary adult-friendly colors. I recommend a classic green for the body, a sunny yellow for the beak, and a bold red for the accents. The combination of these colors creates a lively and eye-catching design that embodies the tropical spirit of a parrot. This pattern is beginner-friendly, so whether you’re looking to expand your skills or simply enjoy a quick and rewarding project, you’ve found the right fit!
Not only is this parrot applique a fun project, but it also makes a unique gift for friends and family who love birds or enjoy crochet. It’s perfect for seasonal crafting, especially for summer-themed decorations or as a cheerful surprise in a gift basket. Let’s dive in and get started on this charming crochet project!
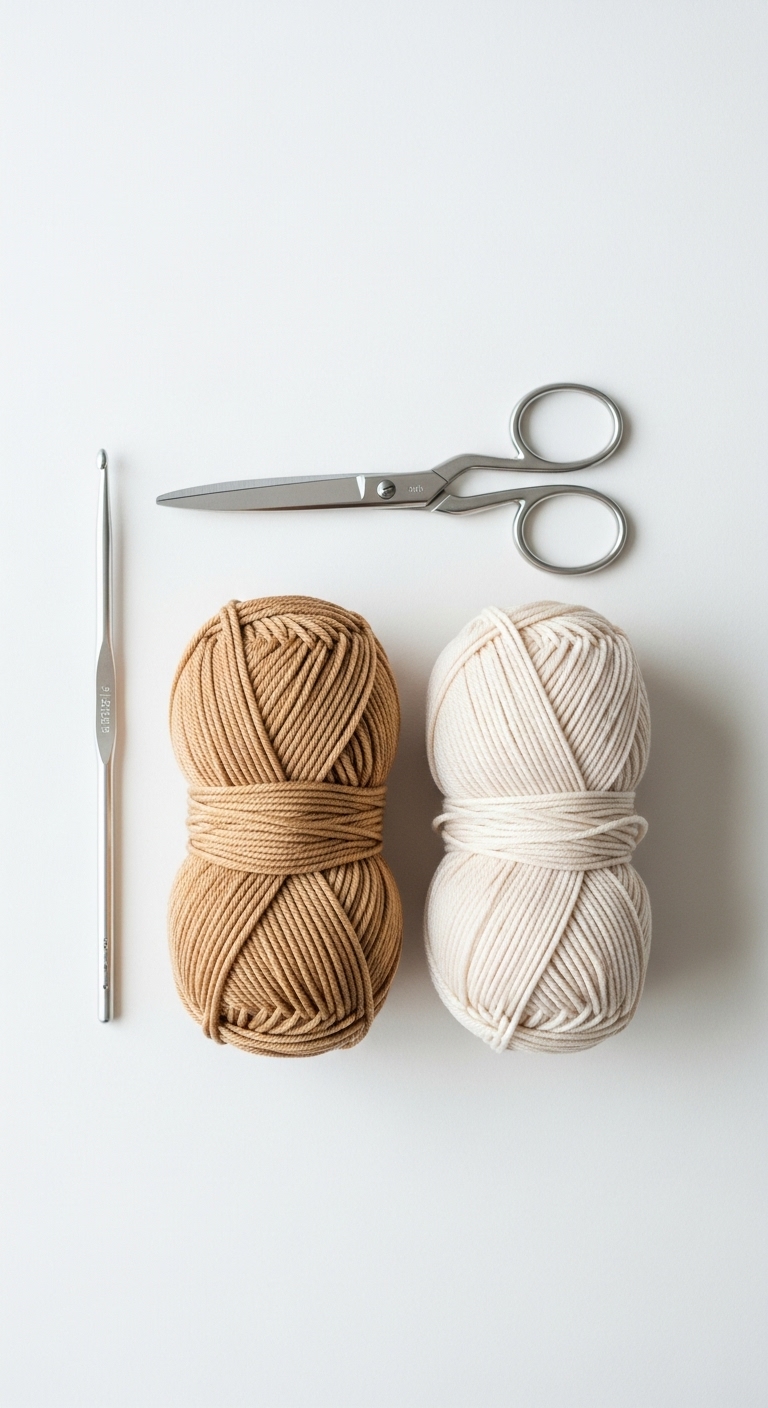
3. Materials Needed
– Yarn: Worsted weight yarn in green (approx. 30 yards), yellow (approx. 10 yards), and red (approx. 10 yards)
– Hook: 3.5mm crochet hook
– Eyes: Safety eyes (9mm) OR black embroidery thread
– Stuffing: Polyester fiberfill stuffing (optional, for added dimension)
– Needle: Tapestry needle for sewing
– Marker: Stitch marker
– Optional extras: Fabric glue (for securing pieces)
4. Designer Notes / Tips
Before you start, keep in mind that the parrot’s body uses basic stitches, making it a friendly project for beginners. You’ll be working primarily in single crochet stitches, so be sure to maintain consistent tension for a nice finish. If you’re using safety eyes, I recommend placing them between rounds 8 and 9 of the head for the best appearance.
As for stuffing, consider whether you’d like your applique to have some dimension. A light stuffing can give the parrot a gentle puff without making it too bulky, while no stuffing at all creates a flatter profile that lays nicely on surfaces. When assembling, use a tapestry needle to attach pieces securely, and don’t hesitate to use a bit of fabric glue if you want extra durability for the embellishments.
If you’re looking for yarn substitutions, acrylic or cotton yarns work well for this project. For gauge, aim for approximately 5 stitches per inch in single crochet, but don’t stress too much about getting an exact match, as this is an applique and will not greatly impact your project.
5. Pattern Instructions
For the Parrot Applique:
Body
– At this point, you may choose to lightly stuff the body before closing it up.
Head
– Place safety eyes between rounds 5 and 6 before continuing.
Beak
– Fasten off and leave a long tail for sewing.
Wings
– Make two wings.
Assembly
1. Attach the head to the body using your tapestry needle.
2. Sew the wings on either side of the body.
3. Attach the beak just below the eyes.
4. Weave in all ends.
6. Closing & Social Engagement
Congratulations on completing your very own crochet parrot applique! I’d love to see your version. Leave a comment below and let me know what color combinations you chose. What unique projects will you embellish with this cheerful parrot? Share your finished creations on social media using #CrochetParrotApplique, and inspire others in our crochet community!