crochet ear warmer headband alpine
2. Introduction
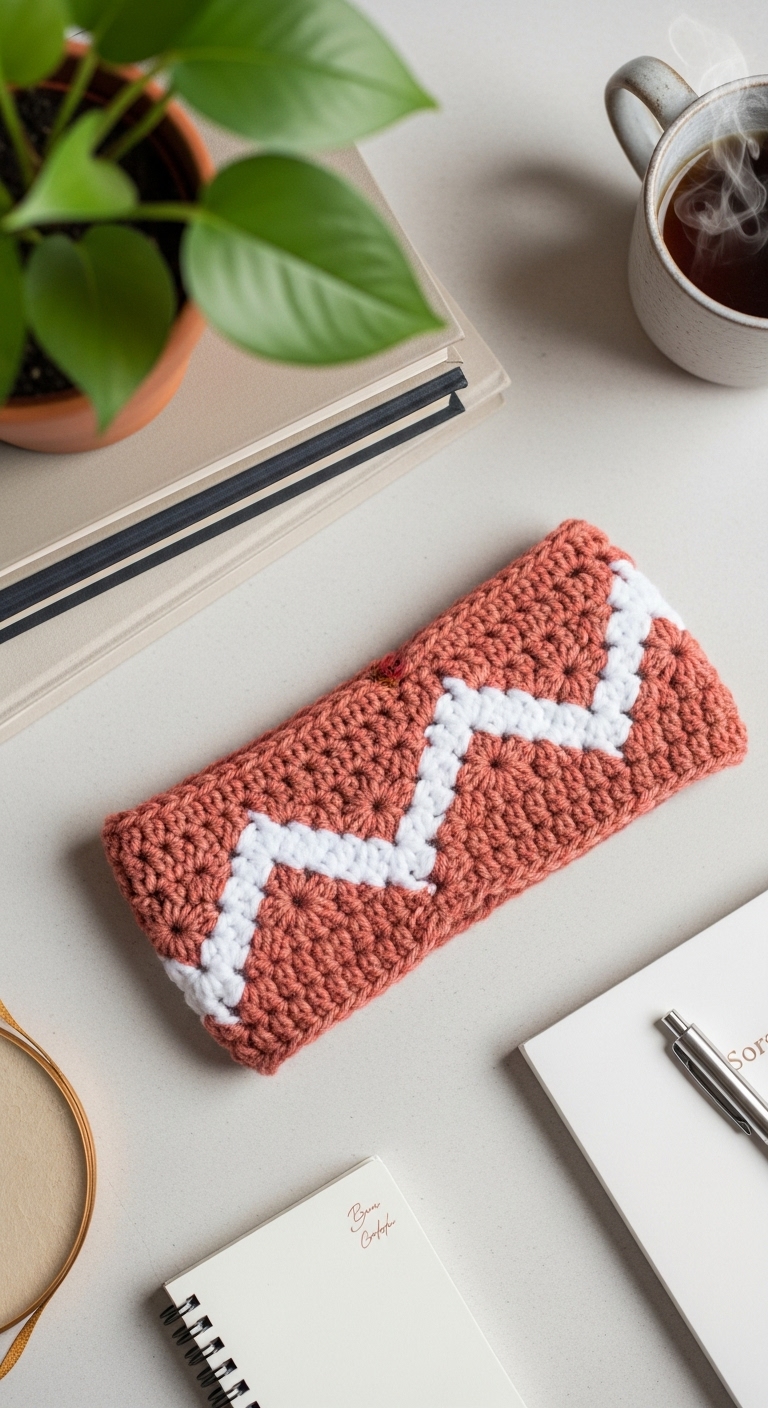
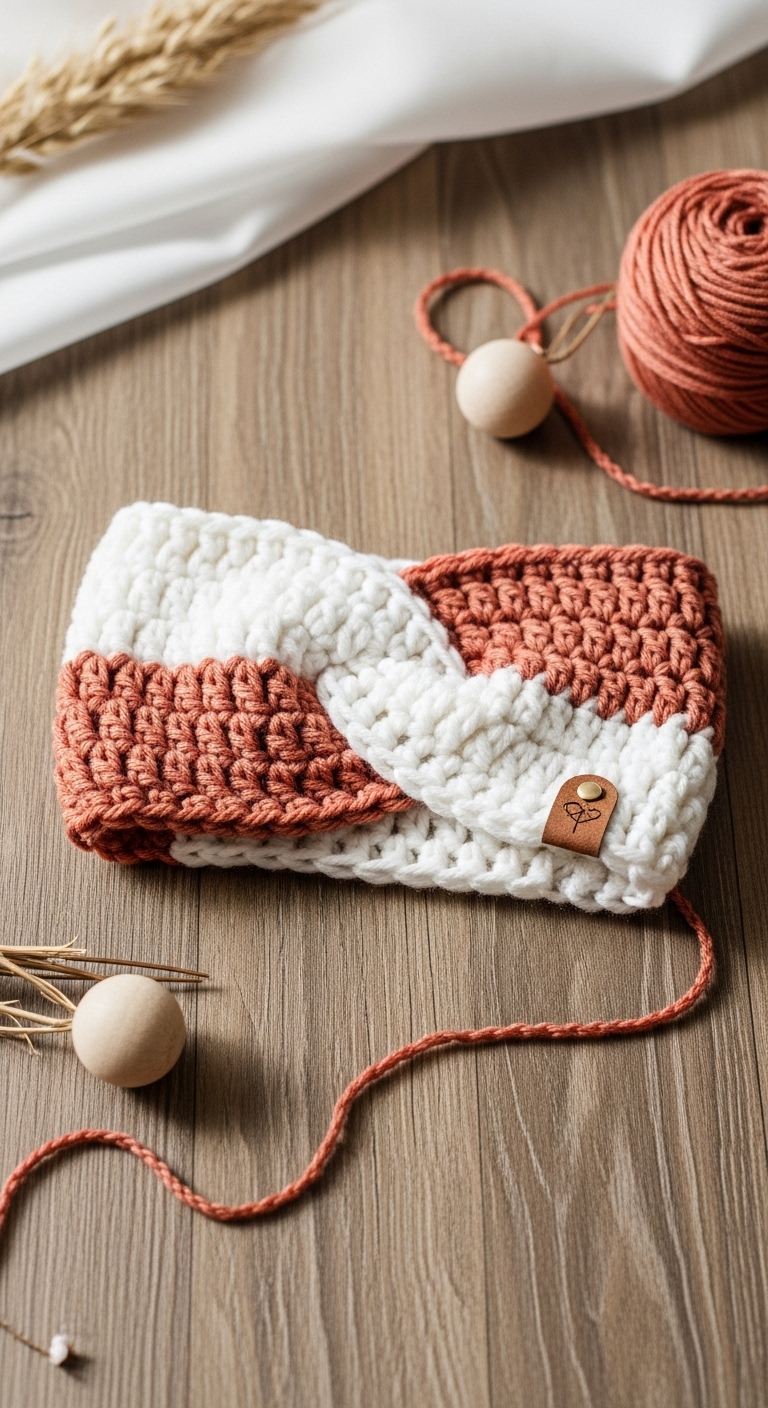
Welcome to your next cozy crochet project: the Alpine Crochet Ear Warmer Headband! This delightful accessory is perfect for keeping your ears warm during chilly outings and is designed to fit most adults comfortably. The finished headband measures approximately 3-4 inches in width and can be adjusted in length to suit your preference.
For this project, we recommend using a soft, bulky weight yarn in a beautiful palette of muted earth tones – think deep forest green, rich burgundy, and warm cream. These adult-friendly colors not only create a stylish and sophisticated look but also make this headband a versatile accessory for any winter outfit. What makes this pattern special is its quick construction; you can whip up this ear warmer in an afternoon! It’s beginner-friendly, giving you an opportunity to practice basic stitches while creating a chic piece. This headband also makes a thoughtful gift for friends and loved ones, especially during the holiday season.
3. Materials Needed
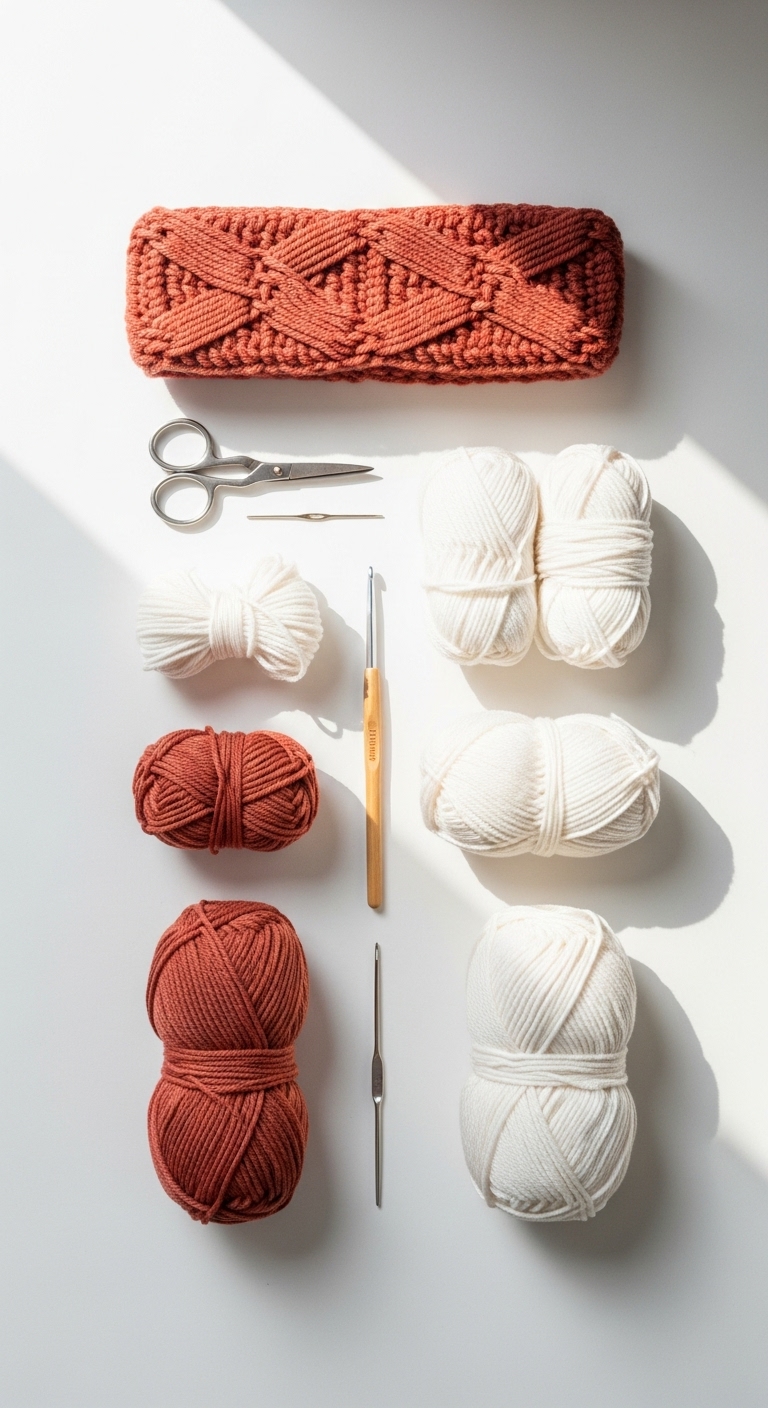
– Yarn: Bulky weight yarn (size 5) in deep forest green, rich burgundy, and warm cream – approximately 100 yards total
– Hook: 4.0mm crochet hook
– Needle: Tapestry needle for sewing in ends
– Marker: Stitch marker
– Optional extras: Button for embellishment (if desired)
4. Designer Notes / Tips
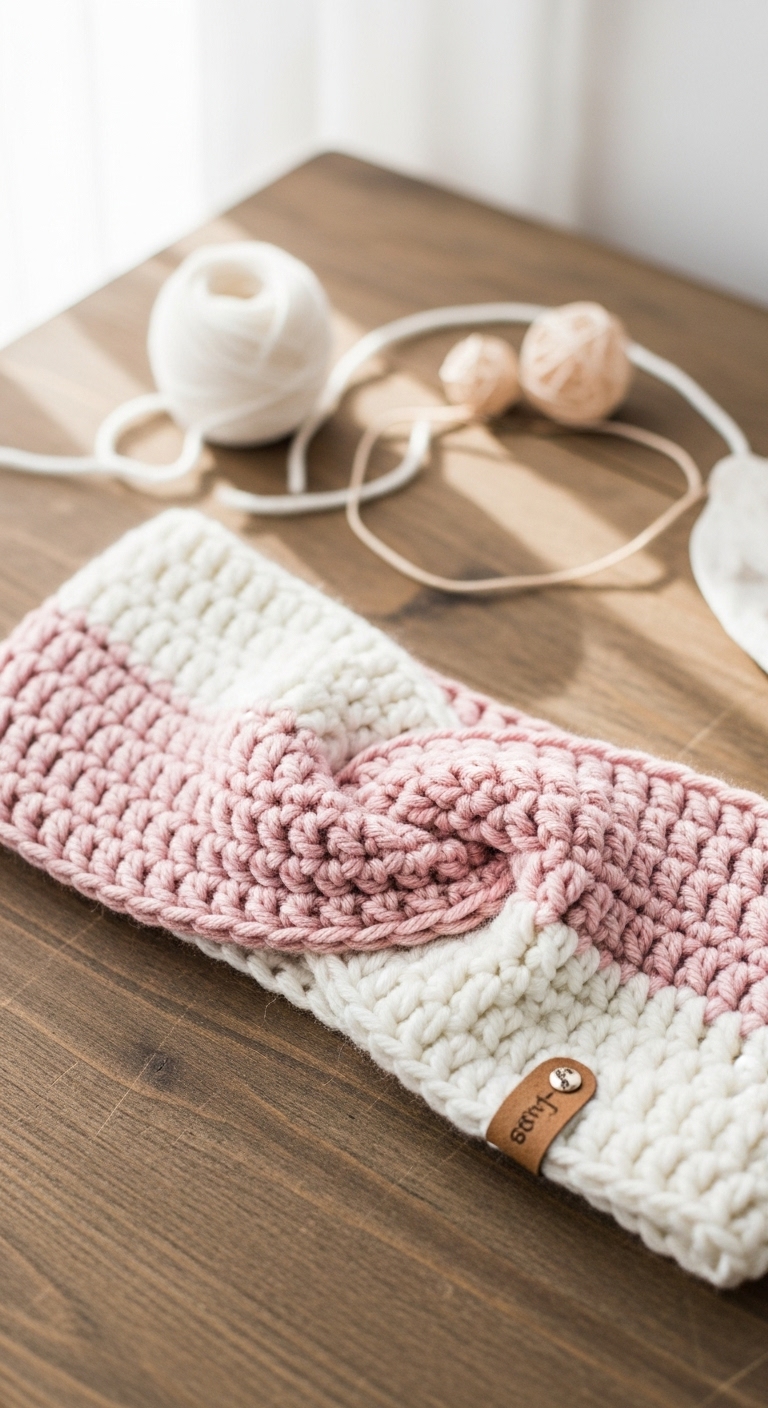
When working on this ear warmer, you’ll be using the half double crochet (hdc) stitch, which creates a lovely texture and warmth. The pattern also features a simple ribbing effect that adds style and stretch. Don’t worry if you’re new to this stitch; it’s easy to master with a little practice!
For best results, aim for a firm yet flexible fabric; this balance allows the headband to stay in place without being too tight. If you’re considering different yarn options, look for a soft acrylic or wool blend that retains warmth and feels comfortable against your skin.
Be mindful of your gauge; while not critical, a loose tension may result in a headband that is too large. If you prefer to adjust the size, simply add or subtract rows in the main panel section. And if you’re making this for a child, consider using a snugger fit or a softer yarn to ensure comfort and safety.
5. Pattern Instructions
Main Panel
1. Foundation Row: Chain 12.
2. Row 1: Hdc in the 2nd chain from the hook and across (11 hdc).
3. Row 2: Chain 1, turn. Hdc in the back loops only across (11 hdc).
4. Rows 3-20: Repeat Row 2 until your panel measures approximately 20-22 inches in length or desired size.
Straps/Handles
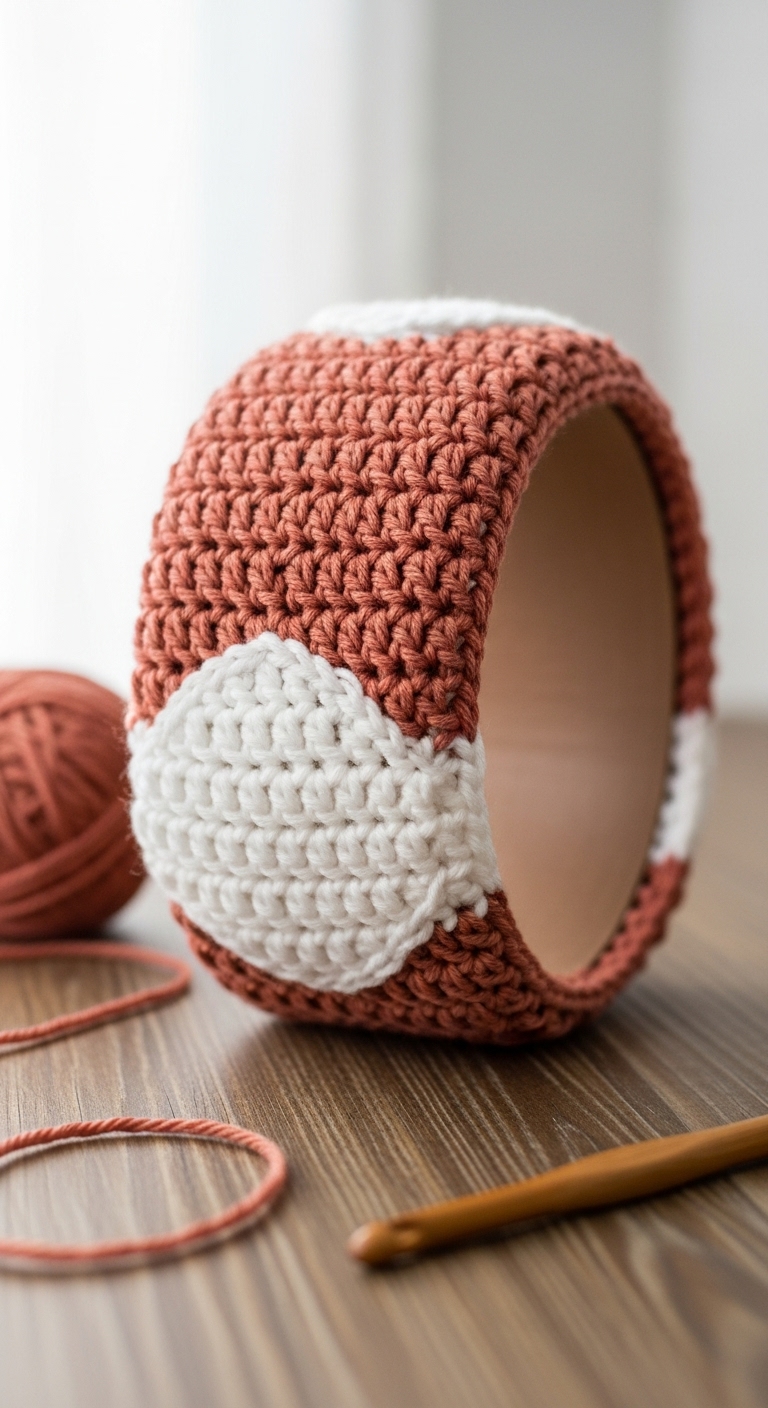
5. Once you reach the desired length, fold your panel in half lengthwise and sl st the short edges together to form a loop.
6. Row 1: Chain 1, hdc around the edge of the loop, placing a hdc in each stitch for a total of 22 hdc.
7. Row 2: Chain 1, turn. Hdc in the back loops only across (22 hdc).
8. Row 3: Repeat Row 2 until your strap measures approximately 1 inch in width.
Finishing
9. Fasten off and sew in your ends using the tapestry needle. If desired, sew a decorative button on the side for added flair.
6. Closing & Social Engagement
Congratulations on completing your Alpine Crochet Ear Warmer Headband! I’d love to see your version! Leave a comment below sharing your color combinations or any modifications you made. What unique colors will you try for your next project? Don’t forget to share your finished headband on social media using the hashtag #CrochetAlpineHeadband – let’s inspire each other with our crochet creations!