crochet 3d leaf stitch

2. Introduction
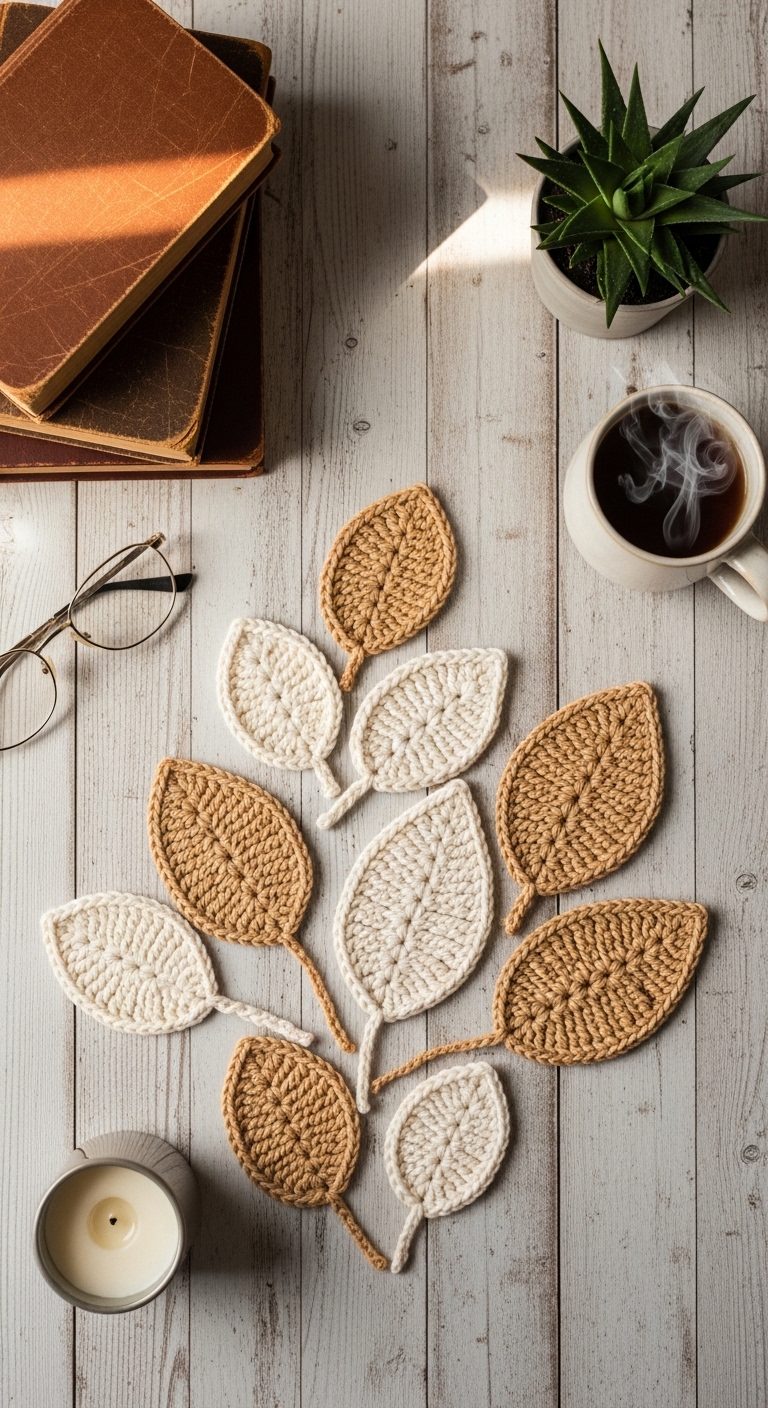
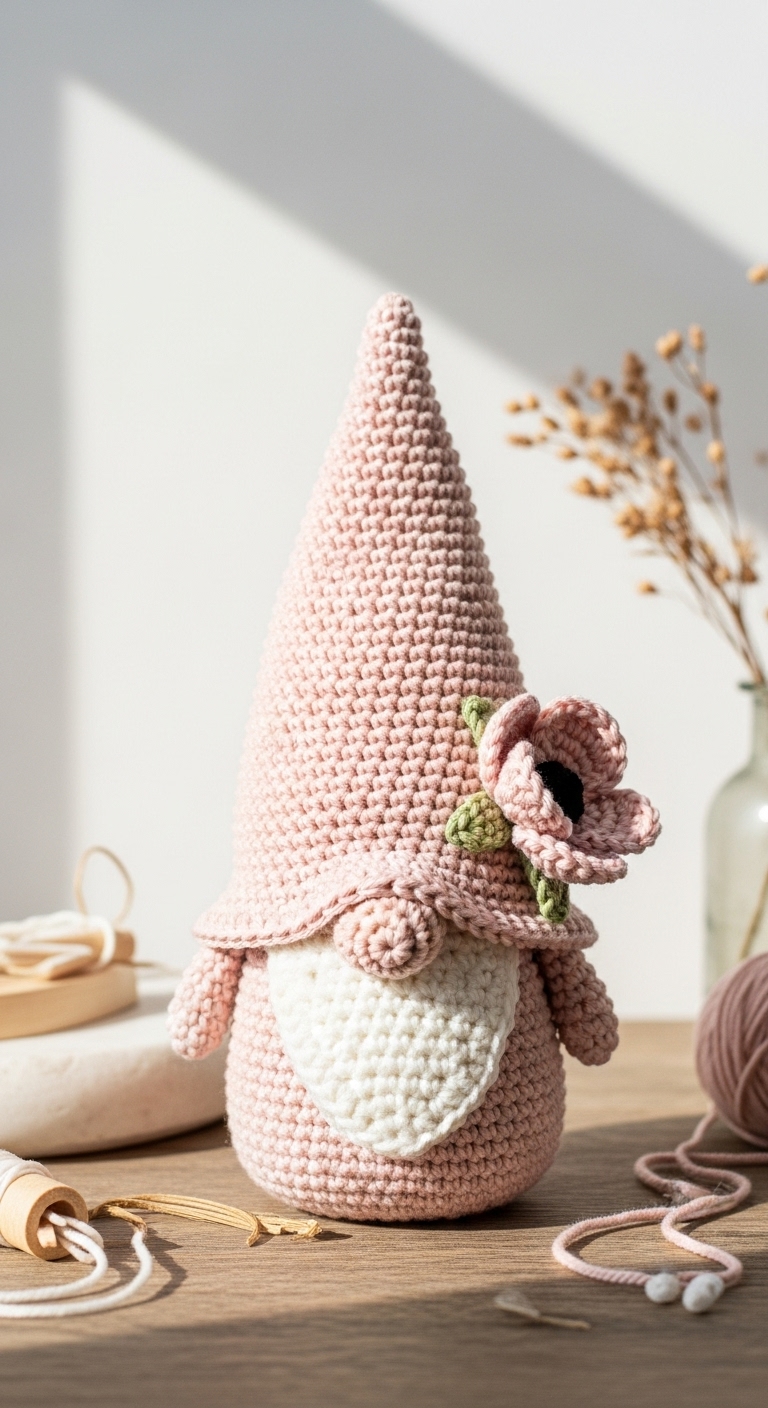
The crochet 3D leaf stitch is a stunning and textured stitch that adds a unique flair to your crochet projects. Ideal for creating plushies, accessories, or even home decor, a small swatch using this stitch can measure about 6 inches wide, but feel free to adjust the size based on your project needs. This stitch showcases luscious leaves that pop out from your fabric, making it a delightful addition to any crochet piece.
For this project, I recommend using a soft, worsted-weight yarn in earthy tones such as deep forest green, mustard yellow, or a rich burgundy. These colors not only complement each other beautifully but also evoke the natural beauty of a vibrant autumn landscape. The good news is that this stitch is beginner-friendly with some simple techniques that can be picked up quickly, making it a perfect choice for crafters looking to enhance their skills or create heartfelt gifts for friends and family.
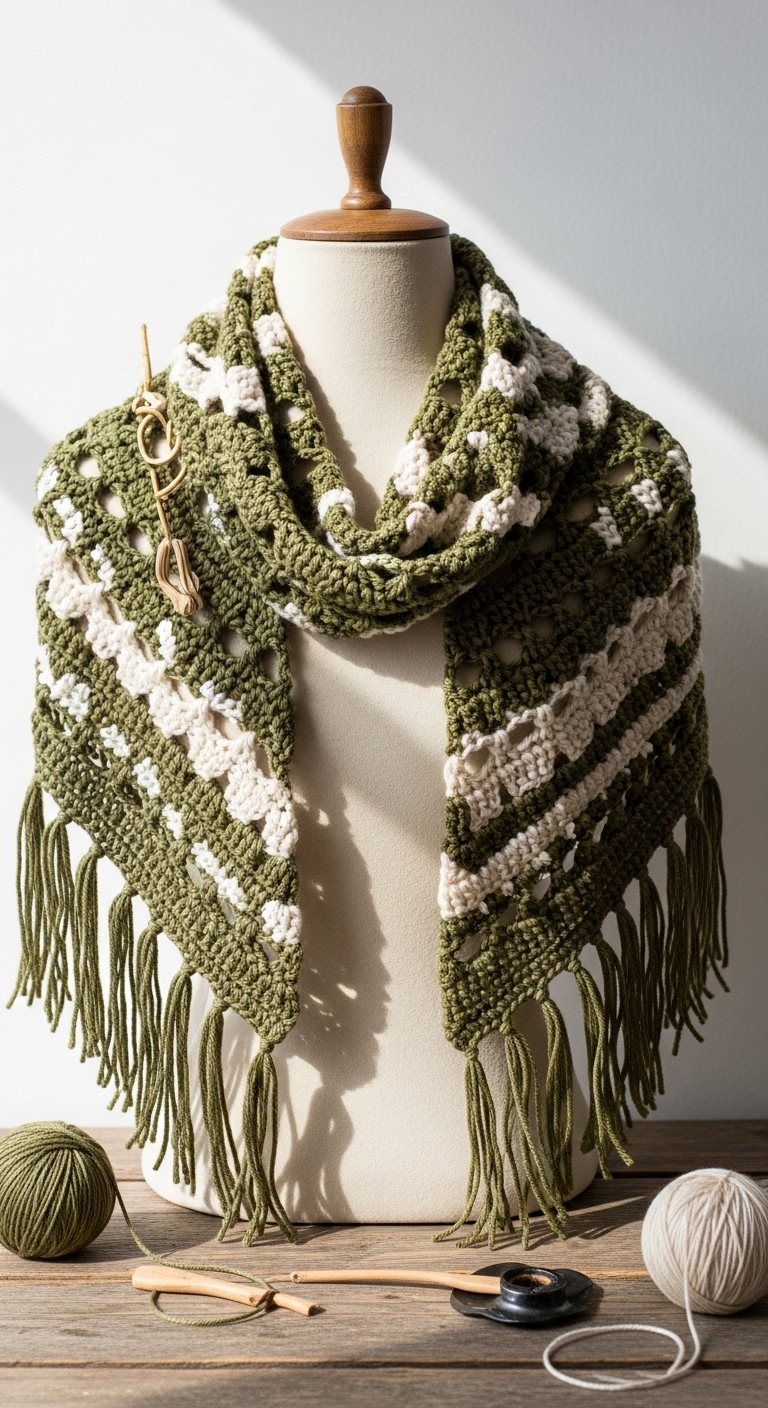
Whether you are looking to craft an elegant scarf, an eye-catching blanket, or a charming plush toy, the crochet 3D leaf stitch will surely impress. Its tactile nature makes it perfect for seasonal projects, especially during the fall, inviting warmth and coziness into your handmade collection.
3. Materials Needed
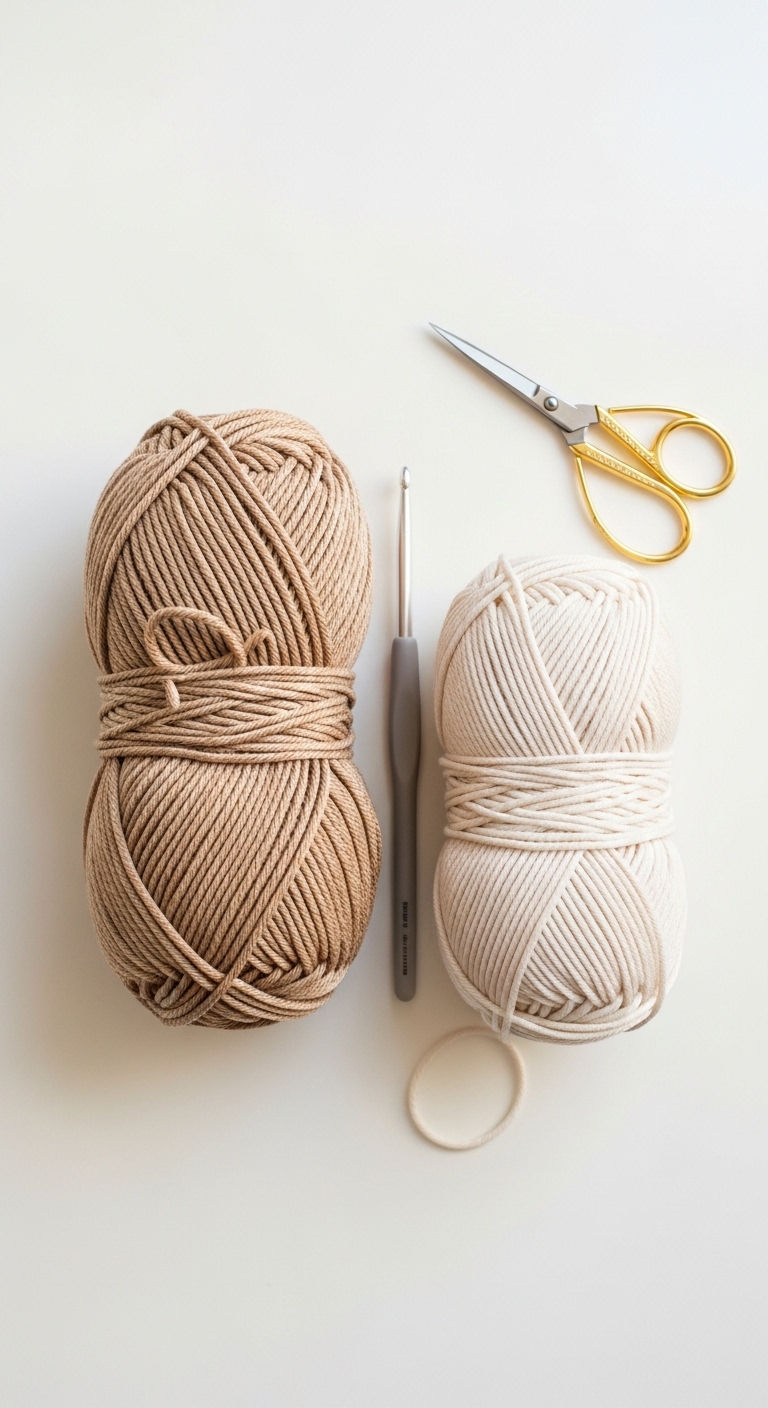
– Yarn: Worsted weight yarn in deep forest green, mustard yellow, and burgundy – approximately 200 yards total
– Hook: 4.0mm crochet hook
– Eyes: Safety eyes (12mm) OR black embroidery thread for facial features
– Stuffing: Polyester fiberfill stuffing (if making plushies)
– Needle: Tapestry needle for sewing ends
– Marker: Stitch marker for keeping track of rounds
– Optional extras: Buttons or beads for embellishments
4. Designer Notes / Tips
– Stitch technique: The 3D leaf stitch involves a combination of front post double crochet (FPdc) and chain stitches. This creates the raised leaf effect, so be sure to keep your tension consistent for a more uniform look.
– Stuffing density: If you’re creating a plushie, I recommend using a firm stuffing to ensure the leaves maintain their shape. Aim for a light to medium density for accessories to keep them flexible.
– Assembly: When joining multiple pieces, use a whip stitch for seamless connections, and be sure to weave your ends in well to avoid any unraveling.
– Yarn substitutions: If you want to experiment, cotton yarn can give a lovely crisp look to the leaves, while acrylic yarn offers softness and flexibility.
– Gauge tips: To maintain the correct size for your project, make a small gauge swatch using the 3D leaf stitch. Aim for about 4 inches by 4 inches to ensure your stitches are consistent.
– Safety considerations: If your project is for a child, secure any embellishments like buttons or safety eyes tightly, and avoid small parts for younger children.
5. Pattern Instructions
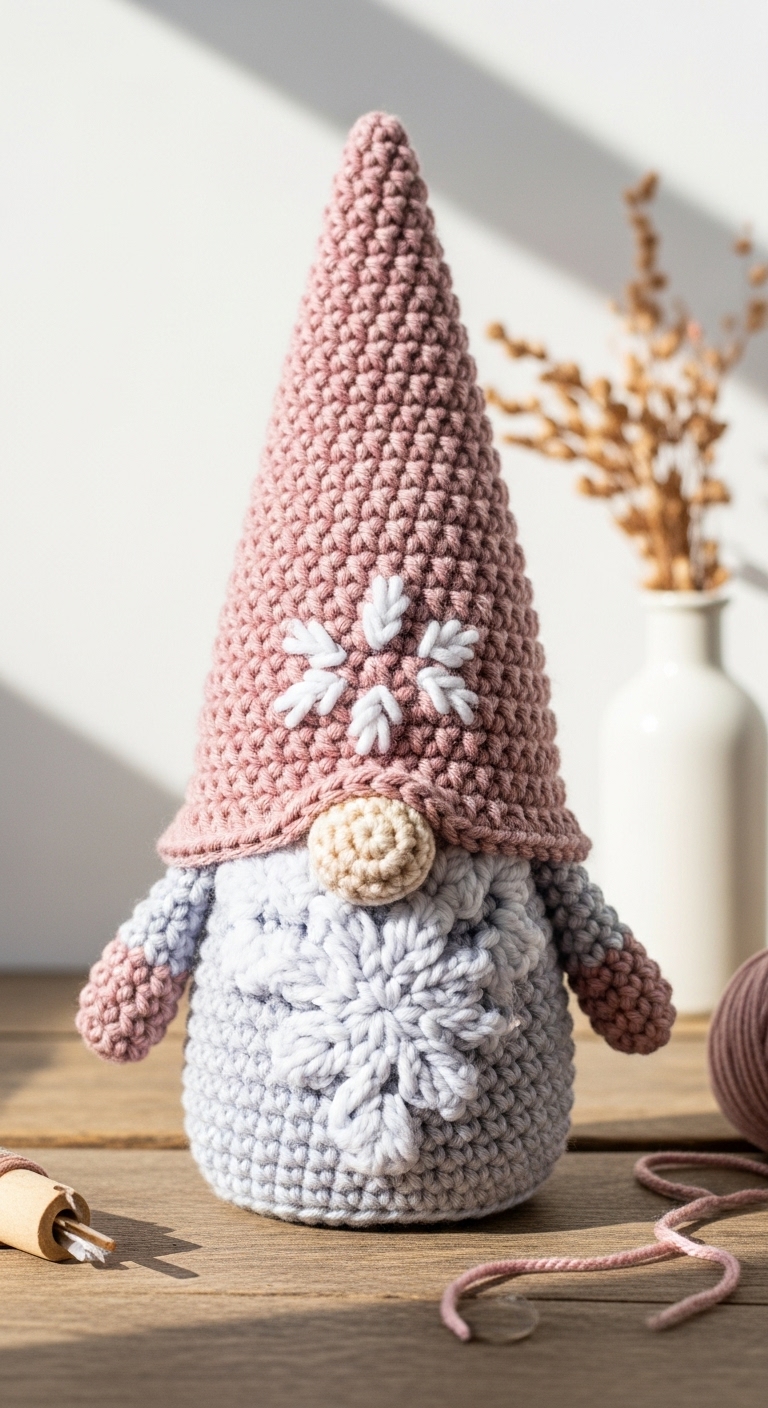
For Plushies:
Head:
*Continue until you reach desired head height. Stuff lightly before closing.*
Body:
*Stuff firmly before closing.*
Arms/Legs:
*Stuff lightly before attaching.*
Ears:
*Attach securely to head.*
Assembly:
– Join the head to the body using a whip stitch.
– Attach arms and legs in desired positions.
– Securely place safety eyes and embroider a smile.
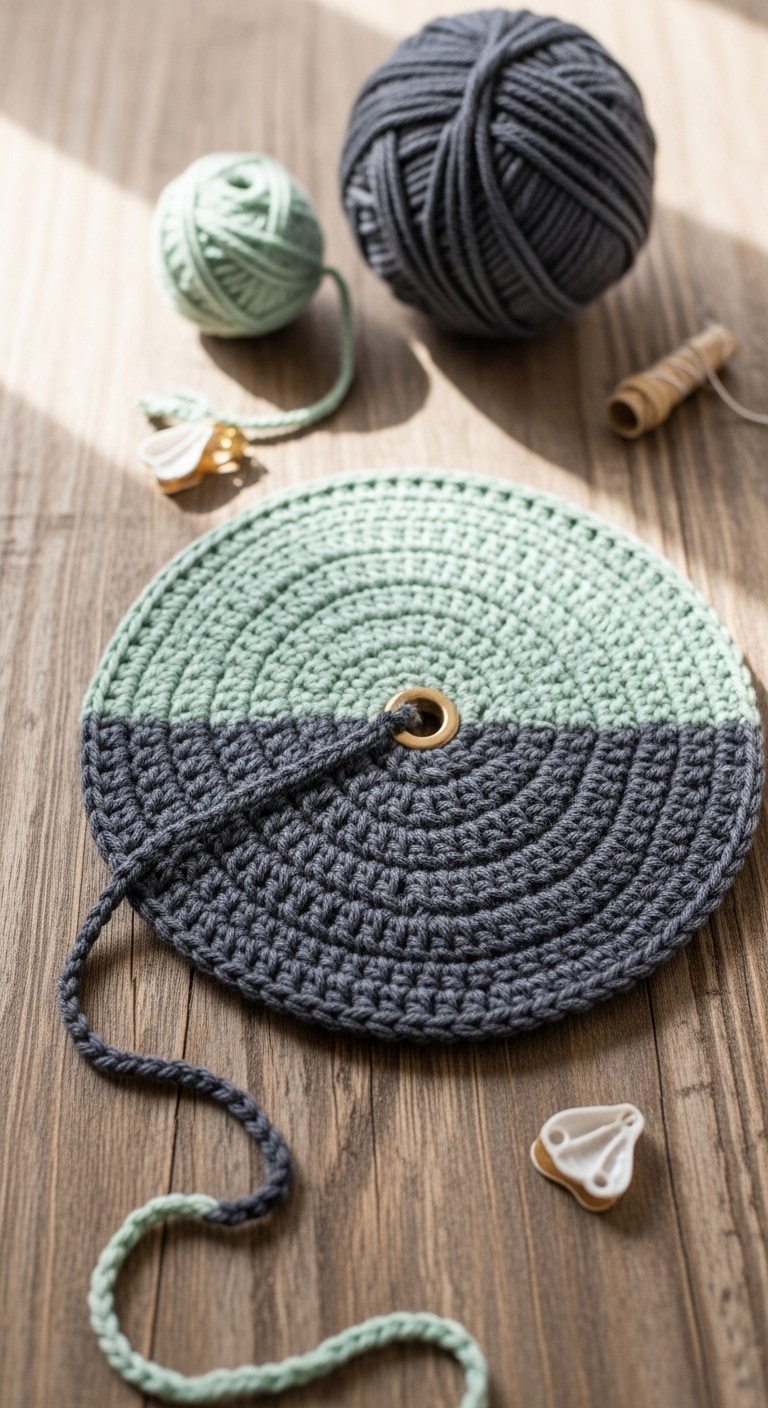
For Accessories:
Main Panel:
*Continue until desired length.*
Straps:
*Attach securely to panel.*
Closure:
– If using a button, create a loop using a chain for easy closure.
Finishing:
– Weave in all ends and block your work to the desired shape.
6. Closing & Social Engagement
I hope you’ve enjoyed learning about the crochet 3D leaf stitch! It’s such a delightful technique to add texture and character to your projects. I’d love to see your version! Leave a comment below sharing your experiences or challenges. What color combination will you try? Don’t forget to share your finished creations on social media; I can’t wait to see how your projects turn out!