amigurumi crochet doll cal crochet along part 2
2. Introduction
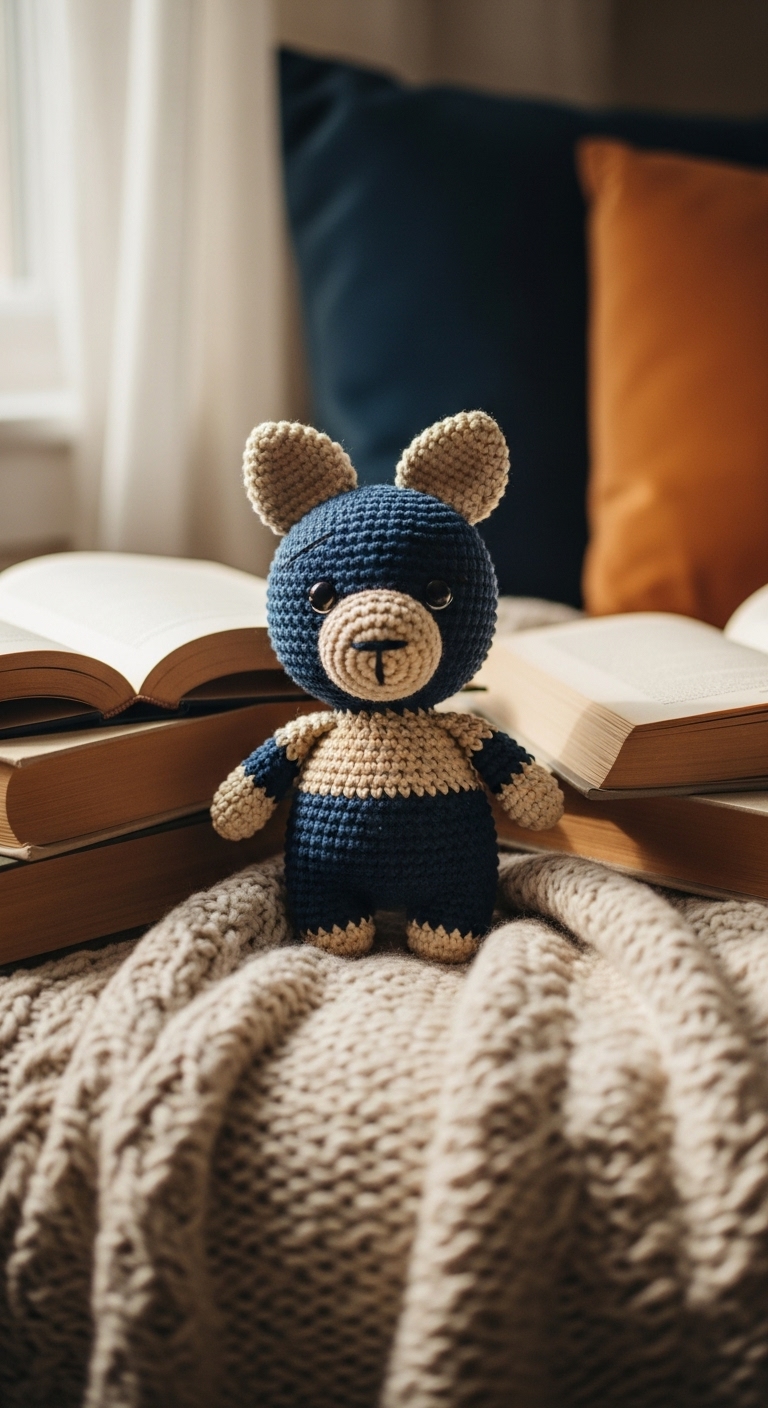
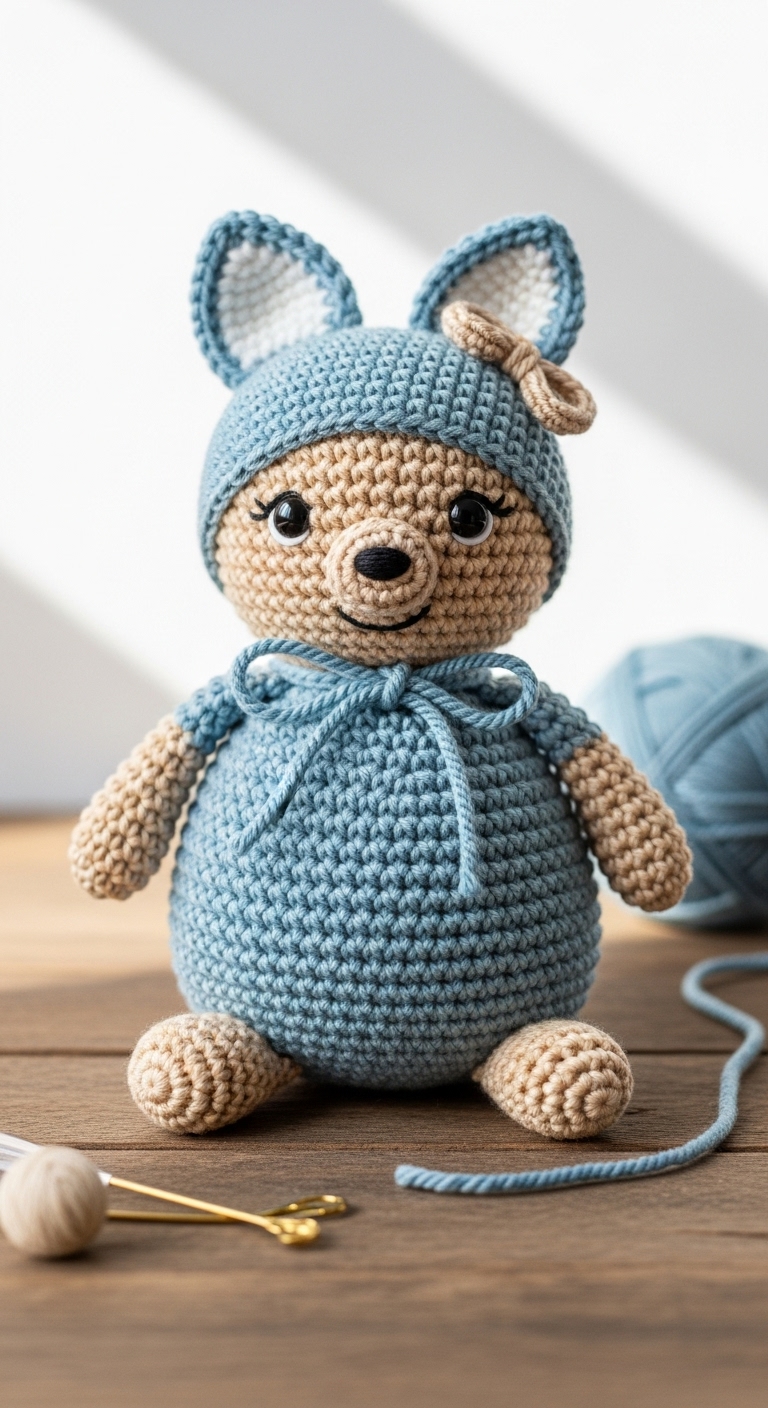
Welcome to Part 2 of our Amigurumi Crochet Doll CAL (Crochet Along)! In this segment, we’ll be diving deeper into creating the adorable features of our doll, which stands approximately 12 inches tall when completed. This project is perfect for those looking to explore the world of amigurumi while creating a delightful companion that can bring joy to both kids and adults alike.
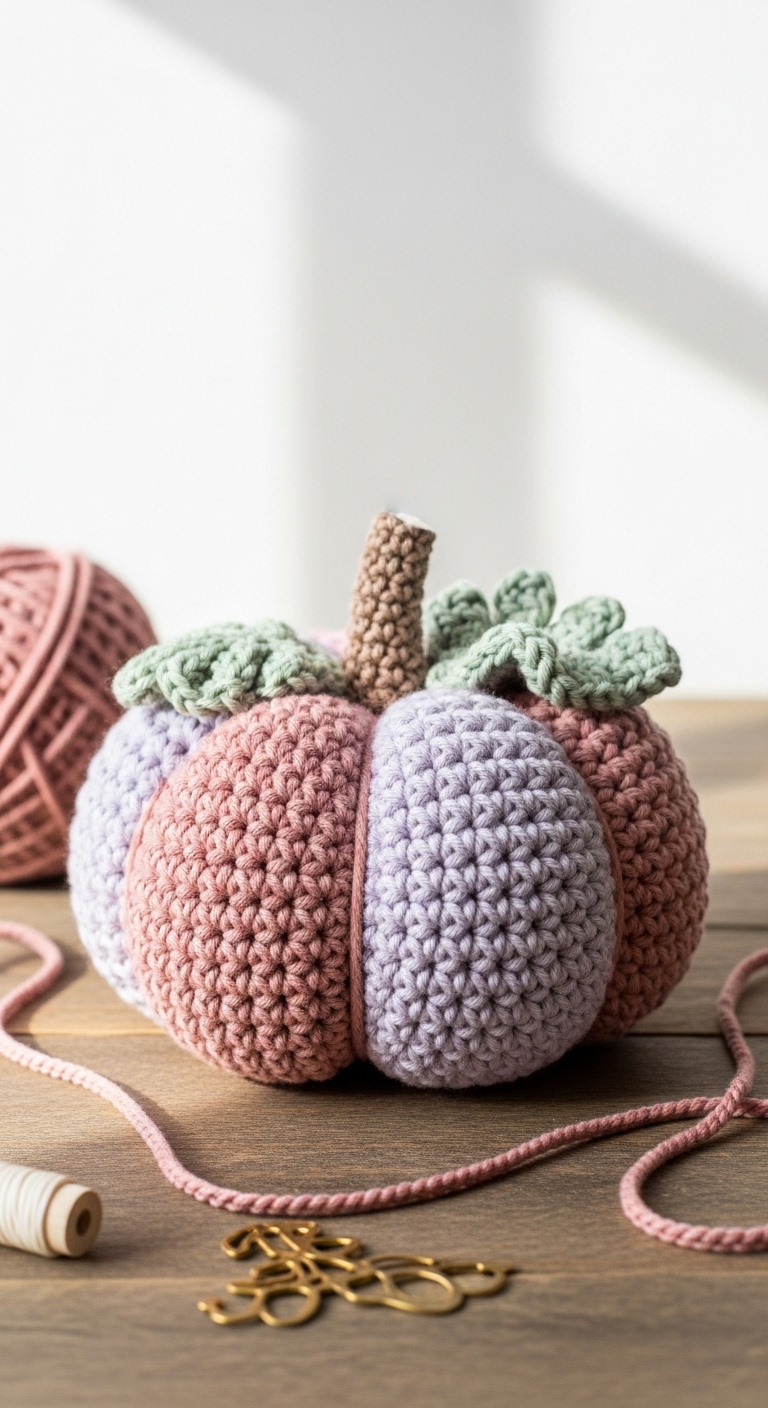
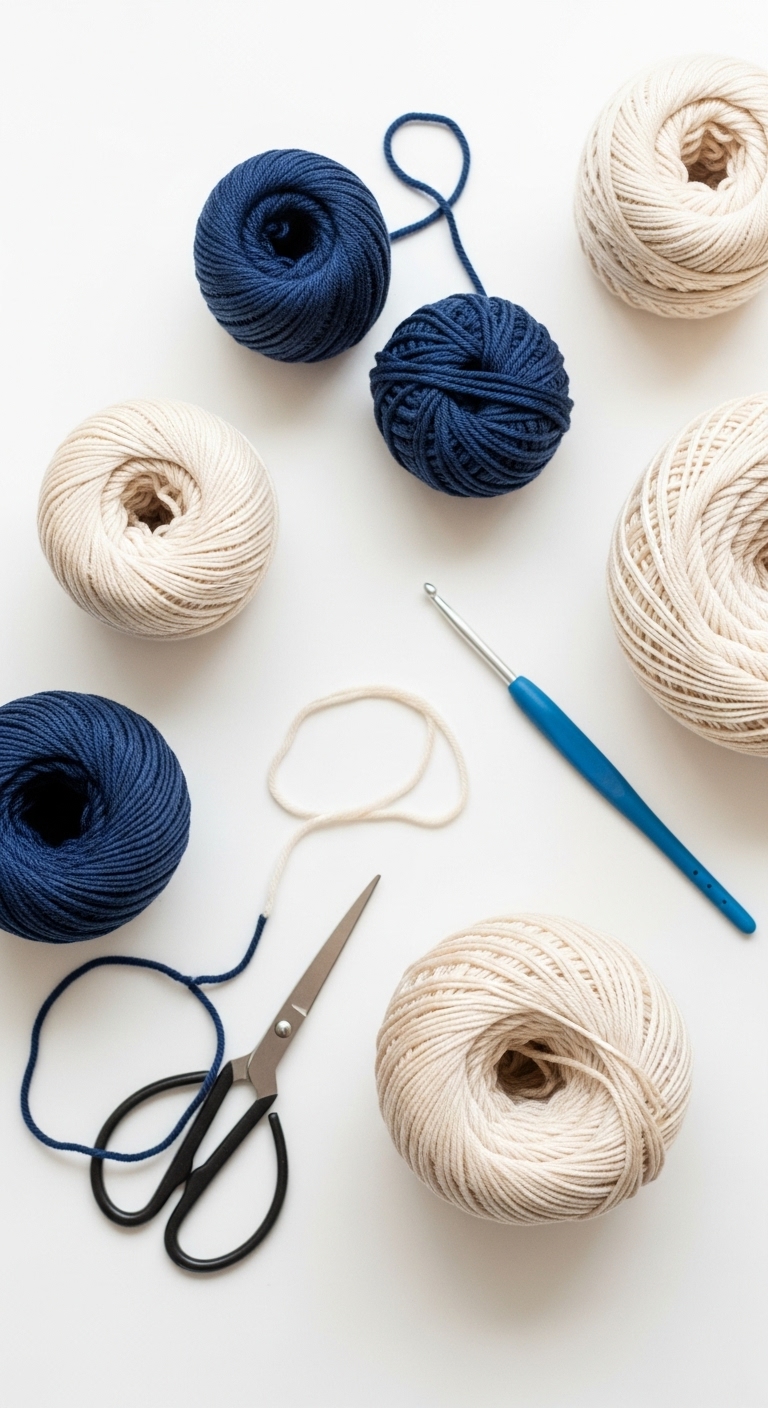
For this part of the CAL, we’ll be using soft, worsted weight yarn in complementary colors such as a serene lavender, a cheerful mint green, and a warm cream. These shades not only offer a modern touch but also evoke a sense of calm and playfulness, making them ideal for a stylish crochet doll. The best part? This project is beginner-friendly, so if you’re new to crochet or amigurumi, don’t worry—you’ve got this! It’s a fun, quick make that makes for a perfect gift for baby showers, birthdays, or even as a charming decor piece for your home.
3. Materials Needed
– Yarn: Worsted weight yarn in lavender (approx. 150 yards), mint green (approx. 50 yards), and cream (approx. 100 yards)
– Hook: 3.5mm (E) or 4.0mm (G) crochet hook
– Eyes: 12mm safety eyes (or use black embroidery thread for a stitched option)
– Stuffing: Polyester fiberfill stuffing
– Needle: Tapestry needle for sewing pieces together
– Marker: Stitch marker to keep track of rounds
– Optional extras: Pipe cleaners for posable limbs, buttons for embellishments
4. Designer Notes / Tips
When working on the doll, feel free to experiment with different textures by using techniques such as the half double crochet or front post double crochet for added depth in certain areas. For stuffing, a light density works well for the head and limbs, allowing them to maintain shape without feeling too rigid. Conversely, a firmer stuffing can be applied to the body to ensure it stands upright.
When assembling, I recommend using a whip stitch for joining parts together seamlessly. Remember, if you’re using different yarn brands, checking your gauge is essential to ensure your doll turns out the same size as intended. Finally, for those making this doll for children, consider stitching the eyes rather than using safety eyes to ensure it’s completely child-safe.
5. Pattern Instructions
For Plushies:
Head:
Body:
Arms (Make 2):
Legs (Make 2):
Ears (Make 2):
Assembly:
– Attach the arms to the sides of the body just below the neck.
– Position the legs underneath the body and sew in place.
– Attach the head to the body securely, ensuring the neck is well-supported.
– Finally, sew the ears to the head on each side to complete the look.
6. Closing & Social Engagement
Congratulations on reaching the end of Part 2 of our Amigurumi Crochet Doll CAL! I can’t wait to see how your dolls turn out. Remember, the colors you choose can really highlight your unique style, so have fun with it! I’d love to see your version! Leave a comment below sharing your experience, and feel free to ask any questions as you go.
What color combination will you try? Don’t forget to share your finished doll on social media using the hashtag #AmigurumiDollCAL. Happy crocheting!