free crochet flower pattern how to crochet beginner friendly camellia flower
2. Introduction
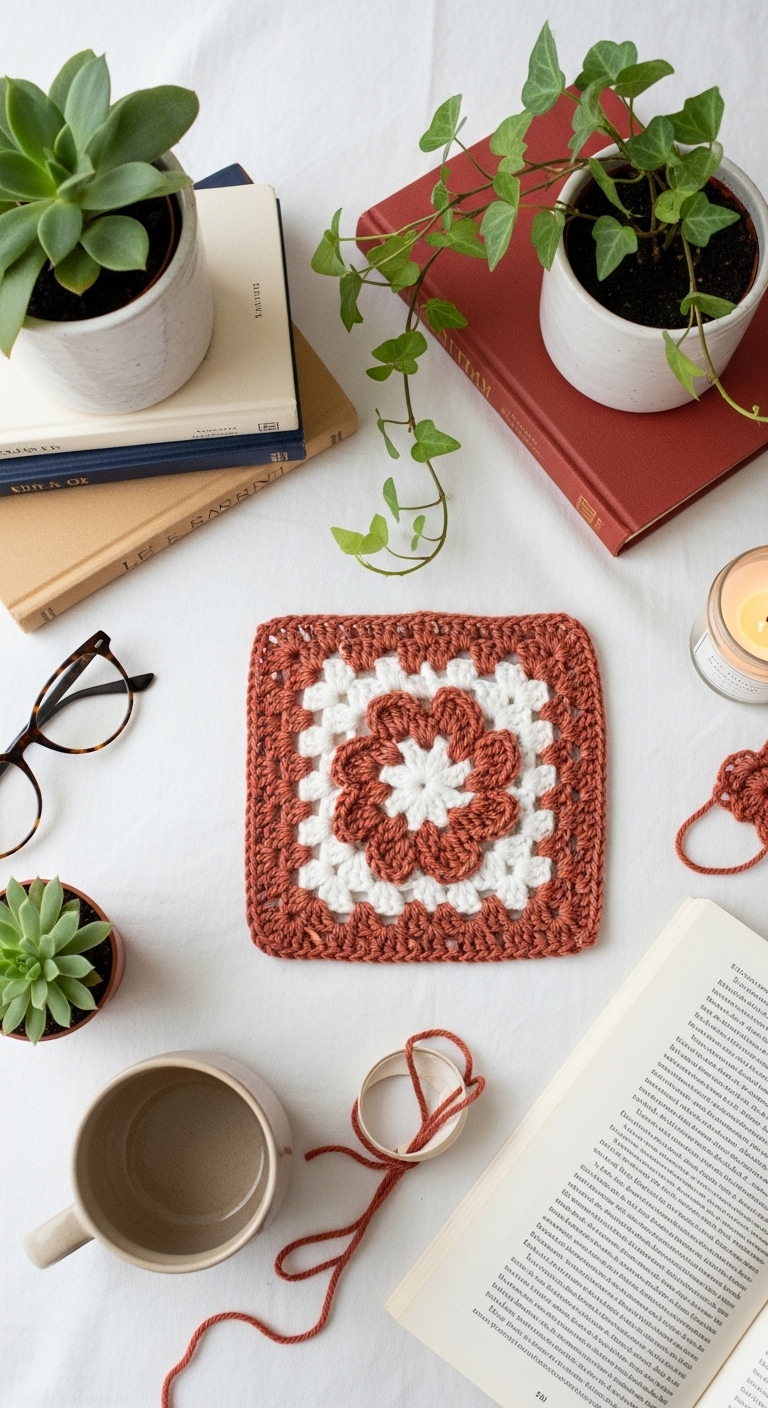
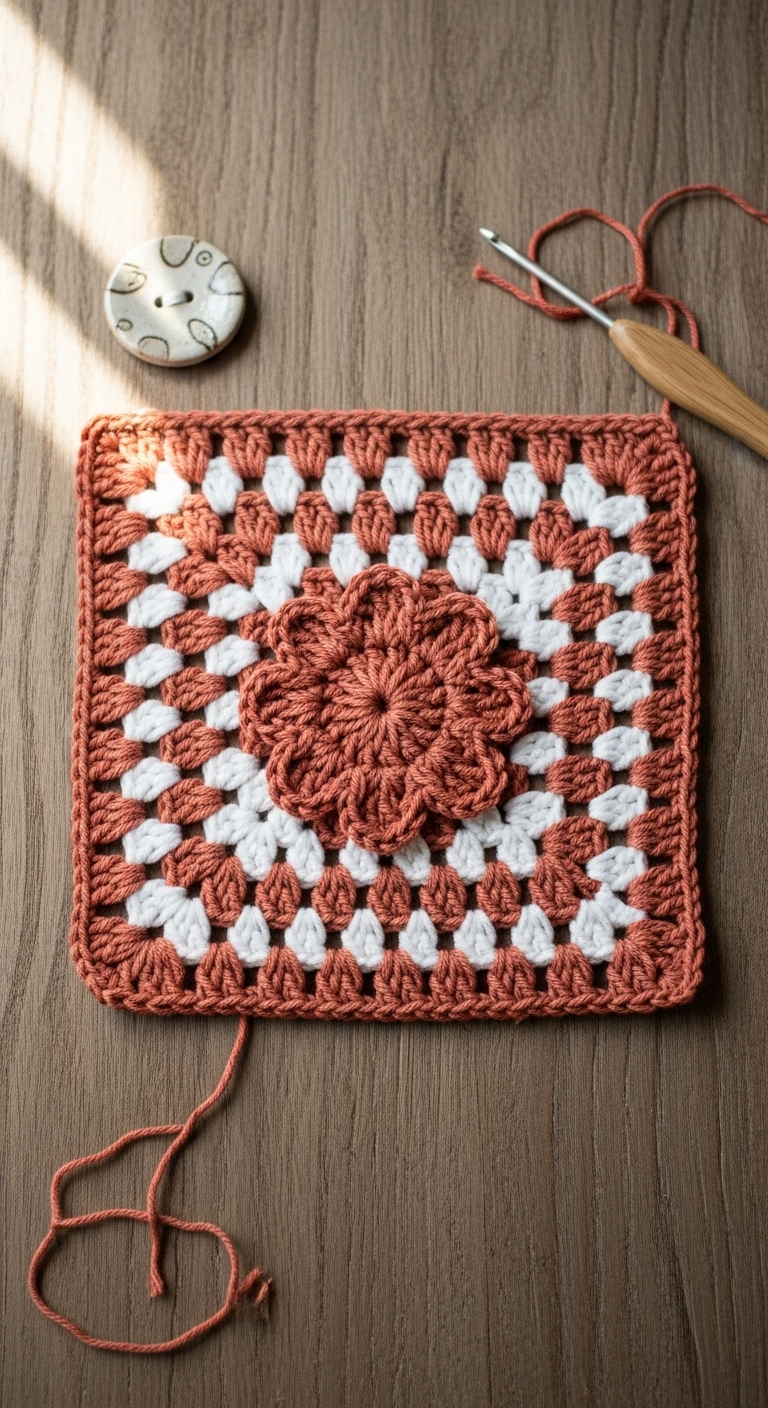
Welcome to your new favorite crochet project: the Camellia Flower! This delightful crochet flower is perfect for embellishing accessories, adding a touch of elegance to home decor, or simply for gifting to a loved one. When fully bloomed, the Camellia Flower measures approximately 5 inches in diameter, making it a stunning focal piece in any setting.
For this project, you’ll need a medium-weight yarn in two to three complementary colors that are both adult-friendly and on-trend. Picture soft blush pinks paired with rich forest greens or perhaps a classic white with a hint of lavender. The beauty of this pattern lies in its versatility, allowing you to mix and match colors to suit any occasion. The Camellia Flower is not only a quick project that you can whip up in an afternoon, but it’s also beginner-friendly, making it a fantastic choice for new crocheters looking to expand their skills. Plus, it makes for a charming gift or seasonal decoration, especially in springtime!
3. Materials Needed
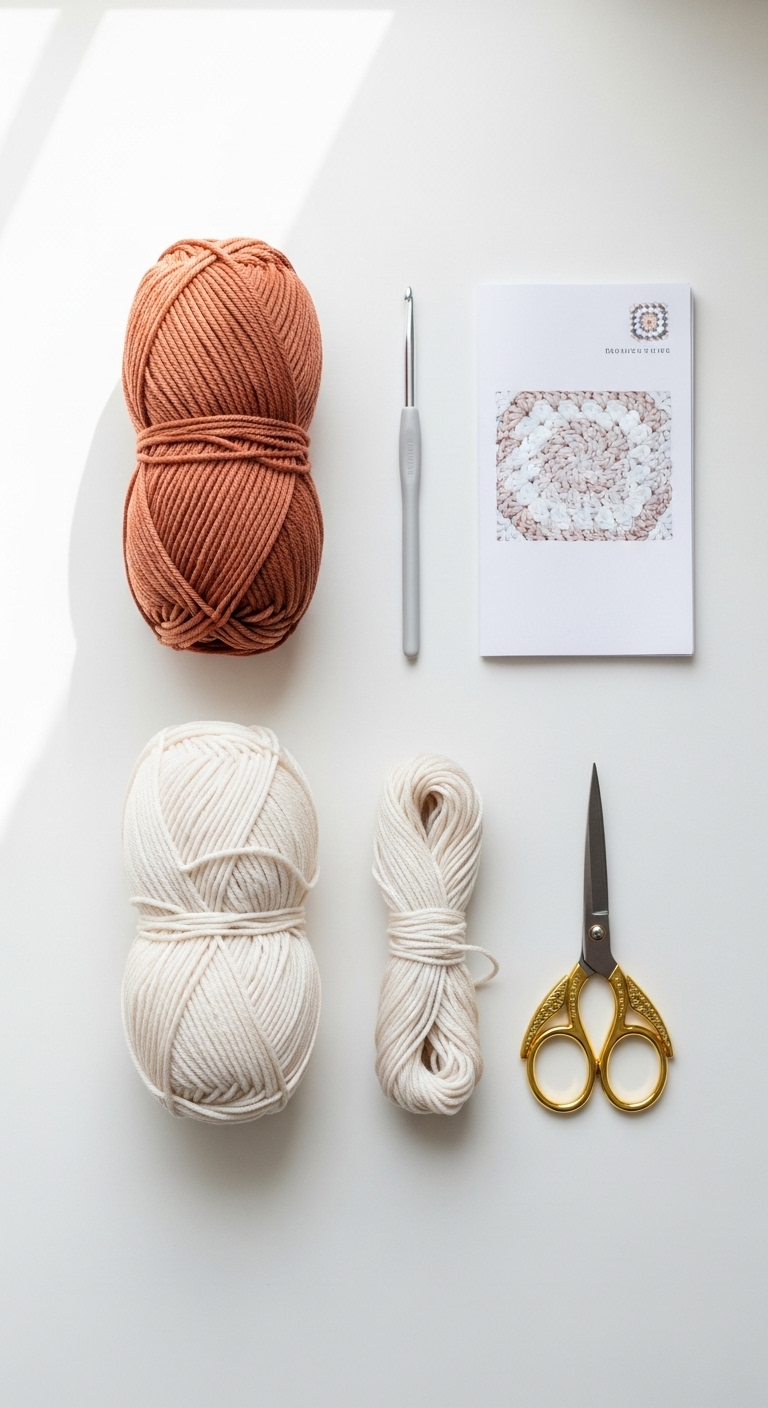
– Yarn: Medium-weight (worsted weight) yarn in your chosen colors (approximately 50 yards of each color)
– Hook: 3.5mm or 4.0mm crochet hook
– Eyes: Optional – safety eyes (8mm) OR black embroidery thread
– Stuffing: Not applicable for this flower
– Needle: Tapestry needle for sewing in ends
– Marker: Stitch marker for keeping track of rounds
– Optional extras: Floral wire for added stability, and a brooch pin for wearing as a badge
4. Designer Notes / Tips
When working on your Camellia Flower, the stitch technique will focus on basic stitches like single crochet (sc) and slip stitch (sl st), which are perfect for beginners. You will create a textured look through a series of short rows and increases. Don’t worry if your first few petals don’t look perfect; practice makes progress!
While this flower does not require stuffing, adding floral wire to the base of the petals can help them hold their shape beautifully. For yarn substitutions, you might consider using a cotton blend for a lovely drape or an acrylic yarn for ease of care.
Gauge is not critical for this project, but if you’re concerned about sizing, a simple test swatch of 10 sc stitches over 4 inches can help you gauge your tension. Lastly, if you’re making this flower as a gift for a child, consider using yarn that is machine washable for easier care.
5. Pattern Instructions
For the Camellia Flower:
Petals:
1. Foundation: Start with a magic ring.
2. Round 1: 6 sc in magic ring (6)
3. Round 2: inc in each st (12)
4. Round 3: [sc, inc] repeat (18)
5. Round 4: [2 sc, inc] repeat (24)
6. Round 5: sc in each st (24)
Creating Petals:
7. Round 6: [4 sc, inc] repeat (30)
8. Round 7: sc in each st (30)
9. Round 8: [5 sc, inc] repeat (36)
10. Round 9: sc in each st (36)
Forming the Flower:
11. Round 10: *Fold the last two rounds together and sl st across the top to close the petals.* Repeat for all petals.
12. Fasten off and weave in ends.
Finishing Touches:
– Attach floral wire to the base if desired for added stability.
– You can embellish the center with a small button or bead for added charm.
– If making a brooch, sew a brooch pin onto the back.
6. Closing & Social Engagement
Congratulations on creating your very own Camellia Flower! I’d love to see your version! Feel free to leave a comment below sharing your thoughts or any color combinations you tried. What colors will you choose for your next flower? Share your finished Camellia on social media and tag me; I can’t wait to see your beautiful creations!