do you feel it smells of freshly baked gingerbread cookies free pattern
2. Introduction
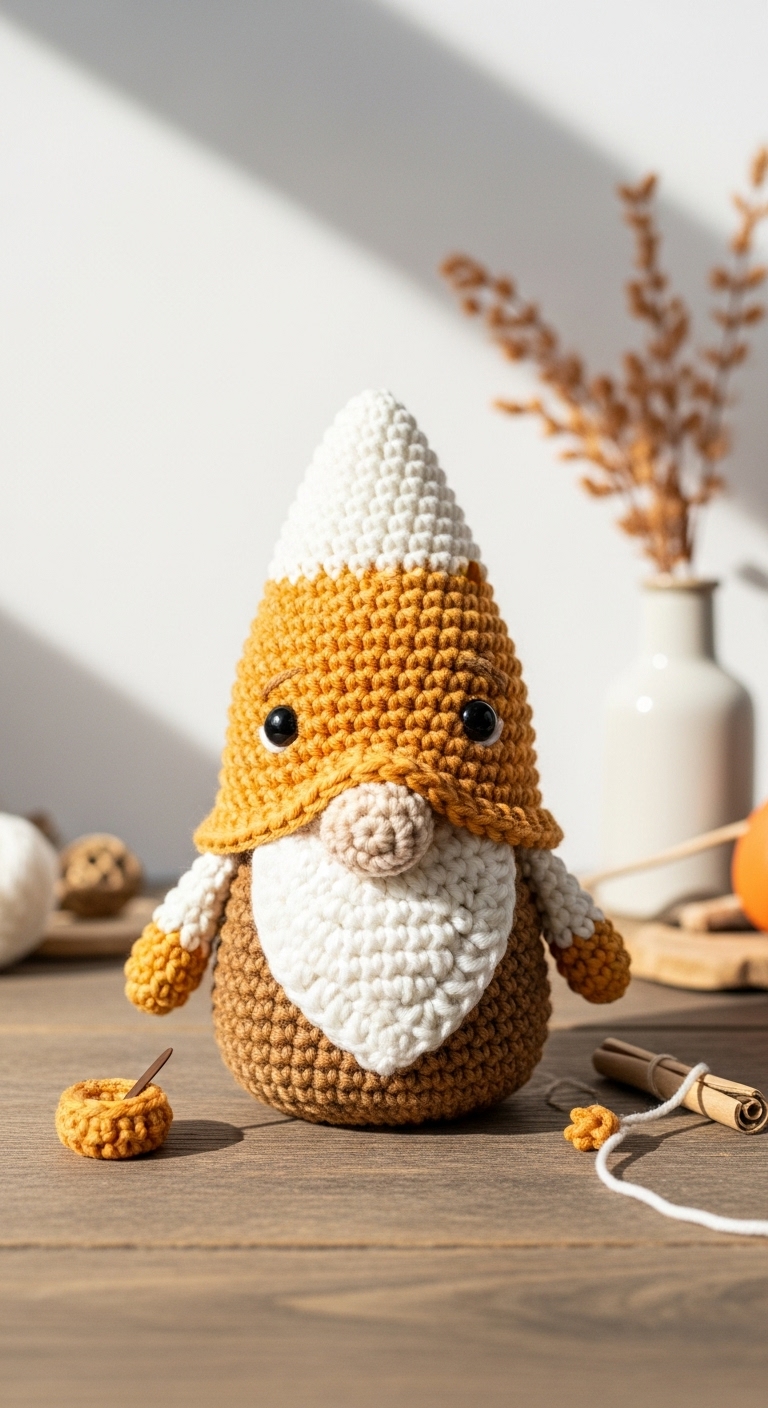
Welcome to the delightful world of crochet! In this article, we’ll be creating an adorable plush gingerbread cookie that captures the essence of the holiday season and fills the air with the comforting smell of freshly baked treats. This charming little plushie measures approximately 8 inches tall, making it a perfect decorative piece or a cuddly companion for little ones.
For this project, you’ll need a soft, worsted weight yarn in warm shades of brown, cream, and a touch of festive red or green for accents. These colors not only evoke the cozy atmosphere of a gingerbread cookie but also ensure a sophisticated look that appeals to adult crafters. This project is not only quick to complete but also brings a whimsical touch to your home decor, making it a fun way to celebrate the season.
This pattern is beginner-friendly, making it accessible for those just starting their crochet journey, while still providing enough charm and creativity to engage more experienced crafters. Whether you’re making it as a holiday gift or a personal treat, this gingerbread plushie is sure to bring joy and warmth to anyone who receives it.
3. Materials Needed
– Yarn: Worsted weight yarn in brown (approx. 150 yards), cream (approx. 50 yards), and red/green (approx. 25 yards) for accents.
– Hook: 3.5mm or 4.0mm crochet hook
– Eyes: 10mm safety eyes OR black embroidery thread
– Stuffing: Polyester fiberfill stuffing
– Needle: Tapestry needle for sewing
– Marker: Stitch marker
– Optional extras: Small buttons for decoration, polymer clay for embellishments
4. Designer Notes / Tips
To create the texture reminiscent of a gingerbread cookie, use a combination of single crochet (sc) and slip stitches (sl st). The slip stitches will help create a smoother surface, while the sc will give you that cozy, plush feel.
When stuffing your plushie, aim for a light density to maintain a soft and huggable shape, but not so light that it loses its form. Make sure to stuff the head and body firmly enough to hold their shape, while leaving the arms and legs a bit softer.
As you assemble your gingerbread cookie, remember to use a stitch marker to keep track of your rounds. This will help you maintain even tension and prevent any confusion as you work through the pattern. If you’re using safety eyes, place them between Rows 10 and 11 of the head, about 6 stitches apart for a balanced look.
If you’re concerned about safety for young children, consider using embroidery thread for the eyes instead of plastic safety eyes. This will make your gingerbread plushie safer for little hands.
5. Pattern Instructions
This pattern is divided into several sections to make it easier to follow. Let’s get started!
Head:
Body:
Arms:
Legs:
Assembly:
1. Attach the safety eyes to the head, stuffing lightly around the eyes to hold them in place.
2. Sew the head onto the body, ensuring it’s centered.
3. Attach the arms and legs to the body, positioning them for a cute, cozy stance.
4. Embellish with cream yarn and optional buttons for decoration, creating icing-like details.
6. Closing & Social Engagement
I hope you enjoy creating your very own gingerbread cookie plushie! It’s a delightful way to bring some handmade charm into your home this holiday season. I’d love to see your version! Leave a comment below sharing your thoughts and any color combinations you choose. What festive touches will you add to your creation? Don’t forget to share your finished gingerbread plushie on social media with your fellow crafters!