crochet easy wrap spring nights
2. Introduction
Welcome to the delightful world of crochet with this cozy and stylish Crochet Easy Wrap for Spring Nights! This wrap measures approximately 60 inches in width and 20 inches in height, making it the perfect accessory for those cool spring evenings where a light layer is welcome. It’s designed to be worn casually draped over your shoulders or wrapped snugly for extra warmth.
For this project, we will be using a soft worsted weight yarn in complementary adult-friendly colors: a calming lavender, a fresh mint green, and a classic cream. These colors not only embody the essence of spring but also create a harmonious blend that’s sure to complement any outfit. This wrap is quick to make, taking only a few evenings to complete, giving you plenty of time to enjoy it or gift it to someone special.
This project is ideal for beginners, as it consists of straightforward double crochet stitches and simple construction. Whether you are treating yourself or preparing a thoughtful gift for a loved one, this wrap exemplifies the charm of handmade creations. What better way to welcome the new season than with a light and airy wrap that captures the essence of spring?
3. Materials Needed
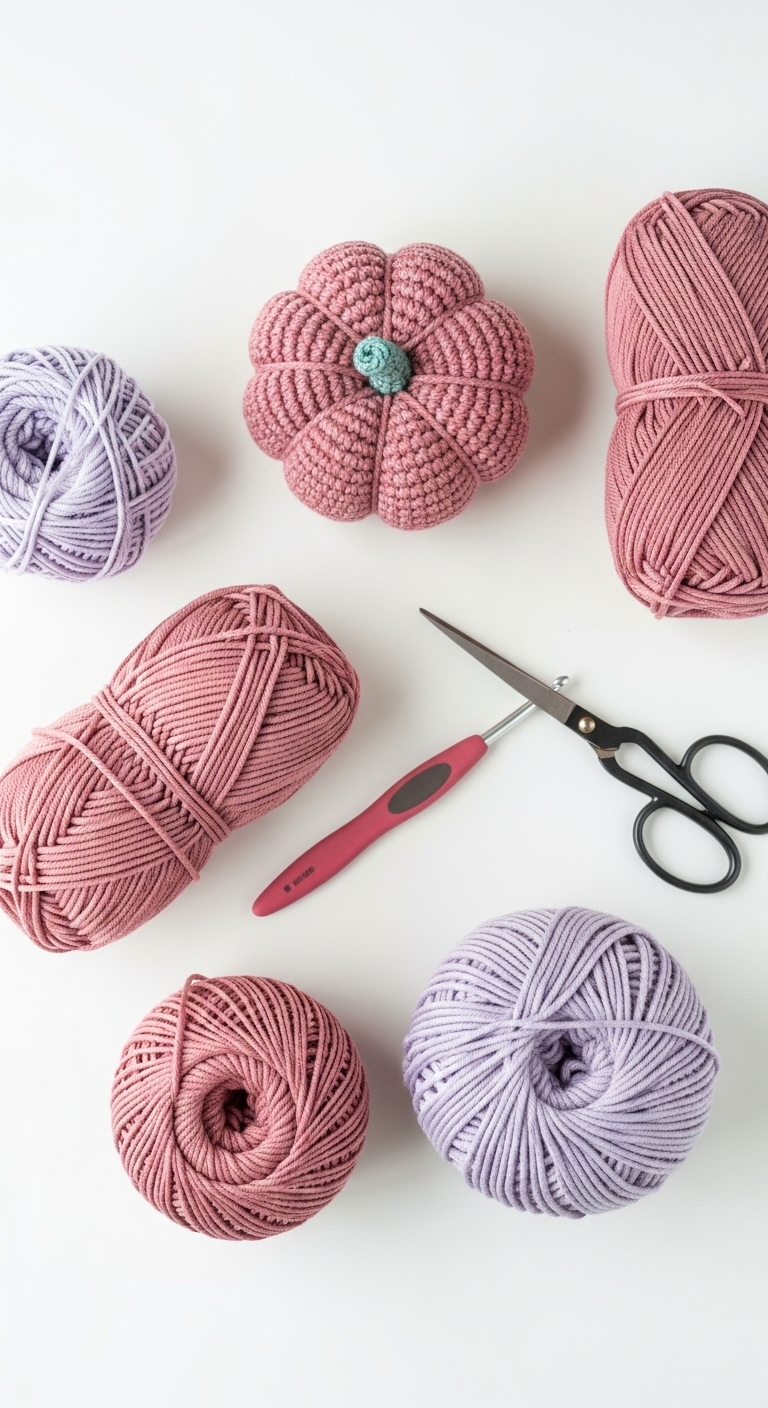
– Yarn: Worsted weight yarn in lavender (approx. 300 yards), mint green (approx. 300 yards), and cream (approx. 300 yards)
– Hook: 5.0mm crochet hook
– Needle: Tapestry needle for weaving in ends
– Marker: Stitch marker (optional)
– Optional extras: Fringe yarn for added embellishment
4. Designer Notes / Tips
As you embark on this project, you may find the double crochet stitch to be a key player in achieving the wrap’s beautiful texture. If you’re unfamiliar with this stitch, don’t worry if it feels a bit cumbersome at first—practice makes perfect! For a lovely drape, aim for a relaxed tension; this will allow your wrap to flow gracefully.
When it comes to stuffing and density, you won’t need to worry about stuffing for this project, but be mindful of your stitches being firm yet not too tight. As you work, consider using a stitch marker to track your starting point—especially if you are switching between colors. If you want to enhance the wrap further, adding a fringe made from the same yarn can give it a delightful finish.
If you’re looking for yarn substitutions, any soft worsted weight yarn will work beautifully. Just make sure to check your gauge, as this will ensure your wrap is the right size. For a special touch, consider adding seasonal-themed embellishments, though keep in mind to use child-safe materials if gifting to younger recipients.
5. Pattern Instructions
Main Panel:
The wrap is created in a single piece, using the double crochet stitch throughout.
Foundation Chain:
Ch 200 (or adjust for desired width).
Row 1:
Dc in the 4th ch from the hook, dc in each ch across (198 dc).
Row 2:
Ch 3 (counts as first dc), turn, dc in each dc across (198 dc).
Repeat Row 2 until the wrap measures approximately 20 inches in height (about 12 rows).
Color Change:
For the last few rows, you can change colors if you wish to create a gradient effect. Simply switch to your chosen color at the beginning of the row.
Finishing:
Once you’ve reached the desired height, fasten off and weave in all ends using a tapestry needle.
Adding Fringe (Optional):
Cut lengths of yarn about 10 inches long. Fold each length in half, and use a crochet hook to pull the loop through the end of the wrap, creating a knot. Repeat this process along the edges for a stylish fringe.
6. Closing & Social Engagement
Congratulations on completing your Crochet Easy Wrap for Spring Nights! You’ve created a beautiful piece that’s perfect for the season. I’d love to see your version! Leave a comment below sharing your experience or any color combinations you tried. What unique touches will you add to your wrap? Don’t forget to share your finished creation on social media; I can’t wait to see how you style it!
