crochet christmas stocking meadow free pattern

2. Introduction
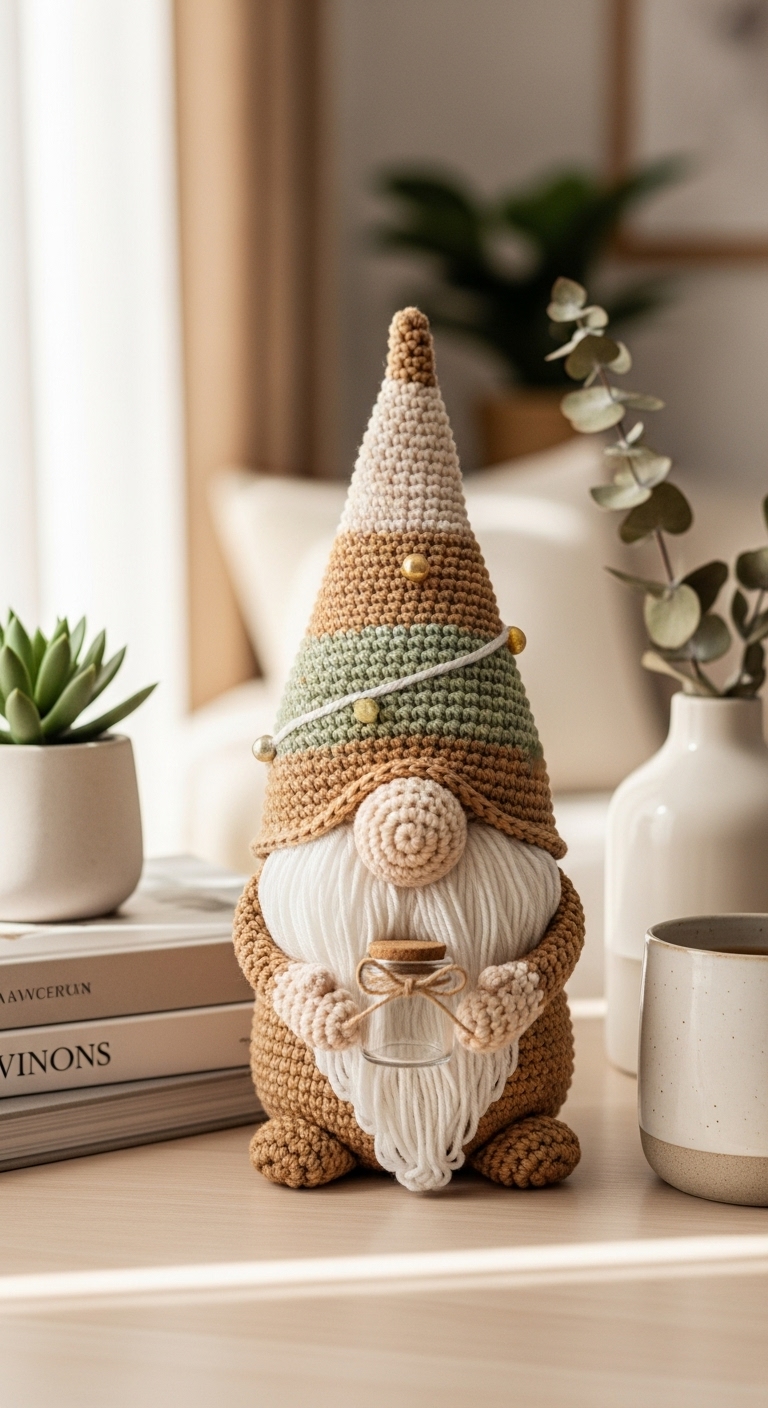
Get ready to welcome the festive spirit into your home with the Crochet Christmas Stocking Meadow Free Pattern! This charming stocking measures approximately 18 inches in length, making it the perfect size for filling with goodies, treats, and small gifts. Crafted with a delightful combination of soft yarns, this project is not only a joy to make but also a pleasure to hang by the fireplace or on a wall as part of your holiday decor.
For this project, I chose a trio of adult-friendly colors: a deep forest green, a warm cranberry red, and a soft ivory. These complementary shades evoke the essence of a cozy winter meadow, blending beautifully to create a sophisticated holiday piece. This crochet stocking is not just quick and simple, but it also offers an opportunity to express your creativity with color combinations and personal touches, making it a perfect project for both beginner and intermediate crocheters. Plus, it’s a wonderful gift idea for family and friends, bringing joy and warmth during the holiday season.
3. Materials Needed
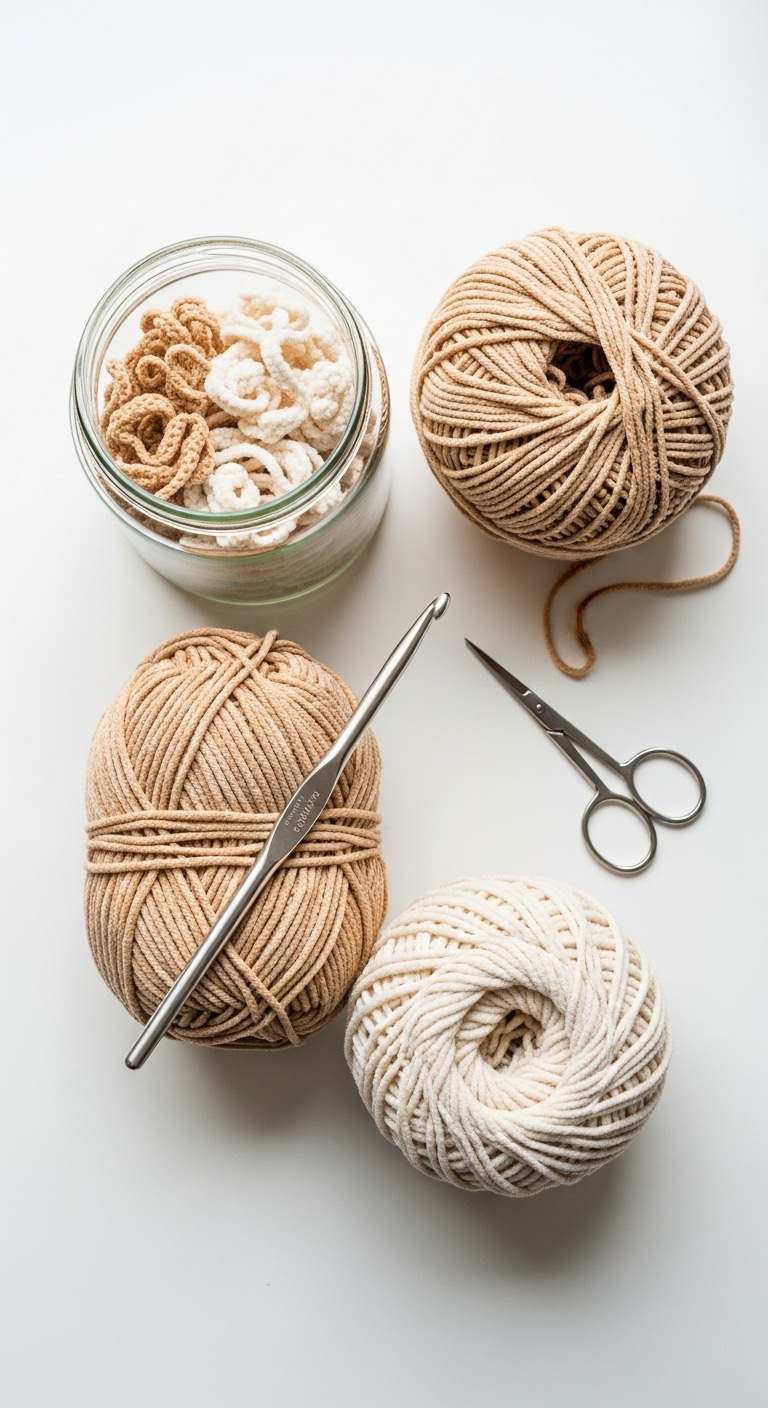
– Yarn: Worsted weight yarn (medium) in forest green (approx. 150 yards), cranberry red (approx. 100 yards), and ivory (approx. 50 yards)
– Hook: 4.0mm crochet hook
– Eyes: N/A (not applicable for this project)
– Stuffing: N/A (not applicable for this project)
– Needle: Tapestry needle for sewing in ends
– Marker: Stitch marker
– Optional extras: Decorative buttons, embroidery thread for embellishments
4. Designer Notes / Tips
For this stocking pattern, you’ll be primarily using basic stitches such as single crochet (sc) and half double crochet (hdc). If you’re not familiar with these, don’t worry! There are plenty of tutorials available online, and I encourage you to take your time getting comfortable with the stitches. This pattern creates a beautiful texture that enhances the overall look of the stocking, so make sure to maintain even tension throughout.
For stuffing density, since this is a stocking and not a plushie, you won’t be stuffing it, but I recommend keeping the stitches firm as you work to ensure it holds its shape beautifully when hung. When it comes to assembly, we will be joining the heel and toe pieces to the main body, so keep a tapestry needle handy for weaving in any ends as you go.
If you decide to use different yarns, just make sure they are of a similar weight to maintain the size and drape of the stocking. Regarding gauge, aim for a consistency that allows you to achieve the desired final measurements, and don’t hesitate to adjust your hook size if needed to achieve it.
5. Pattern Instructions
Main Panel
Foundation Chain: Ch 50.
Row 1: Hdc in 3rd ch from hook and in each ch across (48 hdc).
Row 2: Ch 2, turn. Hdc in each st across (48 hdc).
Row 3-14: Repeat Row 2 for a total of 14 rows.
Heel
Cut yarn, leaving a long tail.
Foundation: Ch 20.
Row 1: Hdc in 3rd ch from hook and in each ch across (18 hdc).
Row 2: Ch 2, turn. Hdc in each st across (18 hdc).
Row 3-6: Repeat Row 2 for a total of 6 rows.
Toe
Cut yarn, leaving a long tail.
Foundation: Ch 20.
Row 1: Hdc in 3rd ch from hook and in each ch across (18 hdc).
Row 2: Ch 2, turn. Hdc in each st across (18 hdc).
Row 3-6: Repeat Row 2 for a total of 6 rows.
Assembly
1. Attach the heel to the main panel by placing it at the bottom edge of the panel, aligning the sides.
2. Use your tapestry needle to sew the heel to the main panel using a slip stitch or whip stitch.
3. Attach the toe in a similar fashion to create the stocking shape.
4. To finish, fold the top of the stocking over to create a cuff, securing it with stitches to hold it in place.
6. Closing & Social Engagement
You’ve made it to the end, and your gorgeous Crochet Christmas Stocking is ready to bring cheer to your home! I’d love to see your version! Leave a comment below and share your unique color combinations. What colors will you choose to make your stocking extra special this holiday season? Don’t forget to share your finished stocking on social media using the hashtag #CrochetChristmasStocking, and let’s celebrate the joy of handmade creations together!