festive crochet pillowcase
2. Introduction
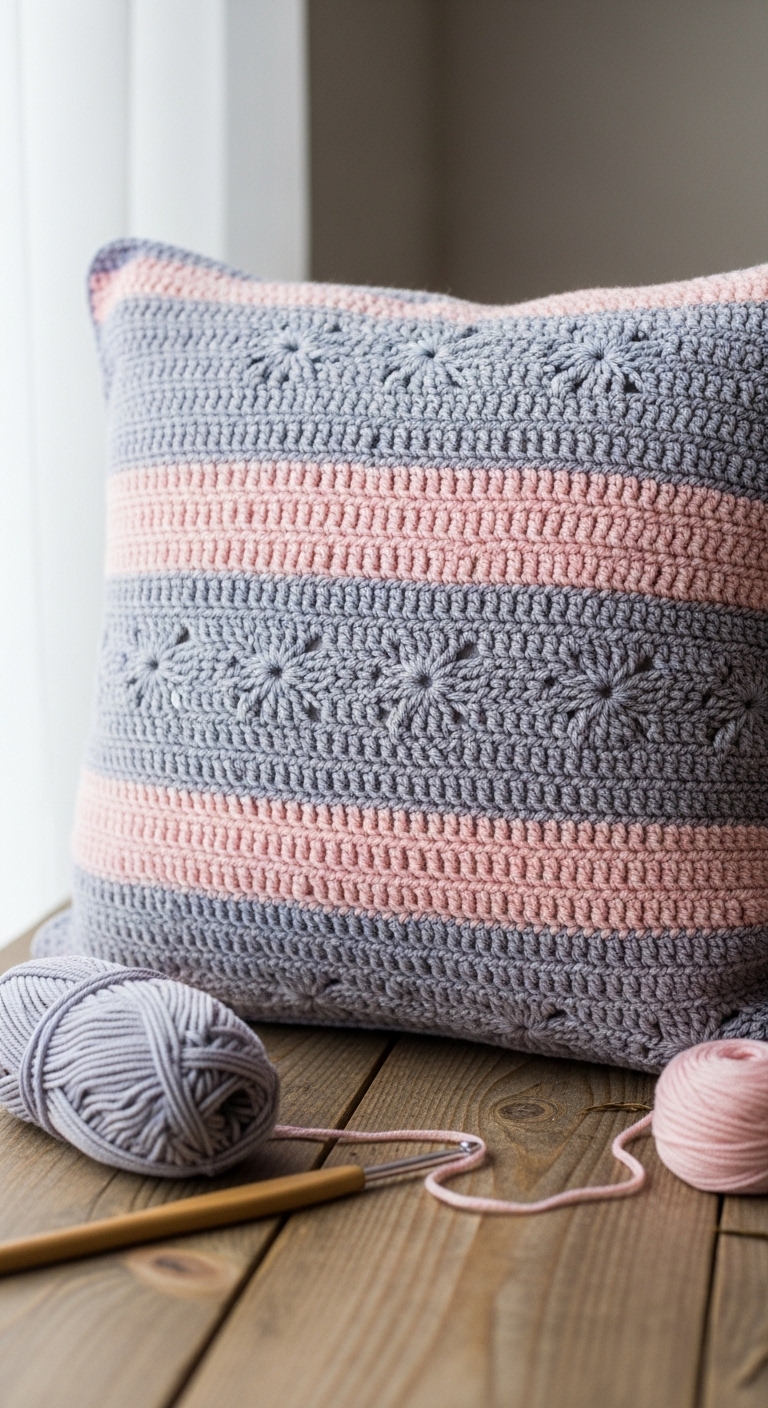
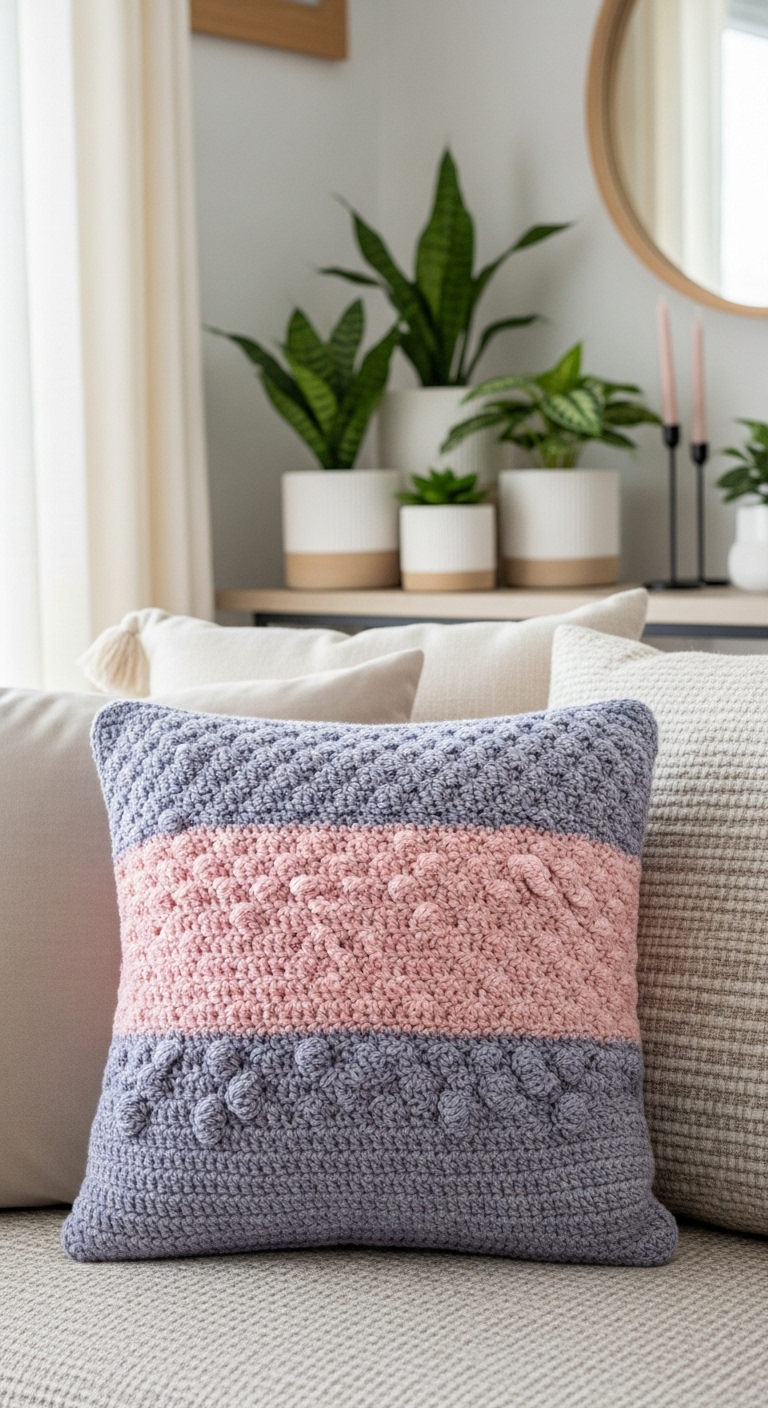
Welcome to the world of festive crochet with this delightful crochet pillowcase pattern! This project is perfect for adding a touch of warmth and cheer to your home décor, measuring approximately 16 inches square. With its cozy texture and charming design, this pillowcase is not only a functional piece but also a joyful accent for your living space, whether it’s for the holidays or year-round charm.
For this project, I recommend using a soft worsted weight yarn in complementary colors such as deep red, forest green, and cream. These adult-friendly hues evoke a warm, festive vibe while remaining sophisticated enough for any setting. This project is a joy to work on because it combines simple stitches with an engaging texture, making it both quick and satisfying to complete. Suitable for beginners, this pattern encourages you to practice your skills while creating something beautiful that you can proudly display or gift to a loved one during the holiday season.
3. Materials Needed
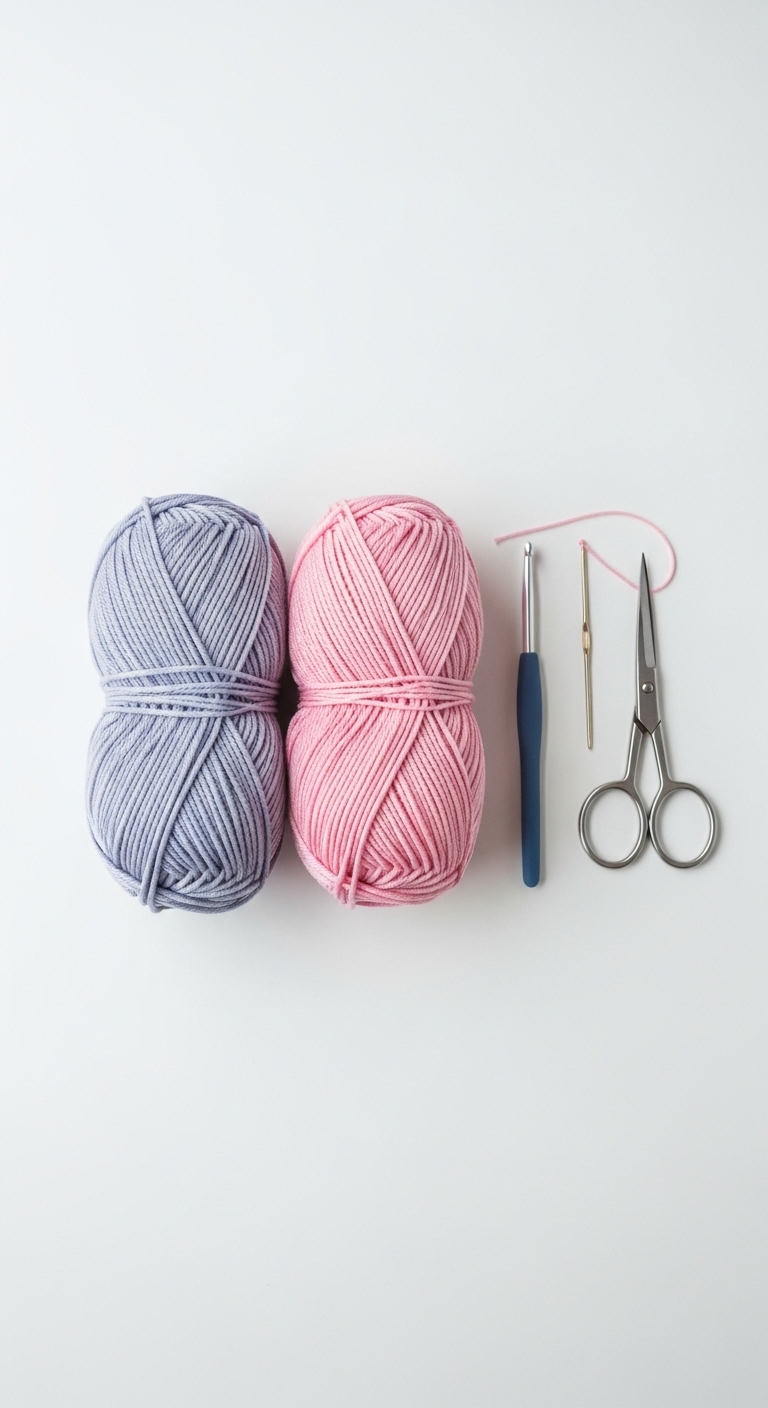
– Yarn: Worsted weight yarn in deep red (approximately 200 yards), forest green (approximately 100 yards), and cream (approximately 100 yards)
– Hook: 4.0mm crochet hook
– Eyes: N/A (no safety eyes needed)
– Stuffing: N/A (no stuffing needed)
– Needle: Tapestry needle for sewing in ends
– Marker: Stitch marker
– Optional extras: None
4. Designer Notes / Tips
– Stitch technique: This pattern utilizes basic crochet stitches such as single crochet (sc) and double crochet (dc) to create a textured fabric. Don’t worry if you’re new; I’ve included detailed instructions for each step!
– Assembly: Ensure that your edges are neatly aligned when joining different color blocks. Using a slip stitch or whip stitch will help maintain a clean finish.
– Yarn substitutions: If you prefer a softer look, consider a blend of acrylic and wool yarn for added warmth, though be mindful of the gauge.
– Gauge tips: For this project, a gauge of 16 stitches by 20 rows in single crochet equals a 4×4 inch square is recommended. Adjust your hook size if necessary to achieve the right tension.
– Safety considerations: This pillowcase is designed for decorative use; if a child will be using it, consider seaming it securely and ensuring all yarn ends are woven in to prevent fraying.
5. Pattern Instructions
Pillowcase Body:
Foundation:
– Ch 42 (this will form the width of the pillowcase).
Row 1: Sc in the 2nd ch from hook and across (41 sc), turn.
Row 2: Ch 2, dc in the first stitch, *dc in each of the next 4 stitches, (dc, ch 2, dc) in next stitch (this creates a shell), repeat from * to last 5 stitches, dc in last 5 stitches, turn.
Row 3: Ch 1, sc in each stitch across (including the chain 2 space), turn.
Row 4: Repeat Row 2.
Rows 5-20: Continue alternating between Row 2 and Row 3 for 20 rows, ensuring to keep your stitch count the same.
Color Change:
– After Row 20, switch to forest green yarn and repeat the pattern for another 20 rows.
Final Row: With cream yarn, repeat Row 2 for 20 rows.
Finishing:
– Once you’ve completed the fabric, fold it in half with the wrong sides facing each other. Using a whip stitch, sew the edges together, leaving one side open for inserting the pillow.
Closure:
– Optionally, you can create a button closure. Attach buttons to one side and make loops with your cream yarn on the opposite side to secure.
6. Closing & Social Engagement
Congratulations on creating your very own festive crochet pillowcase! I would love to see your finished masterpiece—leave a comment below sharing your experience or any color combinations you tried. Will you stick with classic holiday colors, or venture into something unique? Don’t forget to share your finished pillowcase on social media; it’s always exciting to see how the community interprets these patterns. Happy crocheting!