5 tips that you must know for amigurumi
2. Introduction
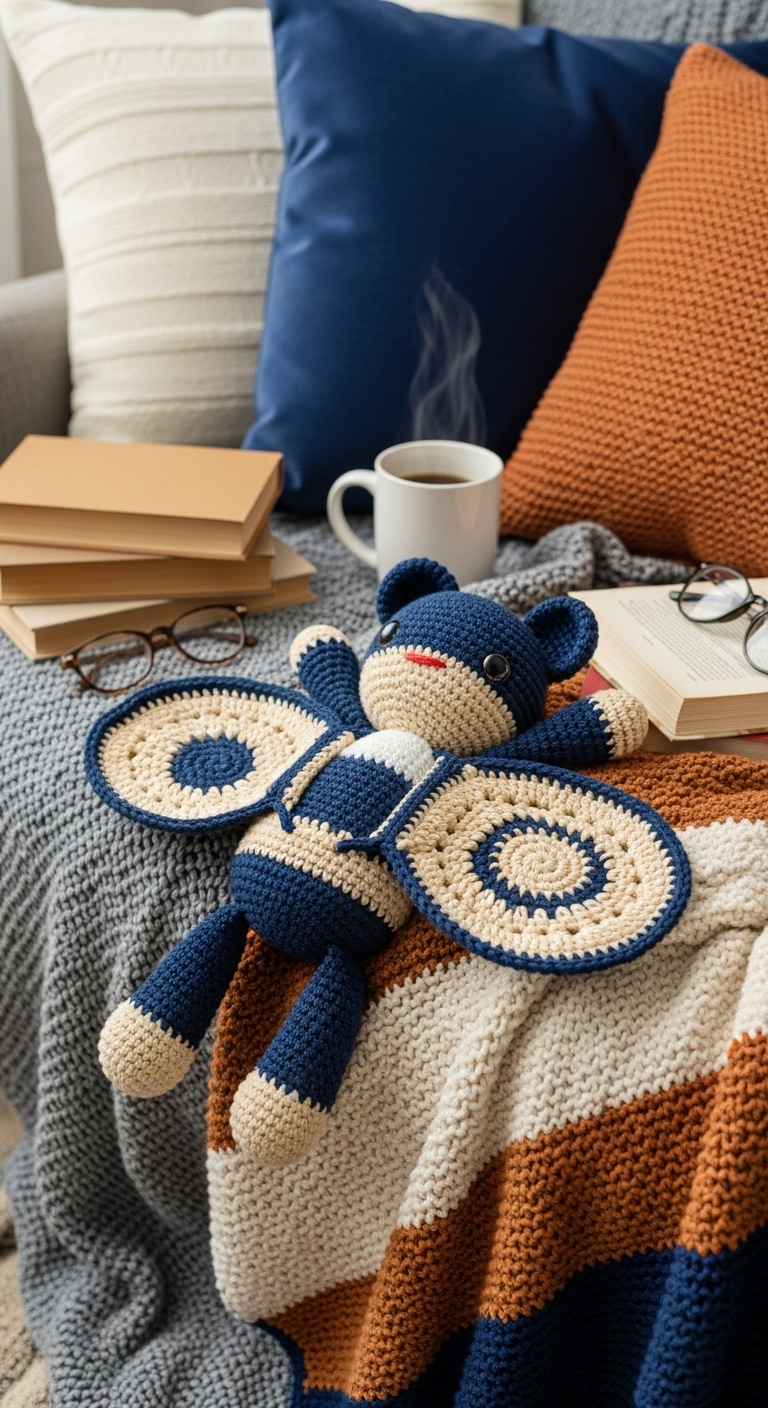
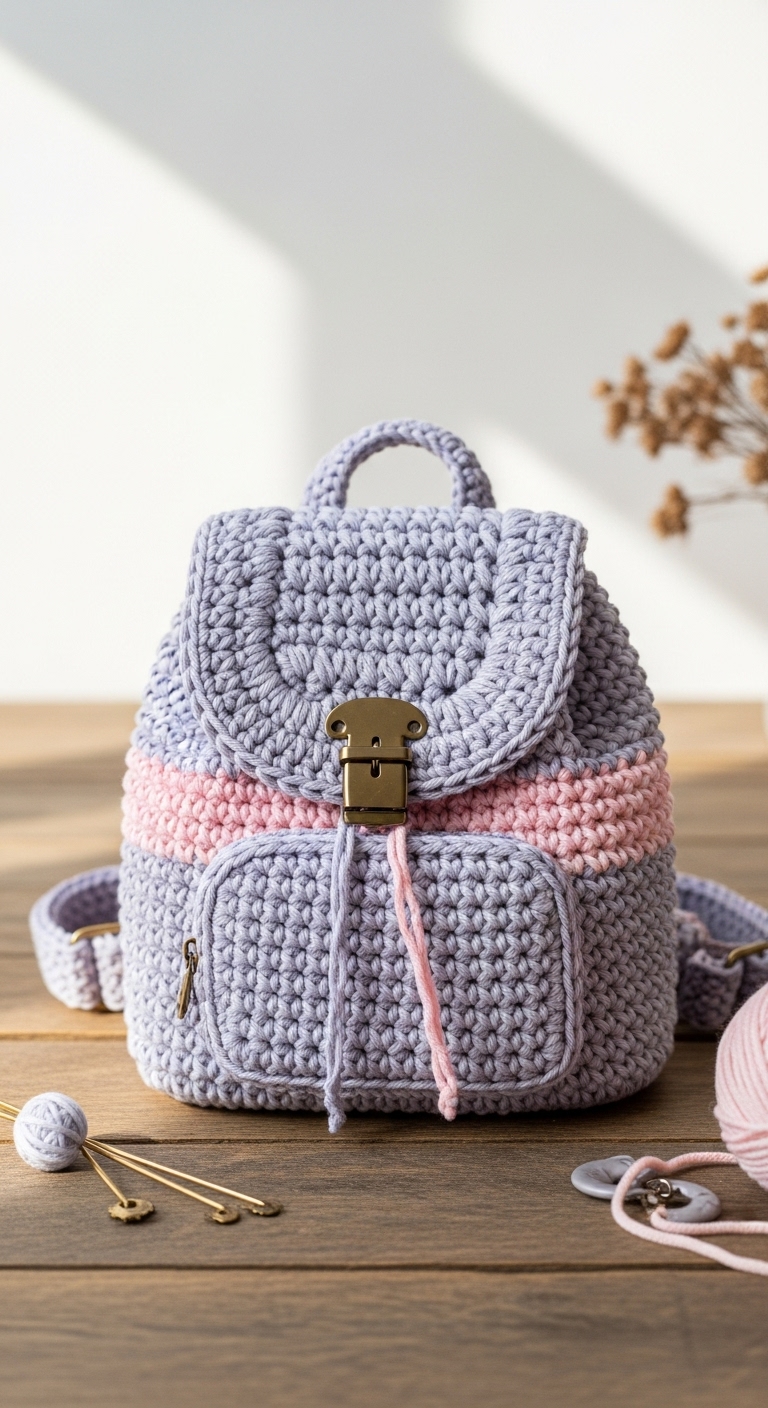
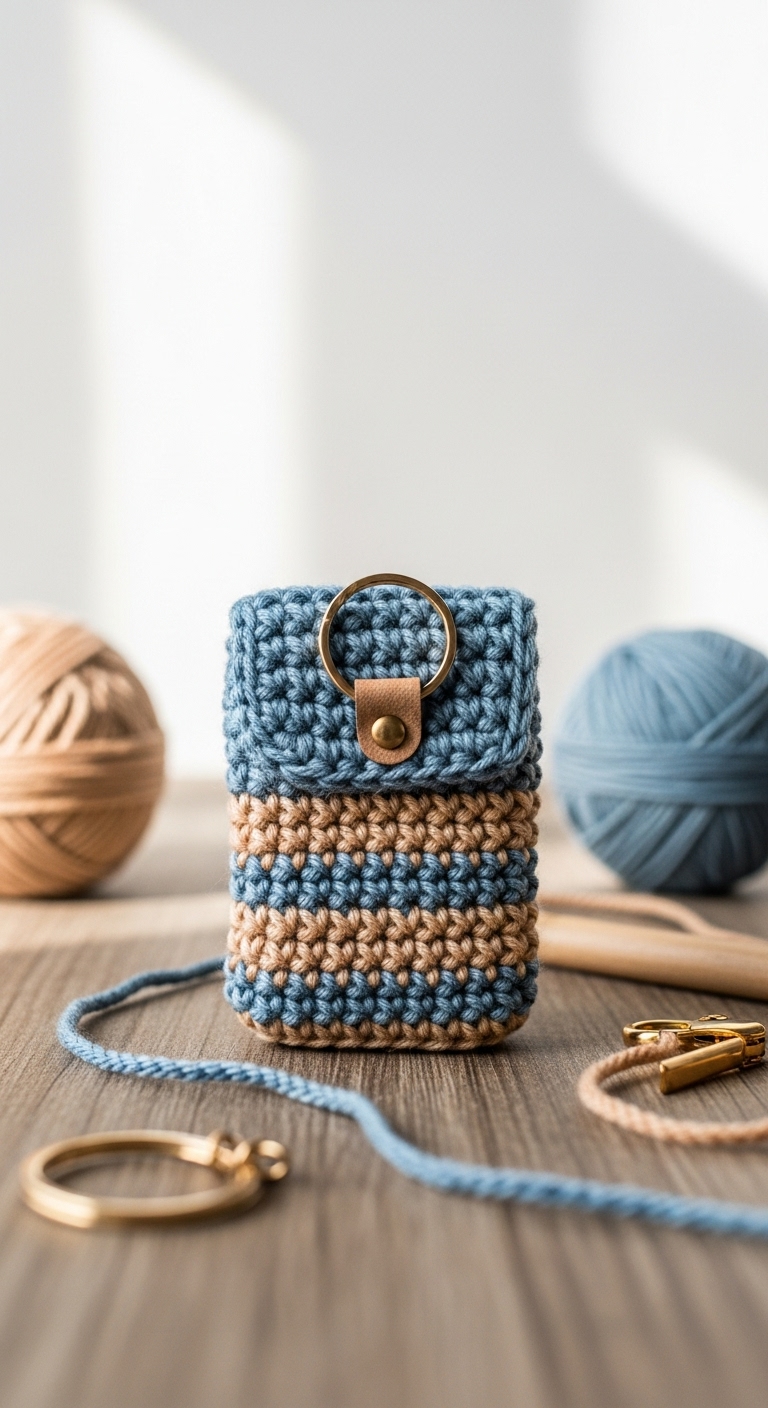
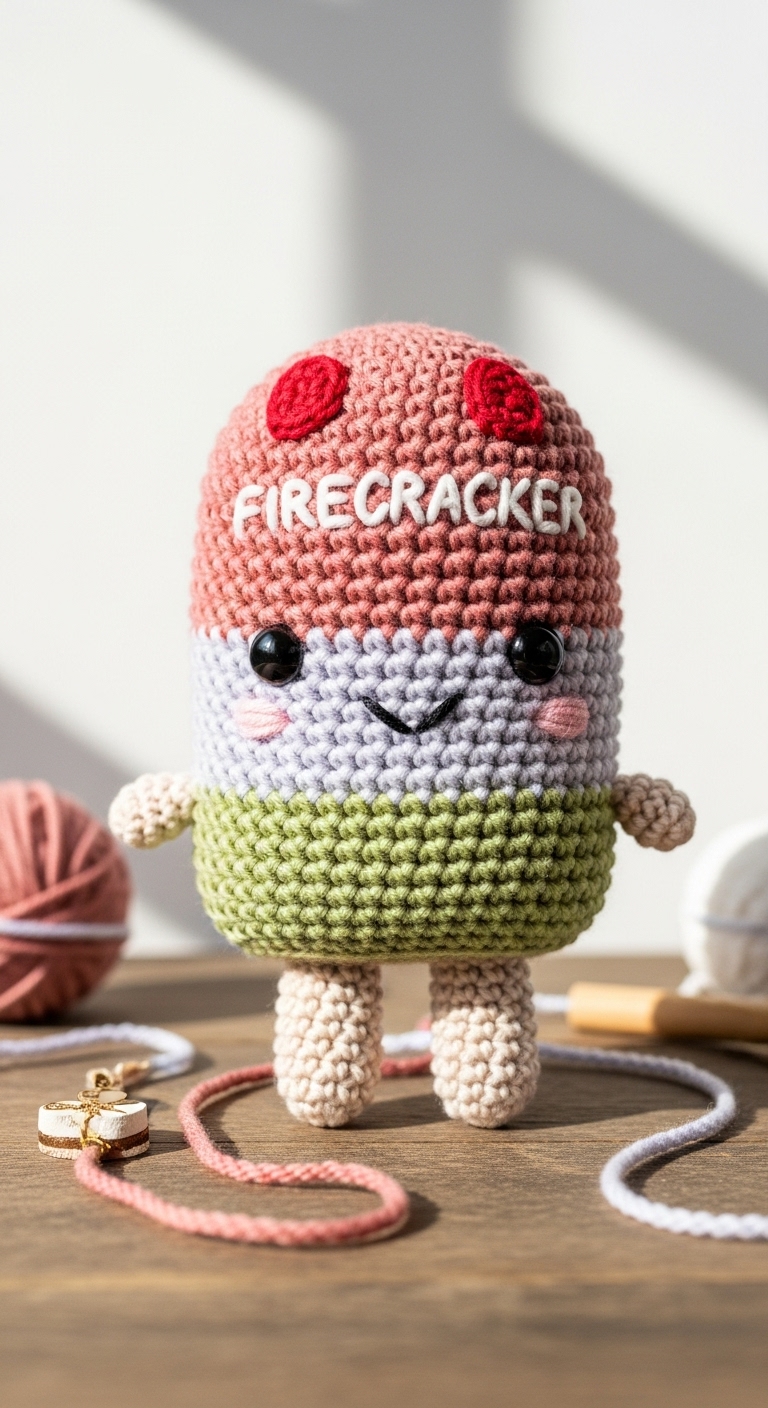
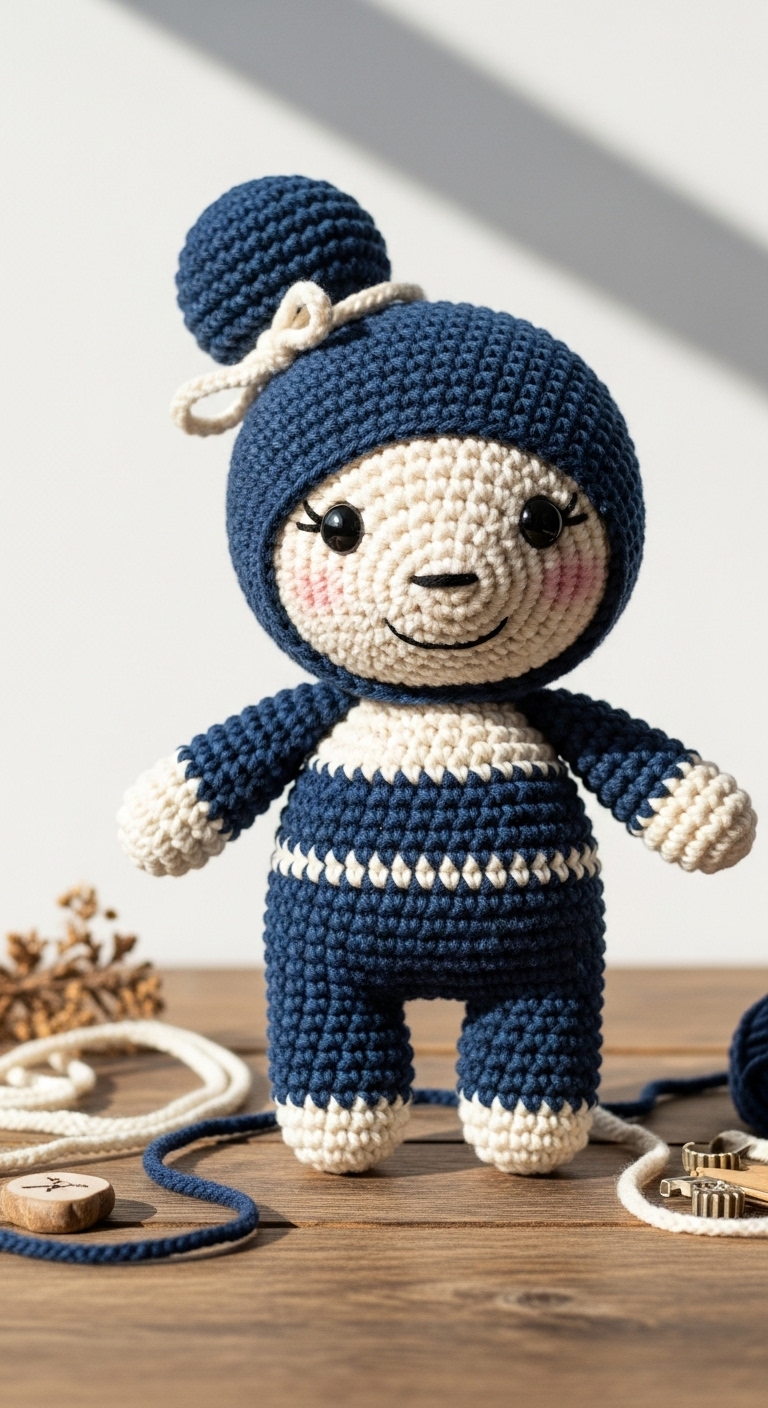
Amigurumi is the delightful art of crocheting stuffed animals or plushies, and it has become increasingly popular among crafters of all skill levels. In this article, we’ll share five essential tips that will elevate your amigurumi game, ensuring your projects turn out just as adorable as you hoped. Whether you’re looking to create a tiny octopus, a charming bear, or a whimsical unicorn, you can expect your finished plushie to be about 6 to 12 inches tall, depending on your pattern choice.
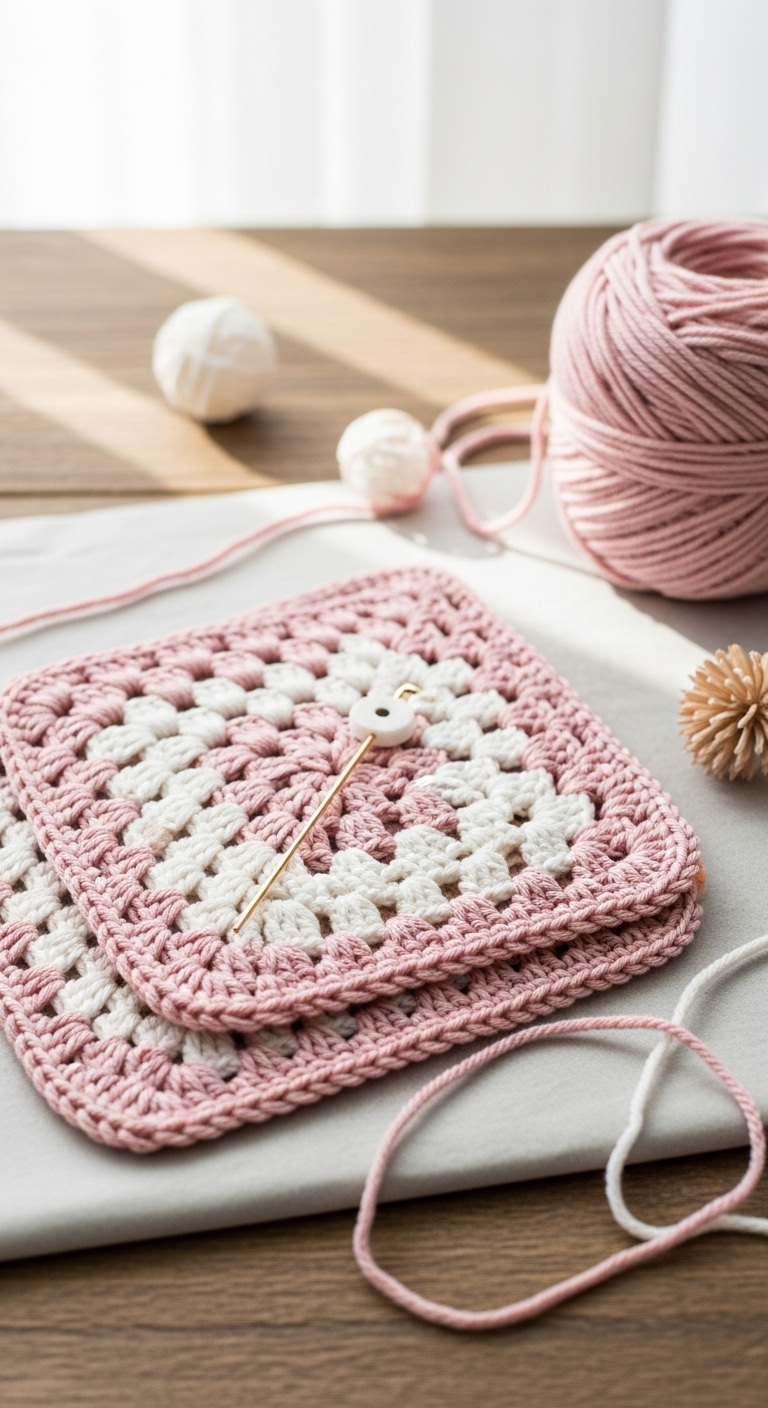
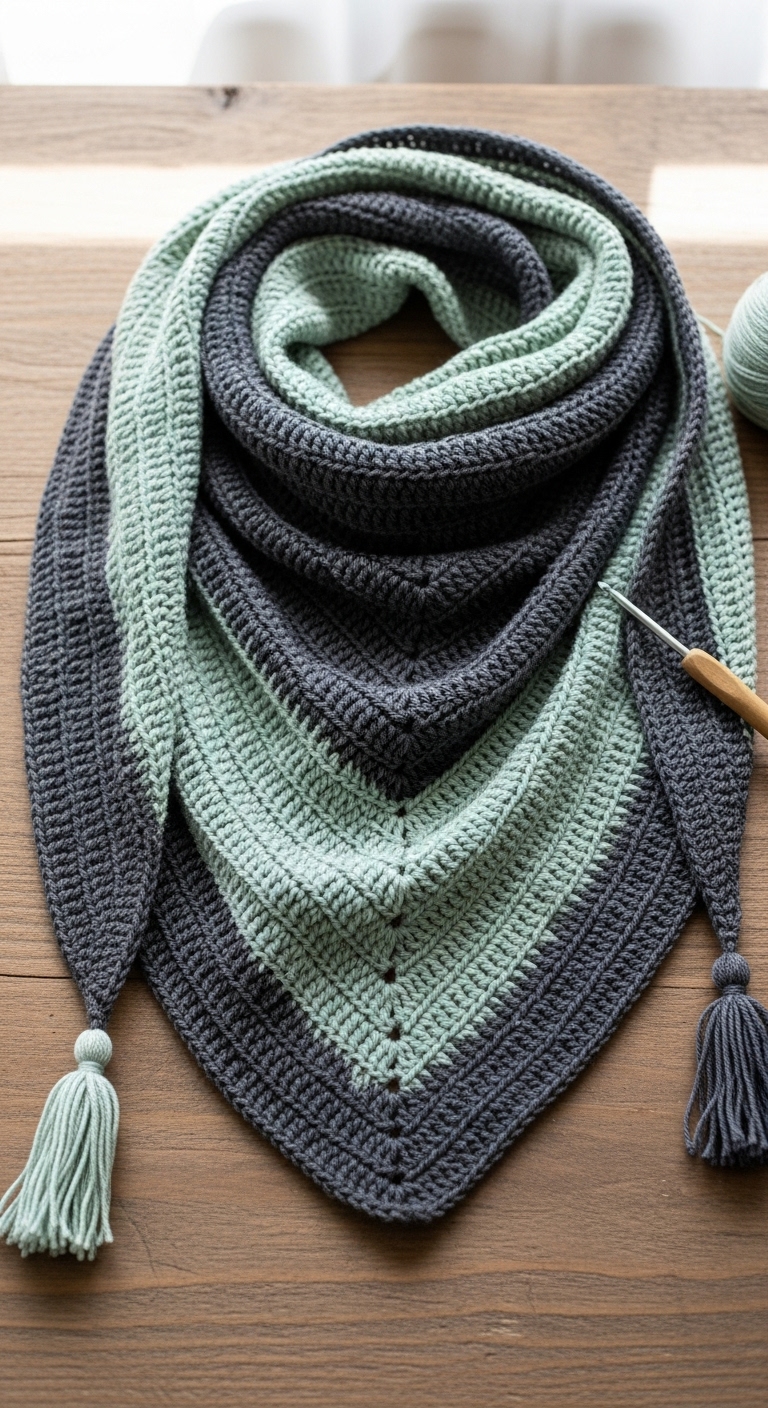
For your amigurumi adventures, we recommend using worsted weight yarn in complementary colors such as a lovely slate gray, soft pastel pink, or serene mint green. These adult-friendly hues not only lend a modern touch to your creations but also work beautifully together to create a visually appealing piece. Amigurumi is especially fun because it’s a relatively quick project that brings immense satisfaction, making it ideal for gifting or seasonal decorations.
This guide aims to be beginner-friendly, providing you with practical advice that will make your amigurumi projects both enjoyable and rewarding. So whether you’re preparing a handmade gift for a loved one or crafting your own adorable companion, let’s dive into these five indispensable tips!
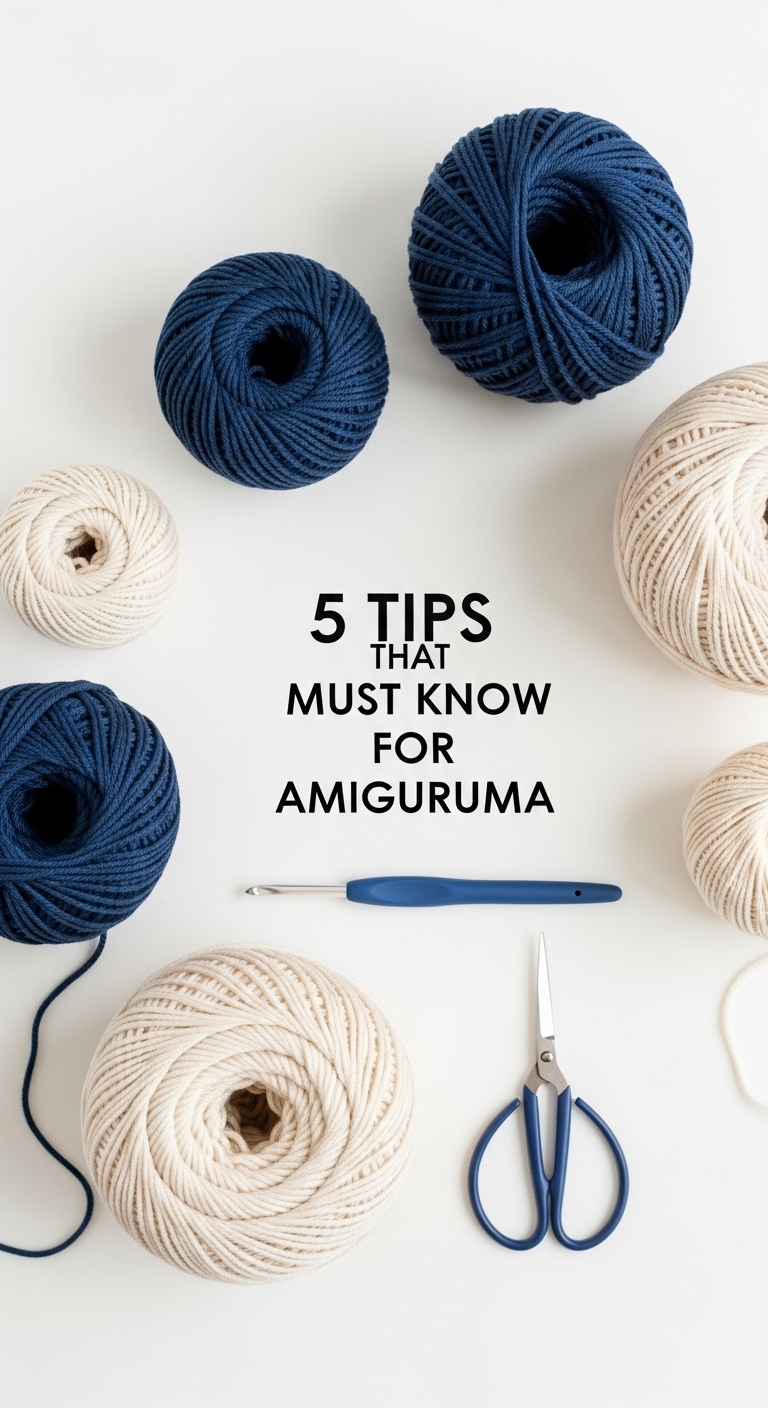
3. Materials Needed
To get started with your amigurumi projects, here’s a list of materials you will need:
– Yarn: Worsted weight yarn in chosen colors (approx. 100-200 yards total)
– Hook: 3.5mm or 4.0mm crochet hook
– Eyes: Safety eyes (12mm recommended) OR black embroidery thread
– Stuffing: Polyester fiberfill stuffing
– Needle: Tapestry needle for sewing
– Marker: Stitch marker
– Optional extras: Pipe cleaners (for flexible limbs), buttons (for decorative touches)
4. Designer Notes / Tips
Creating amigurumi can be an exciting and fulfilling process, and these tips will help you navigate common challenges:
– Stitch technique: The magic ring is a commonly used technique in amigurumi for starting the first round. This creates a tight closure, preventing any stuffing from showing through. Don’t worry if it takes a few tries to master – practice makes perfect!
– Stuffing density: When filling your plushie, aim for a firm but not overstuffed density. You want your plushie to hold its shape while remaining cuddly. A light touch is often best for smaller pieces, while larger plushies can handle a bit more stuffing.
– Assembly: When joining different pieces, take care to make your seams invisible. Use a tapestry needle and the whip stitch method for a seamless finish. This method is particularly effective when attaching limbs or facial features.
– Yarn substitutions: If you don’t have the recommended yarn, you can substitute with similar weight yarn. Just keep in mind that different yarns may yield different textures or appearances.
– Gauge tips: While gauge isn’t always critical in amigurumi, especially for stuffed toys, it can be helpful to check your tension to ensure your plushie is the size you want. If your stitches are too loose, consider going down a hook size.
– Safety considerations: If your intended recipient is a child, consider using securely stitched facial features instead of safety eyes, or make sure that the eyes are securely fastened to avoid any choking hazards.
5. Pattern Instructions
Let’s break down the instructions for creating a cute amigurumi plushie!
For Plushies:
Head:
*(Stuff the head lightly after Round 10)*
Body:
*(Stuff the body while working the last rounds)*
Arms:
*(Make 2 and leave a long tail for sewing)*
Legs:
*(Make 2 and leave a long tail for sewing)*
Ears:
*(Make 2 and leave a long tail for sewing)*
Assembly:
– Join the head to the body using the long tail from the head. Secure with a few stitches, ensuring it’s firmly attached.
– Attach the arms and legs to the body, positioning them evenly.
– Sew on the ears to the top of the head.
– Position the safety eyes between Rounds 8 and 9 of the head and attach them tightly.
6. Closing & Social Engagement
Congratulations on taking the plunge into the wonderful world of amigurumi! I’d love to see your version! Feel free to leave a comment below sharing your experiences or any questions you may have. What color combination will you try for your plushie? Don’t forget to share your finished creations on social media – let’s inspire each other with our handmade treasures!