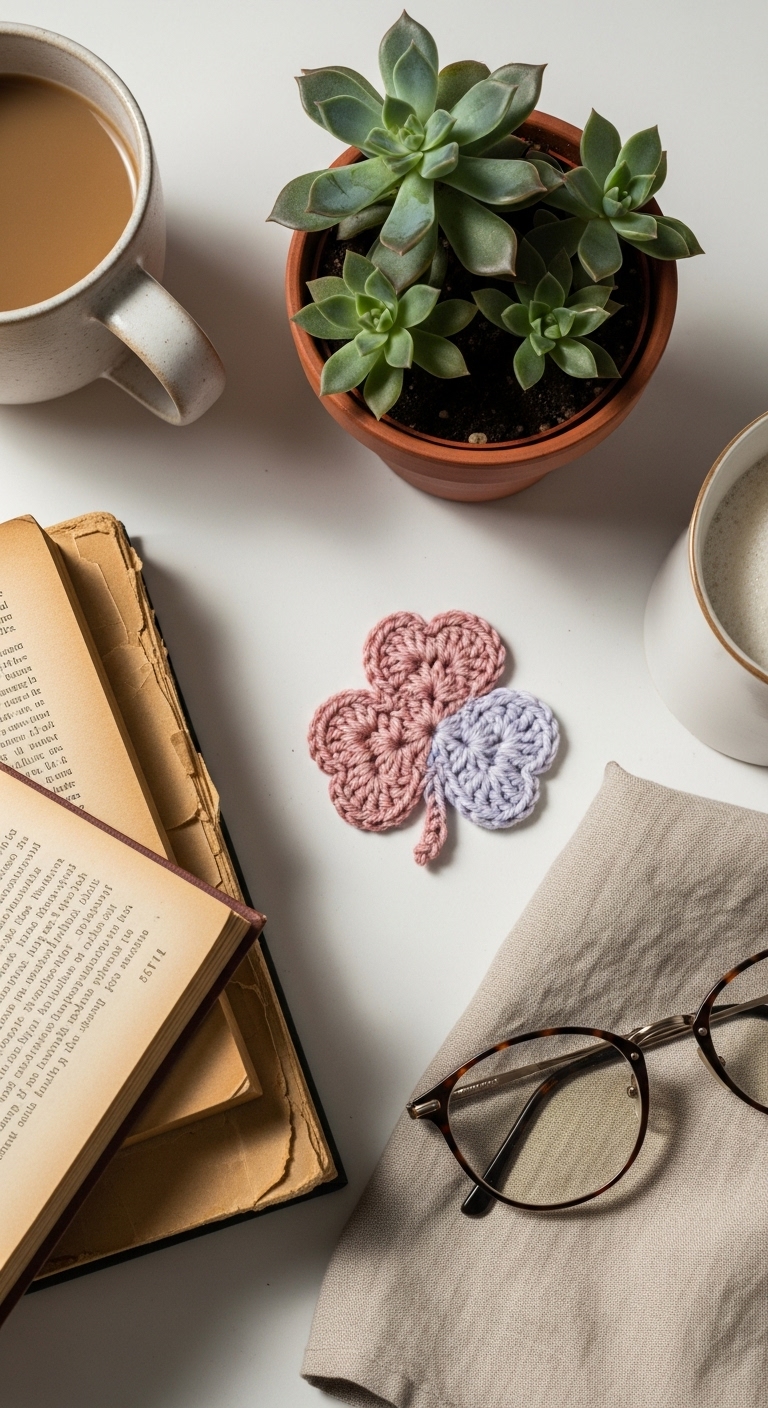
tiny shamrock applique free crochet pattern
2. Introduction
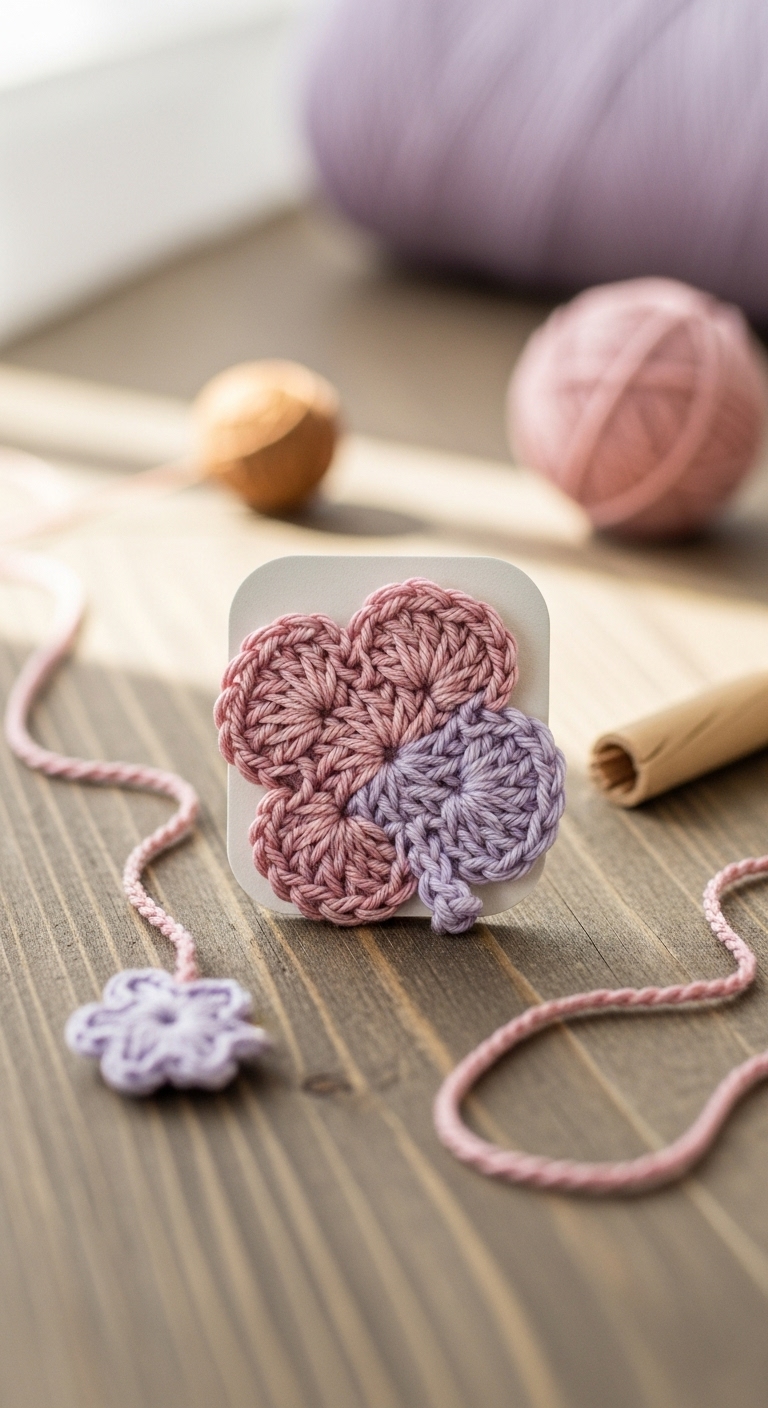
Welcome to this delightful tiny shamrock applique crochet pattern! Perfect for adding a touch of charm to your projects, this little shamrock measures approximately 3 inches across. It’s an adorable accessory that can be used to embellish everything from bags to hats, or even as a decorative piece for your spring celebrations.
For this project, we’ll be using medium-weight yarn in vibrant shades of green, complemented by a warm cream or soft beige for a lovely contrast. These adult-friendly colors will not only elevate your crochet creations but also lend themselves well to various decor styles. This shamrock is a fun and quick project that is perfect for beginners or anyone looking to practice their crochet skills. With St. Patrick’s Day just around the corner, it’s a great time to create something special that highlights this festive occasion!
3. Materials Needed
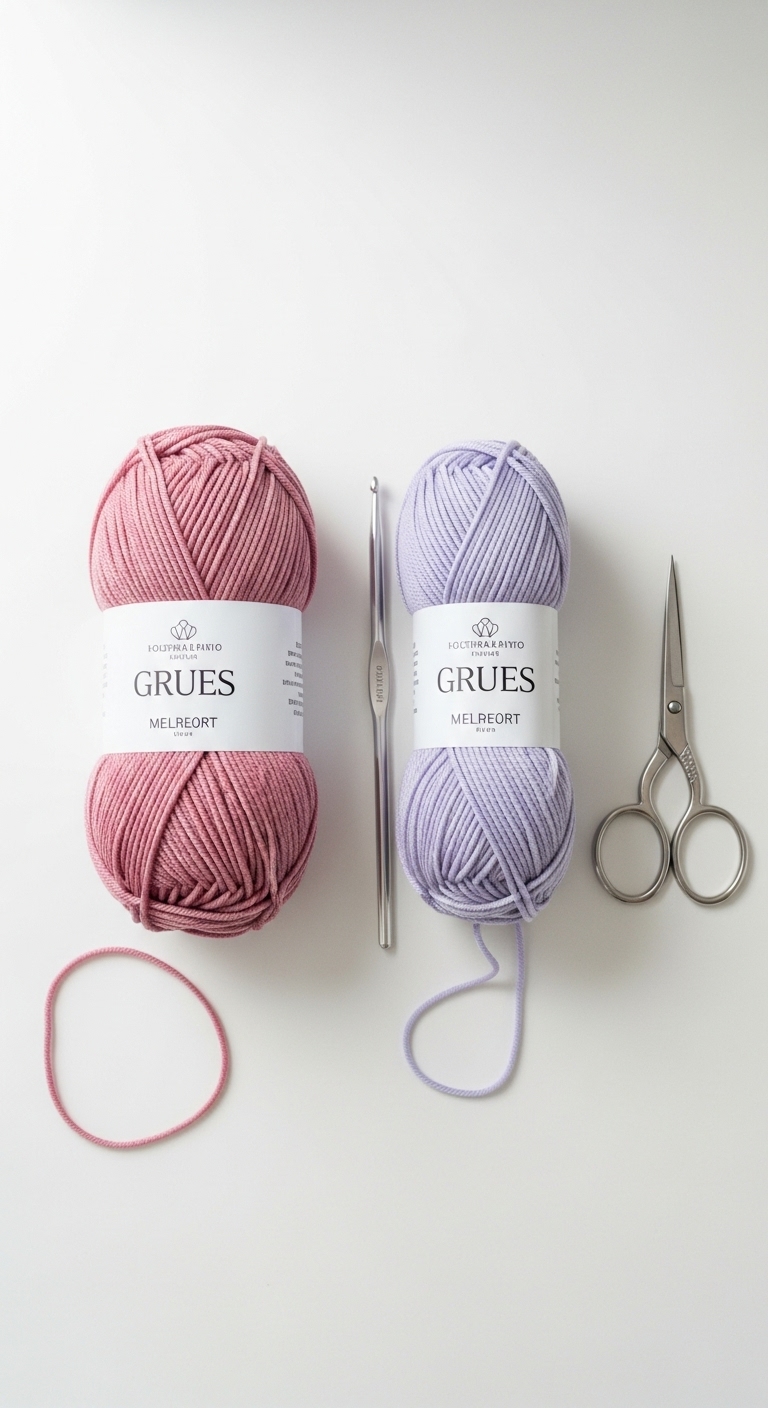
– Yarn: Medium-weight yarn in dark green (approx. 25 yards), light green (approx. 15 yards) for the leaves, and cream or beige (approx. 10 yards) for the stem.
– Hook: 3.5mm or 4.0mm crochet hook
– Eyes: Not required for this pattern
– Stuffing: Not required for this flat applique
– Needle: Tapestry needle for weaving in ends
– Marker: Stitch marker (optional)
– Optional extras: Pin backing or brooch clasp if you’d like to turn it into a wearable accessory
4. Designer Notes / Tips
As you embark on this project, keep in mind the specific stitches used for the delicate leaves. We’ll be utilizing basic single crochet and slip stitches, making it perfect for beginner crocheters. When working with the leaves, aim for a light tension to ensure your stitches are uniform and the item remains flat.
Since this shamrock is a flat applique, there’s no need for stuffing, allowing you to focus on achieving those beautiful leaf shapes. If you would like to use this pattern for children’s projects, simply ensure that any embellishments, like a pin backing, are securely attached or consider sewing them directly to the fabric to avoid choking hazards.
Feel free to experiment with different shades of green or even add a splash of color for a unique twist!
5. Pattern Instructions
Shamrock Applique Pattern
Leaf 1
Round 1: 6 sc in magic ring (6)
Round 2: [inc, sc in next 2] repeat (8)
Round 3: [inc, sc in next 3] repeat (10)
Round 4: [sc in each st] for 2 rounds (10)
Fasten off, leaving a long tail for sewing.
Leaf 2 (make one more)
Repeat instructions for Leaf 1, using light green yarn instead.
Stem
Ch 6, starting in the second chain from hook, sc in the next 4 chains, 3 sc in the last chain, moving along the other side of the chain, sc in next 4 chains (10 total). Fasten off.
Assembly
1. Position the two leaves symmetrically above the stem and use your tapestry needle to sew them securely to the stem.
2. Weave in all ends neatly.
3. If desired, attach a pin backing securely to the back of the shamrock to wear as a brooch.
6. Closing & Social Engagement
Congratulations on completing your tiny shamrock applique! I’d love to see your version—please leave a comment below to share your thoughts or any color combinations you decided to try.
What creative ways will you be using your shamrock? Whether it’s decorating a bag, adding flair to a hat, or using it as a charming springtime decoration, I can’t wait to hear all about it! Don’t forget to share your finished shamrock on social media; I would love to see your beautiful work!