st patricks day gnome free crochet pattern 11
2. Introduction
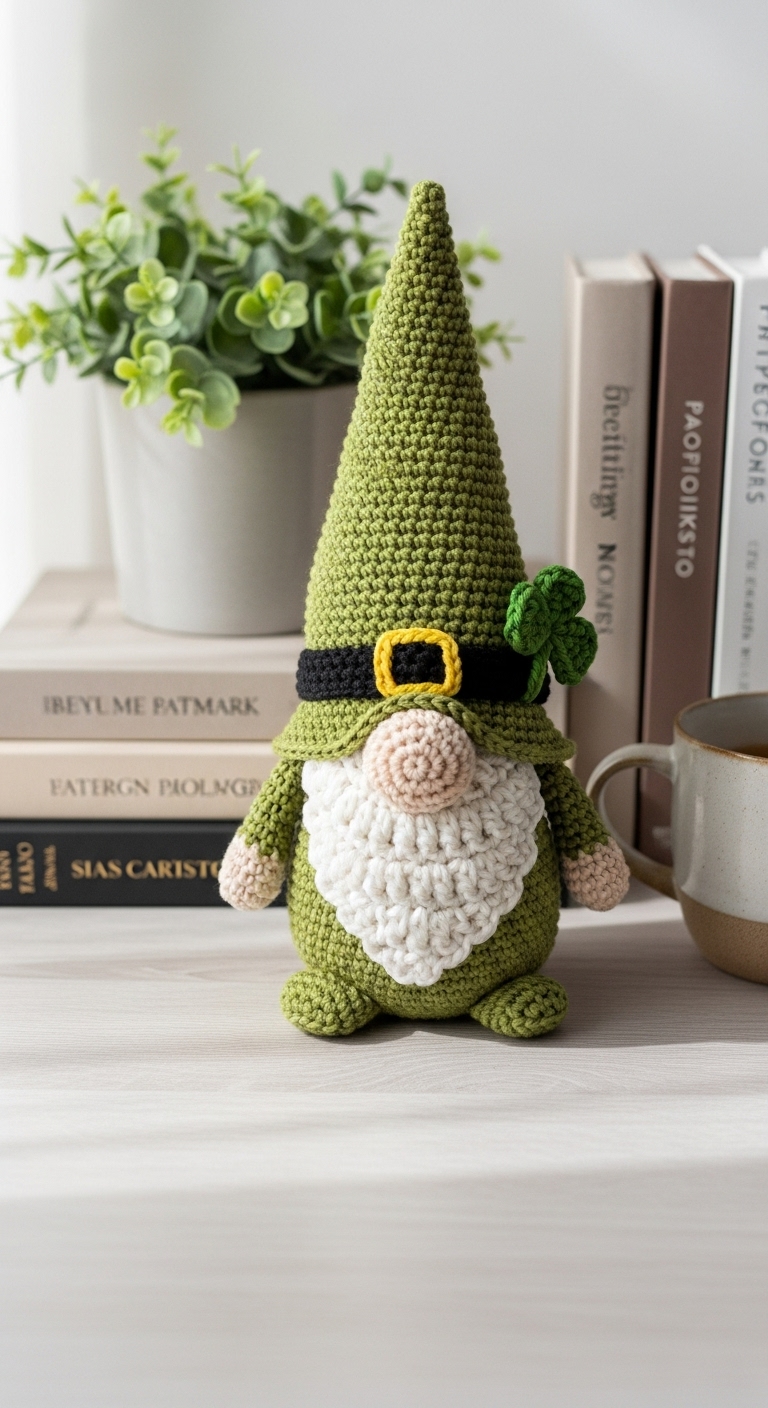
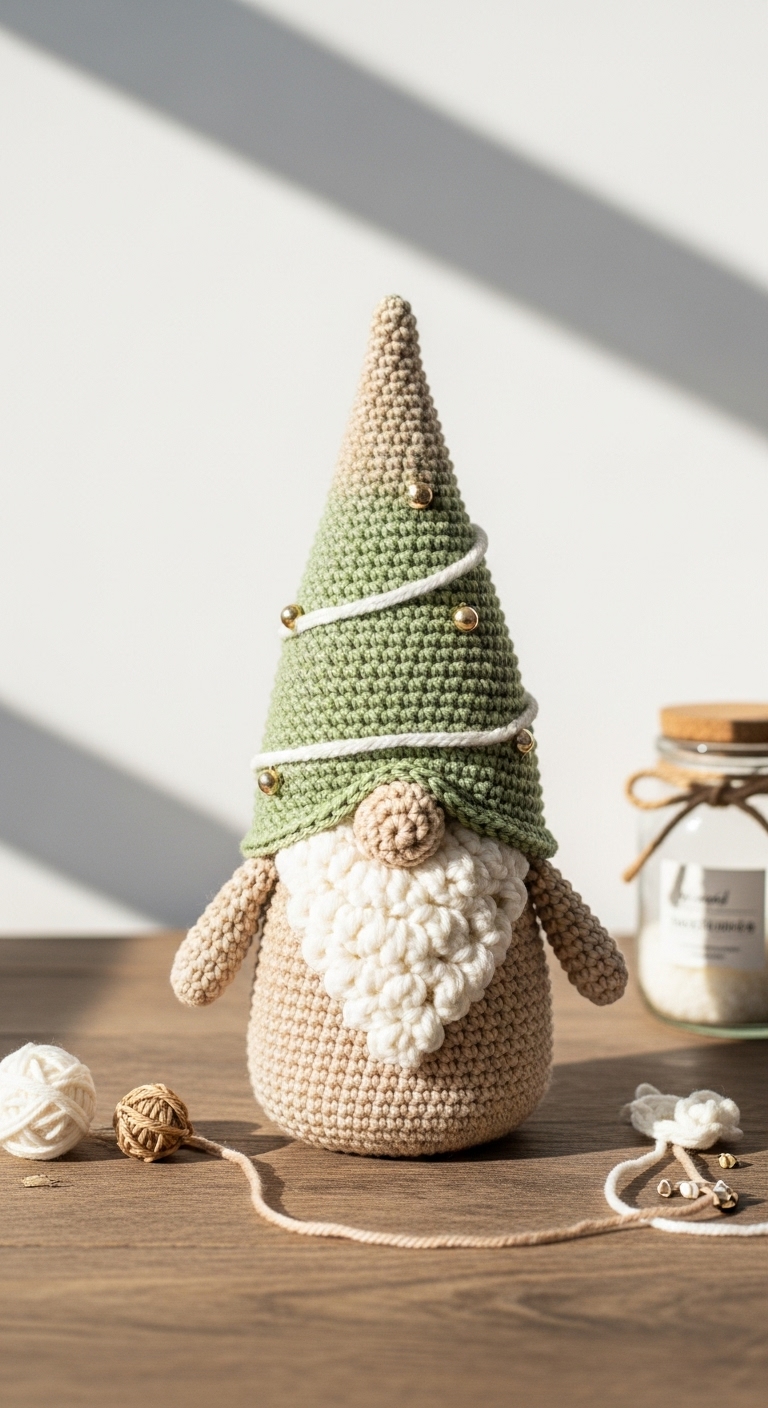
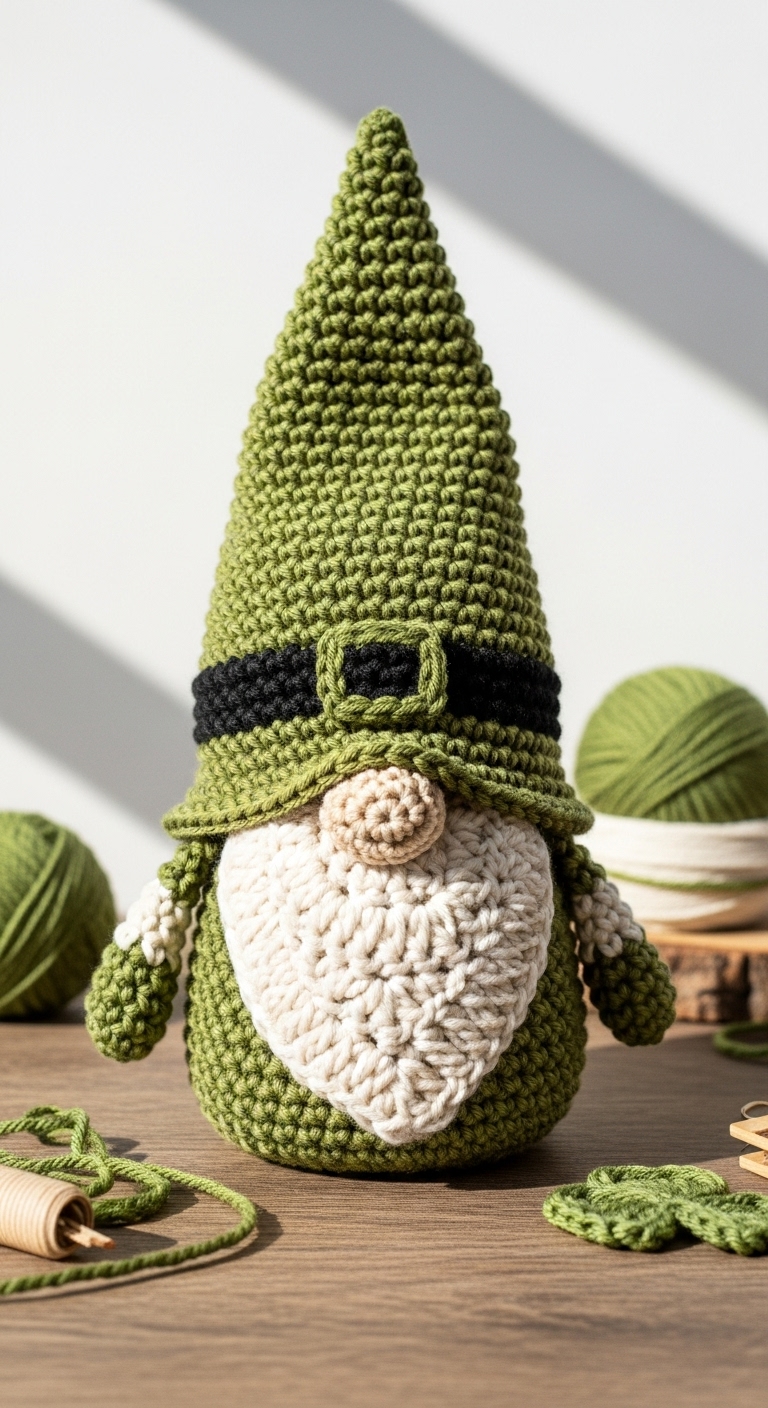
Celebrate St. Patrick’s Day in style with this charming St. Patrick’s Day Gnome! Measuring approximately 10 inches tall, this delightful plushie is the perfect way to bring some festive cheer to your home or office. Using a combination of rich green, crisp white, and warm gold yarn, this gnome embodies the spirit of the holiday with its cute design and vibrant colors.
Crocheting this gnome is not only a fun project, but it’s also quick to whip up, making it a great choice for last-minute decorations or thoughtful gifts for friends and family. The skill level for this pattern is beginner-friendly, with easy-to-follow instructions that ensure success even for those new to crochet. Whether you’re adding this gnome to your seasonal décor or gifting it to a loved one, it’s sure to bring a smile to anyone’s face!

3. Materials Needed
– Yarn: Worsted weight yarn in green (approx. 150 yards), white (approx. 50 yards), and gold (approx. 25 yards)
– Hook: 3.5mm crochet hook
– Eyes: 12mm safety eyes OR black embroidery thread
– Stuffing: Polyester fiberfill stuffing
– Needle: Tapestry needle for sewing
– Marker: Stitch marker
– Optional extras: Pipe cleaners for the gnome’s beard, buttons for decoration
4. Designer Notes / Tips
– Stitch technique: This pattern uses basic stitches including single crochet (sc), increases (inc), and decreases (dec). If you’re unfamiliar with these stitches, there are many great tutorials available online to guide you.
– Stuffing density: For a plush and cuddly gnome, use a light and fluffy stuffing, but ensure that the gnome holds its shape by firming up the base slightly.
– Assembly: When joining pieces, use a whip stitch to create a seamless look. It’s helpful to pin pieces together before final sewing to ensure proper positioning.
– Yarn substitutions: If you can’t find the colors listed, any worsted weight yarn in similar shades will work beautifully. Consider cotton yarn for a more structured gnome.
– Gauge tips: While gauge isn’t critical for this project, make sure your stitches are tight enough to hold the stuffing and maintain a neat appearance.
– Safety considerations: If the gnome is intended for a child, consider using embroidery thread for the eyes instead of safety eyes, or simply embroider the eyes to avoid any choking hazards.
5. Pattern Instructions
For Plushies:
Head:
Body:
Arms (Make 2):
Legs (Make 2):
Assembly:
– Sew the head to the body securely. Attach the arms to the sides of the body and the legs to the bottom.
– For the gnome’s beard, you can use pipe cleaners or yarn. If using yarn, cut several strands and attach them to the face area, creating a whimsical beard.
– Place the safety eyes on the head before closing it up completely, ensuring they are positioned evenly.
6. Closing & Social Engagement
I’d love to see your version of the St. Patrick’s Day Gnome! Leave a comment below to share your thoughts or any tweaks you made to the pattern. What color combination will you try? Don’t forget to share your finished gnome on social media using the hashtag #StPatricksDayGnome so we can all admire your creativity!