how to crochet single crochet two together stitch modified
2. Introduction
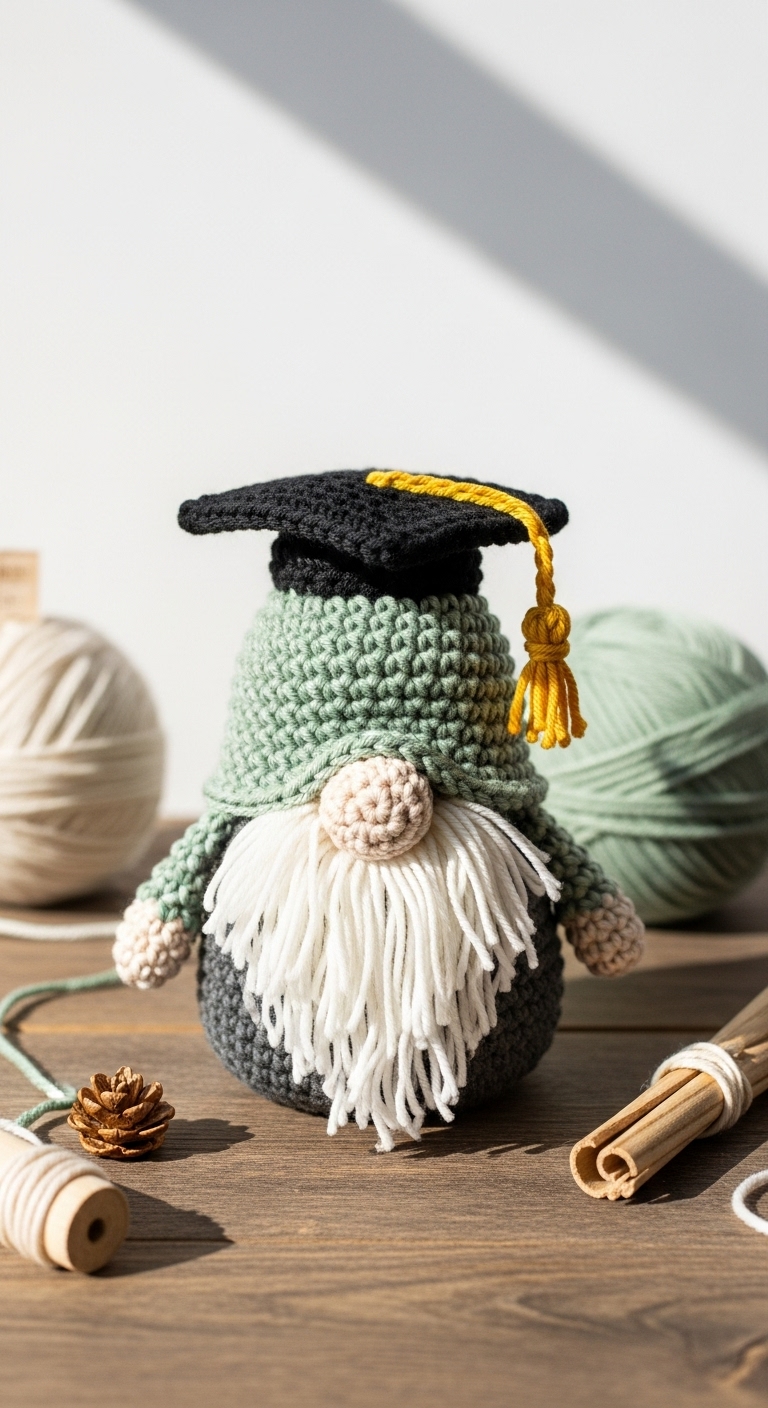
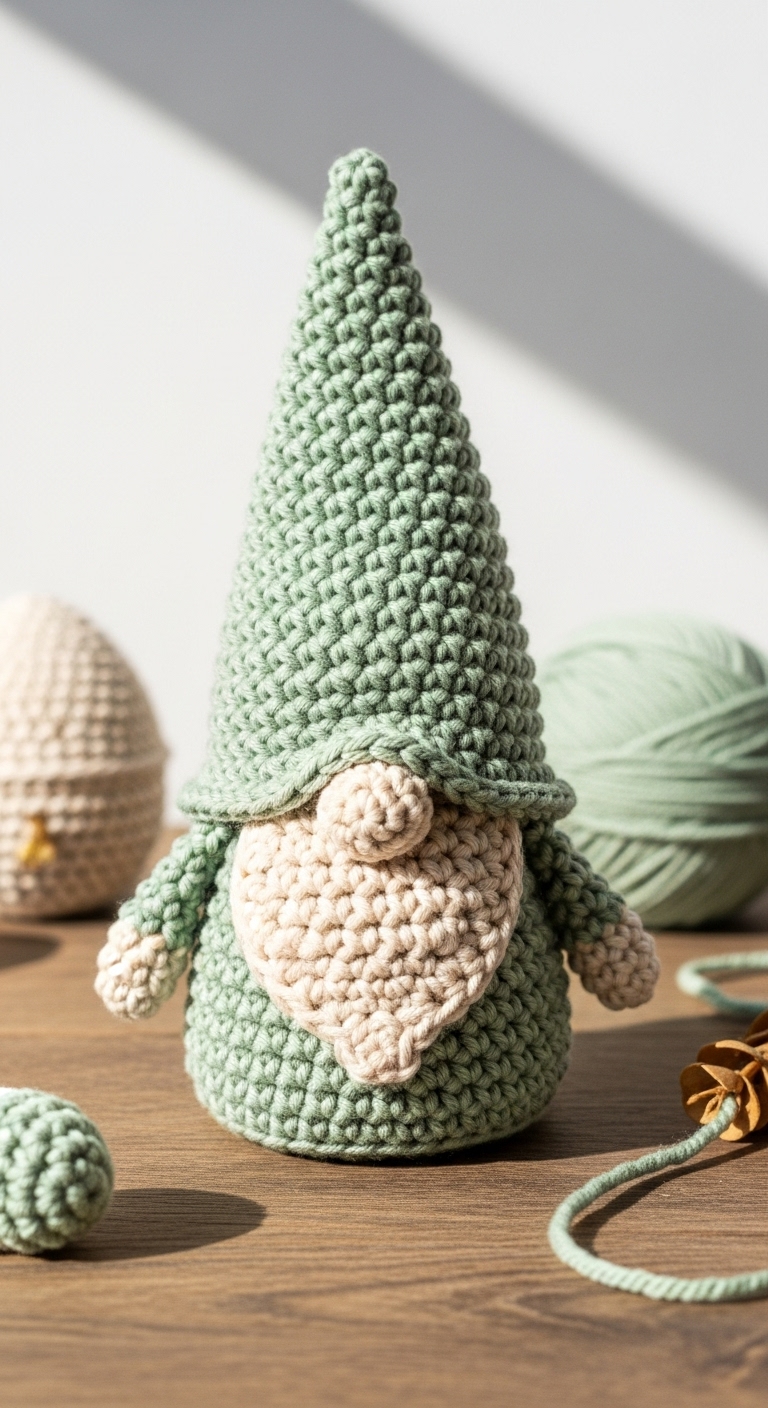
Welcome to the wonderful world of crochet! In this article, we’ll explore a useful technique known as the “Single Crochet Two Together” (sc2tog) stitch, modified for a smoother finish. This stitch is particularly handy when you’re creating plushies or accessories that require a bit of shaping, such as amigurumi animals or cozy hats. Using this stitch allows you to decrease stitches while maintaining a neat appearance, making it perfect for rounding out contours on soft toys or finishing off snug accessories.
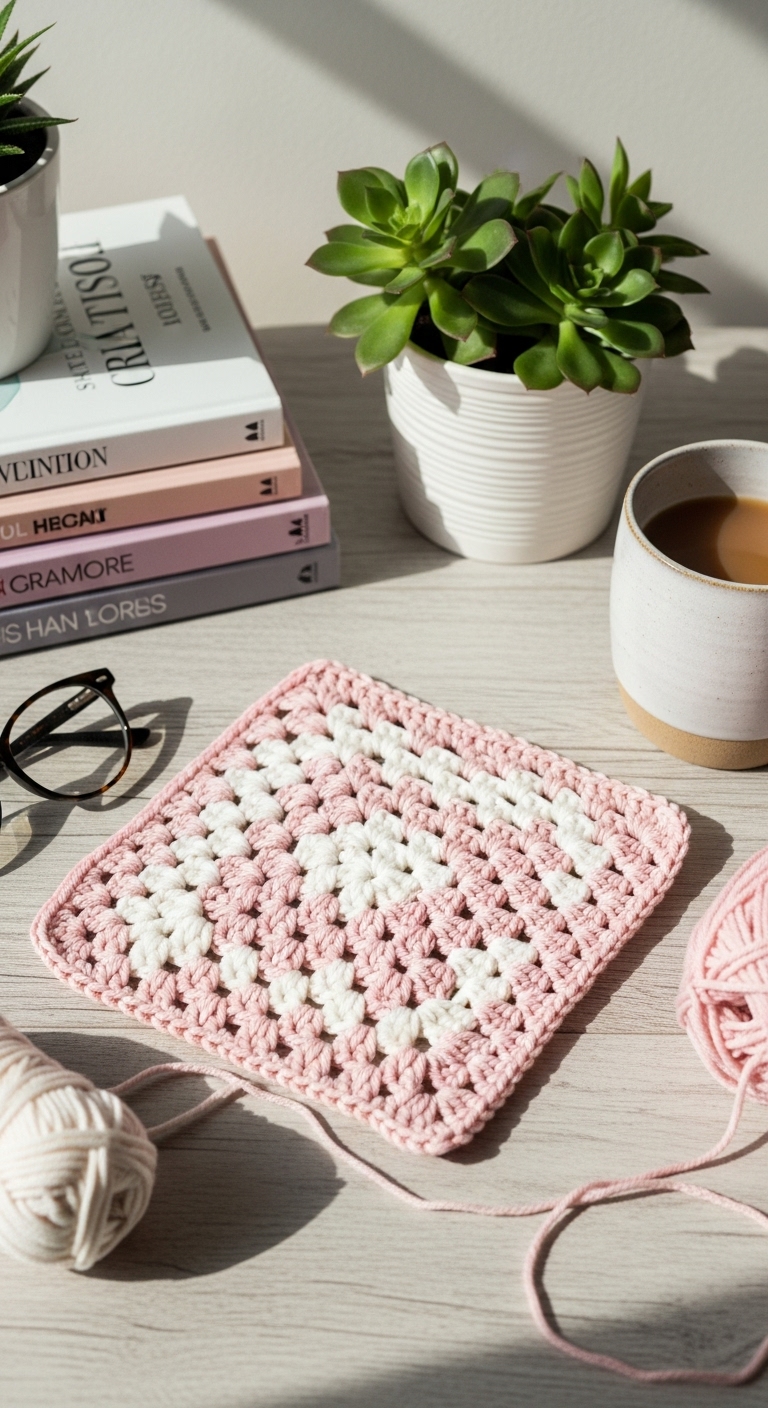
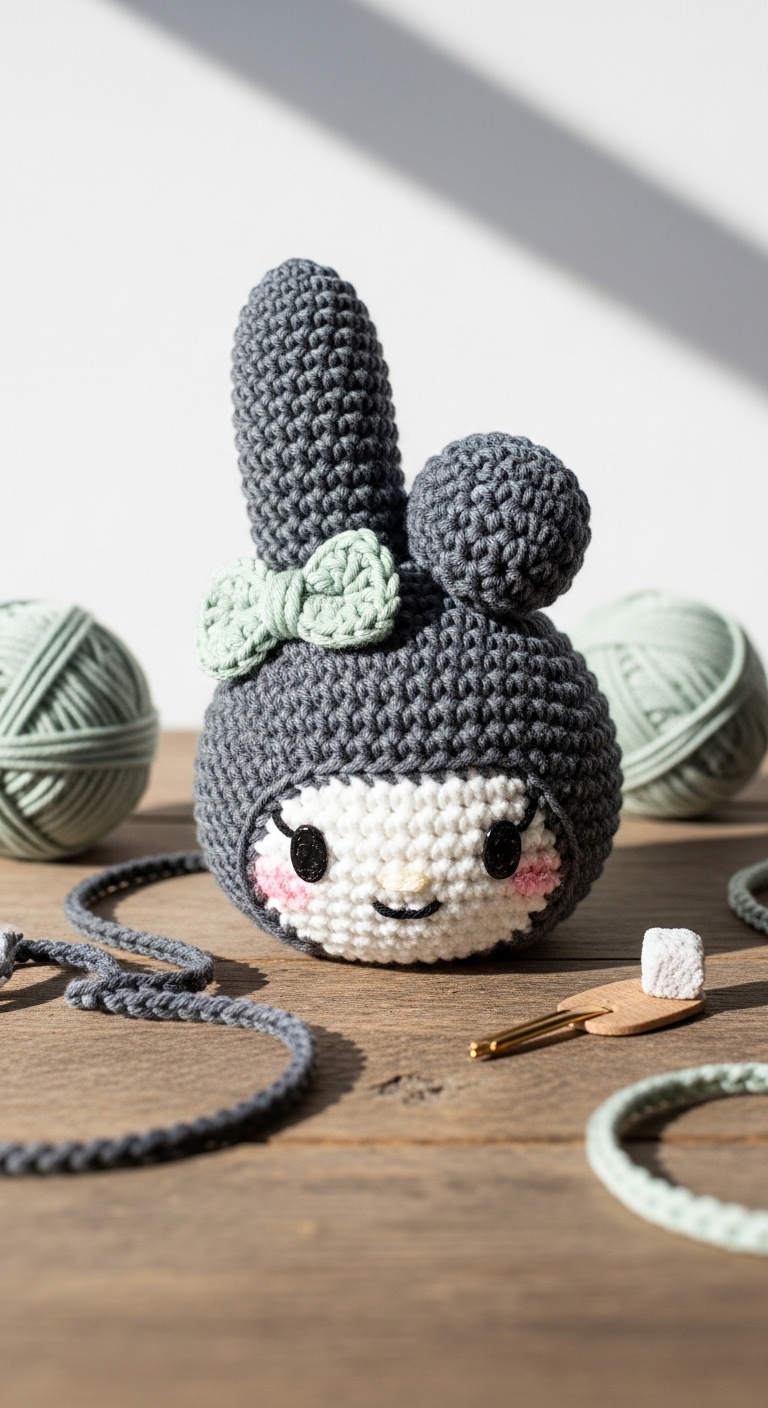
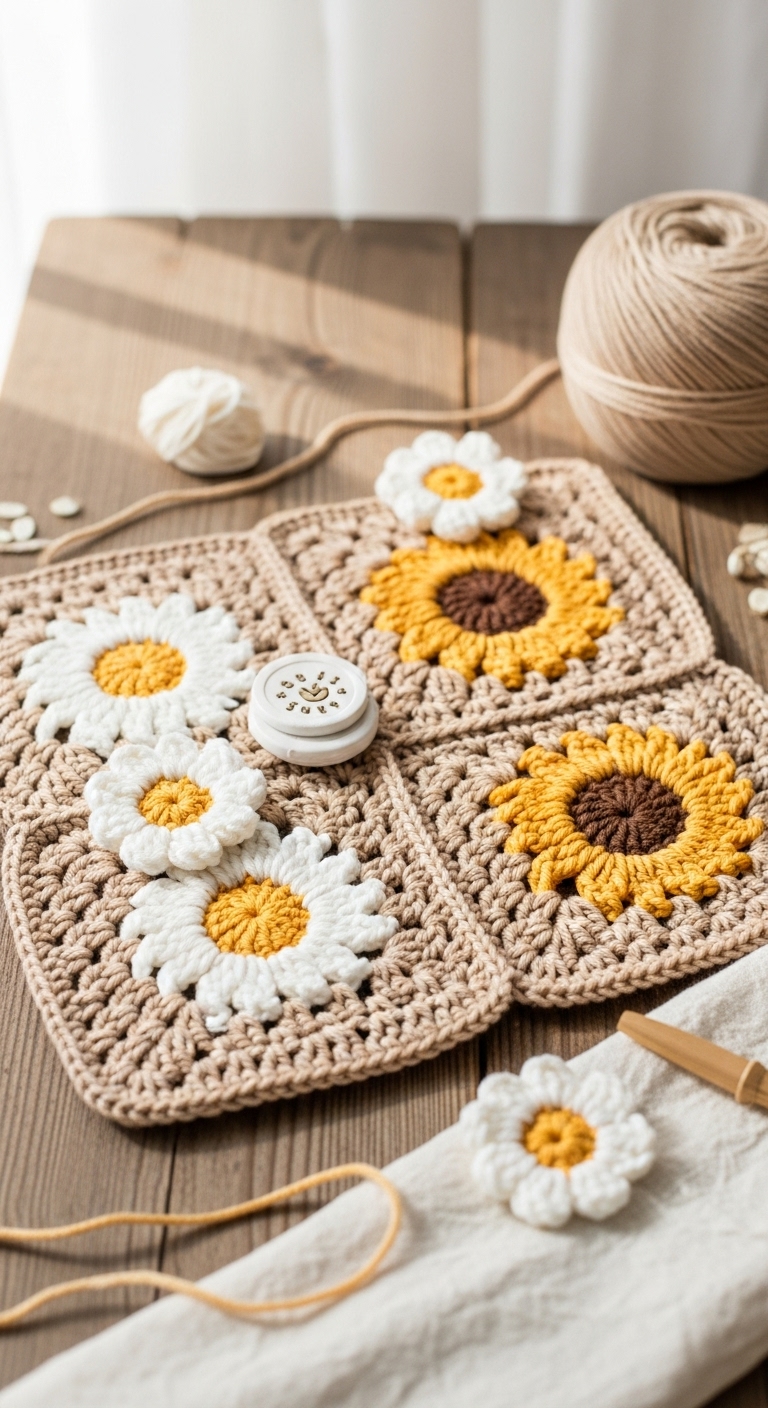
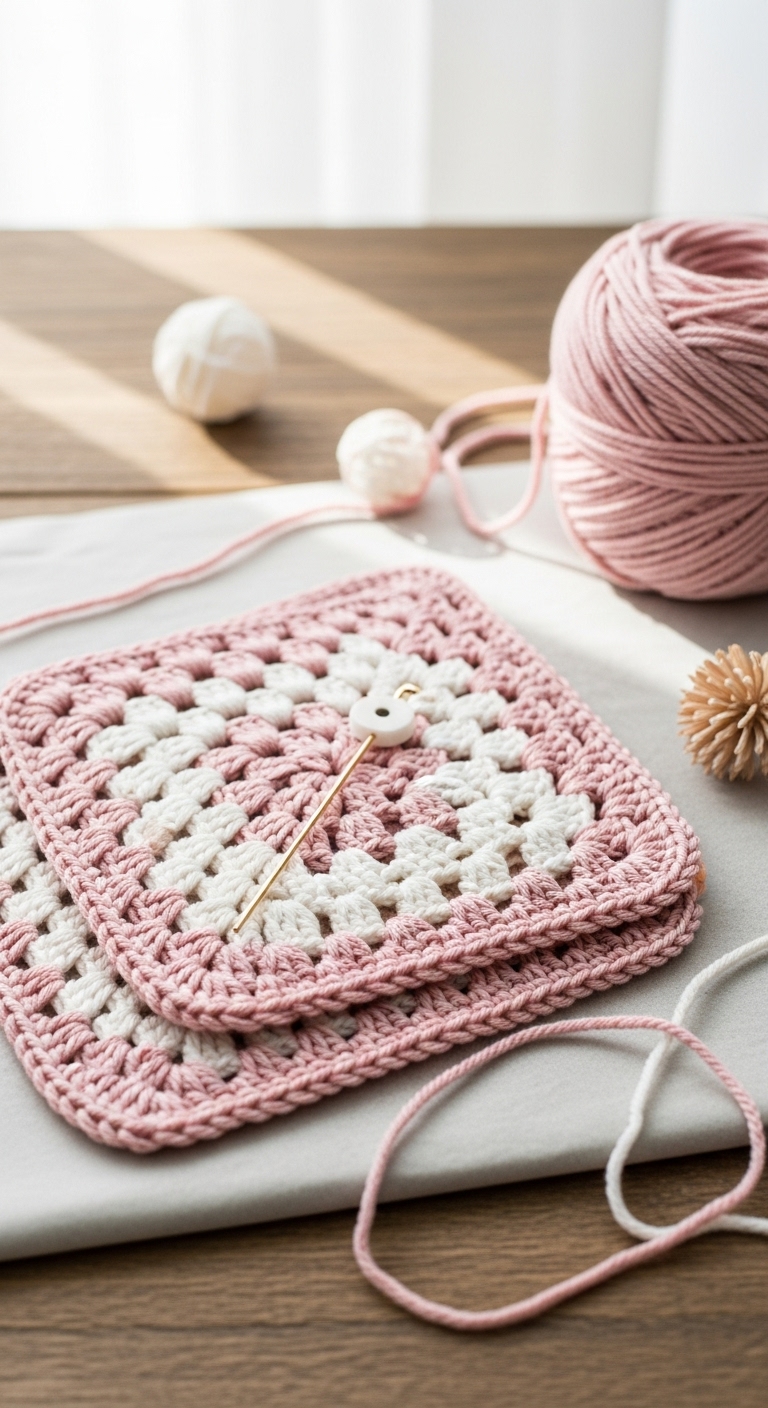
For this project, you’ll need a soft medium-weight yarn in complementary adult-friendly colors. Classic shades like navy blue and mustard yellow or a soothing gray paired with sage green work beautifully together. This stitch is not only functional but also quick to learn, making it a special addition to your crochet toolkit. Whether you’re looking to create a delightful handcrafted gift or simply want to enhance your crochet skills, mastering this technique is a step toward more advanced projects. Plus, the satisfaction of completing your first plushie or accessory with this stitch is truly rewarding!
This pattern is designed with beginners in mind, so don’t worry if you’re just starting out—you’re in the right place! With clear instructions and helpful tips, you’ll be amazed at how quickly you can incorporate this stitch into your future crochet creations.
3. Materials Needed
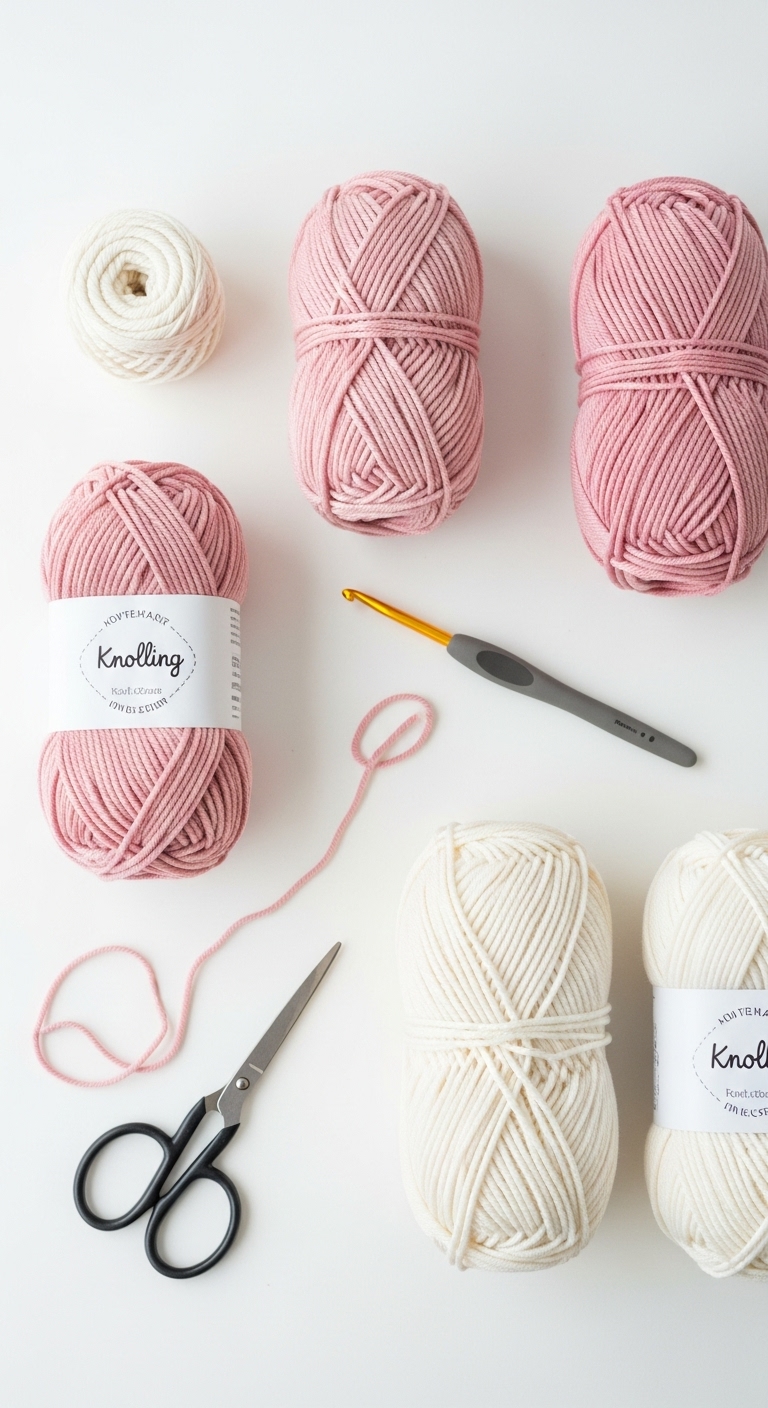
– Yarn: Medium (worsted weight) yarn in chosen colors – approximately 100 yards each
– Hook: 3.5mm or 4.0mm crochet hook
– Eyes: Safety eyes (9mm) OR black embroidery thread
– Stuffing: Polyester fiberfill stuffing
– Needle: Tapestry needle for sewing
– Marker: Stitch marker
– Optional extras: Pipe cleaners (for shaping), buttons (for embellishment)
4. Designer Notes / Tips
When working with the Single Crochet Two Together stitch, it’s essential to maintain even tension to ensure a smooth finish. For a plushie, using a light stuffing will give a softer feel, while a firmer stuffing can provide structure, depending on the design.
When assembling your pieces, consider the best practices for joining different components. Use a tapestry needle to weave in ends securely, and don’t hesitate to use stitch markers to keep track of your rounds, especially in the beginning stages of your plushie. If you want to experiment, yarn substitutions can also be fun; try using a soft cotton blend for a lighter, breathable accessory.
Remember to pay attention to gauge, as this will impact the overall sizing of your finished project. If you’re creating a toy for a child, ensure that any embellishments are securely attached or consider using child-safe modifications, such as embroidered eyes.
5. Pattern Instructions
For Plushies:
Head:
Body:
Arms/Legs:
Ears/Tail:
Assembly:
– Before closing the head, stuff it lightly.
– Attach safety eyes between rounds 3 and 4.
– Stuff the body and limbs firmly but not overly tight.
– Join limbs to the body using a tapestry needle and yarn to secure.
For Accessories:
Main Panel:
Straps/Handles:
Closure:
– Attach a button or zipper as preferred.
– Ensure all ends are woven in for a clean finish.
Finishing:
– Block your finished pieces lightly to shape.
– Add any embellishments as desired.
6. Closing & Social Engagement
Congratulations on learning the modified Single Crochet Two Together stitch! I’d love to see your version! Leave a comment below sharing your experiences or tips you discovered while working on this stitch. What color combination will you try for your next plushie or accessory? Share your finished projects on social media, and let’s celebrate your crochet journey together!