crochet flower gnome the snowdrop free pattern
2. Introduction
Welcome to the delightful world of crochet, where we’re about to embark on a charming project: the Crochet Flower Gnome, affectionately named “The Snowdrop.” This whimsical little gnome stands approximately 8 inches tall and is perfect for adding a splash of springtime joy to your home décor or as a thoughtful gift for a friend. With its enchanting flower cap and friendly expression, this gnome is sure to bring smiles to everyone who sees it.
For this project, we’ll be using soft, lightweight yarn in a palette of gentle pastel tones—think creamy white for the gnome’s body, a soft green for the hat, and a sprinkle of light yellow for the flower. These colors not only complement each other beautifully but also lend a modern, sophisticated touch that adults will appreciate. This project is perfect for beginner to intermediate crocheters, offering a wonderful chance to practice your skills while creating something special.
What makes this project particularly fun is its relatively quick assembly. You can complete this gnome in a couple of evenings, making it a great option for seasonal decorating or as a heartfelt gift for spring celebrations such as Easter or birthdays. So, grab your yarn and let’s get started!
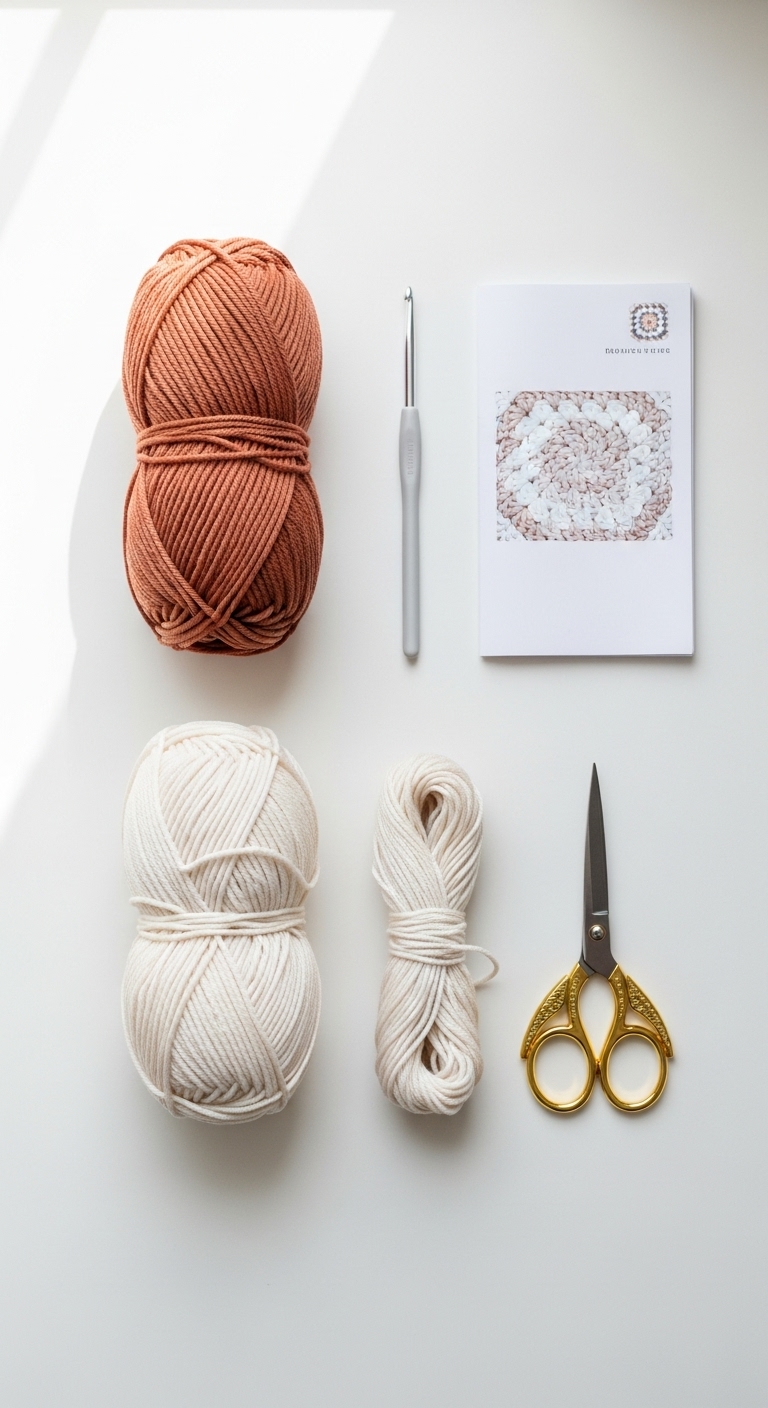
3. Materials Needed
– Yarn: Worsted weight yarn (medium) in creamy white (approximately 150 yards), soft green (approximately 100 yards), and light yellow (approximately 50 yards)
– Hook: 3.5mm or 4.0mm crochet hook
– Eyes: 12mm safety eyes OR black embroidery thread for an embroidered face
– Stuffing: Polyester fiberfill stuffing
– Needle: Tapestry needle for sewing
– Marker: Stitch marker
– Optional extras: A small piece of wire or pipe cleaners for added stability in the flower
4. Designer Notes / Tips
When crocheting this gnome, you’ll be using basic stitches, but don’t worry if you’re new to crochet! The project’s charm lies in its simple construction. For a little texture, consider working in the back loops for some parts of the gnome’s body.
As for stuffing, I recommend a light density to ensure your gnome maintains a soft, cuddly appearance. If you’d like a firmer finish, you can add a bit more stuffing. Remember to stuff the gnome’s head and body firmly before completing the last rounds to ensure it retains its shape.
As you assemble your gnome, be sure to use your tapestry needle to weave in all tails neatly. You can also alter the colors if you want a different seasonal theme—think vibrant reds and greens for the holidays! If you’re making this for a child, consider using embroidered eyes instead of safety eyes to ensure it’s safe for little ones.
5. Pattern Instructions
For Plushies:
Head:
*At this point, stuff the head lightly before closing.*
Body:
*Stuff the body firmly before closing.*
Arms (make 2):
*Lightly stuff the arms and sew them onto the body.*
Hat:
*Leave a long tail for sewing to the head.*
Flower:
*Attach the flower to the top of the hat. Optional: use a pipe cleaner to help shape the flower petals. *
Assembly:
1. Sew the hat onto the head securely.
2. Attach the arms to the body at desired positions.
3. Position the safety eyes or embroider the eyes.
4. Weave in all ends and make any final adjustments to the shape.
6. Closing & Social Engagement
Congratulations on making your very own Crochet Flower Gnome, The Snowdrop! I’d love to see how your version turns out, so please leave a comment below with your thoughts or questions. What color combination will you try? Don’t forget to share your finished gnome on social media, tagging your favorite crochet groups! Happy crocheting!