ladybug gnome free crochet pattern
2. Introduction
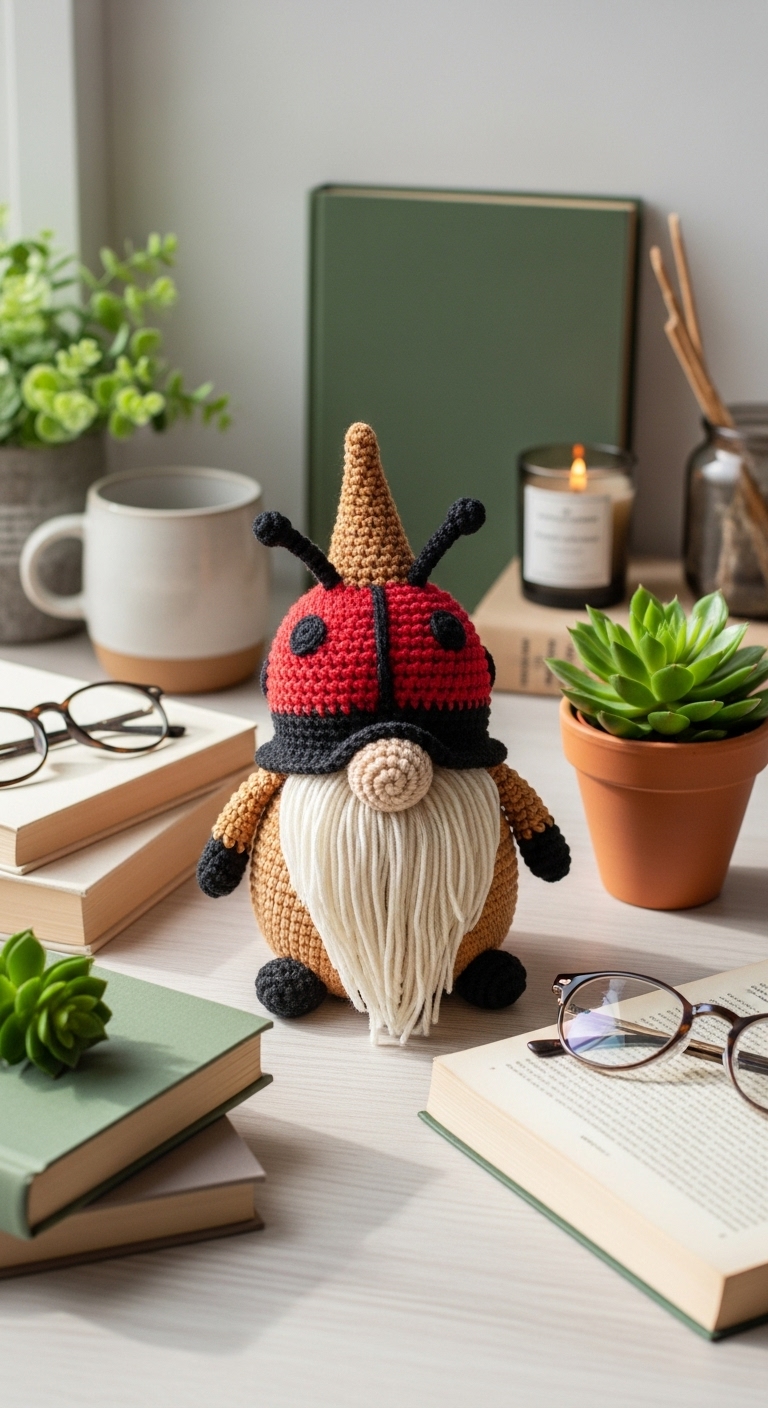
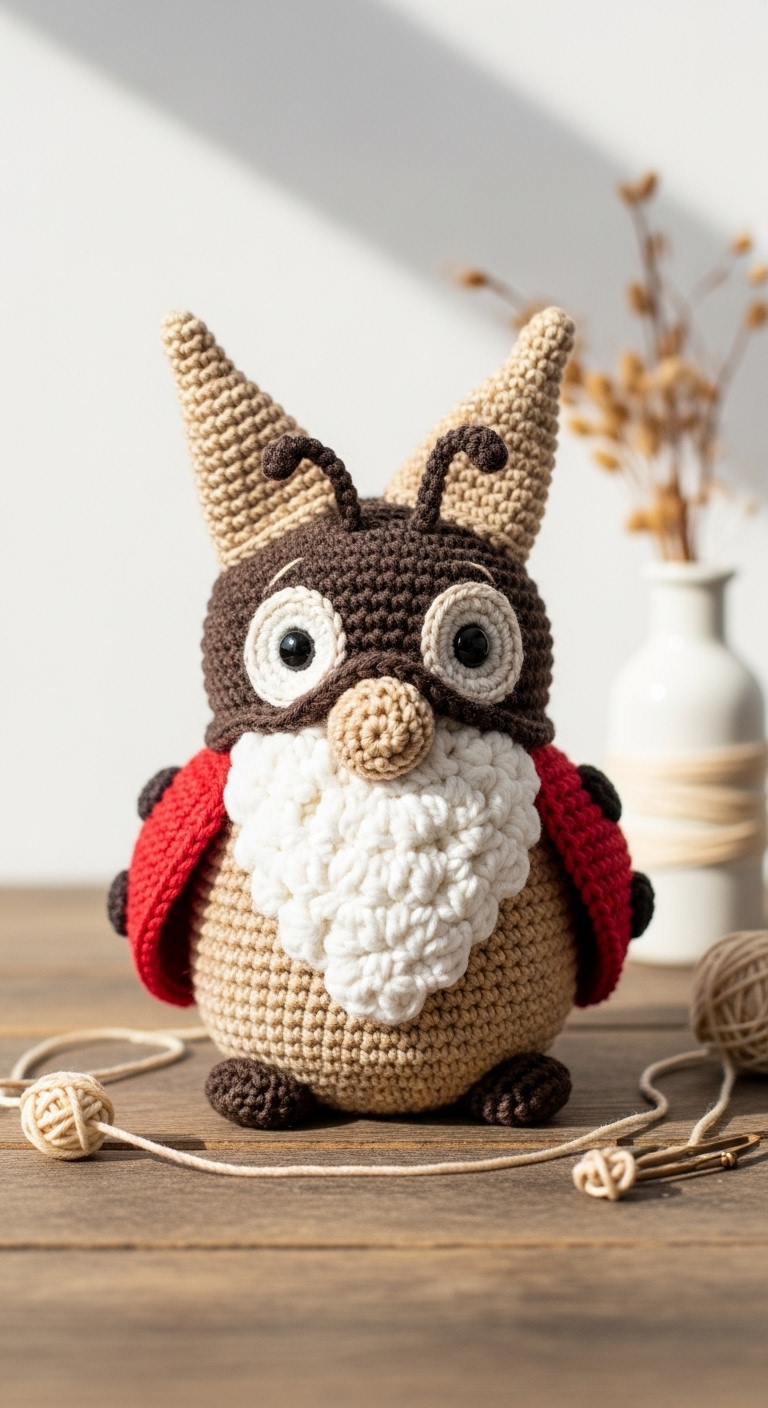
Welcome to the delightful world of crochet with this charming Ladybug Gnome pattern! This whimsical plushie stands approximately 8 inches tall, making it the perfect size to sit on a shelf or adorn your garden for a splash of color. With its vibrant red and black hues complemented by earthy brown for the hat and beard, this gnome captures the playful spirit of ladybugs while adding a touch of enchantment to any space.
Working with soft worsted weight yarn in a combination of classic red, deep black, and rich brown, you’ll enjoy the soothing rhythm of crochet as you create this cheerful character. The Ladybug Gnome is not only a quick project, perfect for a cozy weekend, but also a wonderful gift idea for nature lovers or anyone who enjoys quirky home décor. With just a few basic stitches, this beginner-friendly pattern is accessible to new crocheters, while still being fun for more experienced crafters.
This pattern is especially relevant for spring or summer, as it celebrates the vibrant life that comes with the seasons. Imagine gifting this adorable ladybug gnome as a surprise to brighten someone’s day or making it a centerpiece for a seasonal gathering. Let’s get started on bringing this delightful little friend to life!
3. Materials Needed
– Yarn: Worsted weight yarn in:
– Red: 100 yards
– Black: 50 yards
– Brown: 50 yards
– Hook: 3.5mm or 4.0mm crochet hook
– Eyes: 12mm safety eyes OR black embroidery thread
– Stuffing: Polyester fiberfill stuffing
– Needle: Tapestry needle for sewing
– Marker: Stitch marker
– Optional extras: Pipe cleaners for added stability in the hat, small buttons for embellishment
4. Designer Notes / Tips
When creating the Ladybug Gnome, you’ll primarily use single crochet stitches, so don’t worry if you’re still mastering your skills! The body utilizes increases for a rounded shape, while the hat features a simple tapered design. I recommend using firm stuffing for the base to ensure it stands upright nicely, while maintaining a softer filling for the head for a more cuddly feel.
For assembly, take your time when joining the pieces. A whip stitch works wonders for seamless connections, and using stitch markers to keep your place while building the body can be incredibly helpful. If you’re looking for yarn substitutions, consider acrylic or cotton blends in similar weights for a lightweight finish. Be mindful of your gauge; if your stitches are too tight, the gnome may not hold its shape as intended.
If you’re making this gnome for a child, you might want to embroider the eyes instead of using safety eyes to avoid any choking hazards. Remember, the joy of crochet comes not just from finishing your project, but enjoying the process too!
5. Pattern Instructions
For Plushies:
Head:
*Stuff the head firmly before closing it off.*
Body:
*Make sure to leave enough space to attach the head.*
Arms:
*Make two arms and stuff lightly before attaching.*
Hat:
*The hat should be slightly floppy; stuff it lightly.*
Assembly:
– Attach the head to the body using your tapestry needle.
– Attach the arms to the sides of the body.
– Sew the hat onto the head, ensuring it sits comfortably.
– Embroider or attach the safety eyes where desired.
Final touches:
Add any embellishments or buttons to customize your gnome further and make it uniquely yours!
6. Closing & Social Engagement
Congratulations on creating your very own Ladybug Gnome! I’d love to see your version! Leave a comment below sharing your thoughts or any color combinations you tried. What colors will you choose for your next gnome creation? Don’t forget to share your finished projects on social media; happy crocheting!