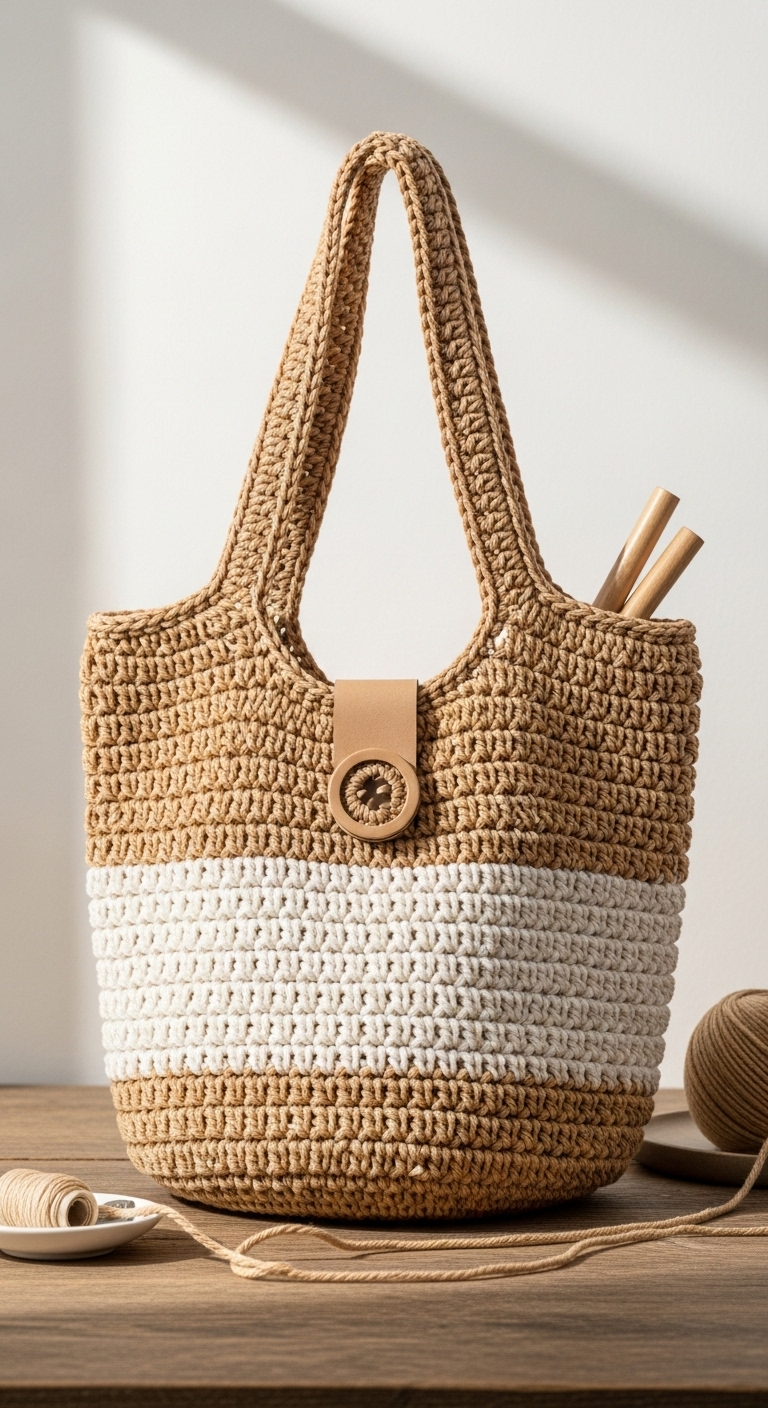
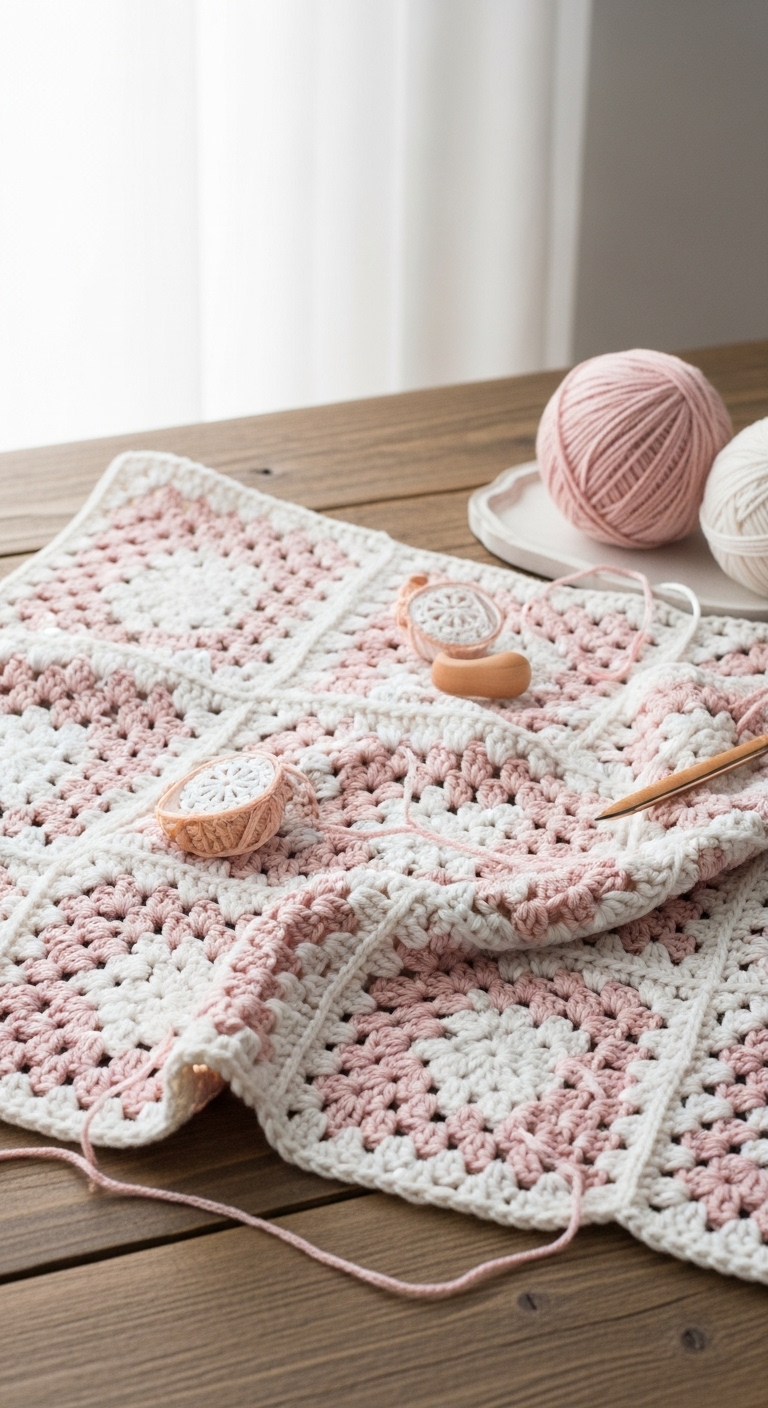
granny stitch market bag
2. Introduction
Introducing the Granny Stitch Market Bag, a delightful and practical accessory for your next trip to the farmer’s market, beach, or grocery store! This beautifully crafted bag measures approximately 12 inches wide and 14 inches tall, making it the perfect size to hold all your essentials while still being lightweight and easy to carry.
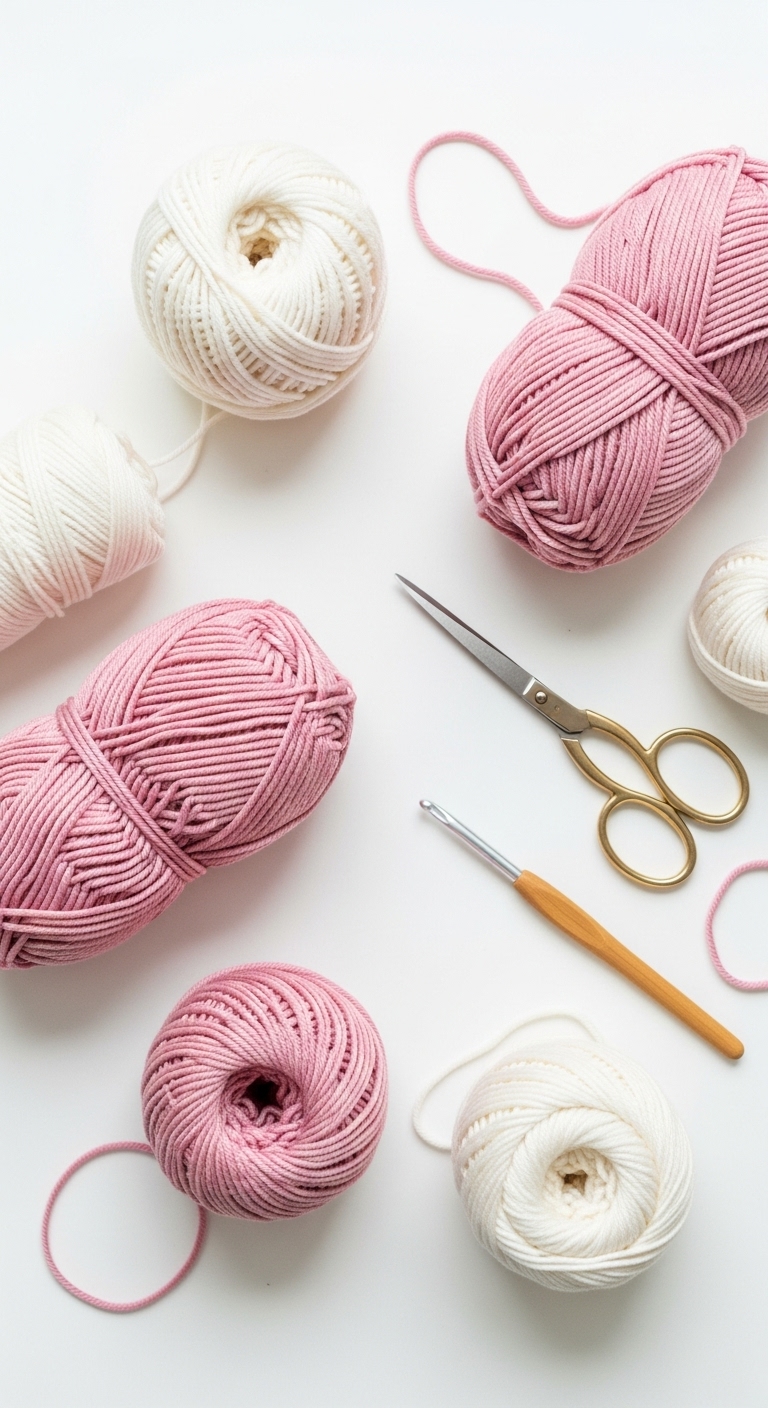
For this project, we will be using a soft cotton blend yarn in three complementary colors: a serene seafoam green, a sunny mustard yellow, and a crisp white. These adult-friendly colors not only exude a modern vibe but also make the bag versatile enough to match any outfit. The Granny Stitch technique gives this market bag a lovely texture that’s both sturdy and stylish. Plus, it works up quickly, so you’ll find yourself finishing it in no time! Suitable for beginner to intermediate crocheters, this pattern is easy to follow and provides a satisfying project that you’ll want to make again and again. It also makes a thoughtful gift for friends and family, especially for those who enjoy eco-friendly shopping solutions.
3. Materials Needed
– Yarn: Worsted weight cotton yarn in seafoam green (approximately 200 yards), mustard yellow (approximately 100 yards), and white (approximately 100 yards)
– Hook: 4.0mm crochet hook
– Eyes: Not applicable
– Stuffing: Not applicable
– Needle: Tapestry needle for weaving in ends
– Marker: Stitch marker
– Optional extras: None
4. Designer Notes / Tips
– Stitch technique: The Granny Stitch is an easy and enjoyable stitch that creates a lovely openwork design. You will be working in clusters of double crochet to form the traditional granny square pattern, which gives this bag its characteristic charm.
– Assembly: As this bag is constructed in rounds, make sure to join each round with a slip stitch tightly to maintain the shape. Consider placing a stitch marker at the beginning of each round to keep track of your progress.
– Yarn substitutions: If you prefer a different texture or color, feel free to substitute with any worsted weight cotton or acrylic yarn. Just ensure it has similar yardage to maintain the bag’s size.
– Gauge tips: While gauge isn’t crucial for this project, aiming for approximately 4 inches = 12 double crochets will help you achieve a consistent look. Adjust your hook size if necessary to fit your tension.
– Safety considerations: This bag is not intended for children, but if you are making it as a gift for someone with children, be sure to avoid any embellishments that could be choking hazards.
5. Pattern Instructions
Main Panel
Foundation Round:
Chain 4, join with a slip stitch to form a ring.
Round 1: Chain 3 (counts as 1 dc), 2 dc into the ring, *chain 2, 3 dc into the ring*, repeat from * to * two more times, chain 2, join with a slip stitch to the top of the beginning chain 3 (12 dc, 3 chain spaces)
Round 2: Slip stitch into the next 2 dc to reach the chain space. In the first chain space, work *3 dc, chain 2, 3 dc*. Repeat this in each chain space around. Join with slip stitch (24 dc, 4 chain spaces).
Round 3: Slip stitch into the next 2 dc to reach the first chain space. In the first chain space, work *3 dc, chain 2, 3 dc*. In the next chain space, work *3 dc, chain 1, 3 dc*. Repeat around, alternating chain 2 and chain 1 in each chain space. Join with slip stitch (36 dc, 6 chain spaces).
Round 4: Continue this pattern, increasing the number of double crochets in between chain spaces as desired to create the body of your bag. You can work until your bag measures approximately 14 inches tall or to your preferred height.
Straps
Round 1: At the end of the final round of the main panel, chain 1. In the next 6 stitches, slip stitch to create your strap foundation. Chain 35 (or desired strap length).
Round 2: In the second chain from the hook, work 1 sc, and continue to work 1 sc in each chain until the end. Attach this to the bag with a slip stitch, then repeat for the second strap on the opposite side.
Finishing
Weave in all ends using a tapestry needle. You can block the bag if desired to ensure it maintains its shape and to give it a polished look.
6. Closing & Social Engagement
Congratulations on completing your Granny Stitch Market Bag! I’d love to see your version! Leave a comment below sharing your color combinations and any personal touches you added. What unique pattern or color combination will you try next? Don’t forget to share your finished bag on social media with #GrannyStitchMarketBag!