how to crochet your own wedding gnome free pattern
2. Introduction
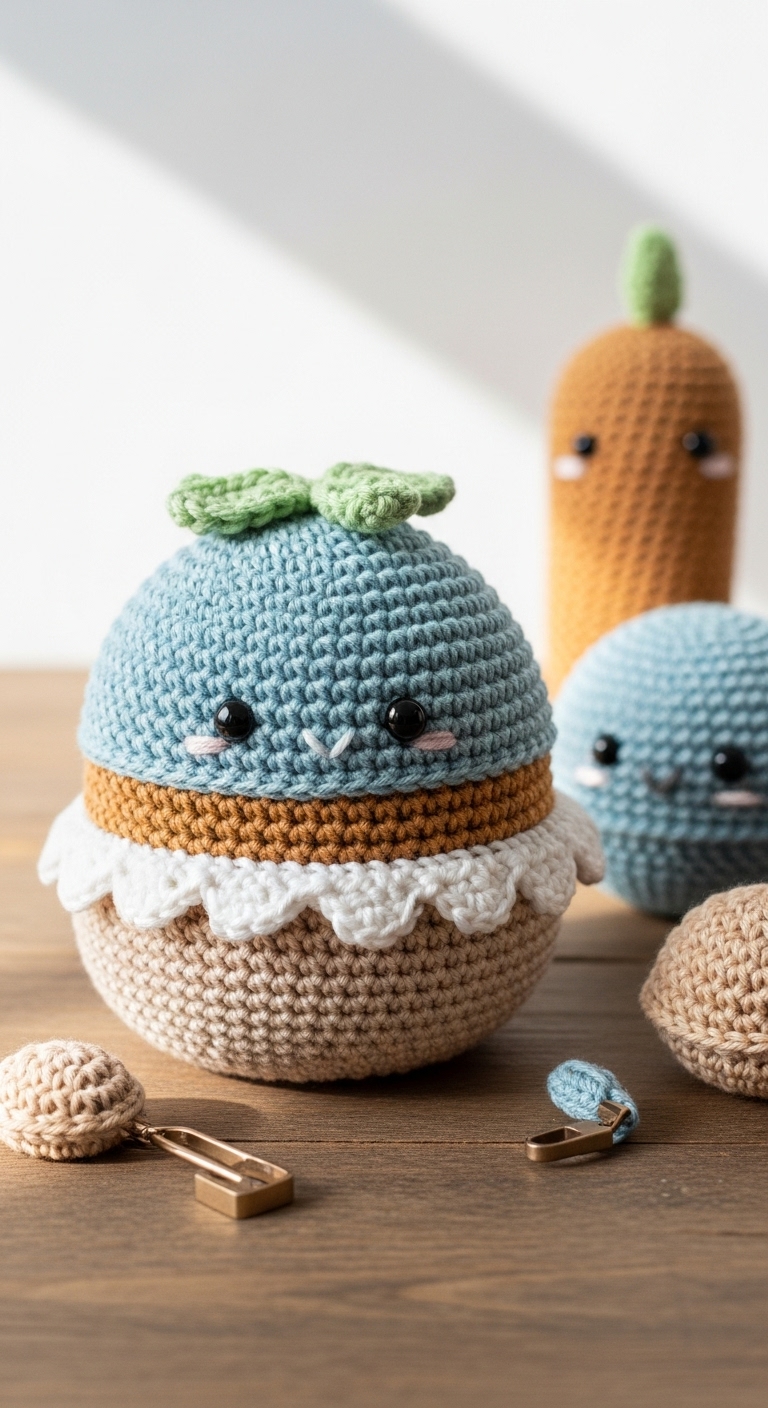
Creating your own wedding gnome is a delightful project that is not only charming but also a unique way to celebrate love! This adorable little plushie stands approximately 8-10 inches tall and can serve as a whimsical decoration for your special day or as a heartfelt gift for newlyweds. The gnome features a classic pointed hat and a sweet, oversized nose, embodying the joy and whimsy of weddings.
For this project, you will want to choose soft, adult-friendly yarn colors that complement each other beautifully. I recommend using a crisp white or ivory for the gnome’s body, a blush pink for the hat, and a rich green for accents like the base or any accessories (think floral embellishments or a small bouquet). The combination of these colors feels sophisticated yet playful, perfect for a wedding theme.
What makes this project especially fun is how quickly you can make it, even if you’re a beginner! With just a few straightforward stitches and techniques, you can create a memorable piece that adds a personal touch to any wedding celebration. This pattern is beginner-friendly, making it a great introduction to crochet plushies, while also allowing more experienced crafters to enjoy the process. Plus, who wouldn’t want to gift a handmade gnome to a couple embarking on their journey together?
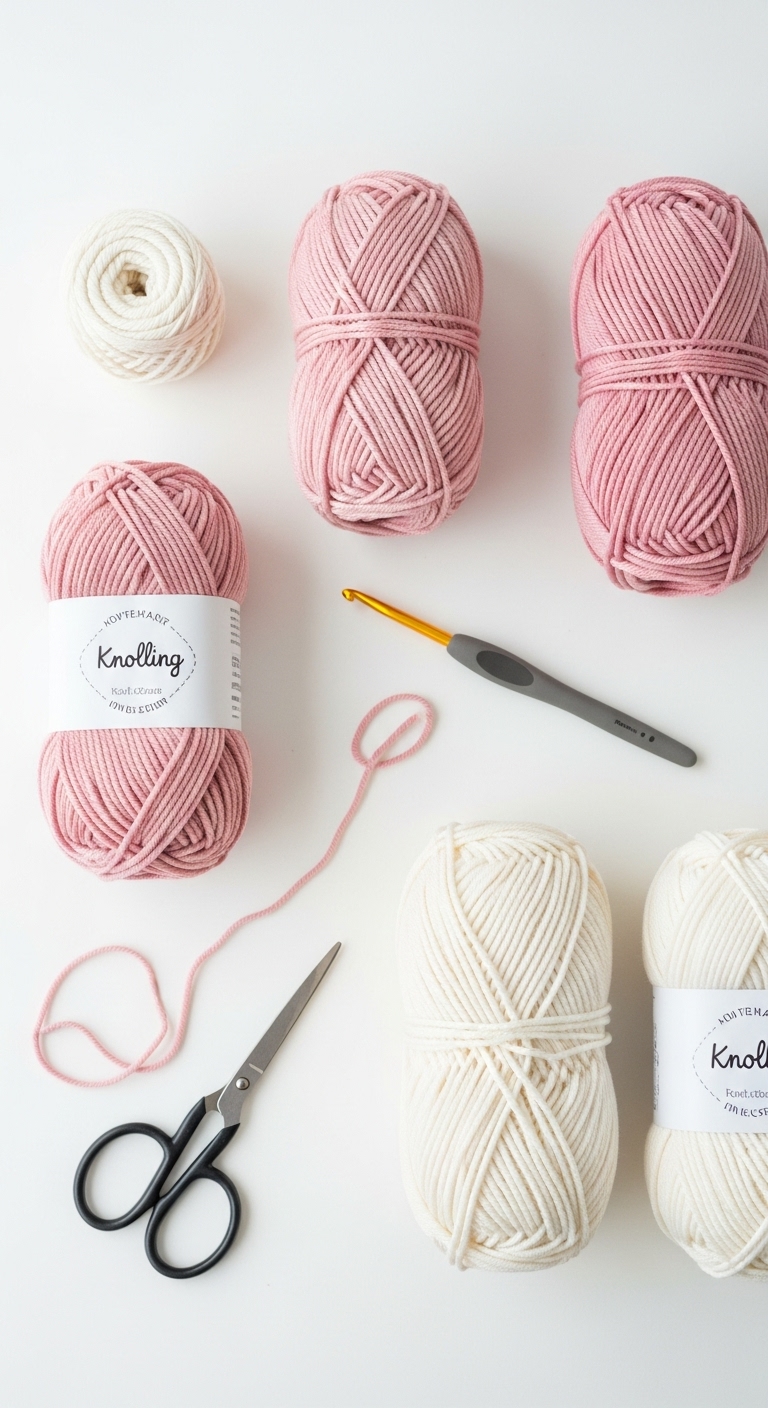
3. Materials Needed
– Yarn: Worsted weight yarn in white (approx. 100 yards), blush pink (approx. 50 yards), and green (approx. 25 yards)
– Hook: 3.5mm or 4.0mm crochet hook
– Eyes: Safety eyes (12mm) OR black embroidery thread
– Stuffing: Polyester fiberfill stuffing
– Needle: Tapestry needle for sewing
– Marker: Stitch marker
– Optional extras: Pipe cleaners for the bouquet stems, small buttons for decoration
4. Designer Notes / Tips
– Stitch technique: This pattern primarily uses single crochet stitches (sc) and increases (inc), which are fundamental for creating the round shapes of the gnome. Don’t worry if your stitches aren’t perfect; the plushie look adds to the charm!
– Stuffing density: I recommend stuffing the gnome firmly, especially the body, to ensure it stands upright well. However, keep the hat lightly stuffed to maintain a floppy look.
– Assembly: When joining pieces, use a slip stitch to attach them securely. It’s also helpful to use a stitch marker to mark your first stitch in each round to track your progress easily.
– Yarn substitutions: If you prefer, you can use cotton yarn for a different texture, but be mindful that it may alter the final appearance slightly.
– Gauge tips: While gauge isn’t critical for this pattern, if you find your gnome is coming out too big or too small, adjust your hook size accordingly.
– Safety considerations: If you’re making this gnome for a child, consider using embroidered eyes instead of safety eyes for added safety.
5. Pattern Instructions
For Plushies:
Head:
Body:
Arms/Legs:
Hat:
Assembly:
– Attach the head to the body using a tapestry needle.
– Position the arms on either side of the body and sew them in place.
– Attach the legs to the bottom of the body.
– Place the hat on the head, slightly to one side, and sew it in place.
– If using safety eyes, place them on the head before attaching the hat. For embroidered eyes, stitch them in place after assembling.
6. Closing & Social Engagement
I can’t wait to see your stunning wedding gnomes! Don’t hesitate to leave a comment below sharing your thoughts or questions. What color combination will you try for your gnome? Whether you’re making one for your own celebration or as a gift, this project is sure to bring joy and charm. Share your finished gnome on social media and inspire others with your creativity!