crochet cat gnome free pattern
2. Introduction
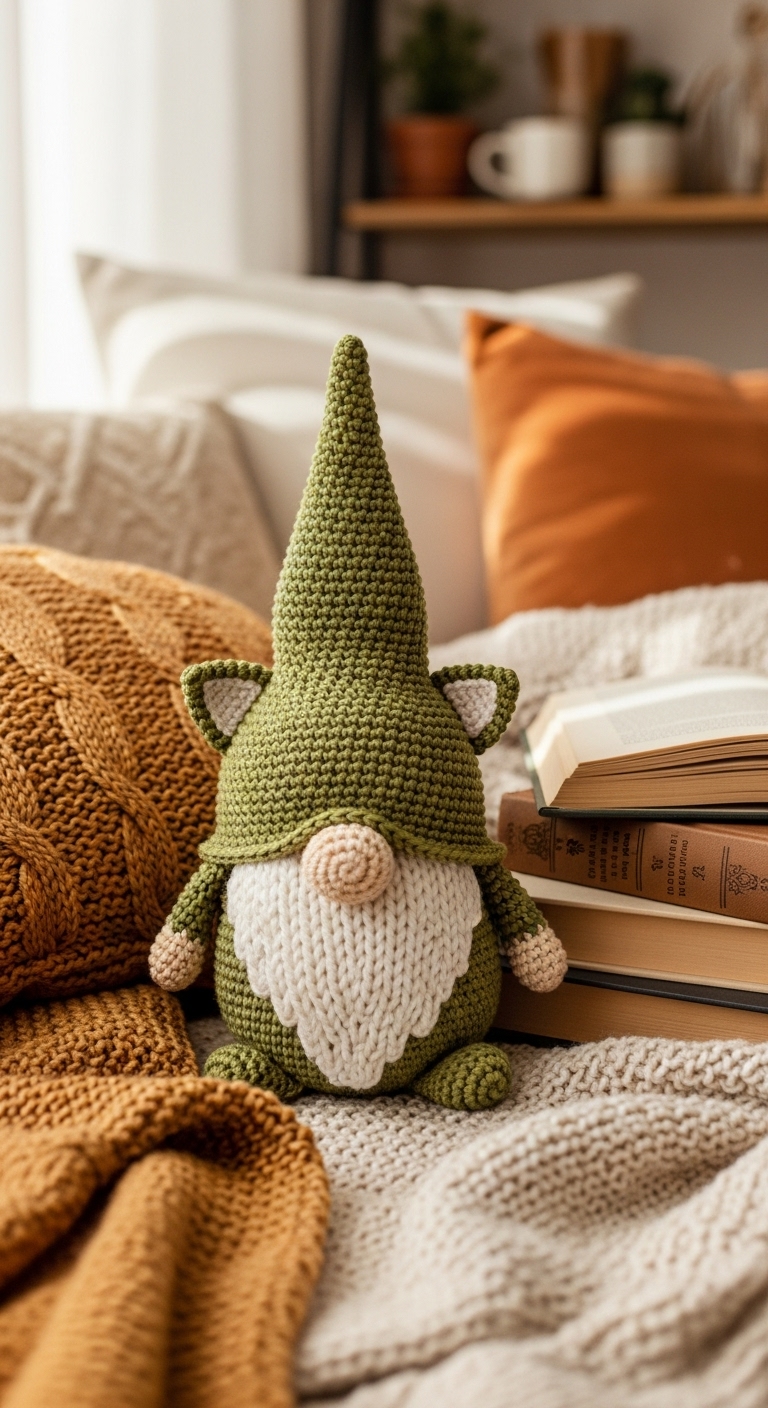
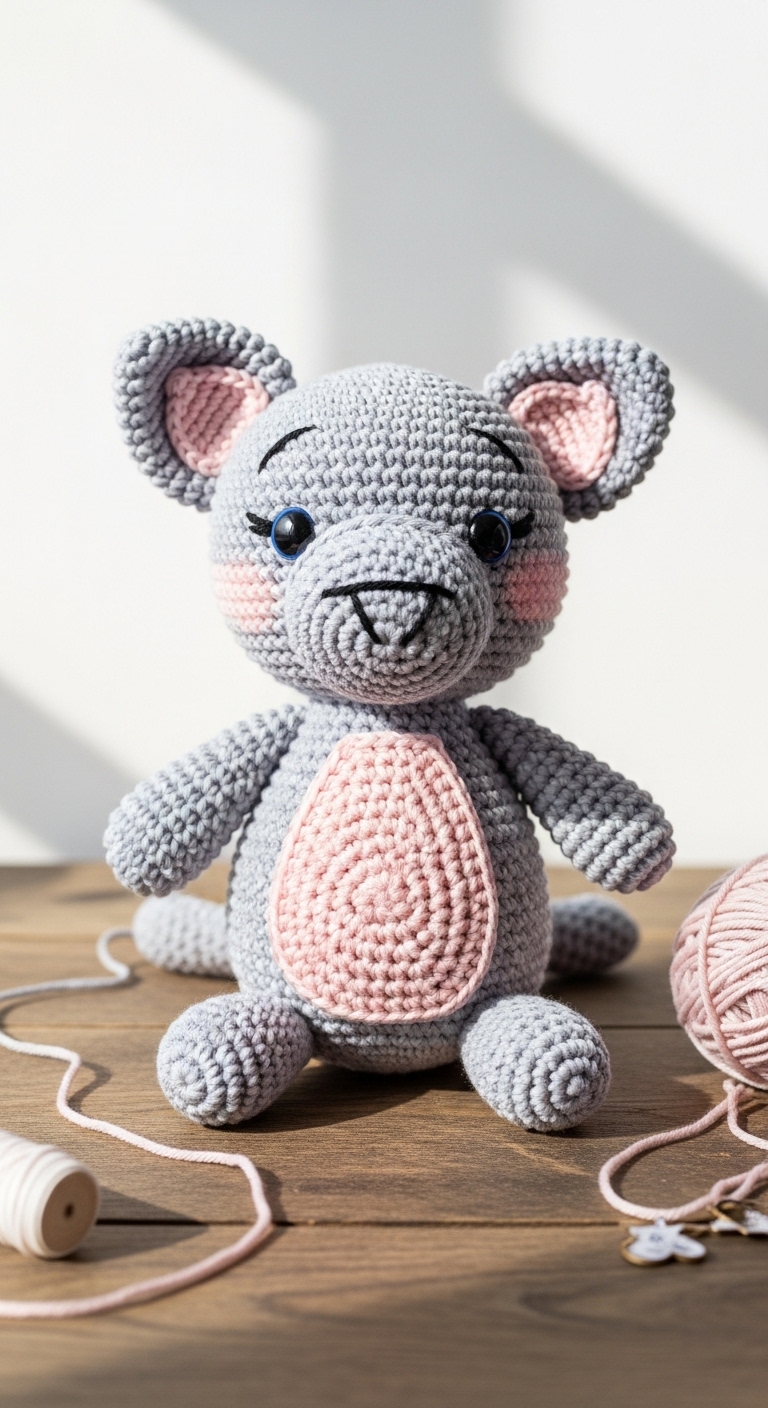
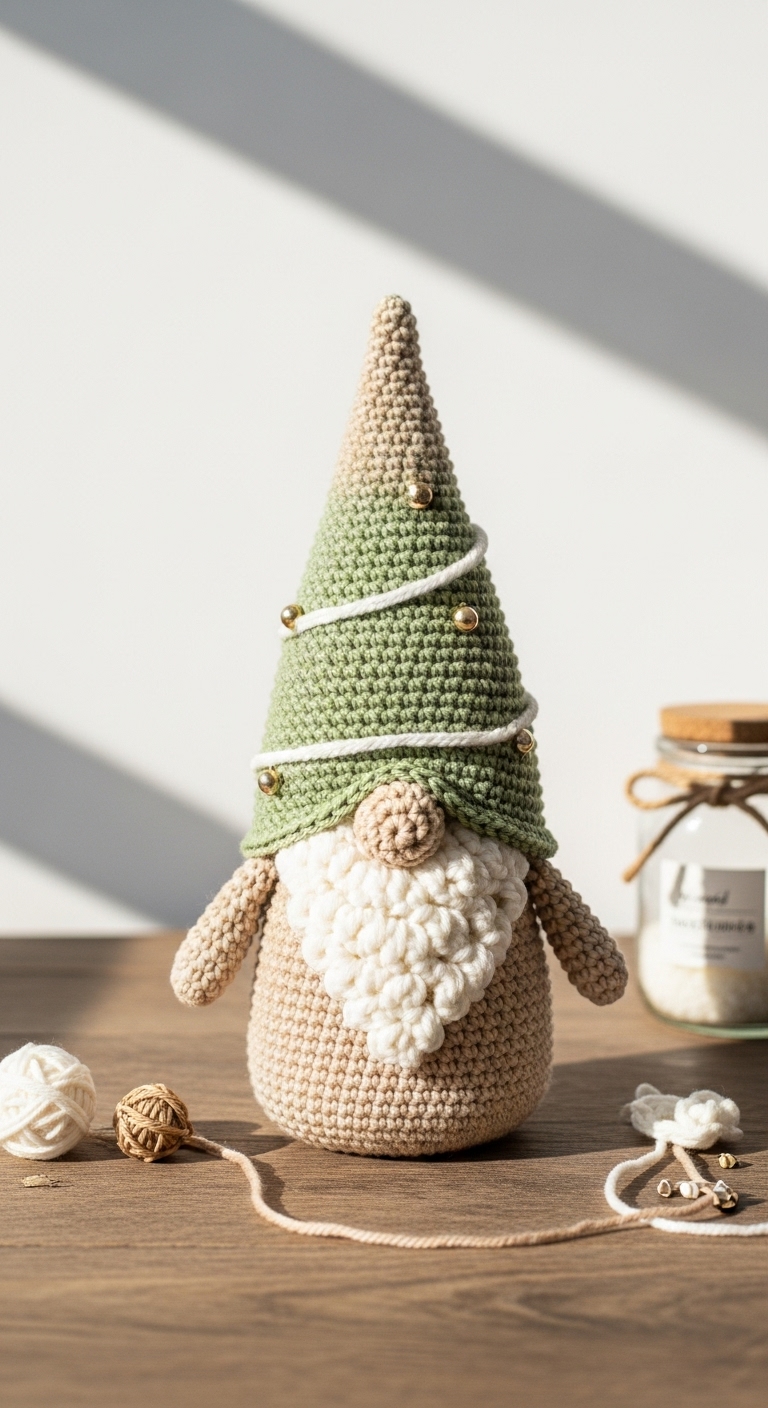
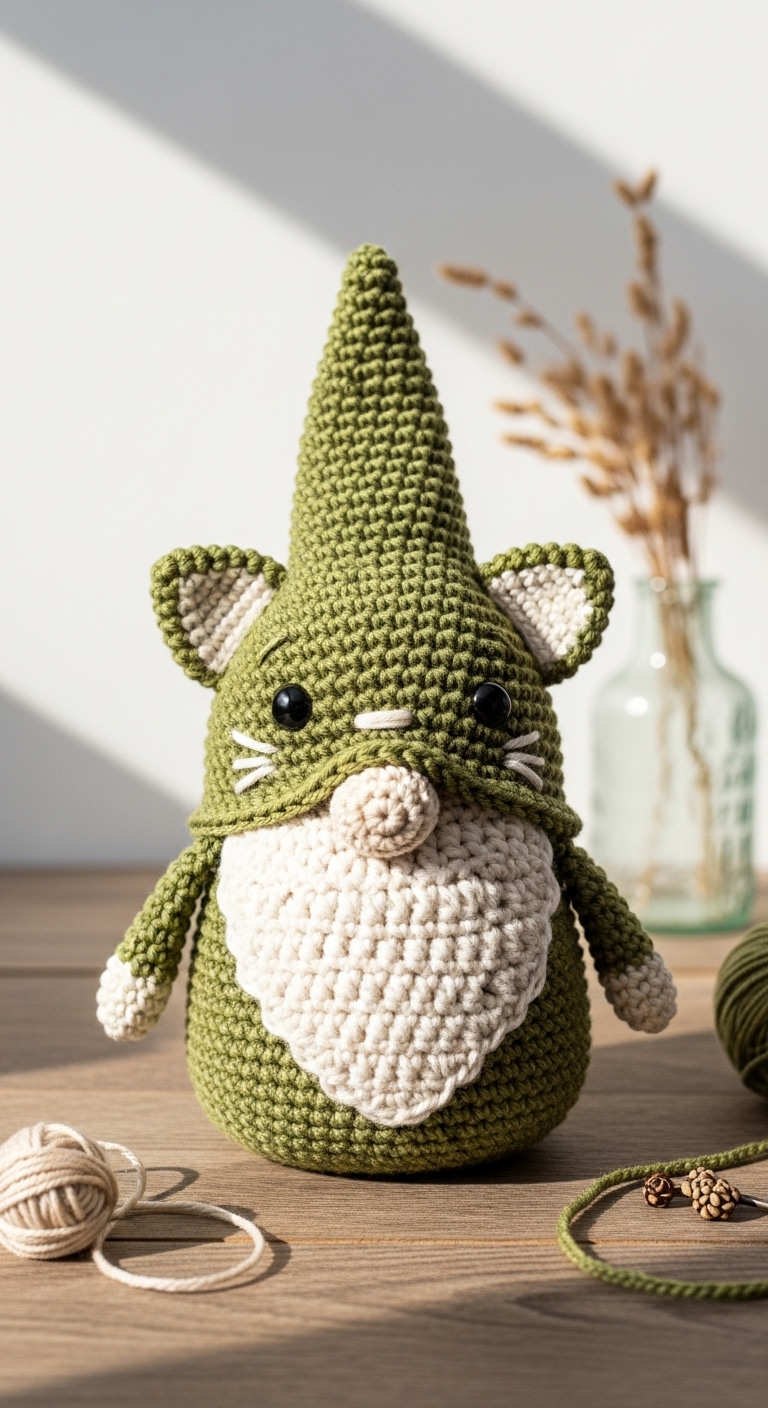
Welcome to the whimsical world of crochet! Today, we’re diving into a delightful project that combines the charm of gnomes with the adorable features of our feline friends: the crochet cat gnome! This cuddly plushie stands at about 10 inches tall, making it a perfect size for display on a shelf or as a charming companion on your couch.
For this project, you’ll need medium-weight yarn in complementary adult-friendly colors. We suggest a soft gray for the body, a warm cream for the beard, and a pop of vibrant orange for the hat. The combination creates a modern and sophisticated look that fits seamlessly into any home decor. Not only is this cat gnome fun to crochet, but it’s also a quick project that can be completed in just a few hours, making it a perfect gift for cat lovers or a seasonal decoration for your home. This pattern is beginner-friendly, so don’t fret if you’re new to crochet. You’ll find ample guidance along the way!
3. Materials Needed
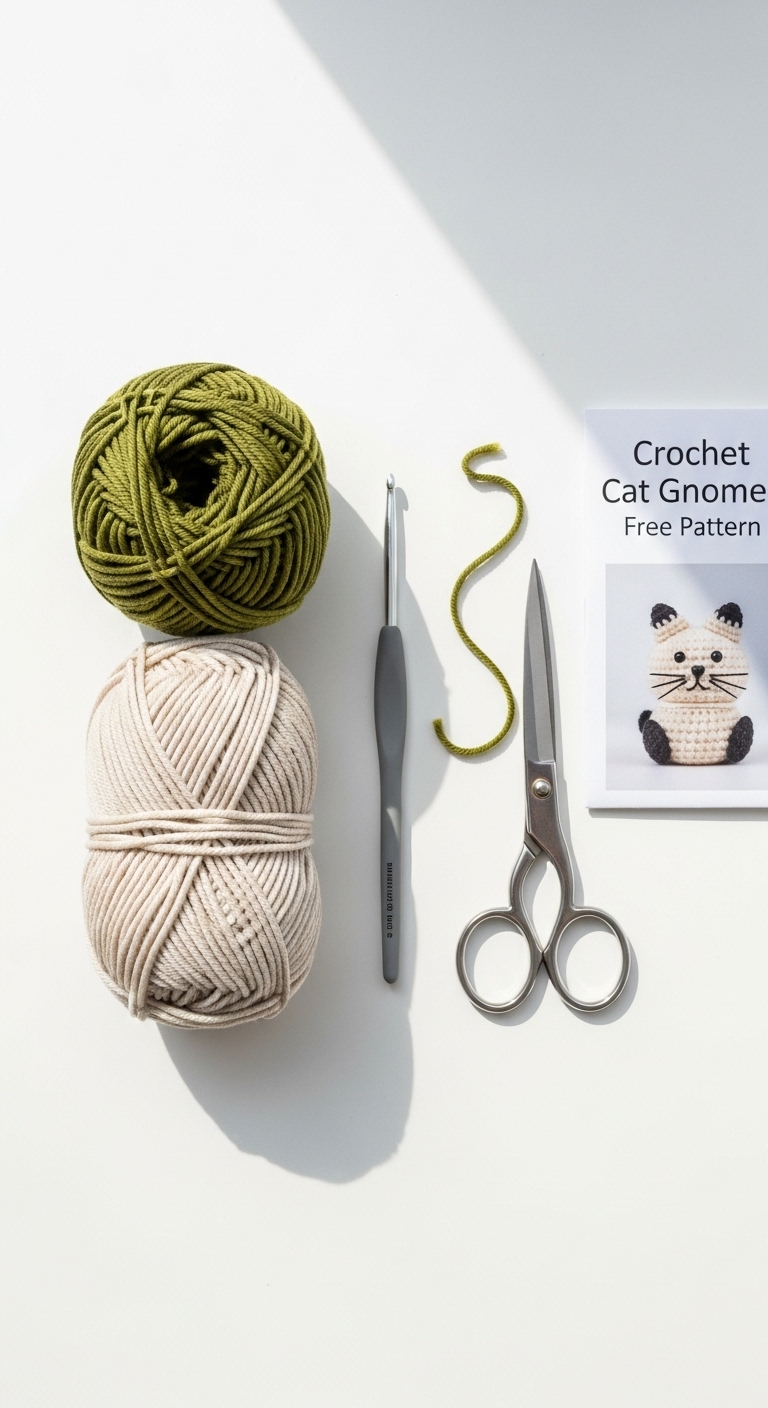
– Yarn: Medium-weight yarn (worsted weight) in gray (approx. 150 yards), cream (approx. 50 yards), and orange (approx. 30 yards)
– Hook: 3.5mm or 4.0mm crochet hook
– Eyes: 12mm safety eyes OR black embroidery thread for stitching
– Stuffing: Polyester fiberfill stuffing
– Needle: Tapestry needle for sewing and weaving ends
– Marker: Stitch marker to mark the beginning of rounds
– Optional extras: A small piece of wire (pipe cleaner) to help shape the hat, buttons for decoration
4. Designer Notes / Tips
As you embark on making your crochet cat gnome, here are a few tips to enhance your crafting experience. For the body and head, we will be primarily using single crochet (sc) stitches, which are great for beginners and create a lovely tight fabric. If you’re looking for additional texture, you can incorporate a few front post double crochet stitches (fpdc) for the hat to give it a unique look.
When it comes to stuffing your gnome, feel free to use firm stuffing for added stability, especially if you want it to stand upright. Assemble your pieces carefully; I recommend sewing them together rather than using glue for better durability. If you’re using a different yarn weight, just keep an eye on your gauge—this will help ensure your gnome is the right size. Lastly, if you’re planning to gift this to a child, consider using embroidery thread for the eyes to make it completely safe.
5. Pattern Instructions
For Plushies:
Head:
Body:
Arms:
Ears:
Tail:
Assembly:
1. Attach the head to the body using the tapestry needle.
2. Position the arms on either side of the body and sew securely.
3. Sew the ears to the top of the head, placing them slightly apart for a cute look.
4. Attach the tail to the back of the body.
5. For the hat, crochet a simple cone shape or use a pre-made piece if you have one; attach it to the head.
6. Position the safety eyes and stitch, or sew on the embroidery thread for a cozy look.
6. Closing & Social Engagement
I hope you enjoy making your very own crochet cat gnome! It’s a fun project that allows for creativity, especially when it comes to color choices. I’d love to see your version! Leave a comment below with your thoughts or questions. What color combination will you try? Don’t forget to share your finished gnome on social media; let’s spread the joy of crocheting together!