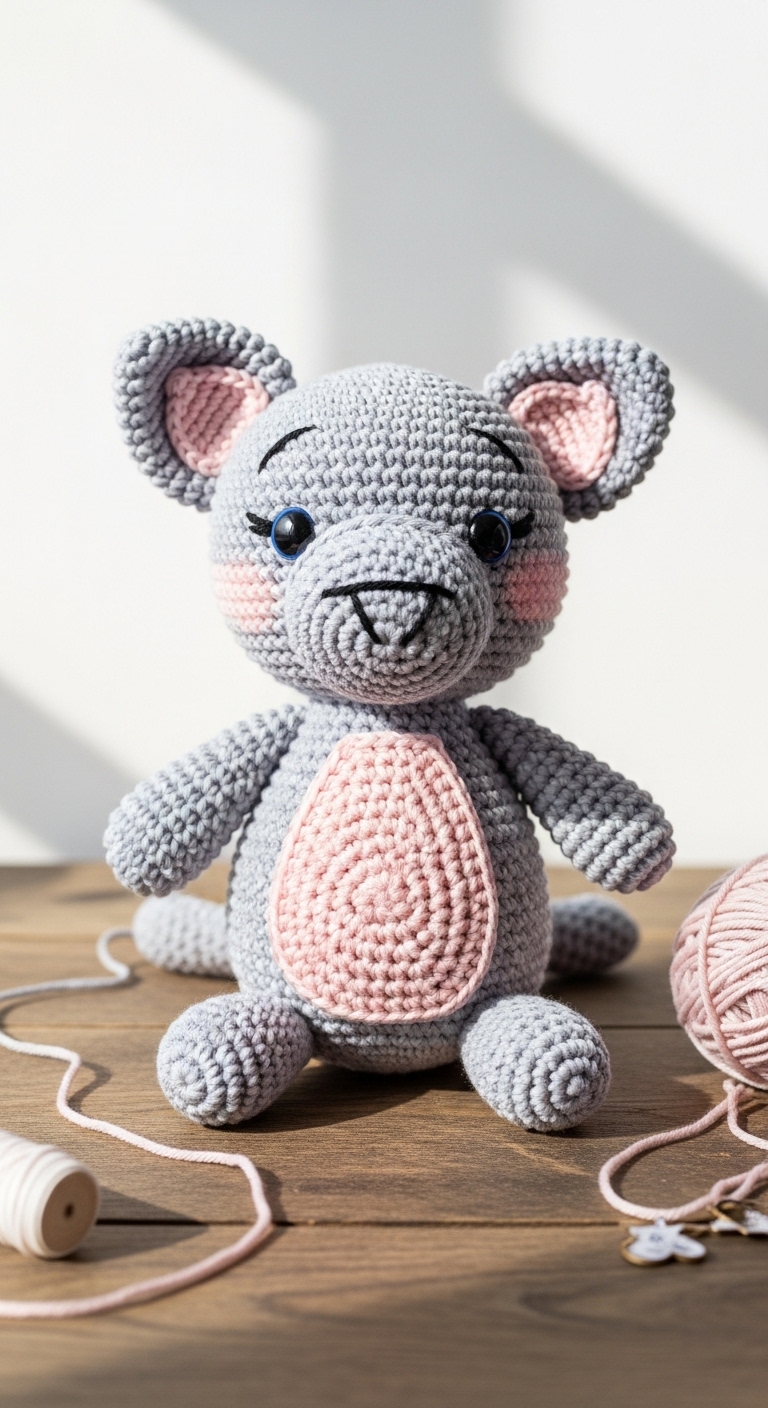
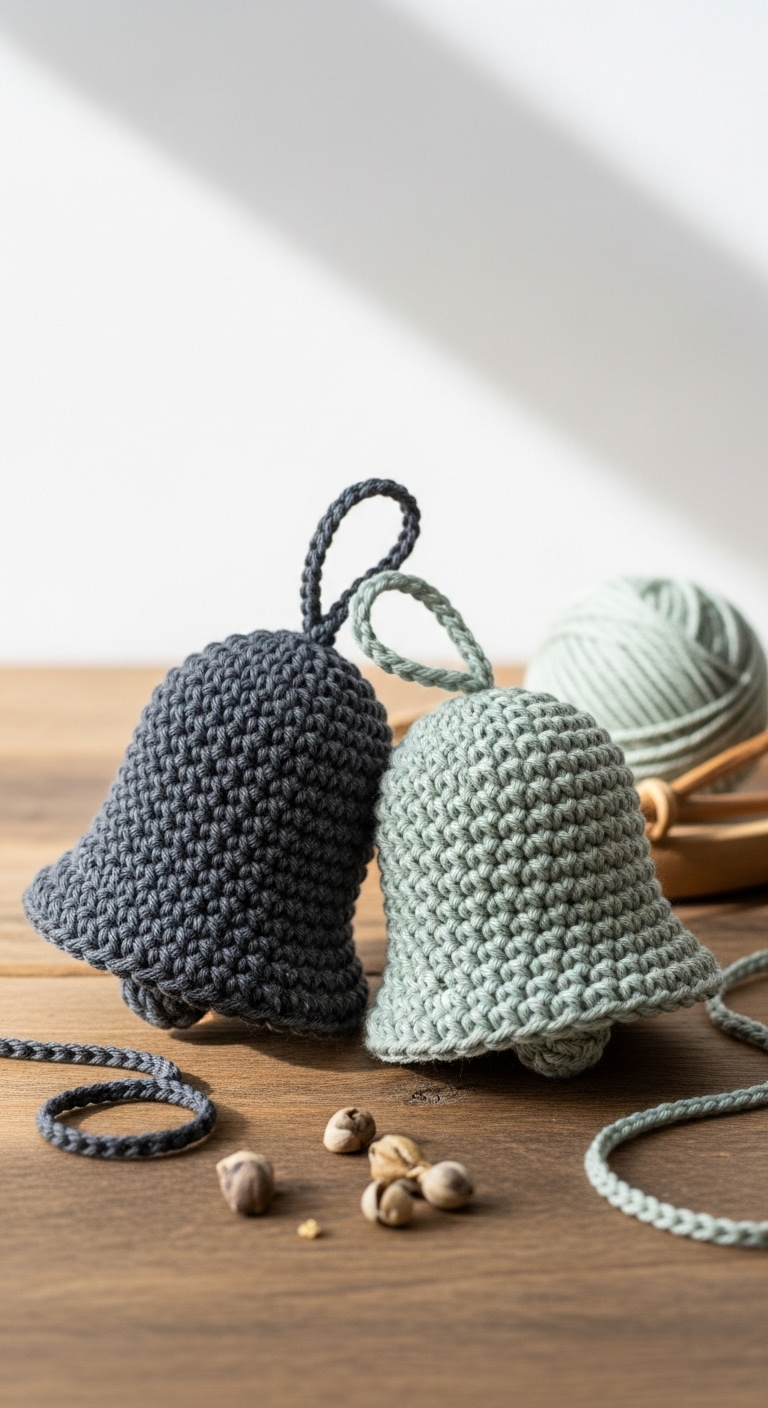
crochet bell ornaments free pattern
2. Introduction
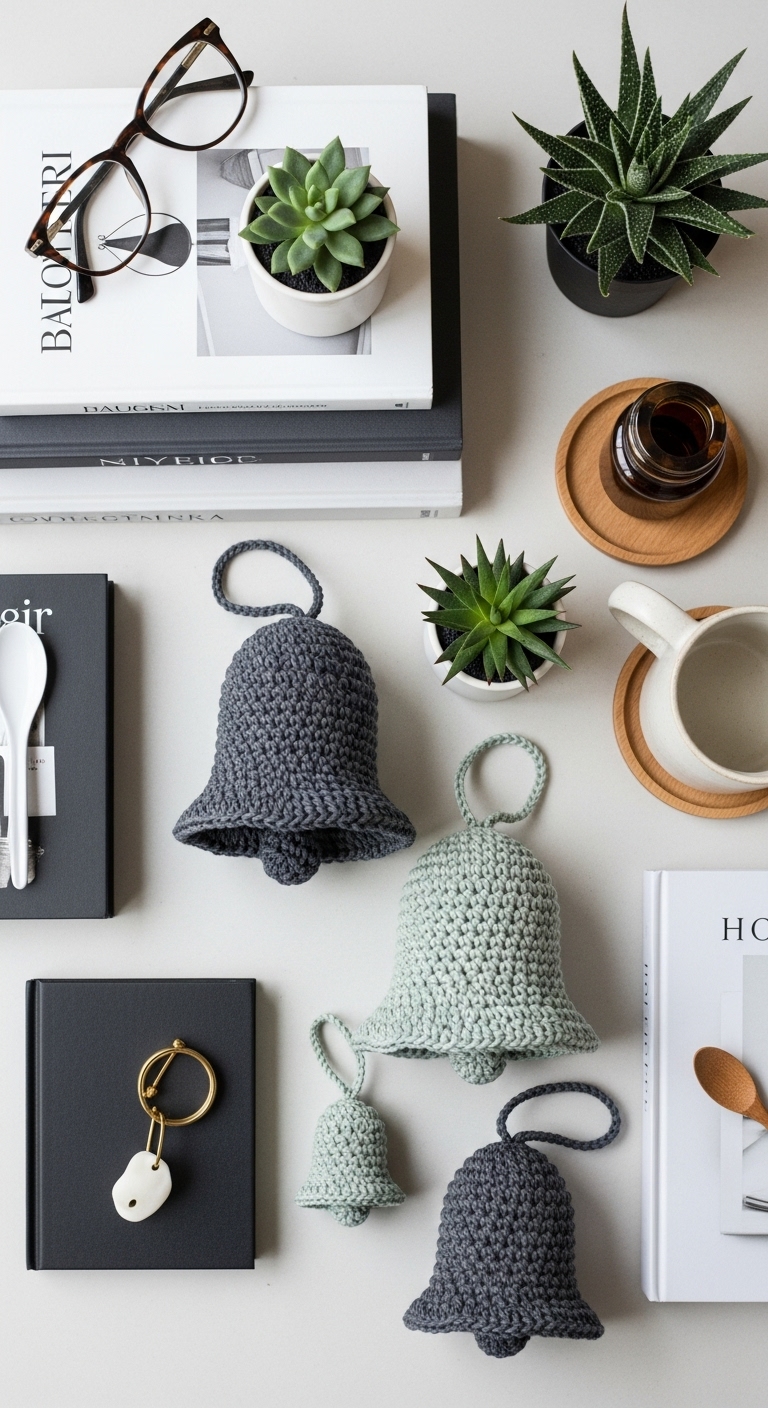
Bring a touch of festive cheer to your home this season with these delightful crochet bell ornaments! Each bell measures approximately 4 inches tall, making them the perfect size to hang on your tree, adorn gift packages, or create a charming centerpiece. These ornaments are designed using soft, cozy worsted weight yarn in complementary colors such as a rich burgundy, a warm gold, and a deep forest green. This color palette not only evokes the spirit of the holidays but also adds a modern flair to your seasonal décor.
Crocheting these bell ornaments is a fun, quick project that is perfect for both beginners and more experienced crafters looking for a light and joyful creation. With a few short evenings, you can whip up a set of these charming bells to use as gifts or decorations, making them an ideal choice for the holiday season. Plus, they are an excellent way to showcase your crochet skills while spreading a bit of handmade love.
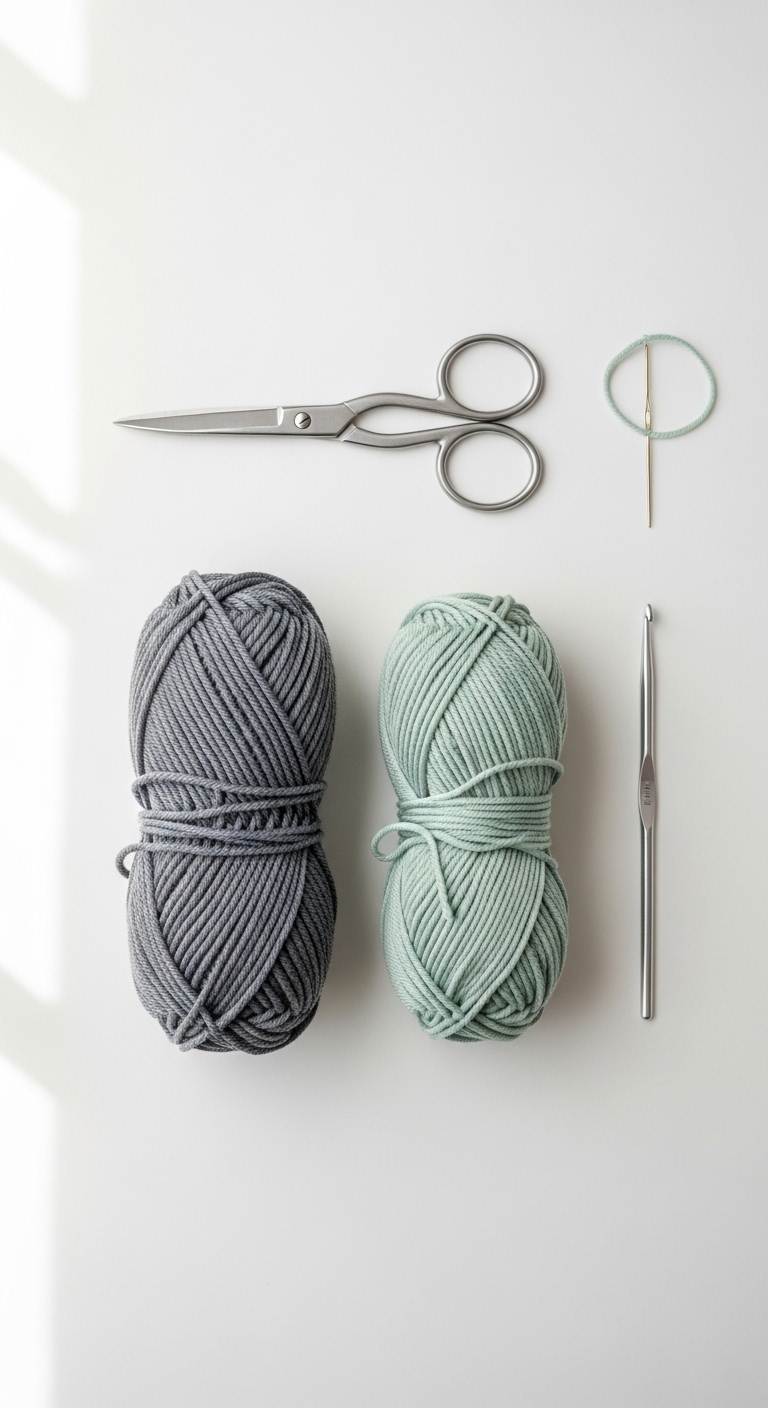
3. Materials Needed
– Yarn: Worsted weight yarn in burgundy, gold, and forest green – approximately 50 yards of each color
– Hook: 3.5mm or 4.0mm crochet hook
– Eyes: N/A for this project
– Stuffing: Polyester fiberfill stuffing
– Needle: Tapestry needle for sewing
– Marker: Stitch marker
– Optional extras: Jingle bells (for added charm), ribbon for hanging
4. Designer Notes / Tips
– Stitch technique: This pattern primarily uses single crochet stitches, which creates a lovely, dense fabric perfect for ornaments. Don’t worry if you’re new to this stitch; take your time, and you’ll get the hang of it!
– Stuffing density: For a nice finish, stuff the bells lightly; they should be firm but not overly packed, allowing them to retain their shape without bulging.
– Assembly: As each bell is crocheted in two halves, make sure to secure your stitches well when joining them. A slip stitch or whip stitch works wonderfully for this.
– Yarn substitutions: If you’re looking for a sparkly look, consider using a metallic yarn for the bells. Just be sure it is a worsted weight to maintain the pattern’s structure.
– Gauge tips: While gauge isn’t crucial for this project, aim for a tight tension to avoid any stuffing peeking through the stitches.
– Safety considerations: To make these ornaments child-safe, consider skipping any embellishments with small parts, or securely sew them in place.
5. Pattern Instructions
For Crochet Bell Ornaments:
Bell Body (Make 2 for each bell):
*At this point, place a small amount of stuffing inside the bell before finishing the round.*
Joining the Bell Halves:
– Align the two bell halves with the right sides facing out.
– Using the tapestry needle and the long tail, whip stitch around the edge, ensuring to leave an opening for stuffing.
– After stuffing lightly, continue to stitch closed.
Creating the Bell Top:
– Chain 10 with your chosen color.
– Slip stitch back into the first chain to form a loop.
– Attach this loop to the top of the bell for hanging.
Optional Jingle Bell Attachment:
– If using jingle bells, thread them through the top loop before securing it. This adds a lovely ring to your ornaments.
6. Closing & Social Engagement
I hope you enjoy creating these festive crochet bell ornaments! They make wonderful decorations and heartfelt gifts during the holiday season. I’d love to see your version! Leave a comment below about your color combinations or any special touches you added. Share your finished bells on social media, and let’s celebrate the joy of handmade creations together!