crochet mini santa gnome free pattern
2. Introduction
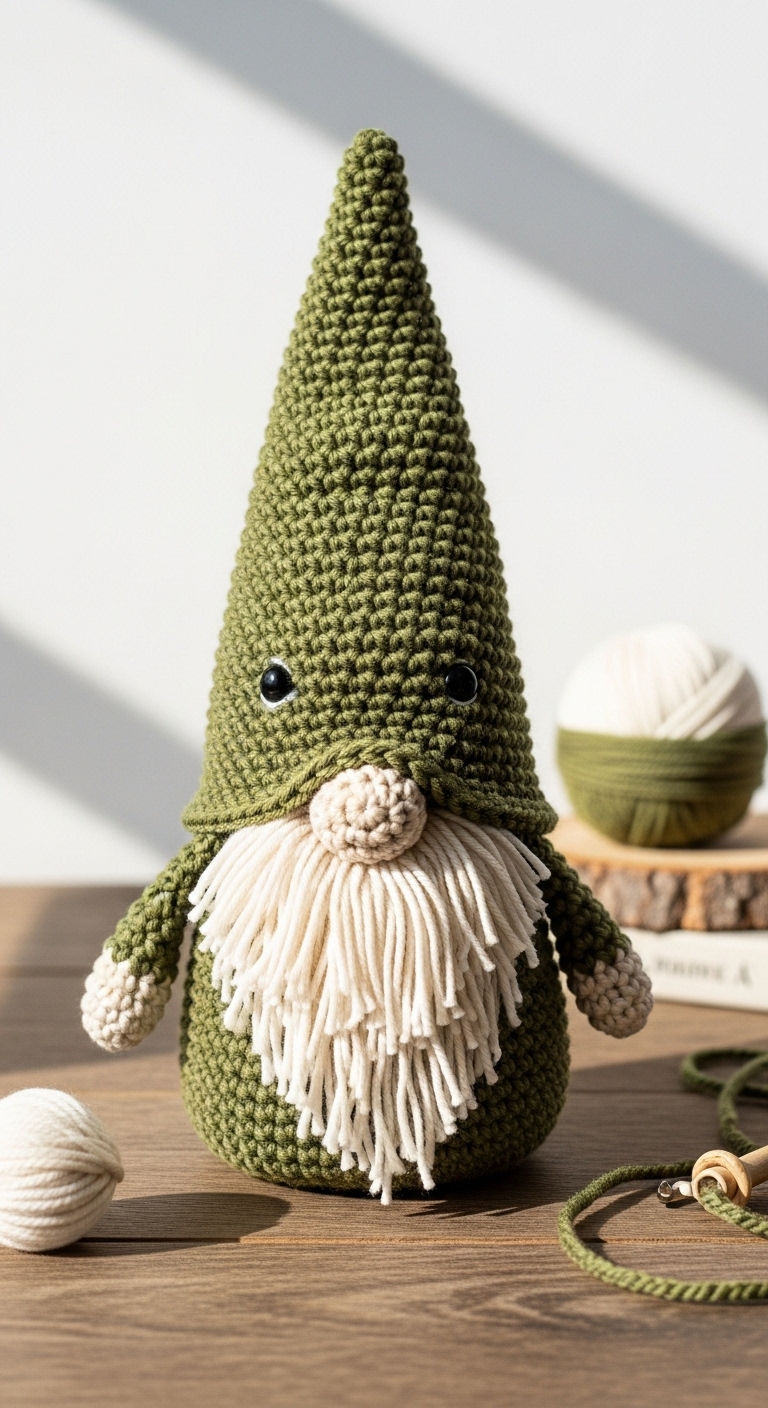
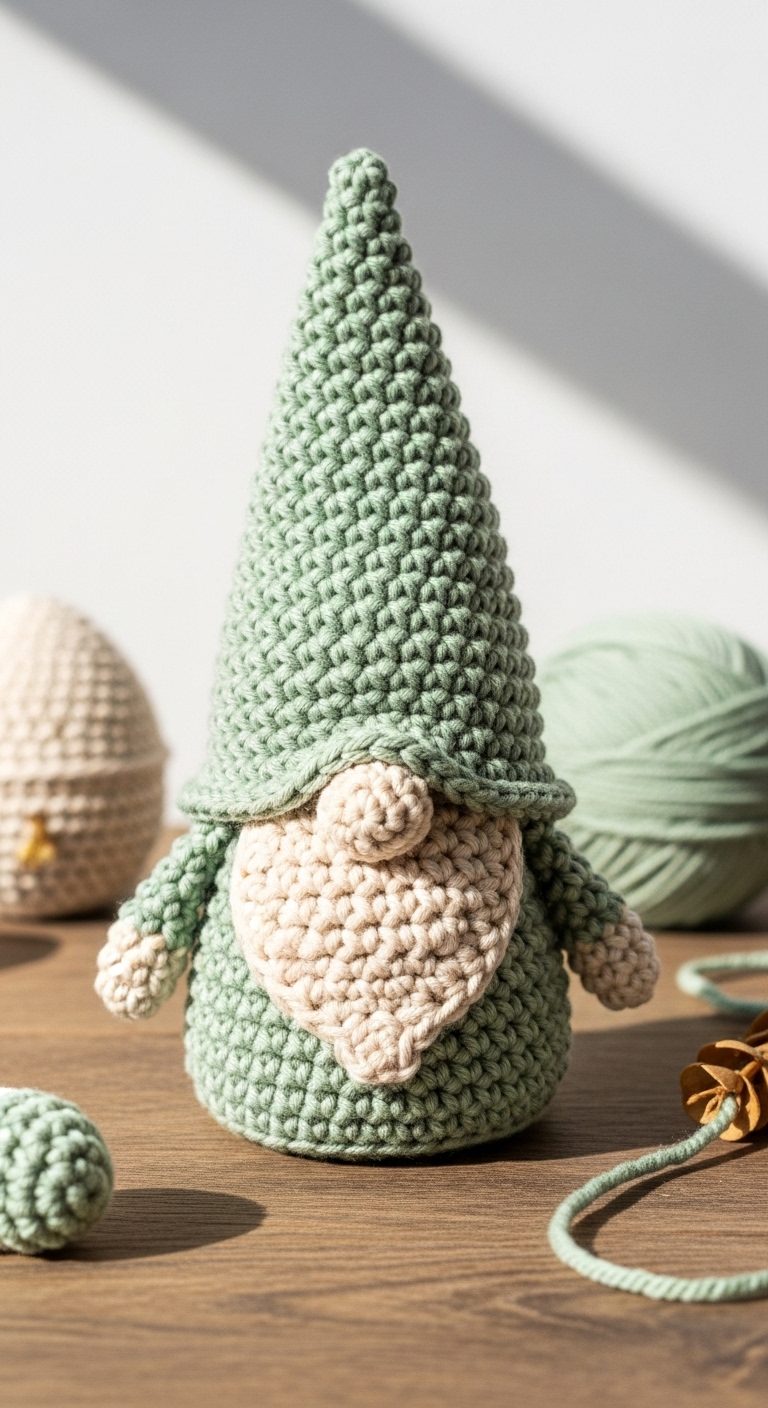
Get ready for the holiday season with this adorable Crochet Mini Santa Gnome! Standing at approximately 6 inches tall, this charming little gnome is perfect for adding a festive touch to your home decor or for gifting to friends and family. Utilizing cozy yarn in traditional holiday colors of red, white, and a splash of green, this project captures the spirit of Christmas while being sophisticated enough for adult tastes.
Crocheting this mini gnome is not only fun but also a quick project that can be completed in just a few hours. This pattern is beginner-friendly, making it an excellent choice for those new to amigurumi or crochet in general. Whether you’re looking to spruce up your holiday decor or want to create a heartfelt handmade gift, this mini Santa gnome will undoubtedly bring joy and warmth to anyone who receives it.

3. Materials Needed
– Yarn: Worsted weight yarn in red (approx. 100 yards), white (approx. 50 yards), and green (approx. 25 yards)
– Hook: 3.5mm or 4.0mm crochet hook
– Eyes: 10mm safety eyes OR black embroidery thread for a stitched face
– Stuffing: Polyester fiberfill stuffing
– Needle: Tapestry needle for sewing
– Marker: Stitch marker
– Optional extras: Small pom pom for the hat tip, craft wire for stabilization
4. Designer Notes / Tips
– Stitch technique: You’ll be using basic stitches like single crochet (sc) and increase (inc) throughout this pattern, making it very approachable. For added texture, try using the back loop only (BLO) for certain parts, like the hat’s brim.
– Stuffing density: I recommend a light stuffing for the gnome’s body to maintain a round shape, while the hat can be stuffed more firmly to give it structure.
– Assembly: To create a seamless look, use a whip stitch to join pieces together. Don’t forget to place safety eyes before sealing the head completely!
– Yarn substitutions: If you prefer a softer gnome, consider using a plush or fuzzy yarn like Bernat Pipsqueak. Just be mindful of your gauge!
– Gauge tips: The gauge is not critical for this project; however, aim for a tight tension to prevent stuffing from poking through.
– Safety considerations: If you’re making this for a child, you may want to embroider the eyes instead of using safety ones, or avoid using any small components.
5. Pattern Instructions
For Plushies:
Head:
*Stuff the head firmly before closing. Place safety eyes between rounds 6 and 7, about 6 stitches apart.*
Body:
*Stuff the body lightly before closing.*
Arms:
*Make two arms, stuff lightly.*
Legs:
*Make two legs, stuff lightly.*
Hat:
*Do not stuff the hat; instead, leave it flexible for a floppy look.*
Assembly:
– Attach the head to the body using a tapestry needle and thread.
– Position and sew the arms and legs securely to the body.
– Adorn the hat with the pom pom at the tip if desired.
– Weave in all loose ends.
6. Closing & Social Engagement
Now that you’ve created your very own Crochet Mini Santa Gnome, I’d love to see your version! Leave a comment below and let me know what color combination you chose. Did you add any special touches or make adjustments to the pattern? Share your finished gnome on social media, and let’s spread some holiday cheer together!