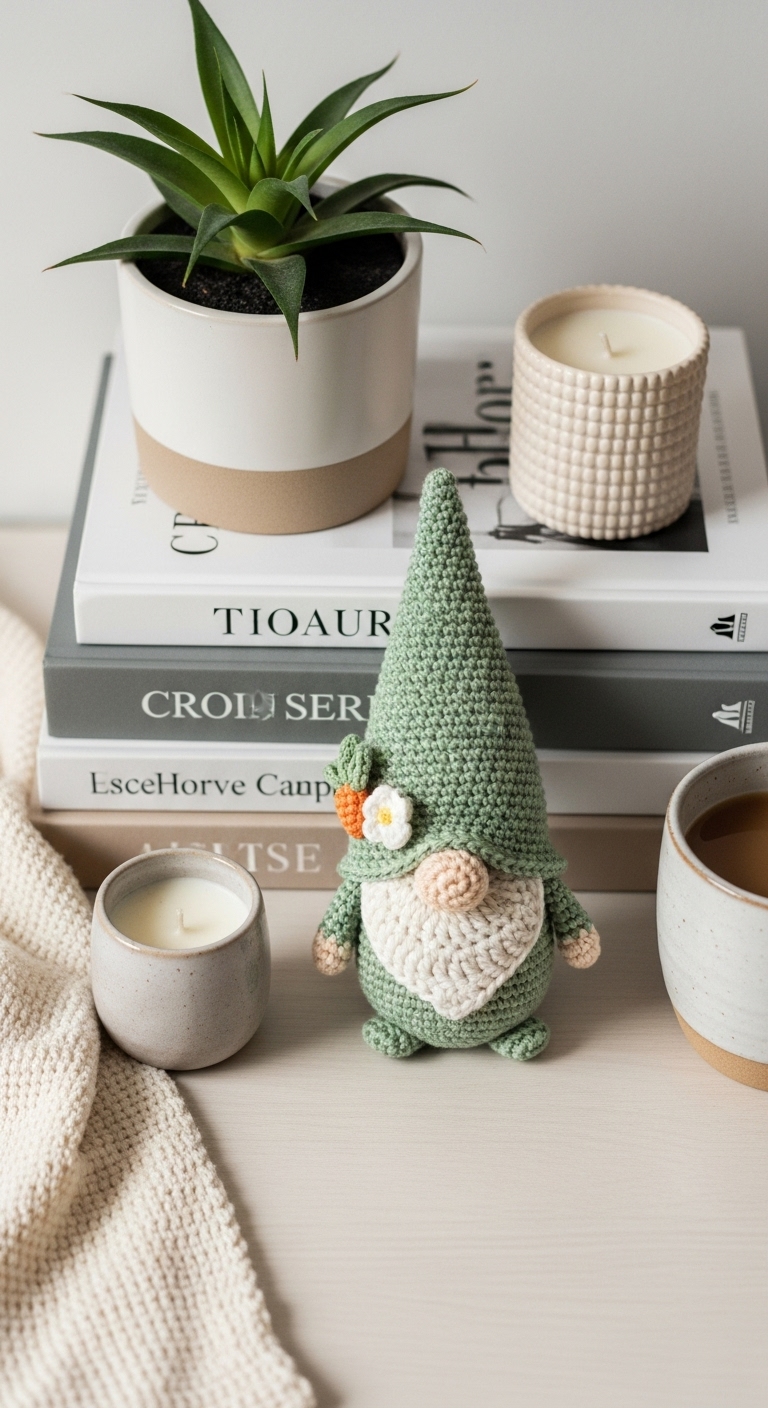
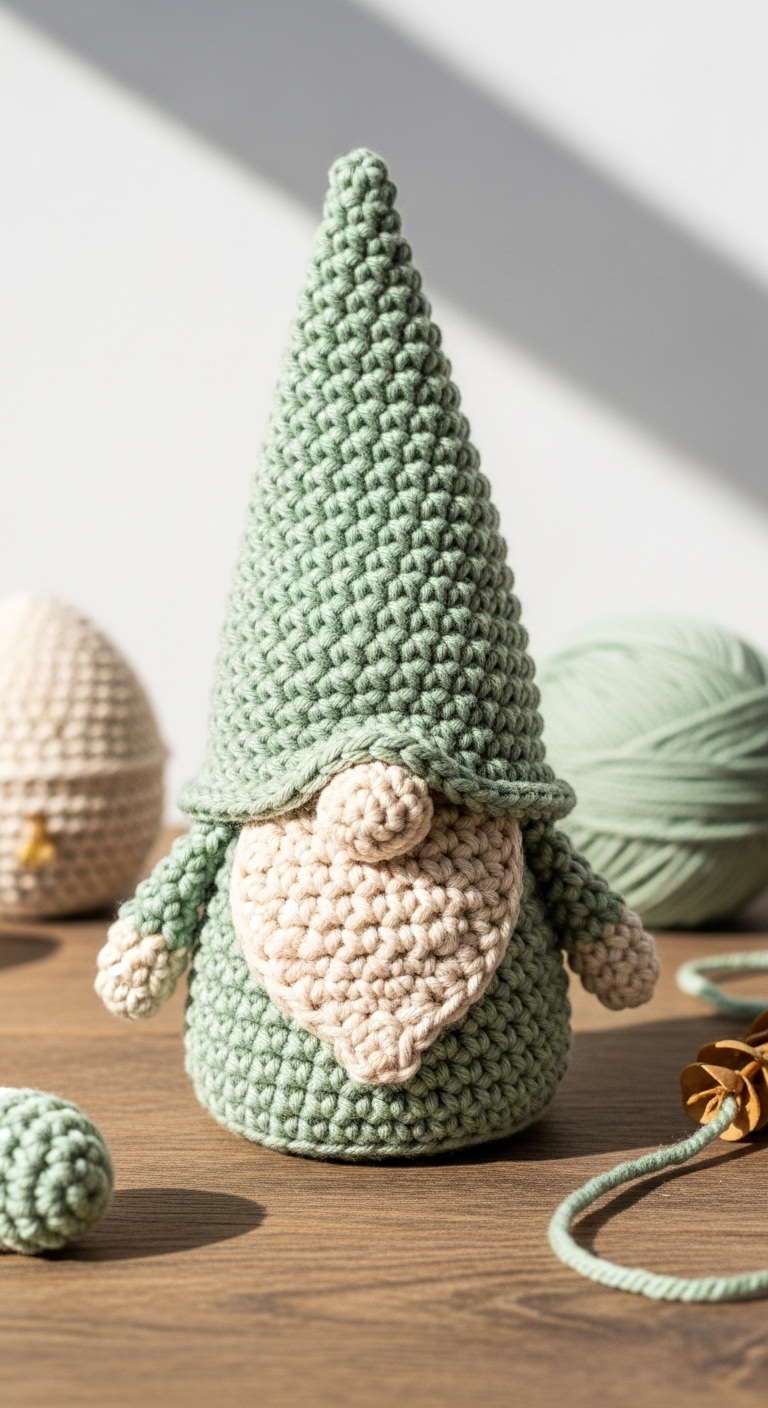
crochet mini elf gnome ornament
2. Introduction
Welcome to the delightful world of crochet with our adorable “Mini Elf Gnome Ornament”! This charming little ornament stands at approximately 4 inches tall and makes for a whimsical addition to your holiday decor, tree, or as a joyful gift to spread cheer. With its playful look, it is perfect for crafters who enjoy creating festive keepsakes to celebrate the season.
For this project, we’ll be working with a soft worsted weight yarn in three complementary colors: a vibrant green, a warm red, and a creamy white. These colors not only evoke a cozy, holiday feeling but also allow for creativity in personalizing your gnome. Whether you’re an experienced crocheter or just starting out, this pattern is designed to be beginner-friendly and quick to complete. In fact, you’ll find it hard to resist making a whole collection of these mini gnomes!
These little ornaments are not just fun to make—they also hold special potential as gifts or decorative pieces that can bring joy to others. Hang one on a gift, add it to your holiday tree, or use it as a unique stocking stuffer. Whatever you choose, we’re sure you’ll find this mini elf gnome ornament a delightful project!

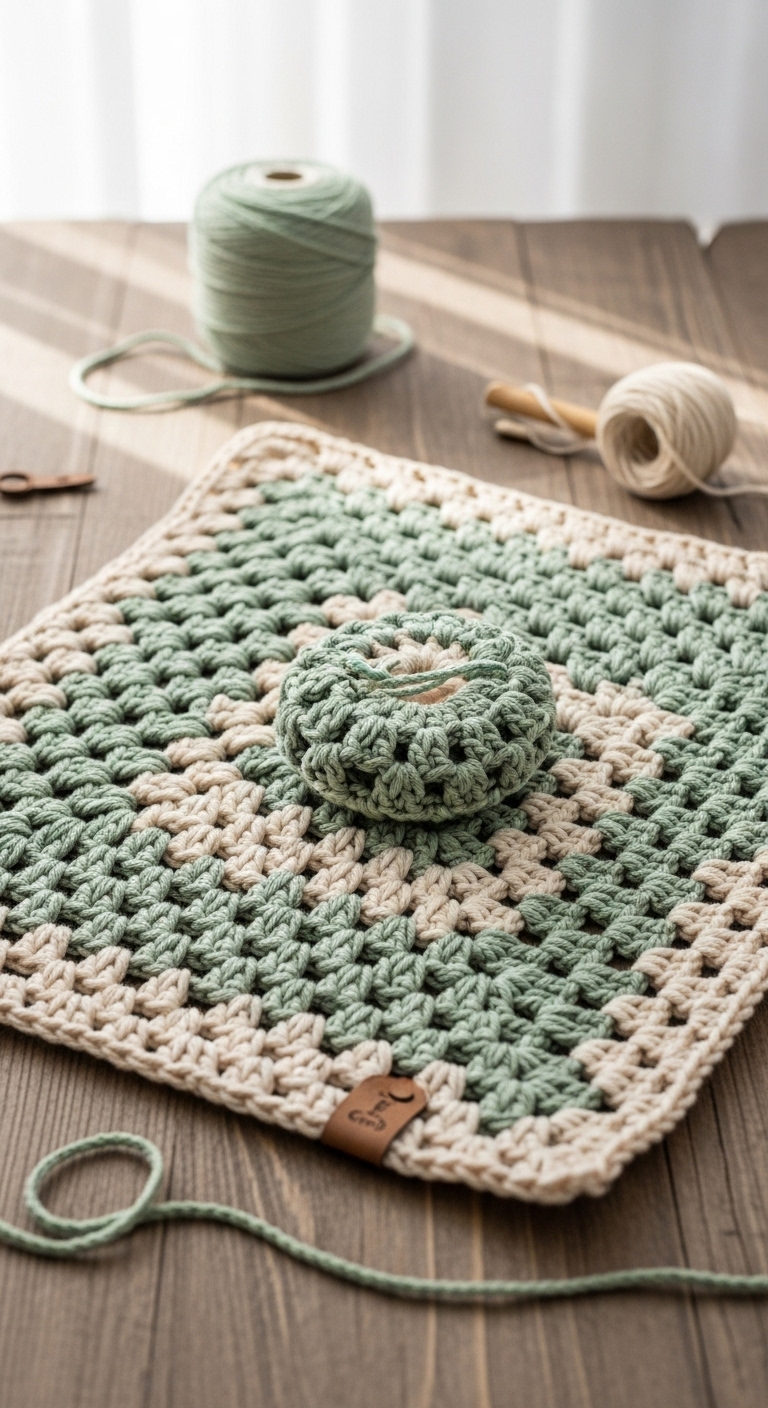
3. Materials Needed
– Yarn: Worsted weight yarn (approx. 100 yards each) in:
– Green (for the hat and body)
– Red (for the nose and shoes)
– Cream (for the beard)
– Hook: 3.5mm or 4.0mm crochet hook
– Eyes: 6mm safety eyes OR black embroidery thread for stitching eyes
– Stuffing: Polyester fiberfill stuffing
– Needle: Tapestry needle for sewing
– Marker: Stitch marker
– Optional extras: Small bell or decorative buttons (for embellishments)
4. Designer Notes / Tips
– Stitch technique: The pattern primarily uses single crochet (sc) and increases (inc). If you’re new to these stitches, remember to keep your tension even to maintain a neat finish.
– Stuffing density: For the gnome, we recommend using firm stuffing to help it stand upright. Don’t be afraid to pack it well, but avoid over-stuffing which can distort the shape.
– Assembly: When joining pieces, use a whip stitch to secure them tightly. This will give your gnome a clean, polished look.
– Yarn substitutions: If you’d like to experiment, any worsted weight yarn will work. Just ensure that your gauge remains consistent for the desired size.
– Gauge tips: Check your tension by making a small swatch. For this ornament, aiming for about 5 sc per inch is ideal.
– Safety considerations: If the ornament is intended for small children, consider using embroidered features instead of safety eyes to eliminate choking hazards.
5. Pattern Instructions
For Plushies:
Head:
– Place the safety eyes between rounds 8 and 9, approximately 6 stitches apart.
– Continue stuffing as you work to keep the shape firm.
Body:
Arms:
Hat:
– The hat can be shaped with a slight fold at the brim.
Nose:
– Make a small round piece using the red yarn:
Assembly:
1. Sew the nose onto the center of the head.
2. Attach the safety eyes if not previously placed.
3. Position the arms on either side of the body and sew in place.
4. Attach the hat on top of the head, allowing it to drape slightly over one side.
5. Lastly, stitch on the cream yarn for the beard, creating a fun and fluffy look.
6. Closing & Social Engagement
I hope you enjoyed crafting your mini elf gnome ornament! I’d love to see your version! Leave a comment below sharing your color choices or any variations you made. What color combination will you try? Remember, each gnome you create will bring its own unique charm and story. Don’t hesitate to share your finished gnome on social media using #MiniElfGnomeOrnament! Happy crocheting!