how to crochet chunky hat for beginners in an hour
2. Introduction
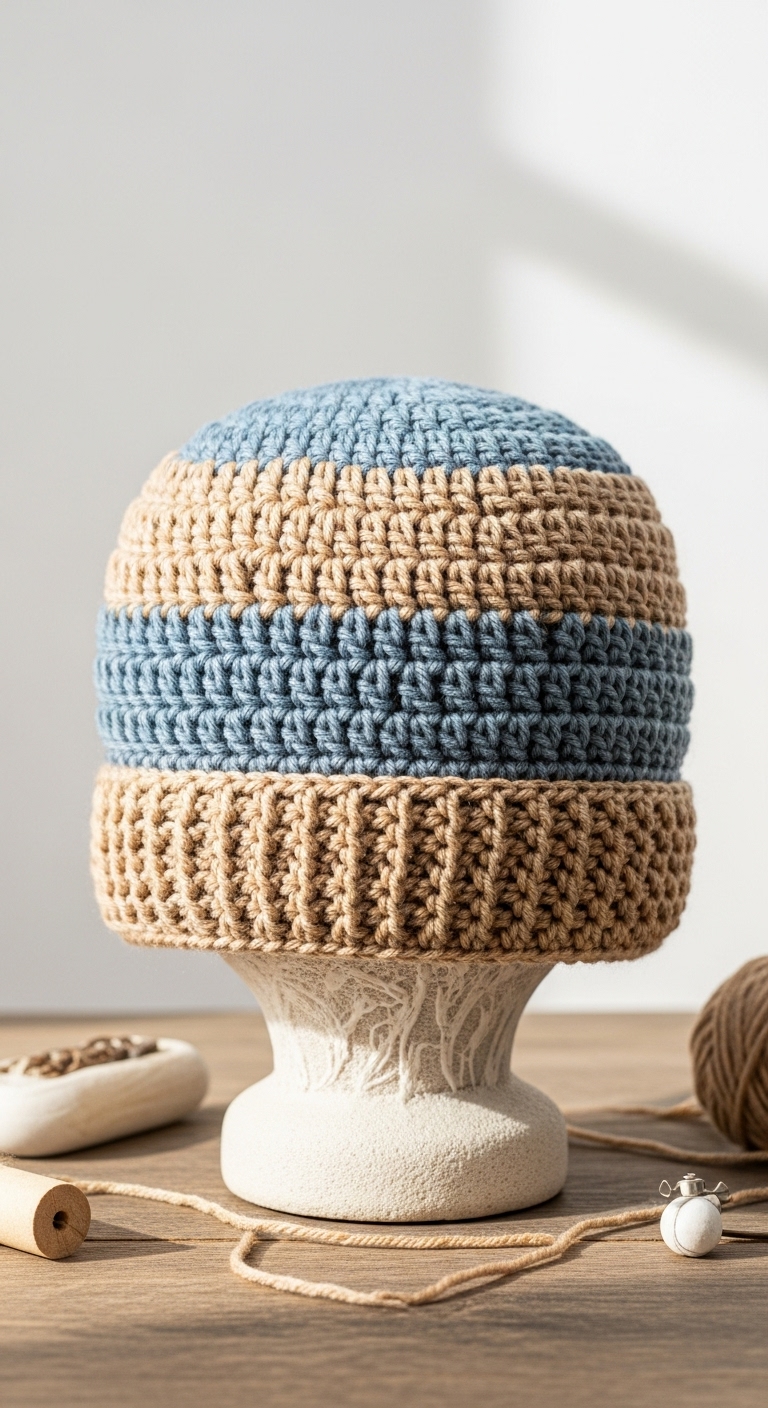
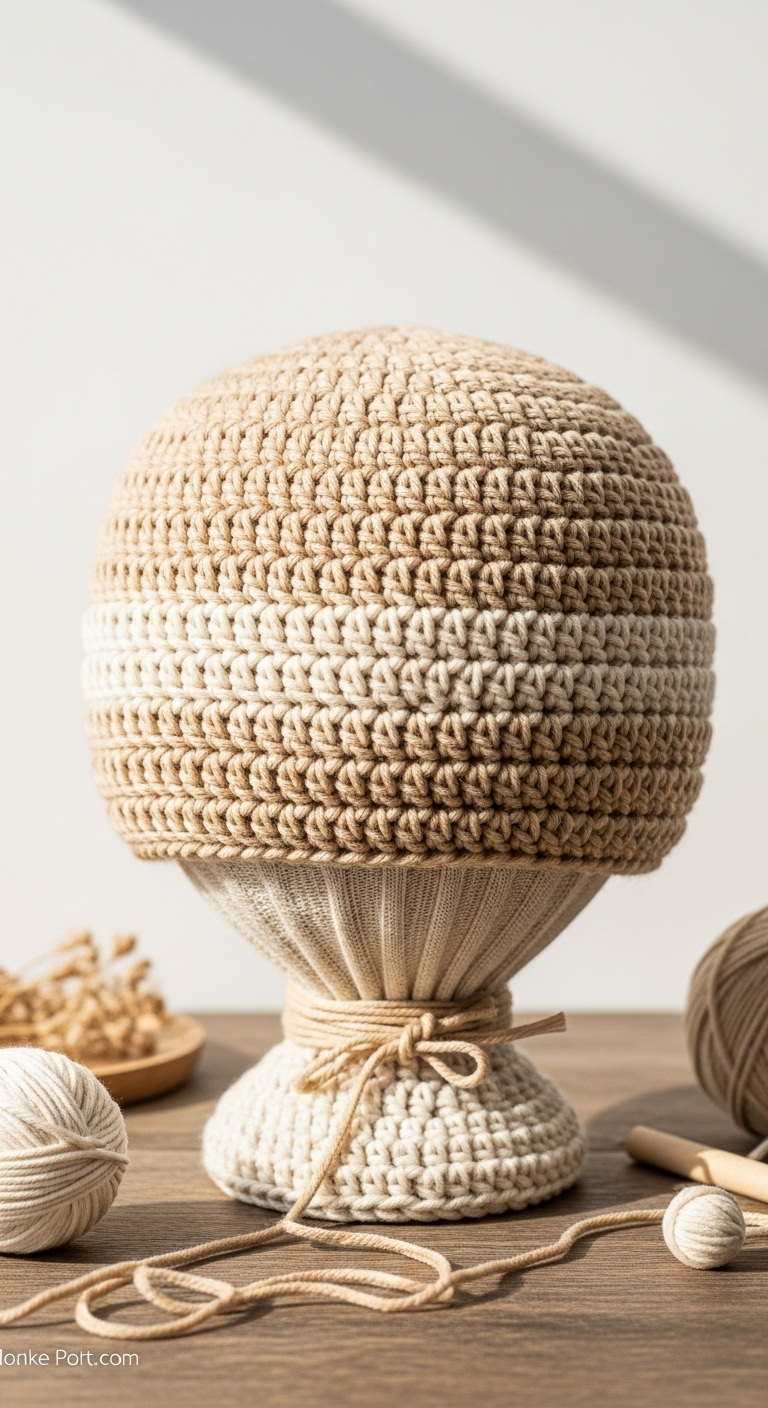
If you’re looking to whip up a cozy accessory that not only keeps you warm but also looks stylish, then this chunky hat project is perfect for you! In about an hour, you can create a lovely hat that fits snugly and comfortably on your head, making it an ideal project for a quick crochet session. This hat is designed to fit an adult head size, with a circumference of approximately 22 inches, ensuring it’s both functional and fashionable.
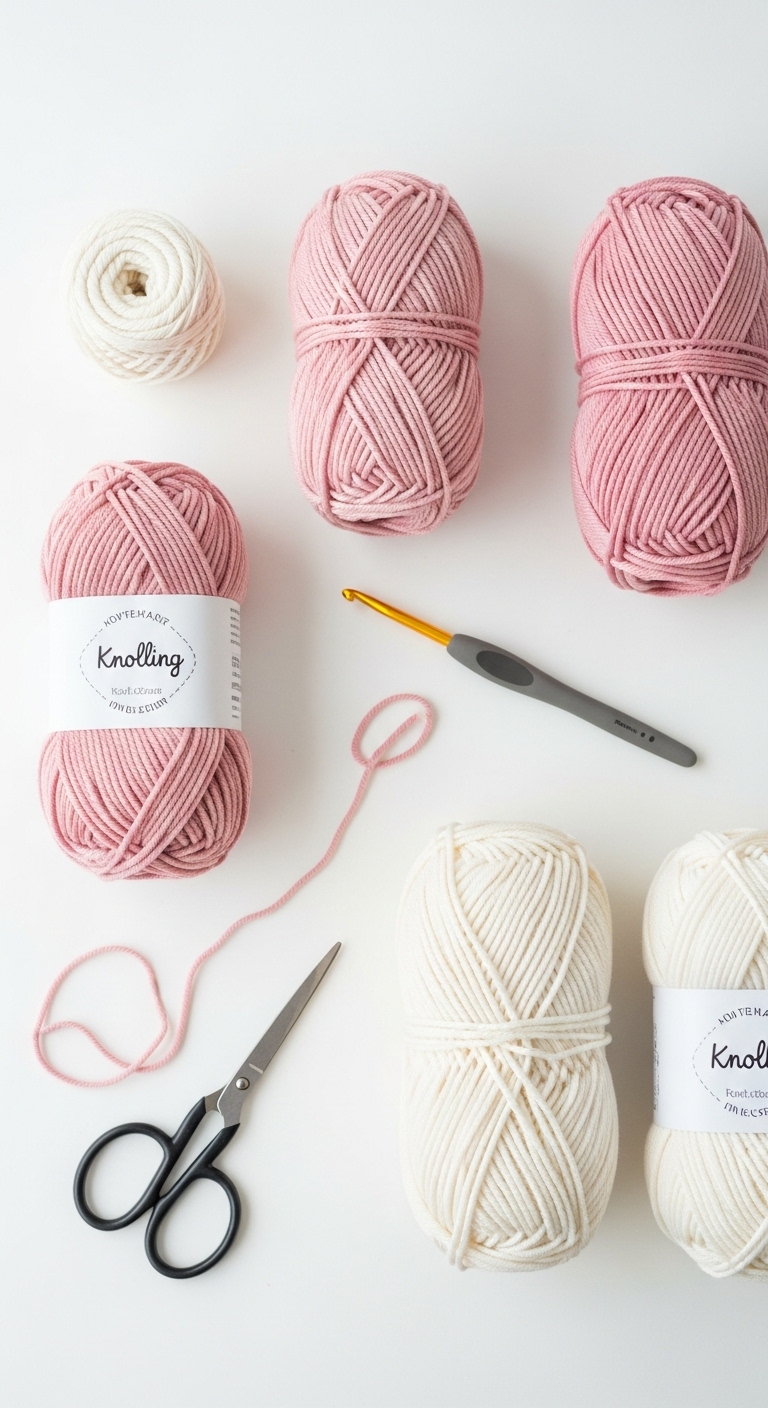
For this project, you’ll want to use bulky weight yarn in complementary adult-friendly colors such as deep burgundy, soft gray, and cream. These hues work beautifully together, allowing you to create a hat that’s both chic and versatile. What makes this project particularly fun is its accessibility; it is beginner-friendly, and you’ll be amazed at how quickly you’ll see your hat taking shape. Plus, a handmade hat makes a wonderful gift for friends and family—especially as the colder months roll in!
3. Materials Needed
– Yarn: Bulky weight yarn in deep burgundy, soft gray, and cream – approximately 100 yards total.
– Hook: 6.0mm crochet hook.
– Marker: Stitch marker (to mark the beginning of your rounds).
– Needle: Tapestry needle for weaving in ends.
– Optional extras: Pom-pom maker for an extra fun finish.
4. Designer Notes / Tips
When working on this chunky hat, you’ll be using basic stitches, primarily single crochet (sc) and half double crochet (hdc), which are perfect for beginners and create a lovely textured fabric. For a nice, thick fabric, make sure your stitches are firm but not overly tight—this will help with the overall appearance and fit of the hat.
As you progress, don’t hesitate to stuff your hat lightly with a bit of polyester fiberfill if you want a bit of added shape around the brim. If you wish to substitute yarn, look for other bulky weight options that have a similar weight, such as super chunky acrylic blends.
Also, keep in mind that every crafter’s tension varies, so it’s a good idea to check your gauge. A loose gauge may lead to a bigger hat, whereas too tight could make it too small. Lastly, if you’re making this for a child, consider using child-safe modifications, such as skipping the pom-pom or using safety eyes for embellishments.
5. Pattern Instructions
For Accessories:
Main Panel
Foundation Chain: Create a slip knot and chain 40.
Row 1: Hdc in the 2nd chain from the hook and across (39 hdc). Turn.
Row 2: Ch 1, hdc in each stitch across (39 hdc). Turn. Repeat Row 2 until your piece measures approximately 8 inches tall.
Joining
Once your panel is the correct height, fold it in half with the right sides facing each other. Use your tapestry needle to sew the sides together, forming a tube.
Top Closure
To finish the top of the hat, use your remaining yarn to gather the top of the tube. Thread a long piece of yarn through the last round of stitches, pull tight to close the top, and secure. You can add a pom-pom to the top if you’d like!
Finishing
Weave in all loose ends with your tapestry needle. If desired, block your hat to give it a nice shape. To block, gently wet the piece and shape it to your desired dimensions, then let it dry flat.
6. Closing & Social Engagement
Congratulations on completing your very own chunky hat! I’d love to see your version! Leave a comment below, and share your finished hat on social media. What color combination will you try next? Remember, making handmade items is not just about the final product; it’s about enjoying the creative process. So grab your yarn, and get crocheting—you’ve got this!